Running a private event on your WordPress site? You need a way to keep uninvited visitors out — without blocking your whole site. Password protecting your event pages is the most direct fix.
WordPress has a built-in password option, but it replaces your entire page with a bare password form. No teasers, no partial content, no visible event title before the gate. For event pages — where you often want to show a headline or intro but lock the details behind a password — that blunt approach falls short.
That’s where the Passster plugin comes in. Protect a full page or just a section, assign multiple passwords, restrict by user role, and add CAPTCHA. No coding required.
Why you might want a password-protected event page
Not every event should be open to the public. WordPress’s built-in password option applies one shared password to the entire page (wordpress.org/support documentation, 2025) — no partial protection, no per-attendee control. That limitation makes a dedicated plugin worth installing when any of these scenarios apply:
- Staff Area: If you maintain a Staff Area for upcoming company events, you don’t want regular visitors reading internal details. Password-protect the page and share the password with your team only.
- Employee training events: Private training sessions for new hires or interns shouldn’t be open for public registration. A password gate means only your staff can access and register.
- Members-only events: Exclusive events add value to a membership. Password-protect the event page and hand out the password at registration so only active members can join.
- Private feedback forms: Password-protecting an internal feedback form filters out spam by default. Only people with the password can submit a response.
- VIP conference sessions: Conference organizers sometimes run breakout sessions reserved for VIP ticket holders. A password-gated page keeps those details away from general attendees while everything lives on the same site.
- Recruitment events: Some hiring events should be publicly discoverable but gated for applicants. Shortlisted candidates get a password; everyone else sees a closed registration.
Beyond access control, password gates also cut spam registrations. If only someone with the correct password can fill out the form, you won’t spend time filtering fake submissions out of your list.
Passster: the solution for password-protected event pages
Passster handles the full range of content protection needs for WordPress event pages. The plugin has 10,000+ active installs (WordPress.org) and supports everything from single-password gates to per-attendee password lists. Key features:
- Multiple protection types: restrict by password, user role, logged-in status, or a combination. Add CAPTCHA or reCAPTCHA for an extra layer.
- Full page or partial protection: protect the entire event page or just the registration section. Global or per-page settings let you apply the same rules across multiple pages at once.
- Multiple passwords and password lists: assign different passwords to different users or groups. With Passster Pro, you can create a password list: one unique password per attendee, each independently revocable.
- Page builder compatibility: works with Elementor, Divi, Oxygen, and WPBakery.
For most event pages, the free version covers a single-password setup. For multiple passwords or a password list, you’ll need Passster Pro.
Does Passster work with WordPress event plugins?
Passster protects at the page level, so it works alongside whichever event plugin you already use. That includes:
- The Events Calendar: apply Passster settings directly to the event detail page in the WordPress editor
- WP Events Manager: same approach; add protection to any event post type page
- WooCommerce-based event setups: you can gate ticket purchase pages or members-only booking pages the same way
That said, this is a different approach from tools like Password Protected Categories (Barn2), which protect all events in a category at once. If you need category-level control, that plugin handles it well. But if you want per-page or per-section control — for example, protecting just the registration form while keeping the event description public — Passster covers that and Barn2 doesn’t.
For the steps below, use whatever event plugin you prefer. Create your event as normal, then add Passster’s protection to that page.
How to create password-protected event pages using Passster
You’ll need a WordPress site and the Passster plugin. The setup takes four steps.
Step #1: Install and activate the Passster plugin
First, get the Passster plugin and install it on your WordPress site. Click the download link from your purchase confirmation email.
Go to Plugins > Add New and upload the .zip file. Click Install Now, then activate the plugin once it finishes.
If you want to test the setup first, the free version supports single-password protection for event pages. For multiple passwords or a password list, you’ll need Passster Pro.
In that case, multiple passwords let you hand out different credentials to different users or groups. That makes it easy to revoke access for one person without changing the password for everyone else.
Step #2: Create your event page
Next, create and customize your event page as you normally would. Go to Pages > Add New and build out the content.
For example, you could create a private training event for new employees. The page has everything they need to know — schedule, location, registration form — but regular site visitors shouldn’t be able to access it.
Step #3: Set password-protection options
Once the event page is ready, open the Page tab in the editor and navigate to the Passster (Page Protection) section.
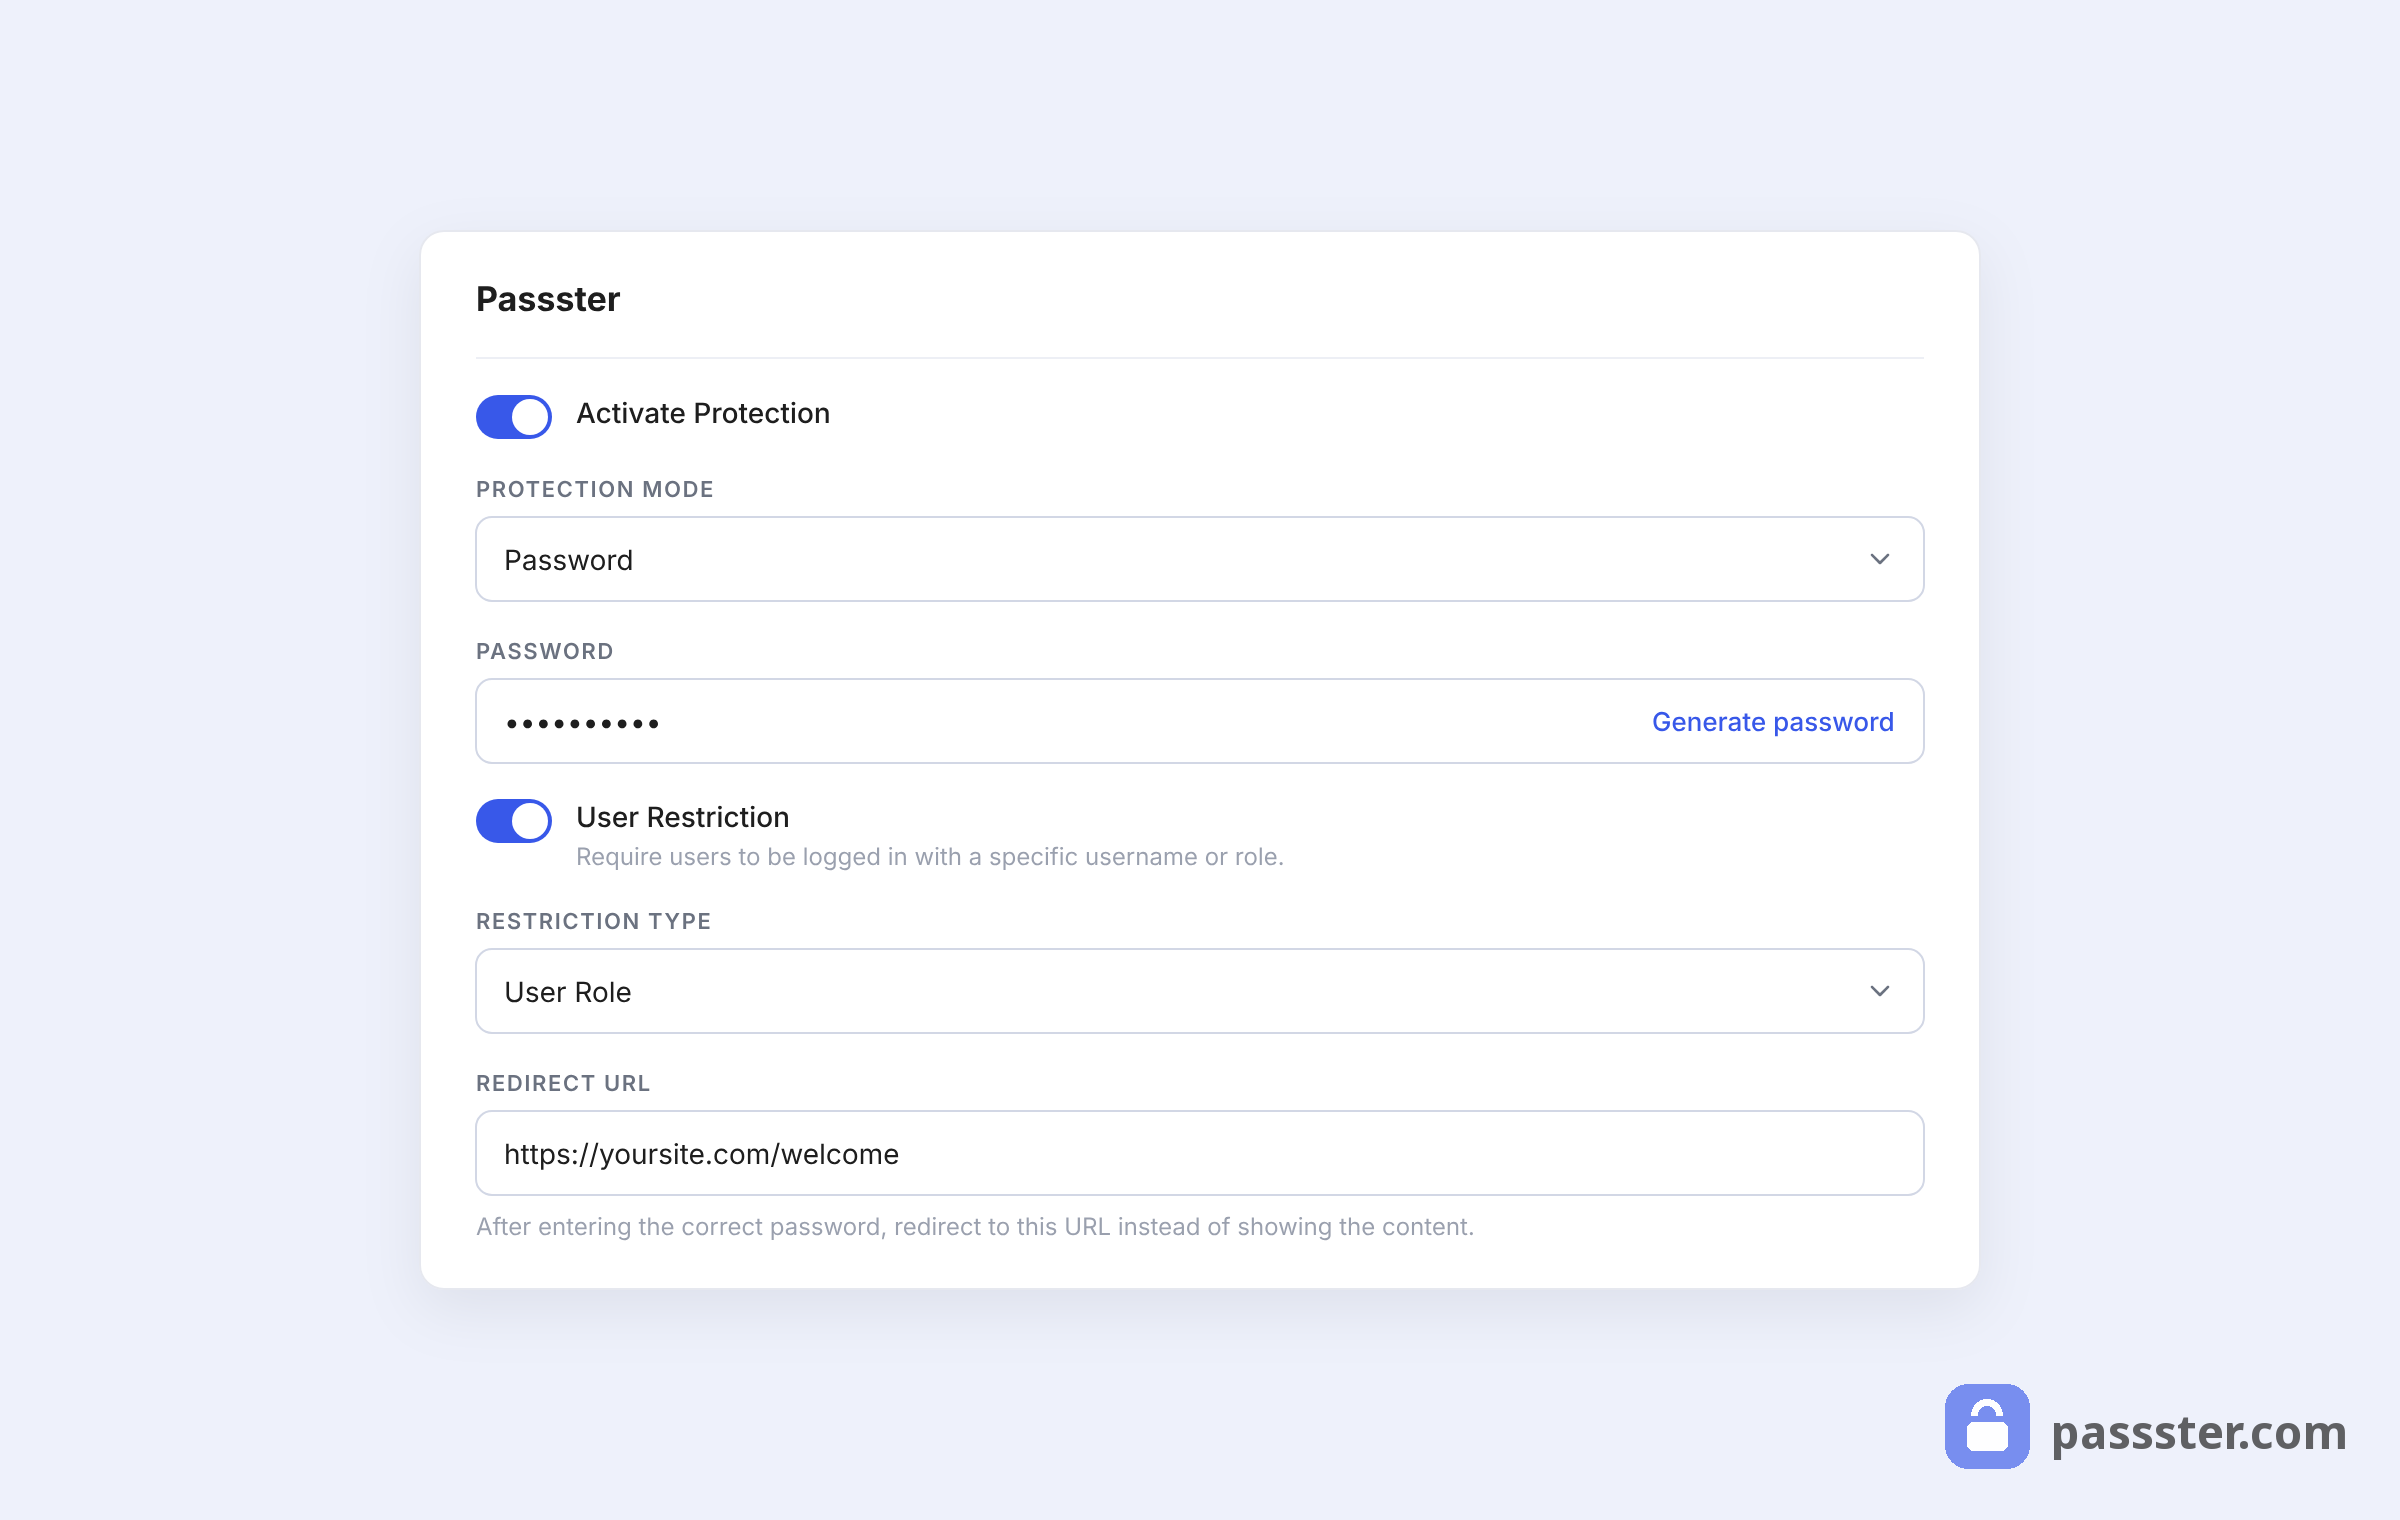
Check Activate Protection and choose Password or Passwords from the Protection Type dropdown. The Passwords option requires Passster Pro and lets you enter multiple passwords or use a password list.
Enter a strong password in the Password field. Optionally, add a redirect URL for users who try to access the page without a valid password.
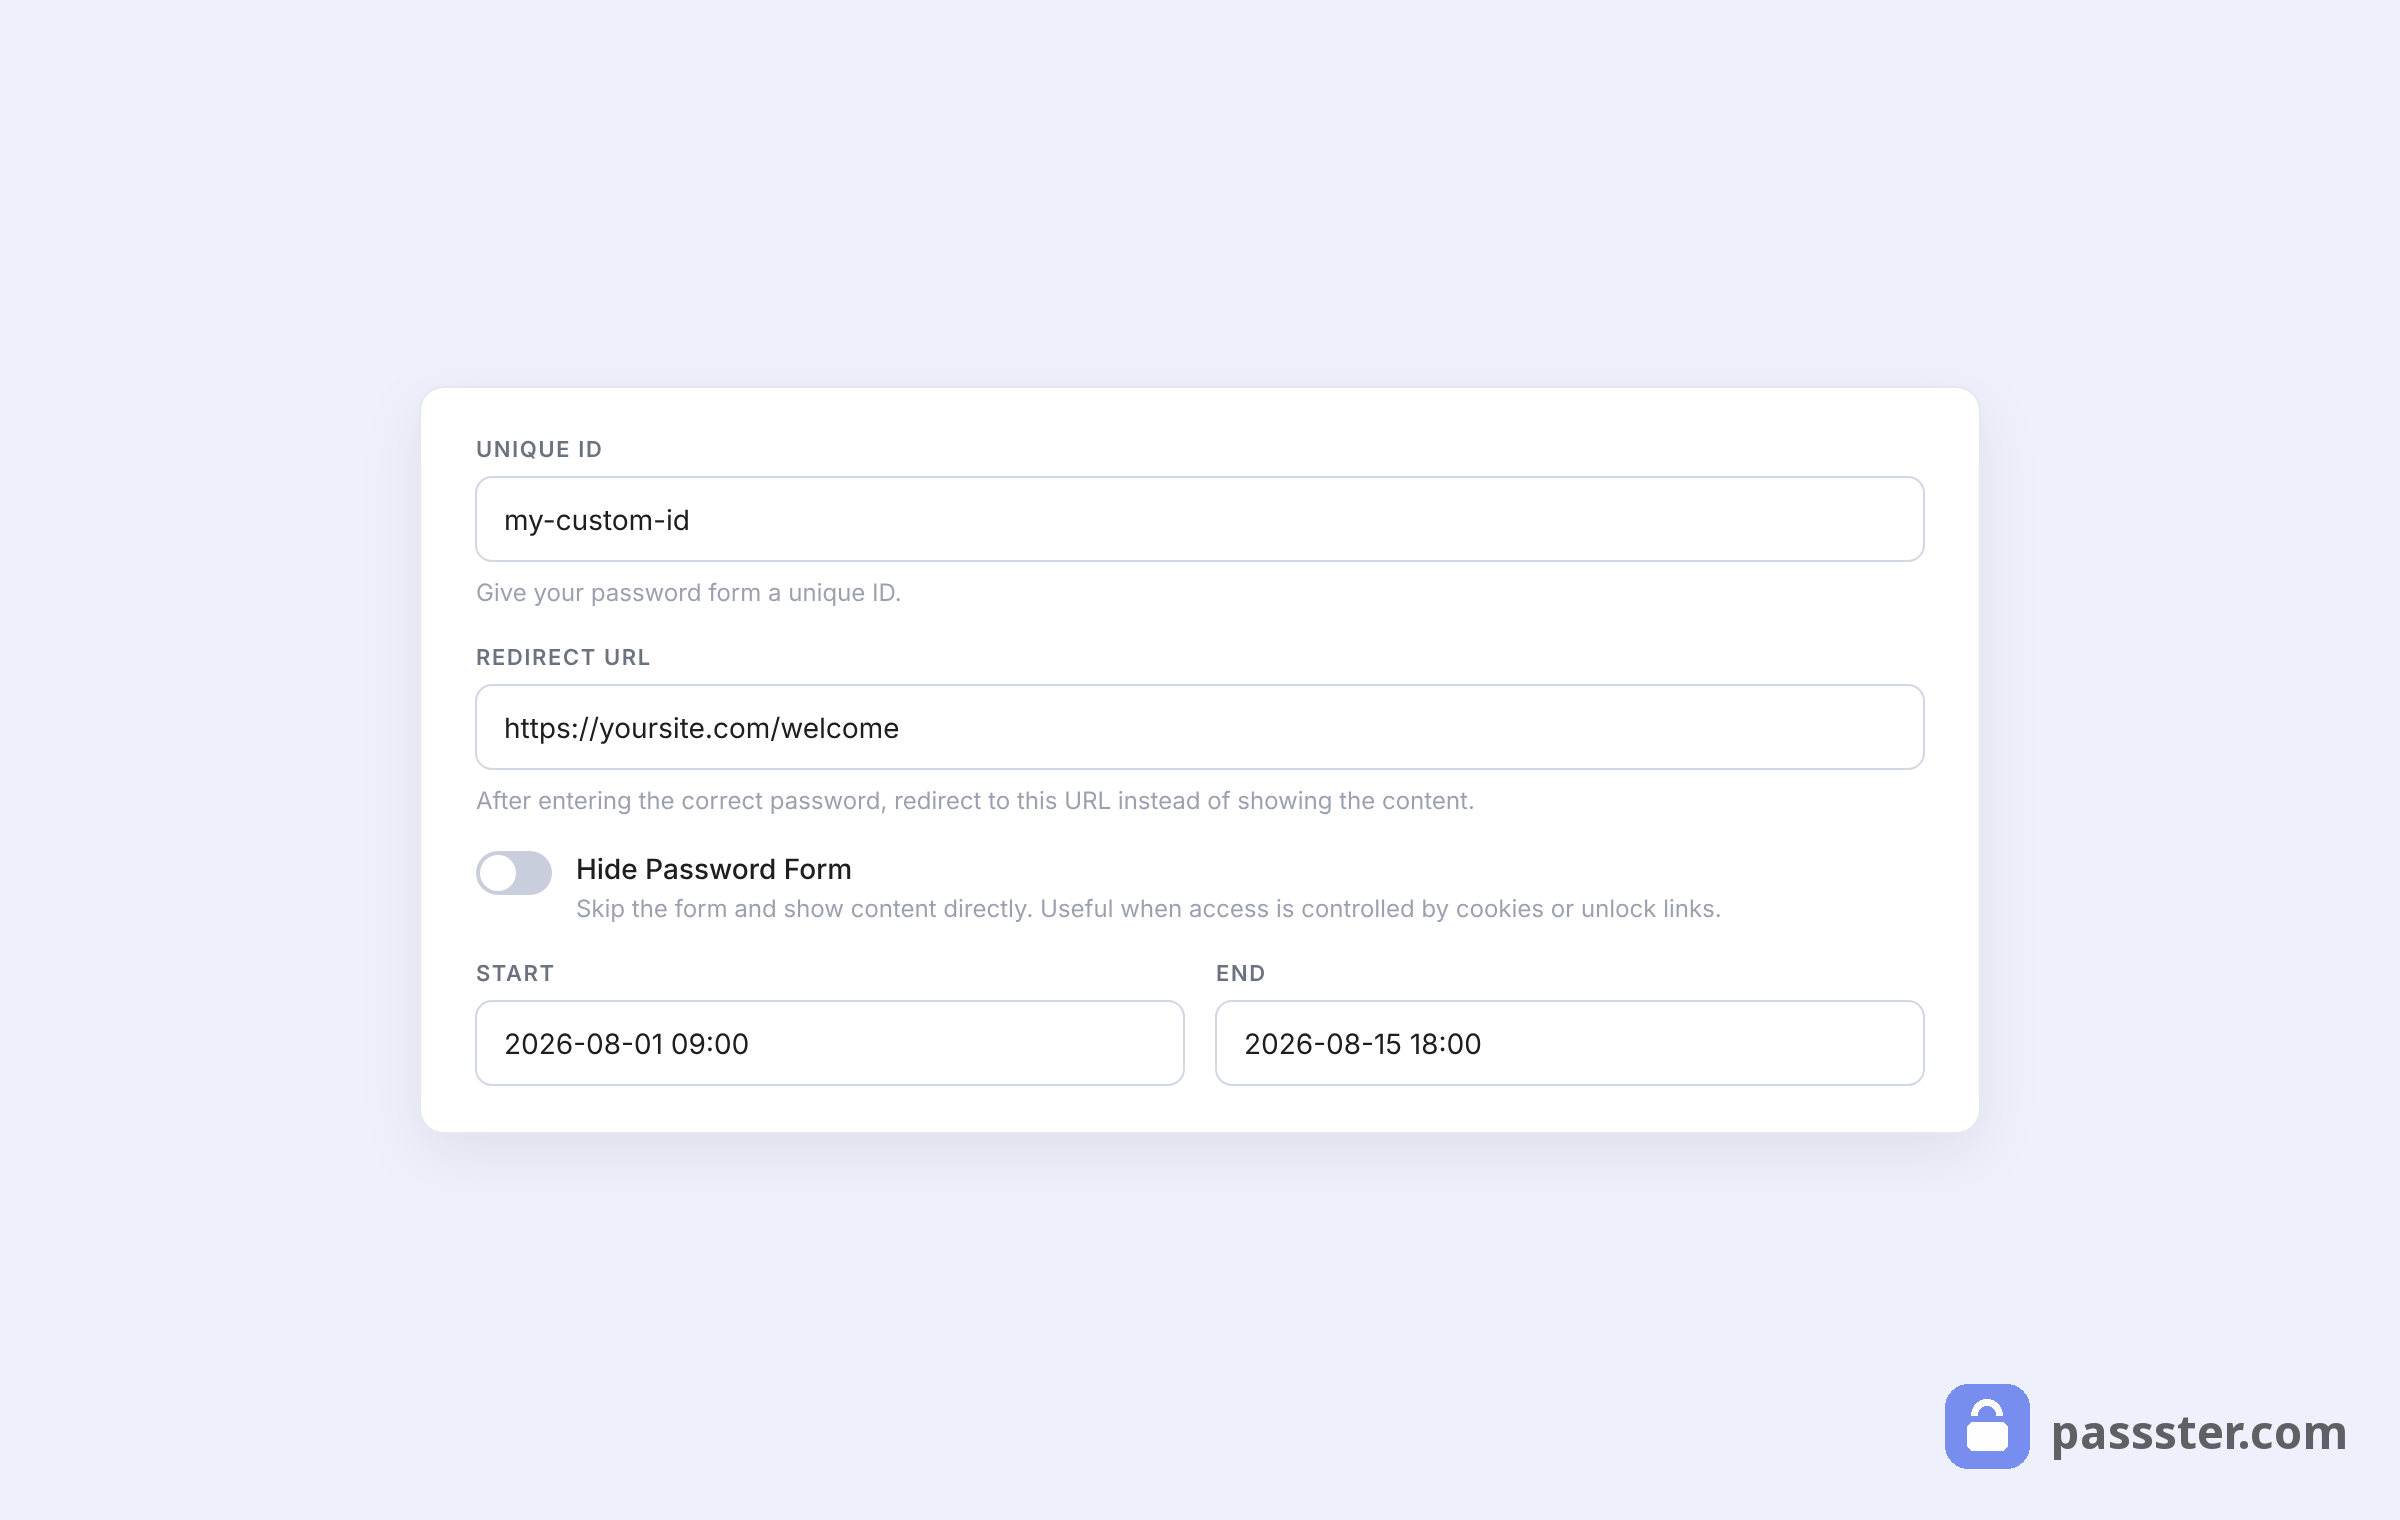
You can also restrict access by user role or individual username. Use the User Restriction Type dropdown to select Username or User Role, then specify who should have access.
Finally, customize the password form labels — Headline, Instruction, Placeholder, and Button text — to match your site’s tone. Click Publish when you’re done.
#### Using a password list for per-attendee access
However, for paid events or VIP sessions, a single shared password creates a problem: if you need to revoke one attendee’s access, you’d have to change the password for everyone.
Passster Pro’s password list feature solves this. You create a list of unique passwords — one per attendee — and distribute them individually. If an attendee requests a refund or loses their ticket, you remove their password from the list. Everyone else’s access stays intact.
This is the right setup for any event where you need individual accountability: conferences, paid webinars, or gated workshop sessions.
Step #4: Distribute passwords and publish
Once you publish, anyone who visits the event page will see a password form before they can read the details or register.
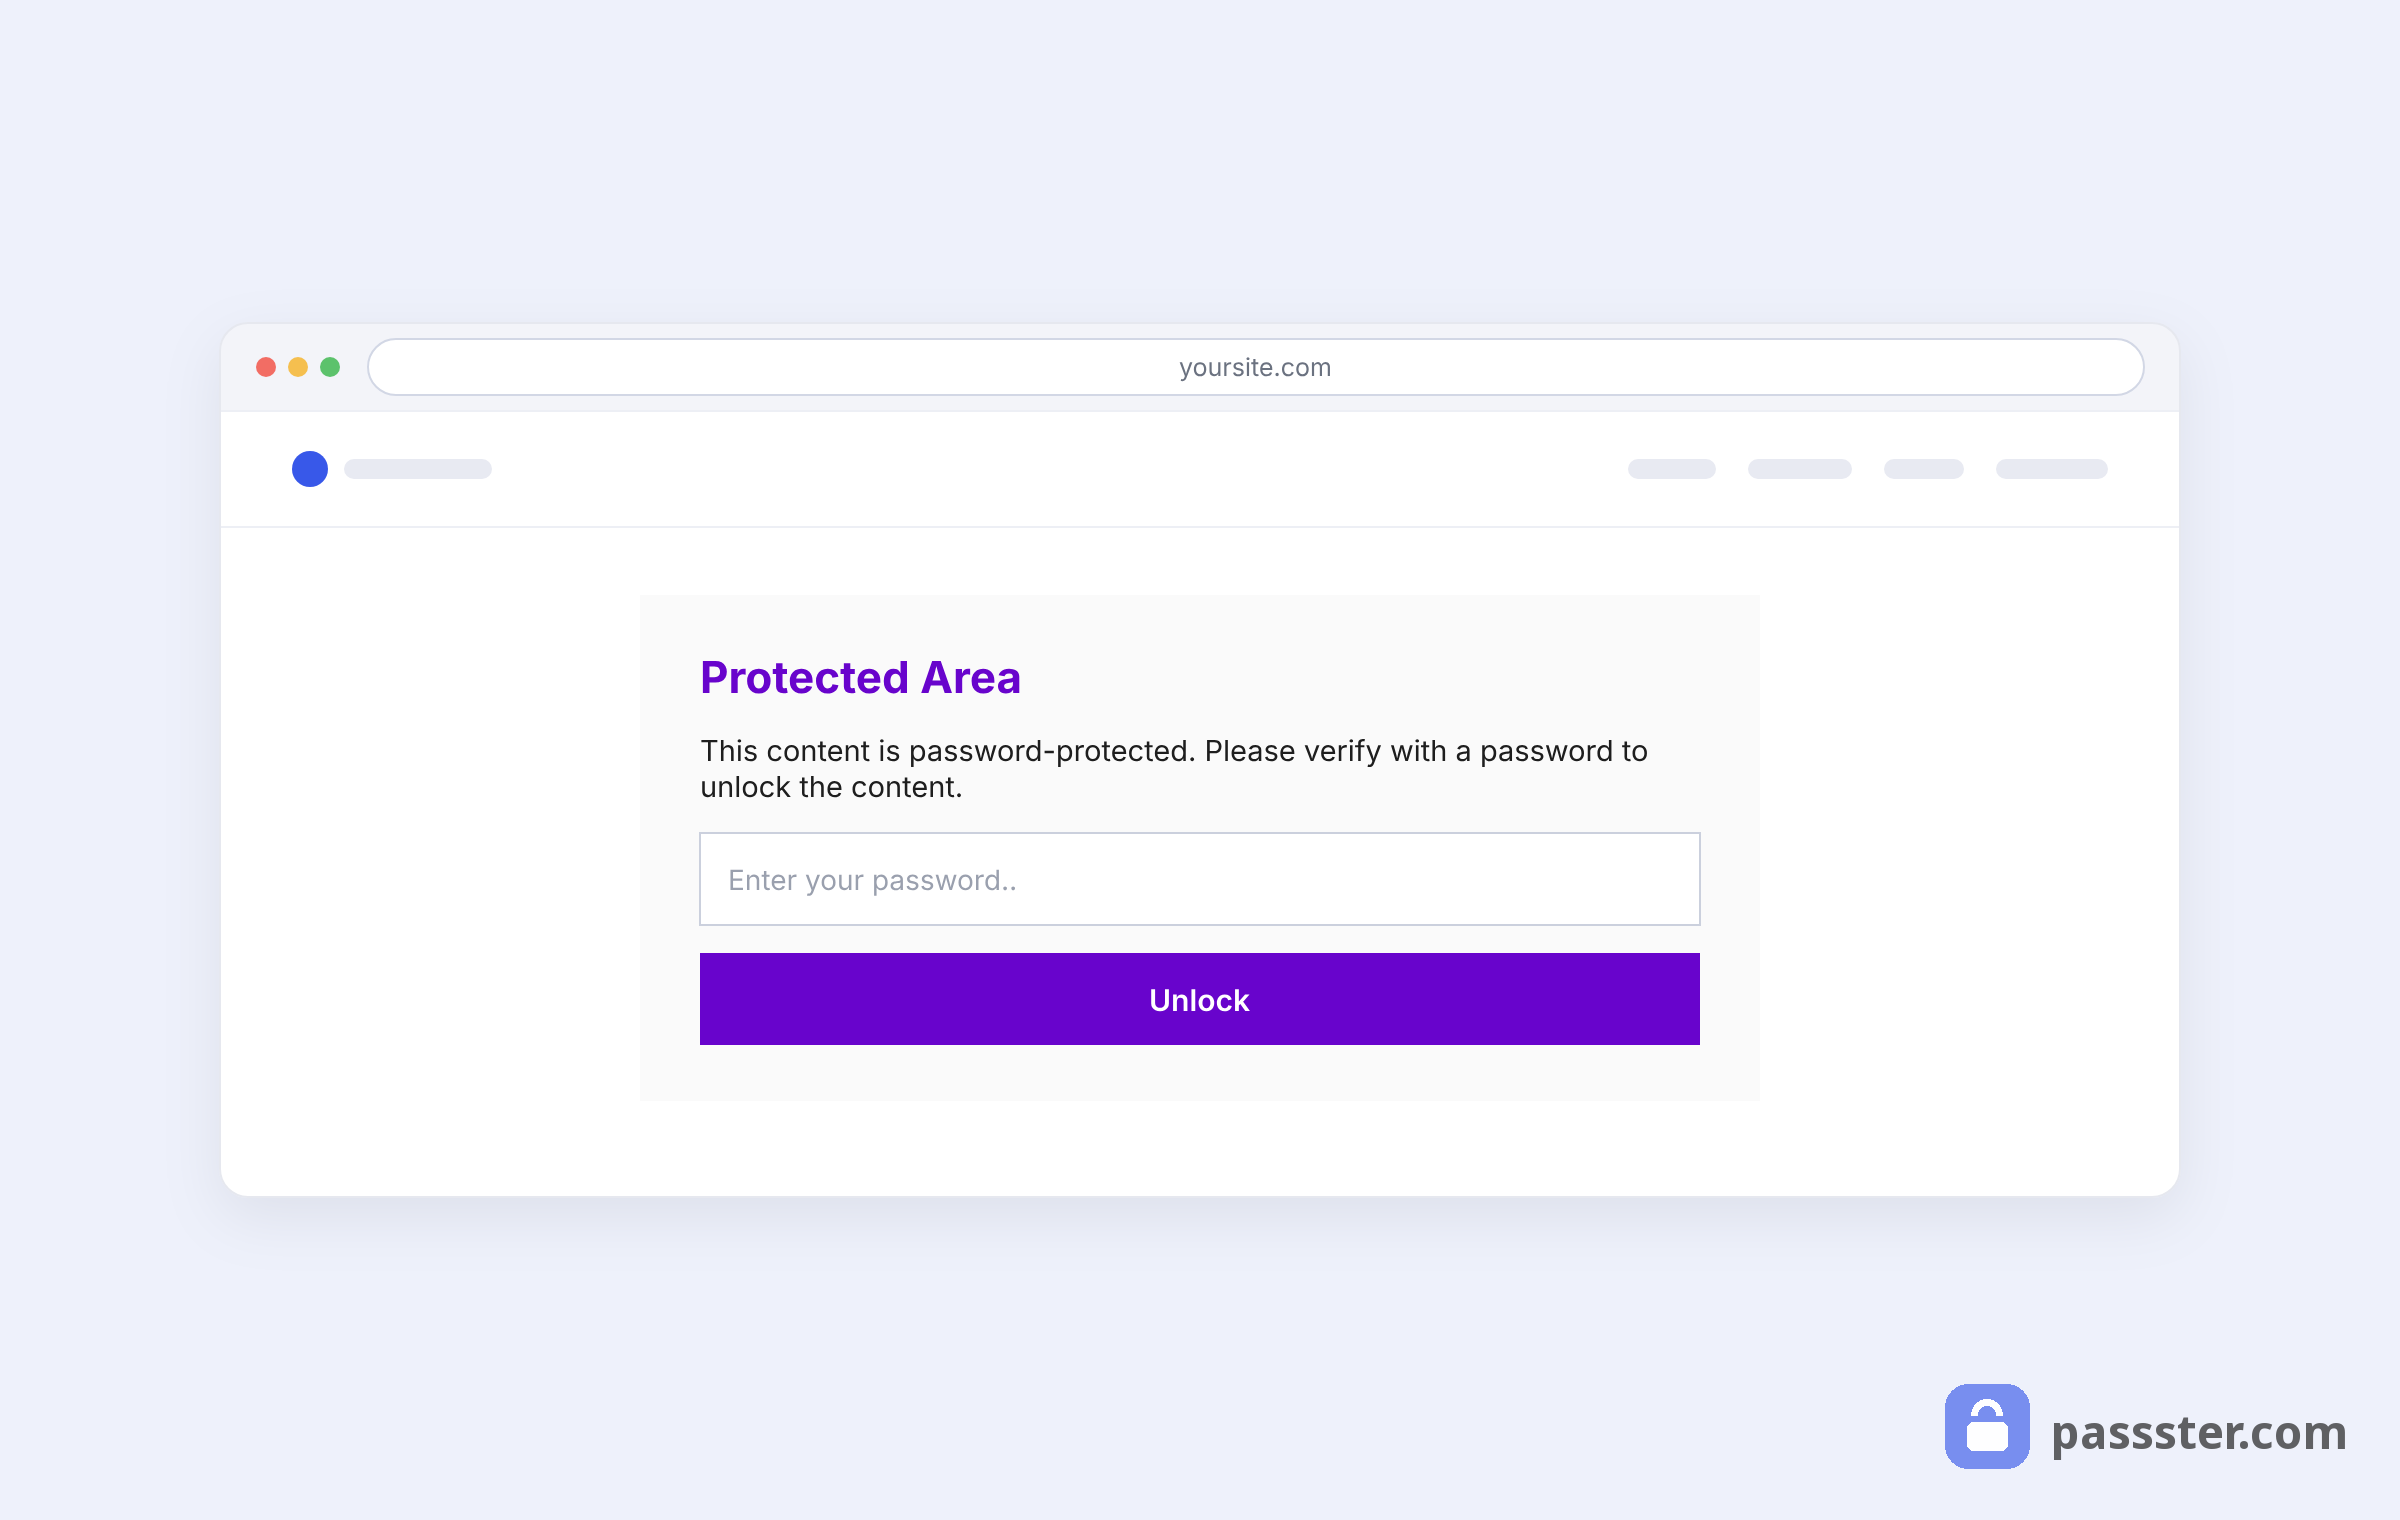
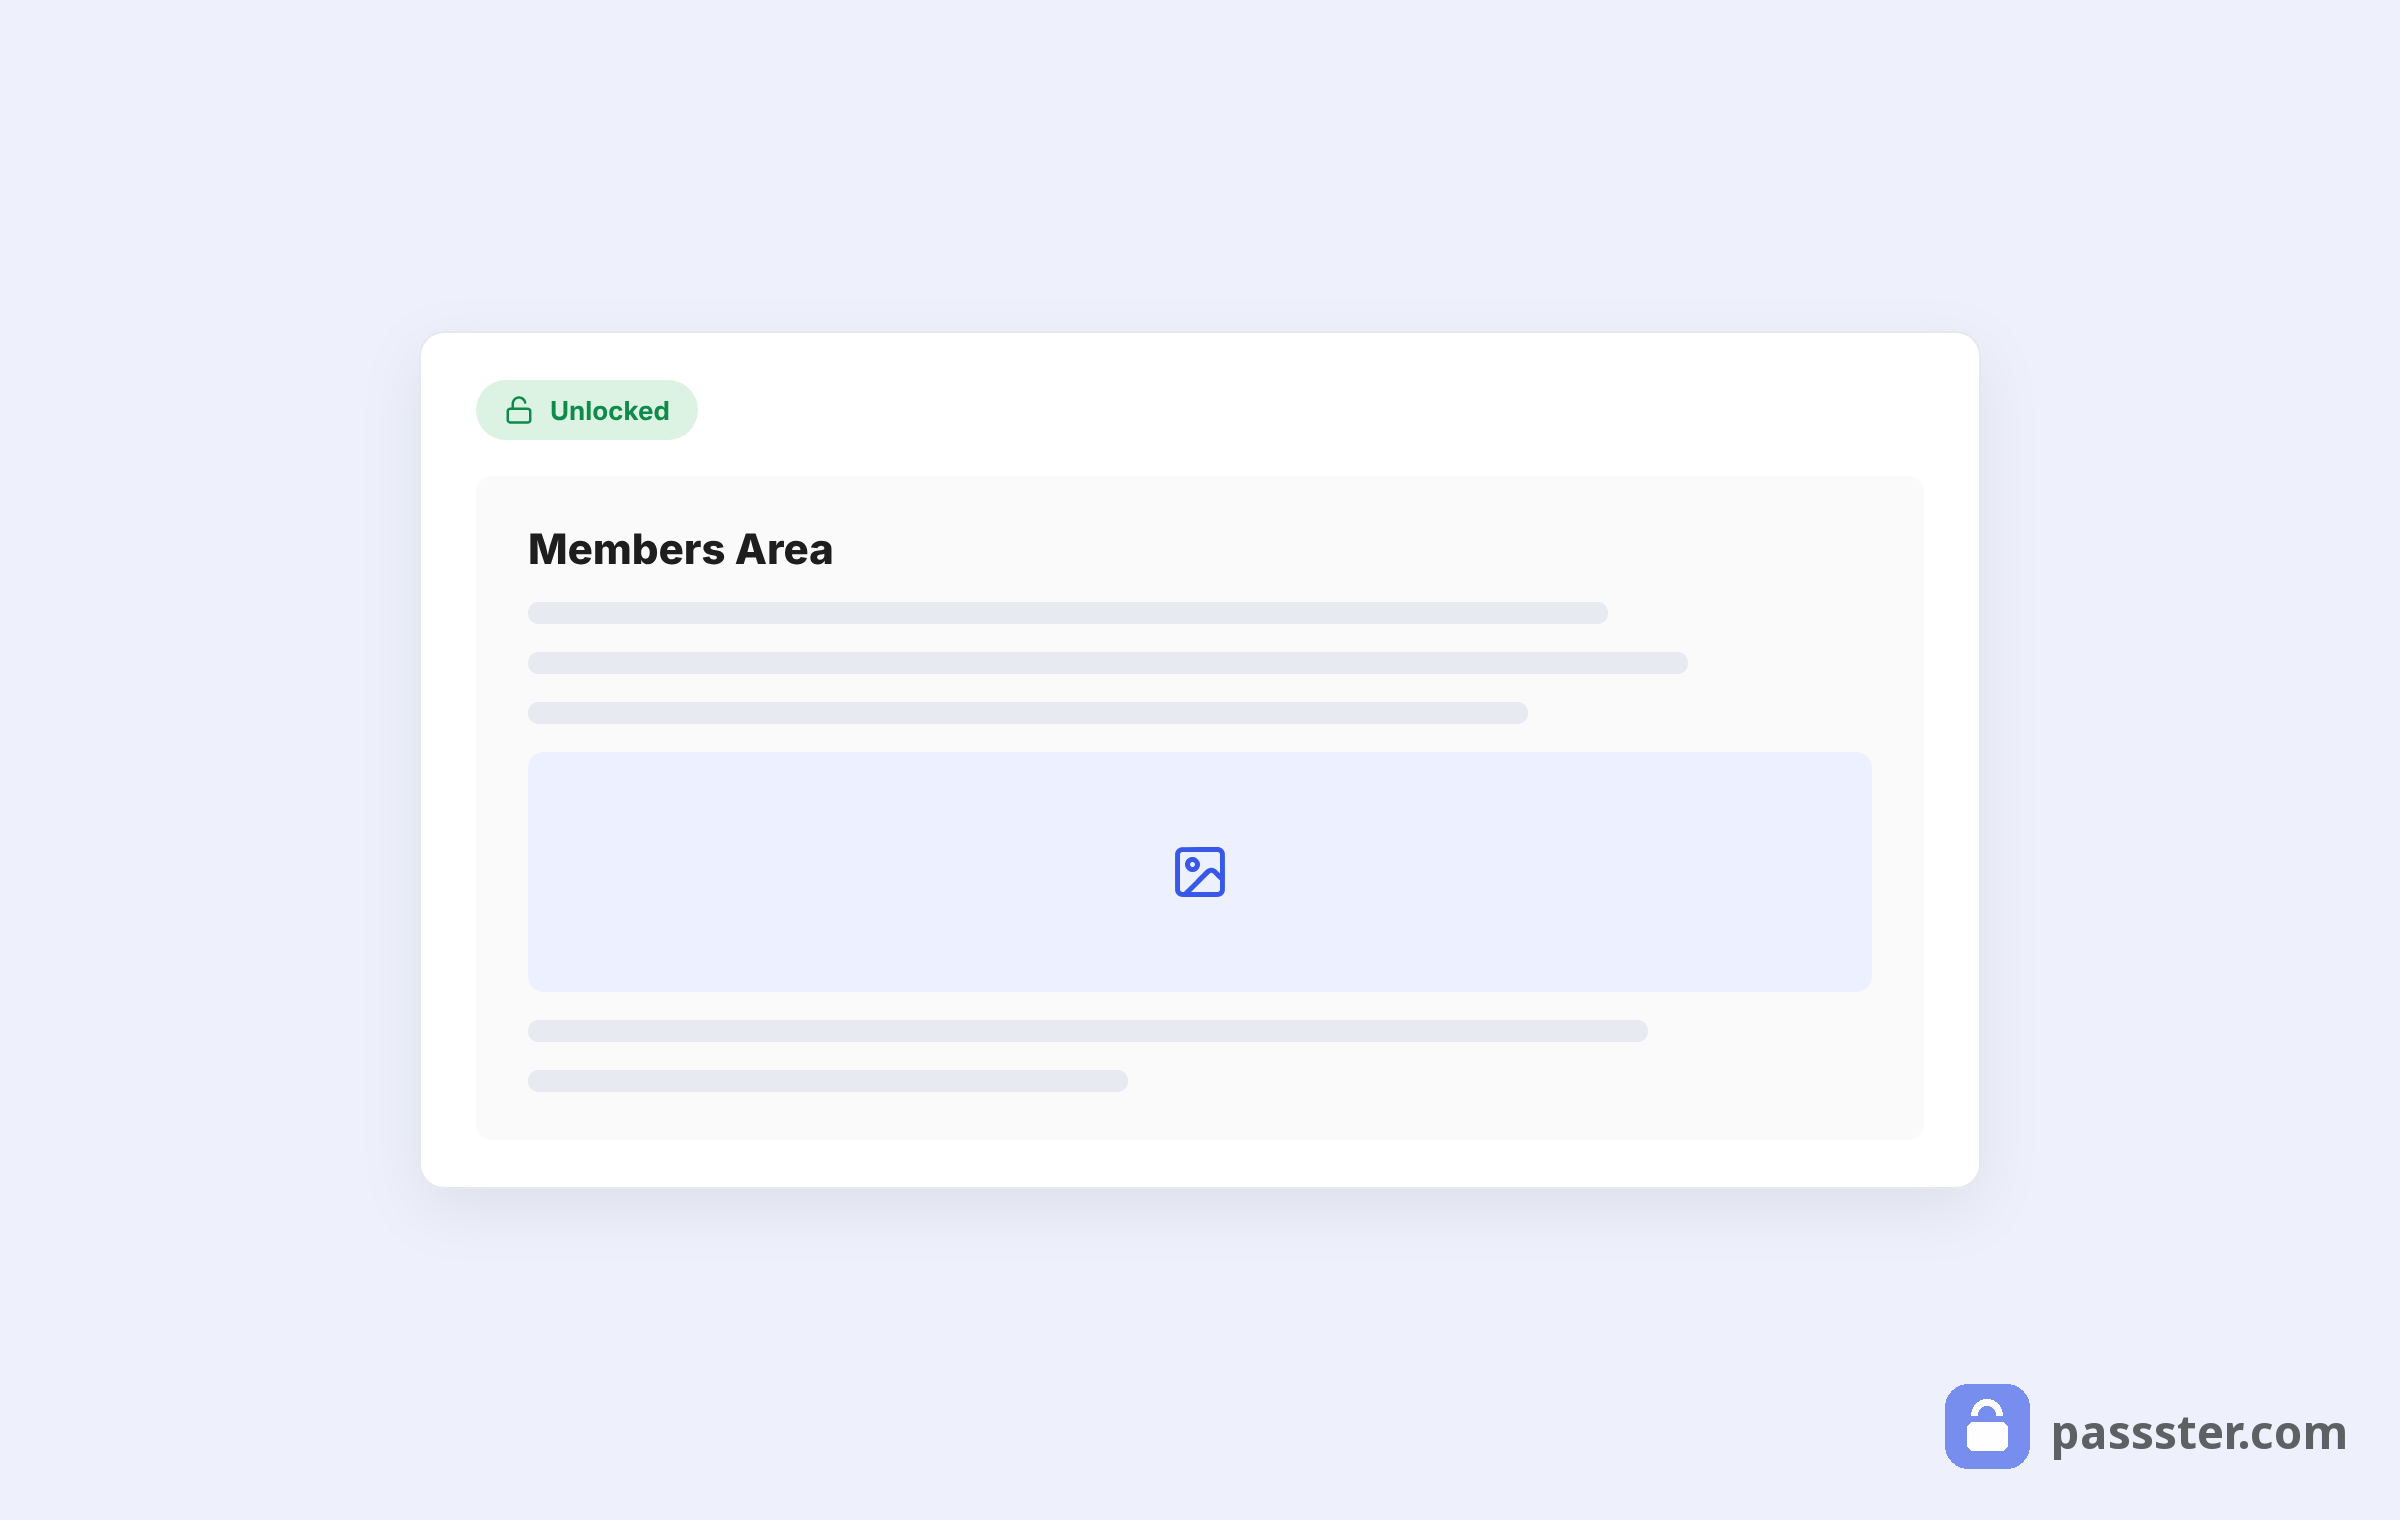
After entering the correct password, they’ll see the full event page and can register normally.
From there, getting the password to your attendees is straightforward. A few common approaches:
- WooCommerce order confirmation: add the password to the order confirmation email body so buyers receive it immediately after checkout.
- Ticket confirmation email: if you use a ticketing plugin like FooEvents, embed the password in the ticket email body (Product Data → Ticket Settings → Ticket email body).
- Manual invite email: for smaller events, send the password directly in an invitation or onboarding email.
Whichever method you use, send the password and the event URL together so attendees can access the page in one step.
Are password-protected event pages hidden from Google?
Google doesn’t hide password-protected pages by default. Google can still index the URL and the page title. The gated content stays out of the index because Googlebot can’t get past the password form — but the page itself can appear in search results.
That’s different from setting a page to Private in WordPress. A private page sends a noindex signal automatically (wpbeginner.com, 2025), so Google won’t list it at all. A password-protected page stays indexable; only the content behind the gate stays out of view.
In practice, that means:
- Discoverable but gated: if you want the event to appear in search results but require a password to see the details, a password-protected page is the right setting.
- Fully invisible: if you want the event hidden from search entirely, set it to Private or add a noindex tag via your SEO plugin (Yoast, Rank Math, etc.).
Passster’s gate doesn’t change the page’s indexing status. Use your SEO plugin’s visibility settings if you need the page de-indexed.
For site navigation, event pages protected with Passster remain in your menus and event archives unless you exclude them manually. If you need to hide the page from navigation too, remove it from your menus in Appearance > Menus.
Conclusion
Password protecting event pages keeps unauthorized visitors out and removes the spam registration problem in one step. WordPress’s built-in password option is a start, but it swaps your entire page for a password form — no partial protection, no multiple passwords, no user-role control.
Instead, Passster fills those gaps. You can protect a full event page or just the registration section, restrict by user role, and — with the Pro version — issue unique per-attendee passwords. You can revoke each password individually without disrupting everyone else.
The setup takes four steps: install Passster, build your event page, configure the protection settings, and publish. Then get the password to your attendees via ticket email, order confirmation, or a direct invite.
Frequently Asked Questions
The Events Calendar creates event pages as standard WordPress post types. Install Passster, open your event in the WordPress editor, and scroll to the Passster (Page Protection) panel. Activate protection, choose Password as the protection type, and enter your password. The same process works for any event plugin that uses standard WordPress post types, including WP Events Manager.
Passster does not automatically remove a password-protected event from your event archive or site navigation. To hide it from event listings, use your event plugin’s visibility settings or exclude the page from your menus in Appearance > Menus. If you want the event removed from search results entirely, set it to Private in WordPress or add a noindex tag via your SEO plugin.
Yes — WordPress password-protected pages remain indexable. Google can crawl the URL and page title, but Googlebot cannot access the content behind the password form, so that content stays out of the index. If you want the page de-indexed, set it to Private or add a noindex tag via Yoast or Rank Math.
A Private page in WordPress is visible only to logged-in editors and administrators. It also sends a noindex signal, so Google won’t list it at all. A Password Protected page is publicly accessible — visitors just need to enter a password. Google can still index the URL and title of a password-protected page; only the gated content stays out of view.
The best method depends on your checkout setup. If you sell tickets through WooCommerce, add the password to the order confirmation email body. If you use FooEvents, embed the password in the ticket email body under Product Data > Ticket Settings > Ticket email body (help.fooevents.com, 2025). For invitation-only events, send the password and event URL together in a direct email or calendar invite.
Yes — with Passster Pro. Create a password list and assign one unique password per attendee. Each password is independently revocable: if an attendee requests a refund or needs their access removed, you delete their password from the list without affecting anyone else. This setup suits paid events, conferences, or any event where you need individual access accountability.