A password-protected portfolio in WordPress gives you something a public site can’t: control over exactly who sees your work, for how long, and whether you can revoke access without rebuilding anything.
That level of control matters more than most people expect. Photographers, designers, developers, and agencies regularly work on projects under NDA or client agreements that prohibit public sharing. A password-protected portfolio lets you present that work to the specific people who need to see it — without exposing it to the rest of the internet. Freelancers and solopreneurs benefit too: you can share tailored portfolios with different recruiters, agencies, or clients without creating separate sites.
Should you password protect your entire portfolio? Not necessarily. The best approach for most people is a hybrid: keep a curated selection of public work for credibility and search discoverability, then put sensitive, NDA-covered, or client-specific projects behind a password. Cold prospects can get a sense of your style, while trusted contacts get the full picture. All sorts of creators benefit from this pattern — photographers, web designers, developers, bloggers, authors, and anyone offering digital services.
This guide walks through the full process: building a portfolio in WordPress, protecting it with Passster, and sharing access with clients in a way that feels professional rather than clunky.
What to look for in a WordPress portfolio protection solution
WordPress’s built-in password protection has one fundamental limitation: a single password per page, with no per-client tracking and no way to revoke access for one person without changing it for everyone.
Hand that password to twenty prospective clients and then decide you don’t want one of them to see your work anymore. The only solution is to change the password and contact the other nineteen with a new one. That’s not a workflow; it’s a headache.
A proper portfolio protection solution needs a few things:
- Strong access control: protection that’s genuinely hard to bypass, not a simple deterrent.
- Multiple access methods: passwords, password lists, user roles, or individual usernames. Granting access by username means you can remove one person without touching anyone else’s credentials.
- Flexible scope: protect your entire site, specific pages, or just a section of a page. That last option is useful when you want to show project thumbnails publicly but keep the full case-study details locked.
- User-friendly management: you should be able to update passwords, track usage, and change settings yourself without needing a developer every time something changes.
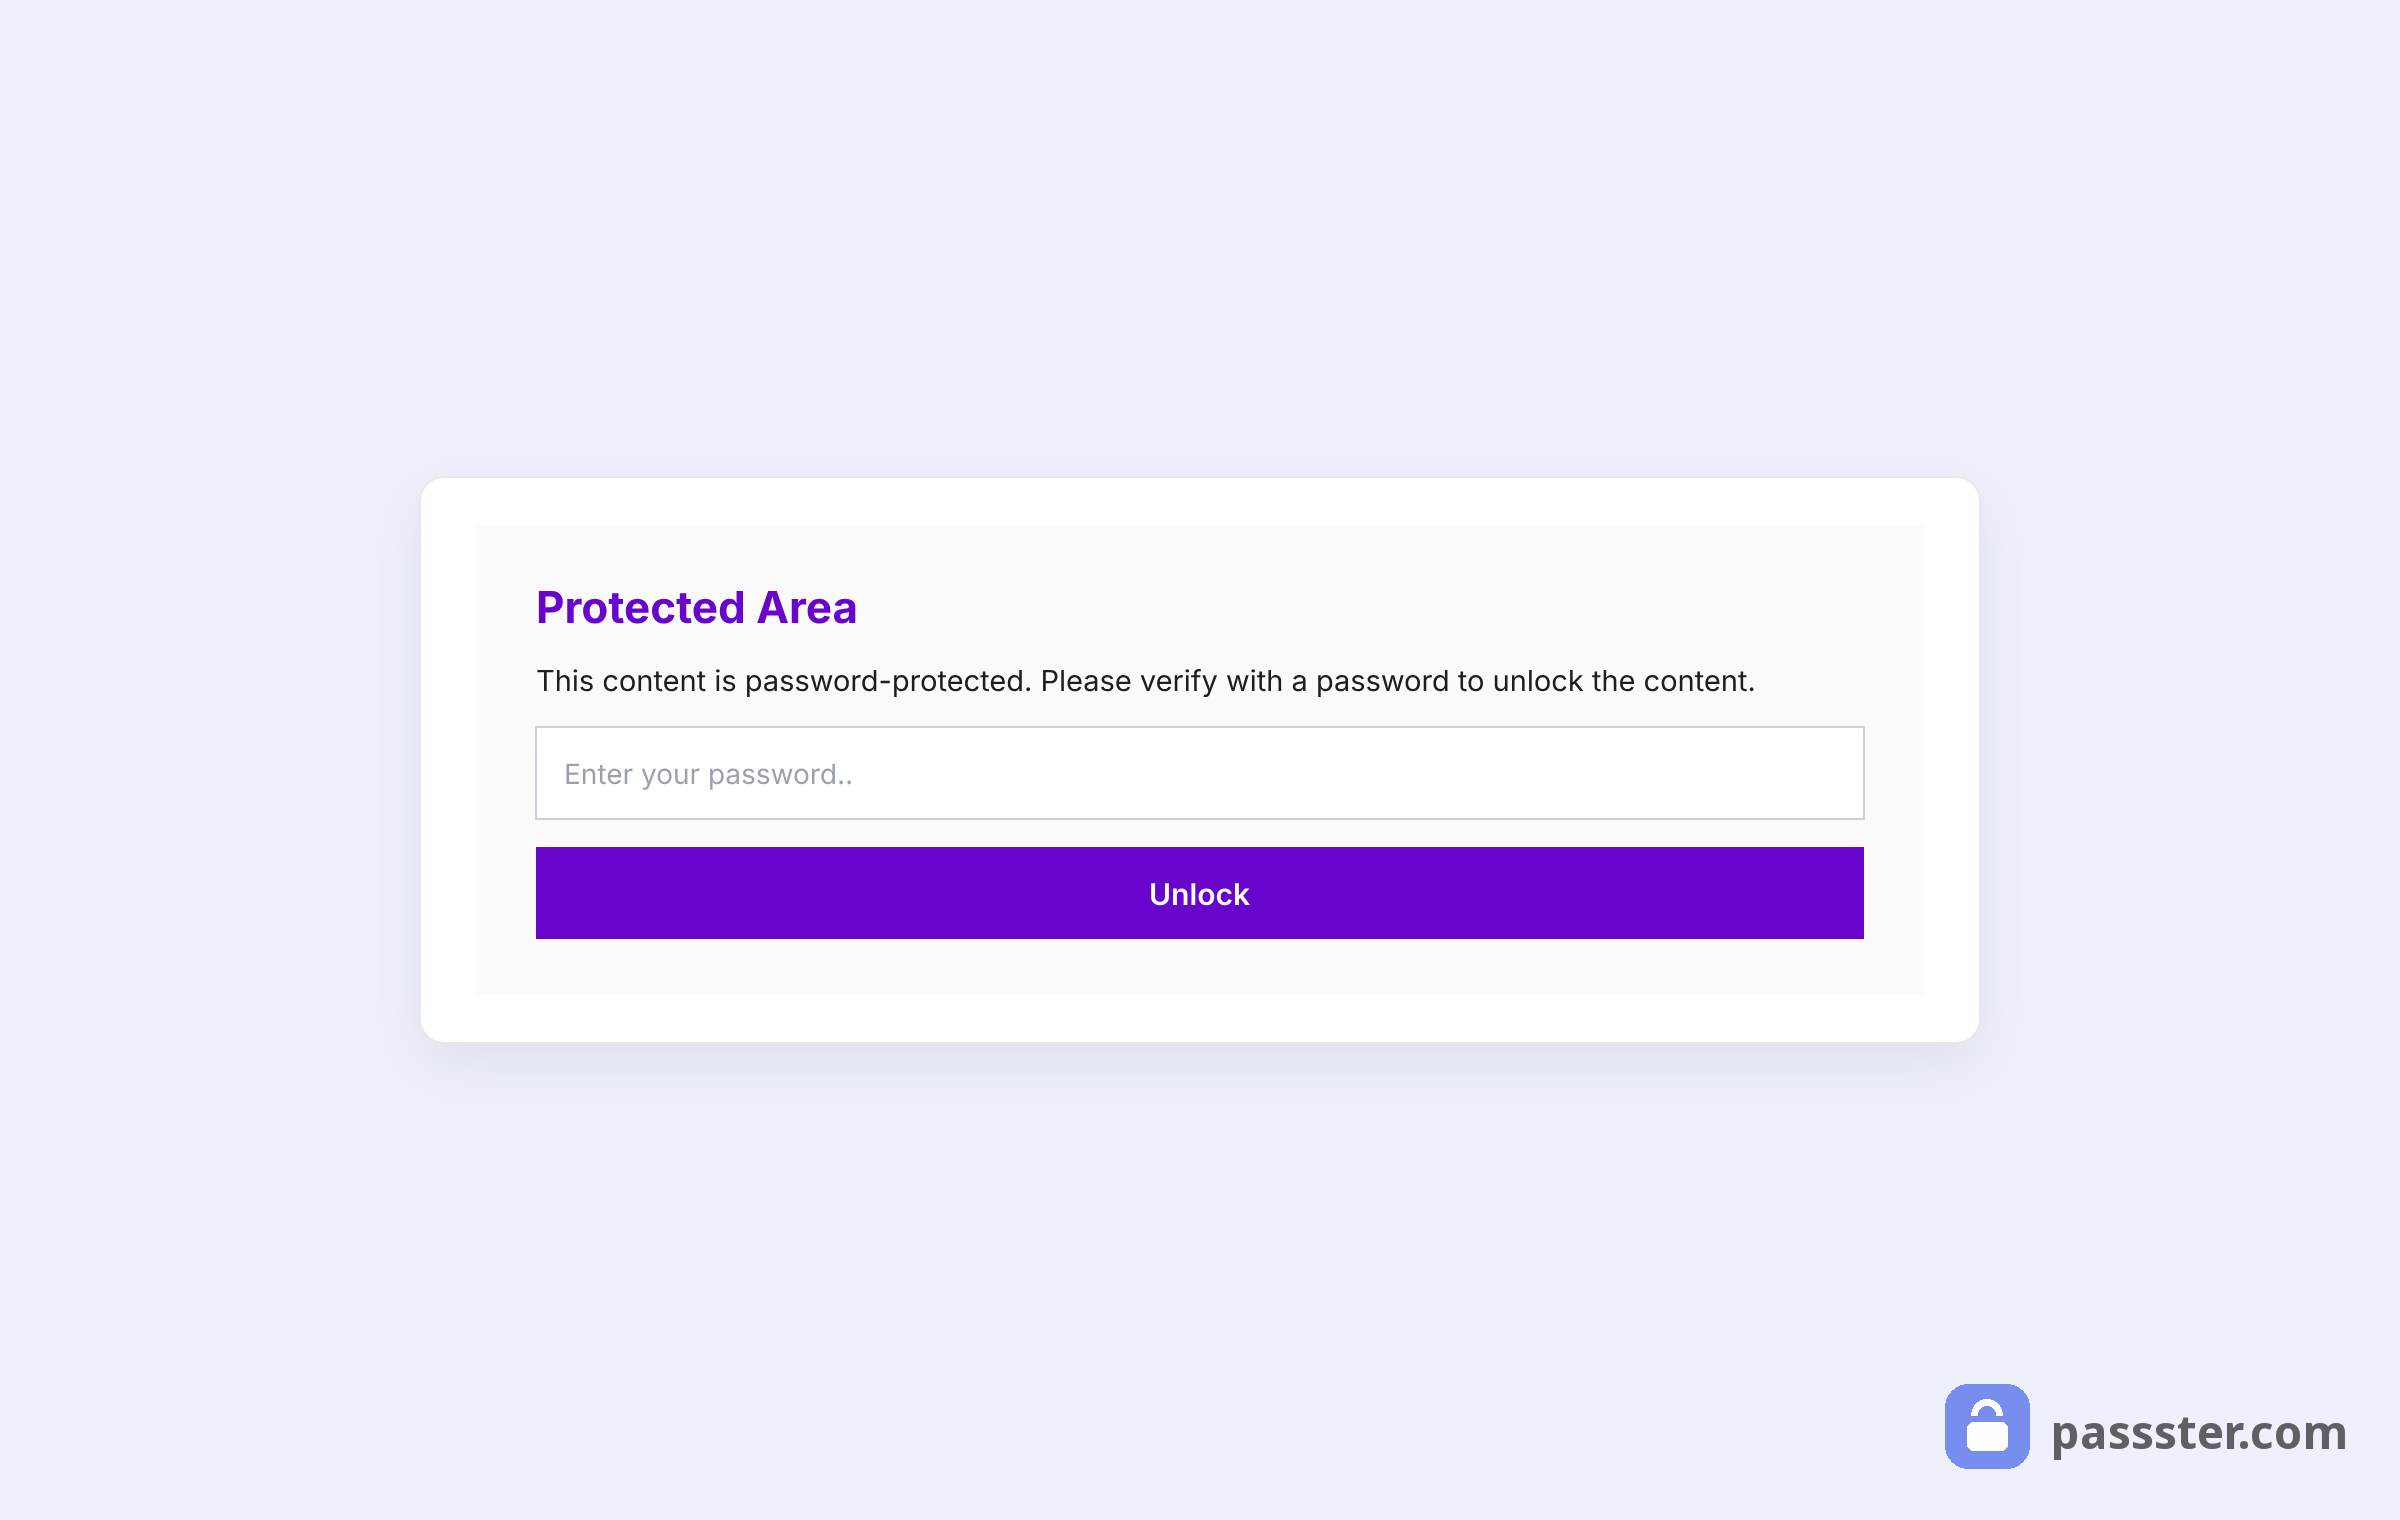
- Brandable entry form: the password entry page is often a client’s first impression of your work. Matching it to your visual identity (logo, colors, instructional copy) signals that you take the details seriously.
- Theme and plugin compatibility: the protection layer should work alongside your existing setup without breaking page builders or custom post types.
- Multiple portfolios with separate access: if you need different portfolios for different client types, audiences, or project categories, you should be able to protect them independently with different passwords and different expiration settings.
Passster covers them all. The steps below walk through the complete setup — from building your portfolio to sharing access with clients.
How to create a password protected portfolio in WordPress
Creating a password-protected portfolio in WordPress takes seven steps: four to build the portfolio structure and three to apply Passster’s protection layer. If you already have a portfolio set up in WordPress, skip ahead to Step 5: Install Passster.
Step 1: Choose a WordPress portfolio theme
Start by picking a theme designed for portfolio display. The WordPress Theme Directory has free options with a Portfolio category filter, which makes it easy to narrow down candidates quickly.
A few solid starting points:
- Pixgraphy: built for photographers, with grid-based layouts suited to image-heavy work
- Portfolio Web: works well for freelance service providers of all kinds
- Talon: designed for web designers and developers; includes a Projects custom post type out of the box
Alternatively, a premium portfolio theme or a page builder like Elementor or Visual Composer gives you more layout control. Page builders come with portfolio and gallery widgets that make it easy to arrange items exactly how you want them, without custom code.
Step 2: Upload your portfolio items
With your theme installed, the next step is getting your work into WordPress.
If you’re a photographer, designer, or developer, optimize your images, illustrations, or screenshots and upload them to the WordPress Media Library. From there you can pull them directly into your portfolio pages.
If you’re a writer, blogger, or author, you’ll need to upload documents instead. The Filr plugin is built for exactly this — it lets you upload, protect, and share files directly through your WordPress site. You can also configure documents to expire by download count or by date, which gives you automatic access control for writing samples or proposals.
For themes with a Projects custom post type (like Talon), add portfolio items as individual Project entries from the WordPress admin, then pull them into your page with the theme’s portfolio widget.
Step 3: Create a portfolio page
Once your items are uploaded, create a page to display them. Go to Pages > Add New, give the page a title, and add your portfolio items using your theme’s portfolio block or page builder widget.
Beyond the grid of work, consider adding a short introduction — who you are, what kinds of projects you take on — and a link to your contact form. That way a prospective client can reach out without leaving the page. If you’re protecting this page for a specific client, you can also tailor the copy to that audience.
Step 4: Add your portfolio page to the navigation menu
Adding your portfolio to the site’s navigation gives visitors a clear path to it. Keep in mind that once the page is protected, only people with the correct password (or access credentials) will see its content — everyone else hits the entry form.
From the WordPress admin, go to Appearance > Menus. Find your portfolio page under the Pages panel in the Add menu items section, click Add to Menu, and drag it into the right position. Click Save Menu when done.
Step 5: Install and activate Passster
With the portfolio built and in your site’s navigation, it’s time to add the protection layer. Passster is a WordPress password-protection plugin that covers what WordPress’s built-in option can’t — multiple passwords, password lists with automatic generation and expiration dates, user-role and username restrictions, and usage tracking.
Download the plugin from the official Passster website. Then install it in WordPress via Plugins > Add New > Upload Plugin, select the downloaded file, and activate it.
For this guide, we’ll protect an entire portfolio site using Passster’s global protection. If you’d rather protect individual pages separately — for example, to have multiple distinct portfolios with different passwords — see the private page guide for per-page setup.
Step 6: Enable global protection for your portfolio
If you’re running a portfolio-only site with no pages that should stay public (other than maybe a homepage or contact page), Passster’s global protection is the most efficient setup. It puts a single password gate in front of everything, with the option to exclude specific pages.
First, create a page to host the password entry form:
- Go to Pages > Add New and give the page a title (for example, “Portfolio Access”)
- Click Publish
Then configure global protection:
- Go to Passster > Settings > Global Protection
- Toggle Activate Global Protection on
- Select the page you just created as your protection page
- In the exclusions list, add any pages that should remain publicly accessible — your homepage, contact page, or any public-facing content
- Click Save Changes
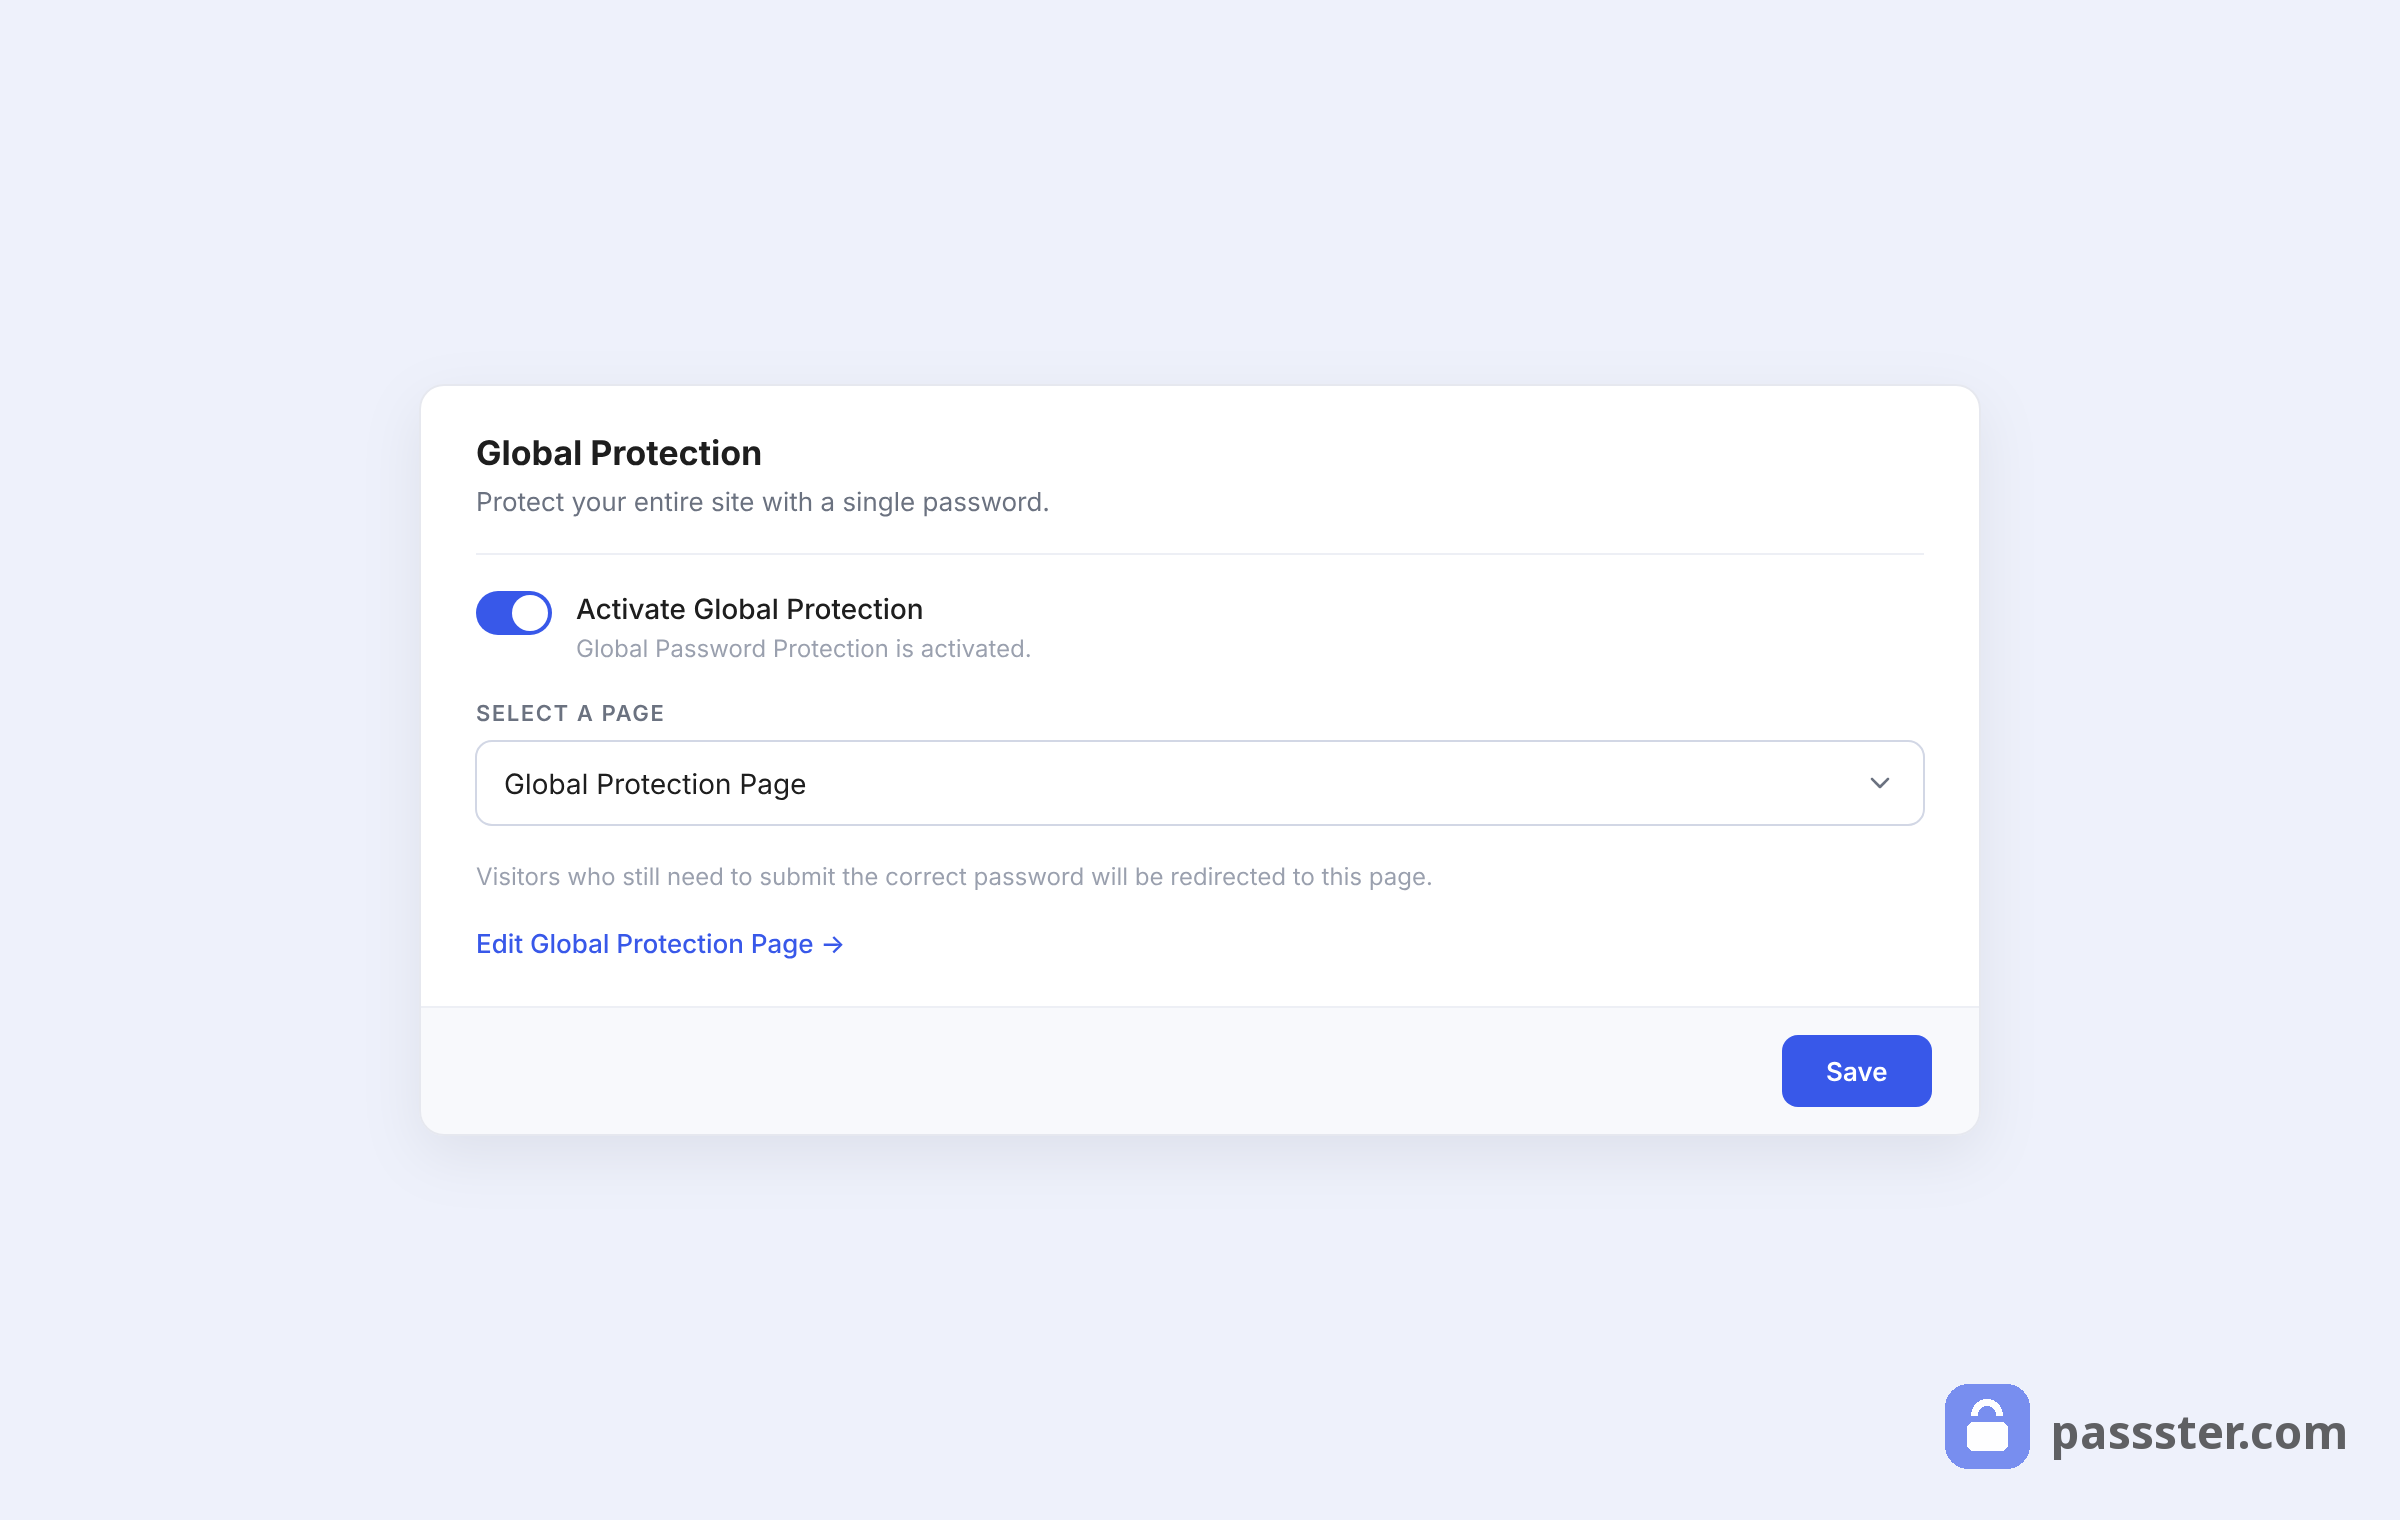
The exclusion feature is worth noting: you can give visitors access to your homepage and contact form without a password, so cold traffic can still find and reach you, while the portfolio itself stays gated.
Step 7: Set your protection type
Now go back to the portfolio page: Pages > All Pages, click Edit, and scroll to the Passster section in the right sidebar.
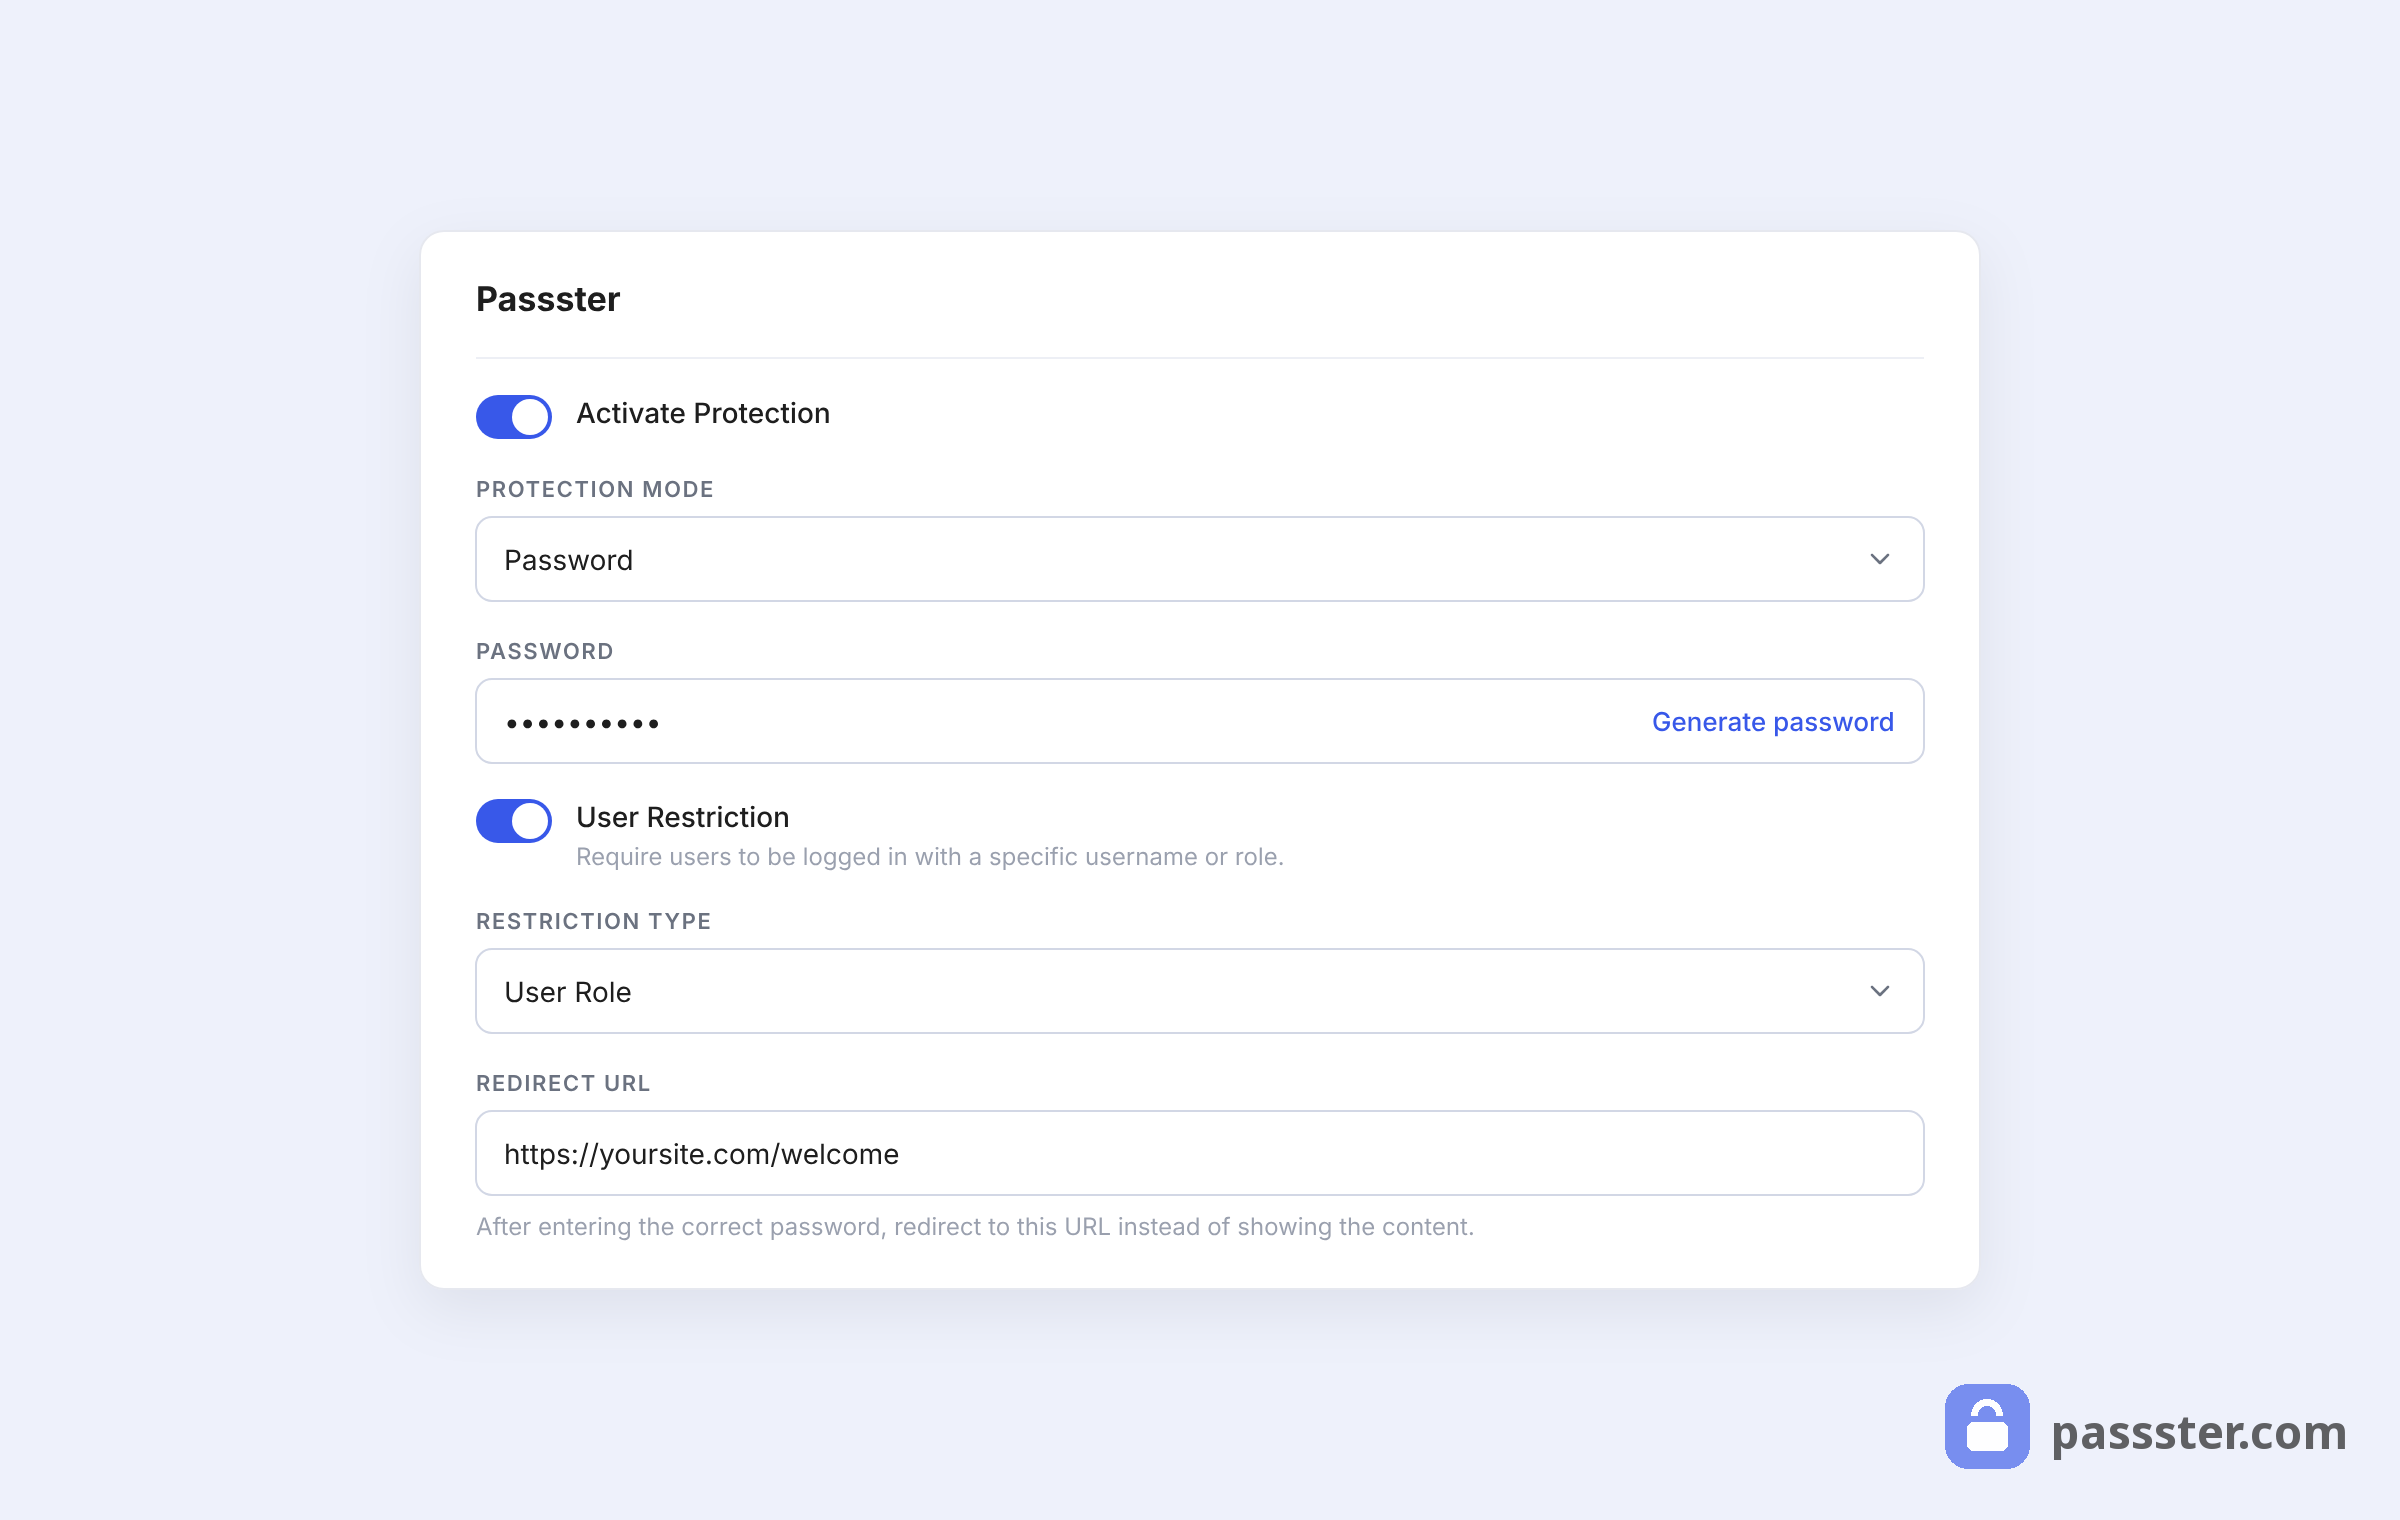
- Toggle Activate Protection on
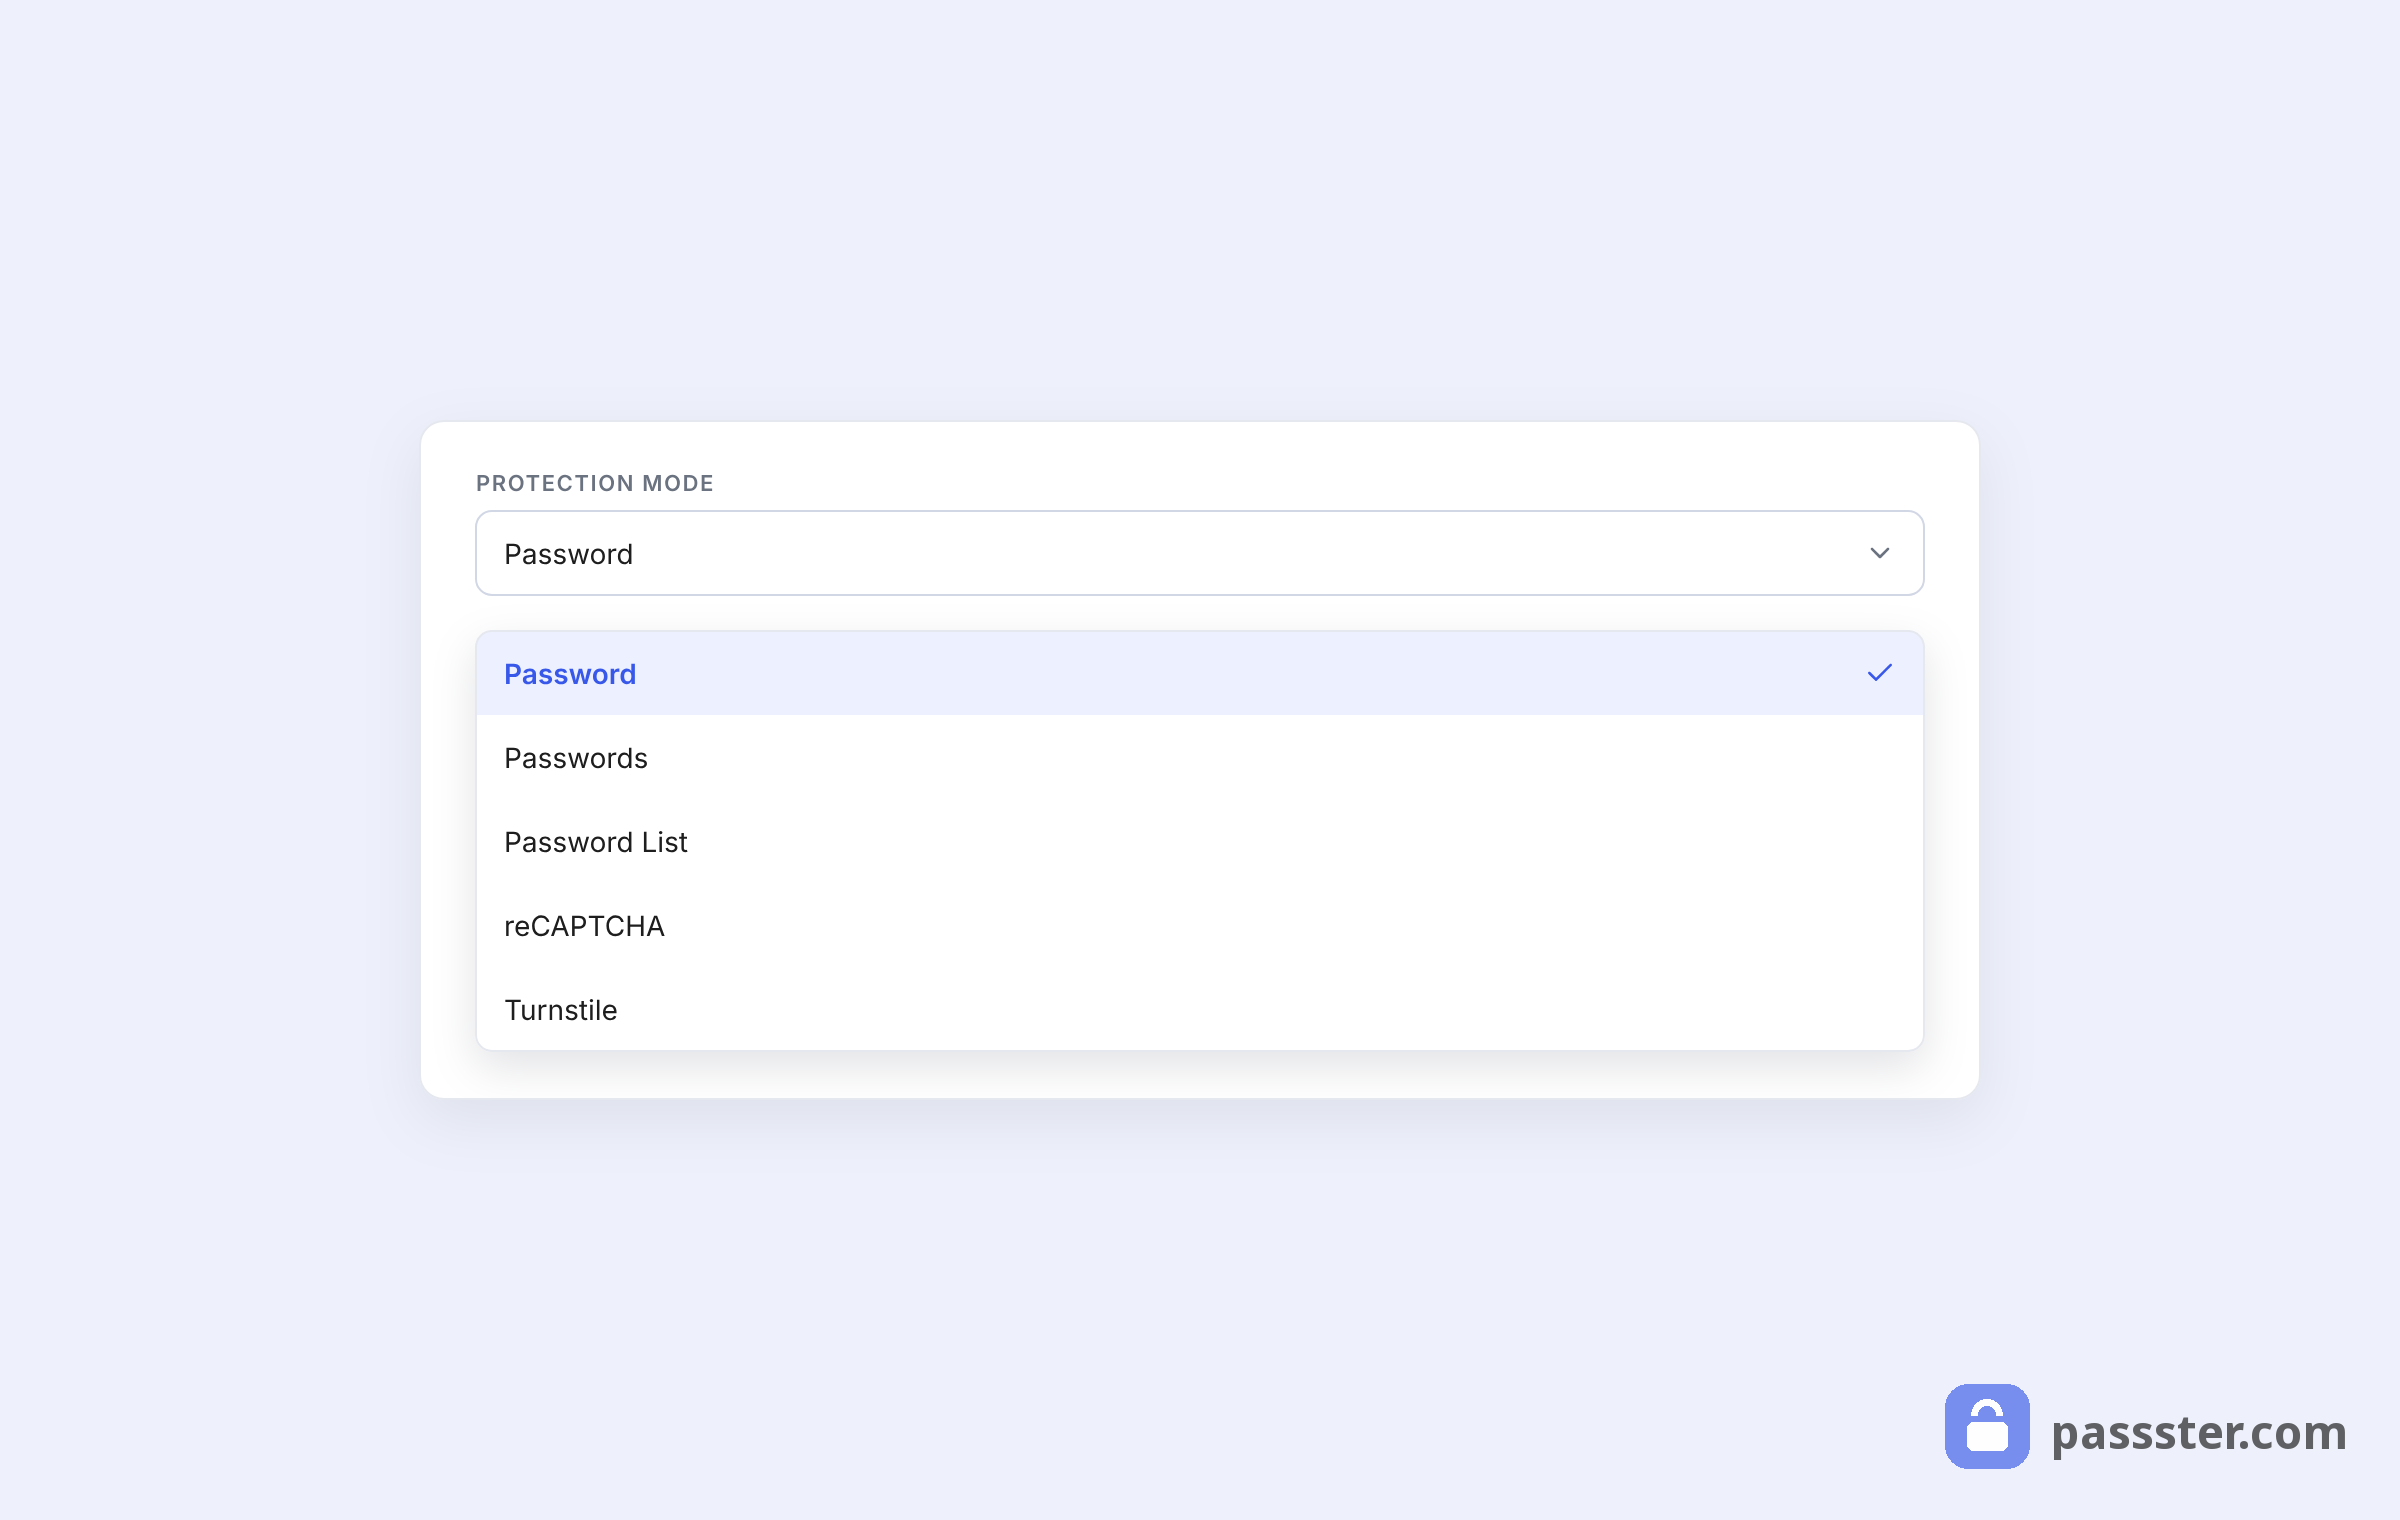
- Choose your Protection Type from the dropdown: Password (a single shared password — good for quick sharing when you’re not worried about revoking access later), Passwords (multiple passwords as a comma-separated list — give each client their own, so revoking one doesn’t affect the others), Password List (a pre-created list; Passster can auto-generate passwords and assign expiration dates to each one — ideal for time-limited access, like a 7-day client review window or a one-time pitch meeting), or Google reCAPTCHA (blocks bots without requiring a password from human visitors).
- Under User Restriction, restrict access by WordPress username or user role. This is useful if clients have accounts on your site — grant one person access, and remove it just as easily by editing their username from the field.
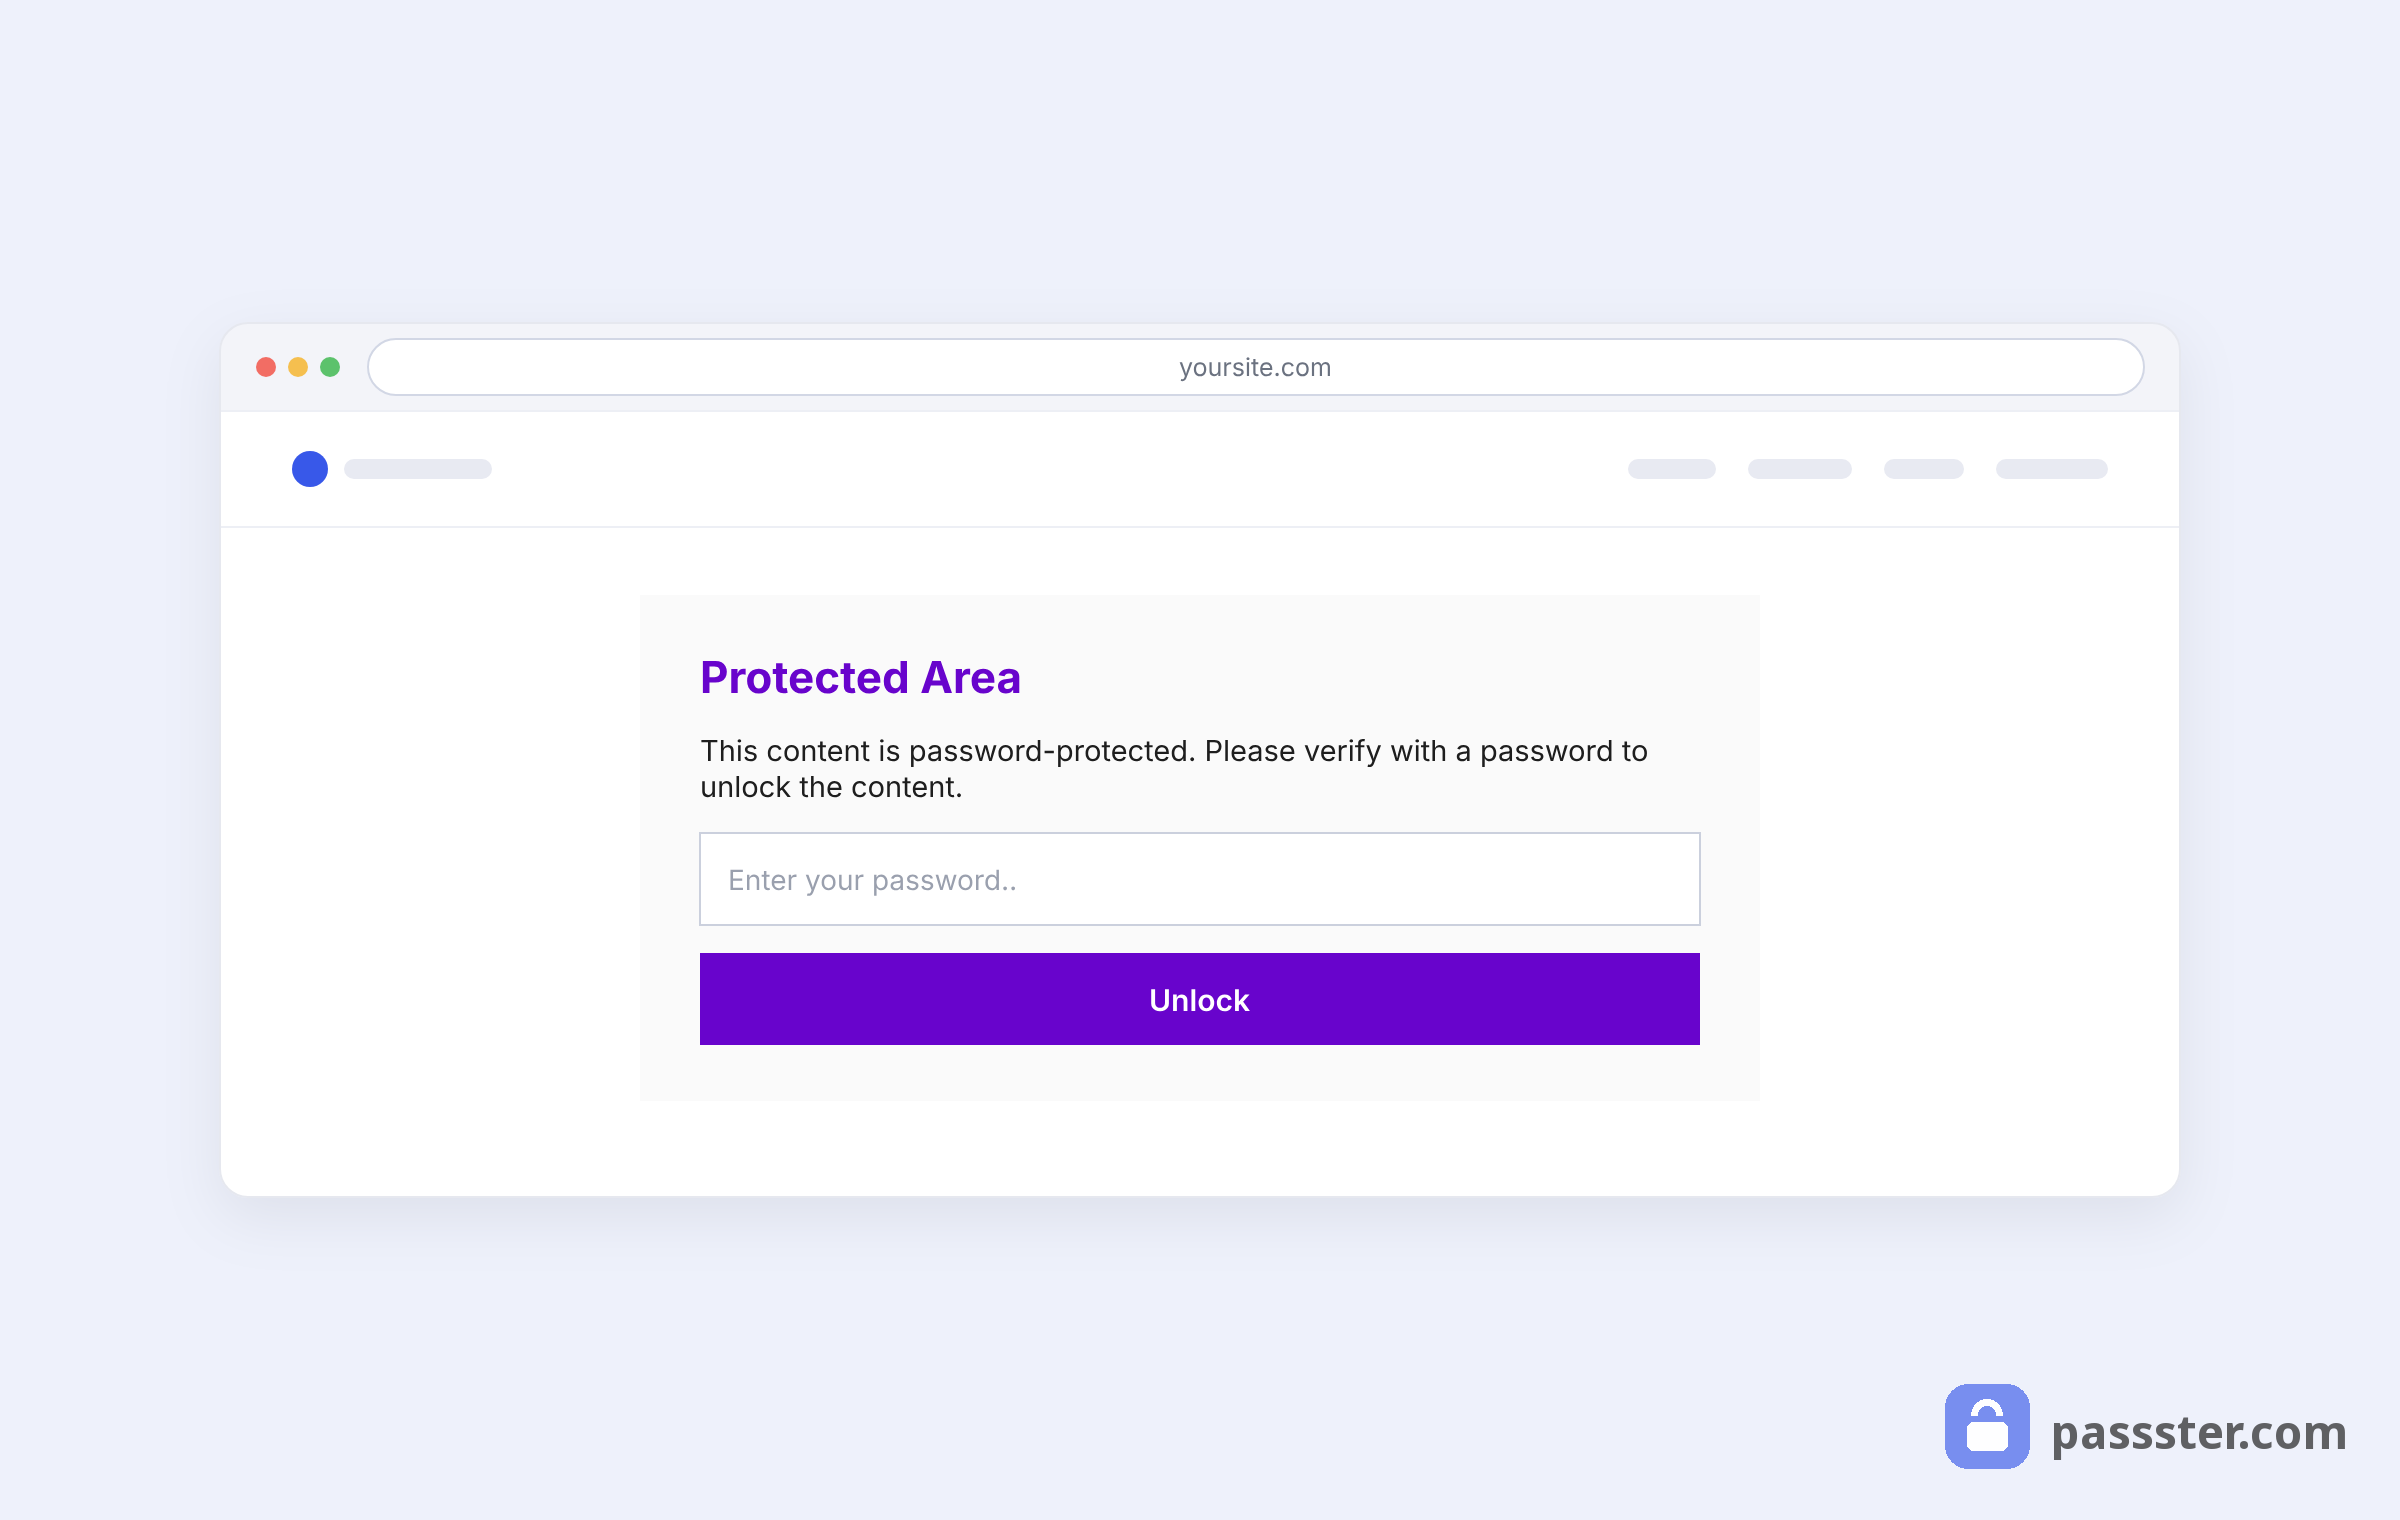
- In Overwrite Defaults, customize the entry form — change the heading, instruction text, or button label to match your brand. Or leave it and apply a sitewide style in Passster’s main settings.
- In Misc Settings, set a Redirection URL so visitors land directly on your portfolio after entering the correct password, rather than seeing a blank confirmation screen.
- Click Update
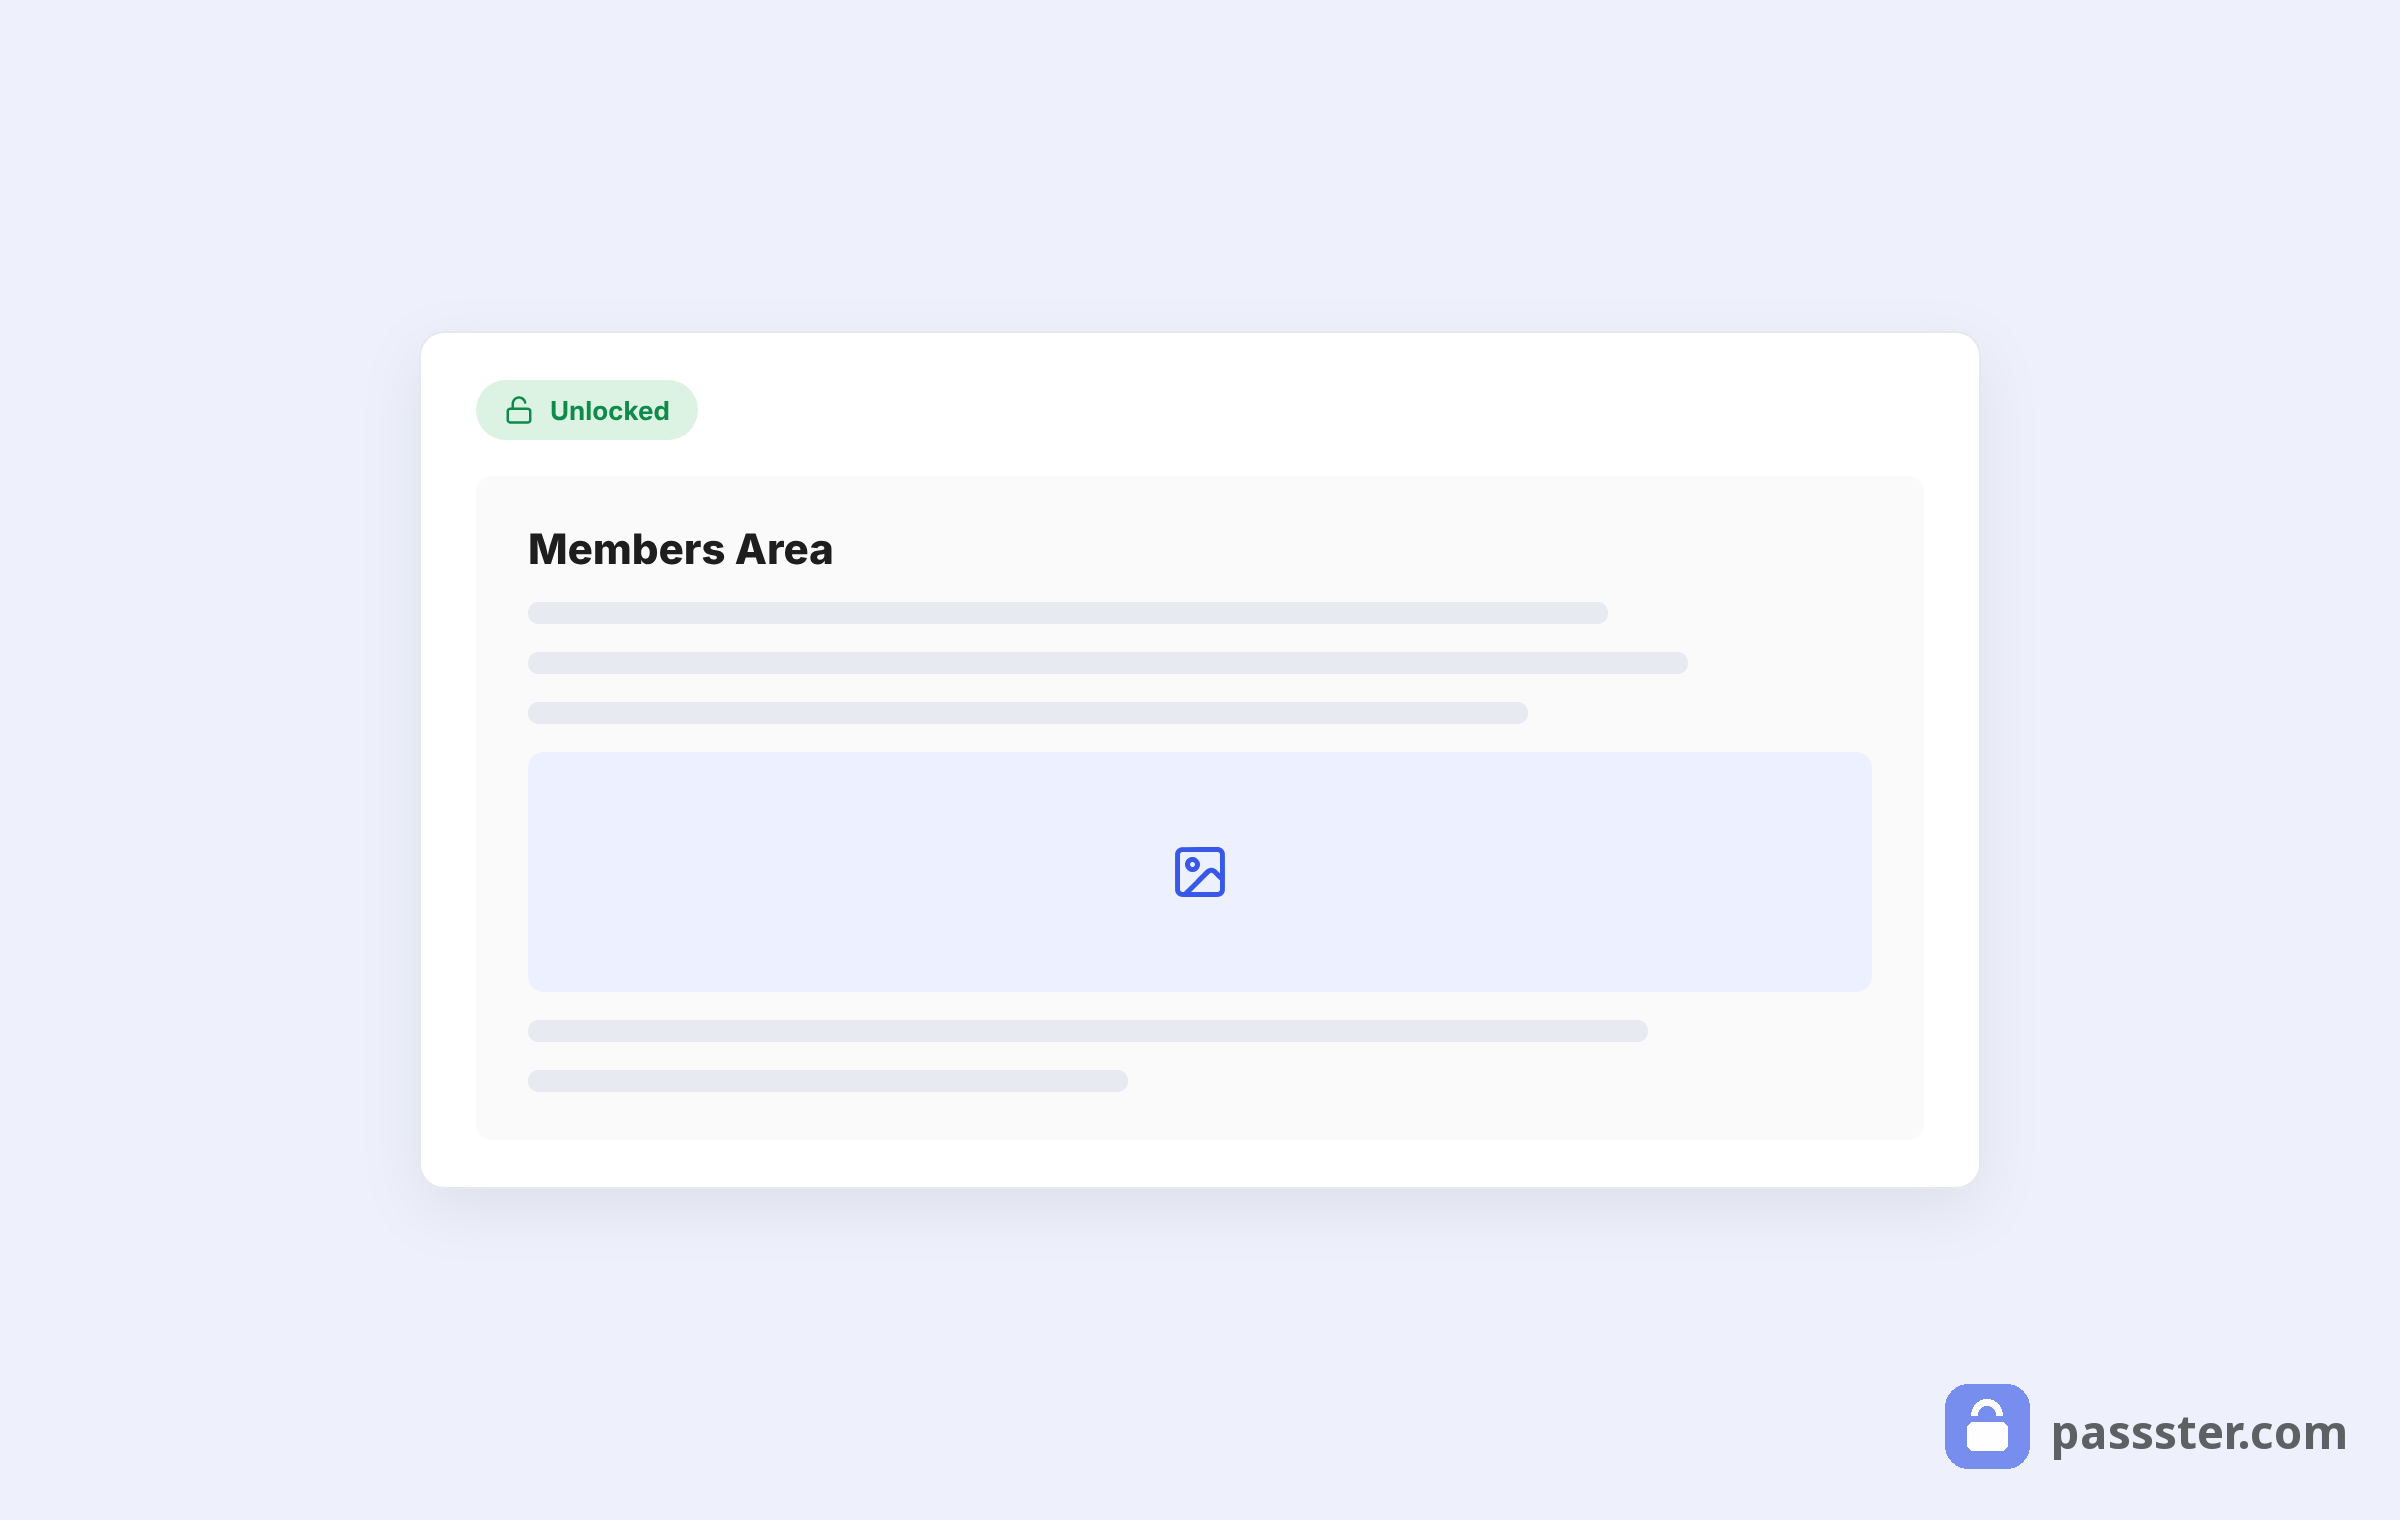
That’s the protection set up. Passster automatically tracks password usage in Passster > Statistics, so you can see which passwords have been used and when.
Protecting part of a page instead of the whole thing? Passster supports shortcode-based content protection, which lets you lock a specific block of content while leaving the rest of the page public. A practical use case: show project thumbnails and a brief description to everyone, then put the full case-study details — process, results, client — behind a password. That’s the hybrid approach in action at the page level.
How to share portfolio access with clients
Passster gives you three ways to share portfolio access with clients: a shared password by email, a direct access link that bypasses the password form, or username-based access tied to a WordPress account.
Option 1: Share a password by email. The simplest approach — send the URL and password in the same message. Works for most situations. Just keep in mind that anyone with access to that email thread also has the password.
Option 2: Send a direct access link. Passster supports direct access links: a URL that bypasses the password entry form entirely. The client clicks the link and lands straight on your portfolio with no form to fill in. This is the cleanest experience for cold outreach or first-contact situations where friction works against you. You can share a personalized link for each client, and revoke it without affecting anyone else.
Option 3: Restrict by username. If a client has a WordPress user account on your site, you can grant access exclusively to their username. Go to the User Restriction section in the Passster sidebar, set the type to Username, and enter their login. To remove their access, delete their username from the field and update the page. No password change required, and no other client is affected.
Revoking access depends on which protection type you used:
- Single password: change the password and resend it to anyone who still needs access.
- Multiple passwords: remove the specific client’s password from the comma-separated list.
- Password list with expiration: access expires automatically when the date or usage limit is reached. No manual action needed.
Is a password-protected portfolio page indexed by Google?
A portfolio page protected with Passster can still be indexed by Google. WordPress’s default password protection blocks search engines from crawling content, which means Google can’t index your protected pages. Passster works differently: search engines can still read the content, while human visitors see the password entry form instead. As a result, your portfolio pages remain indexable and can rank for relevant searches even while they’re locked behind a password.
This is an important distinction if you’re building the hybrid public/private structure described earlier. The protected pages still contribute to your site’s search presence, which means you’re not sacrificing SEO for access control.
Wrapping up
A password-protected portfolio in WordPress gives you something a public site doesn’t: the ability to share exactly the right work with exactly the right people.
The setup is straightforward with Passster. A single plugin handles global site protection, per-page passwords, user restrictions, direct access links, and usage statistics. The result is a professional client experience where the entry form reflects your brand and clients get in without friction.
For most freelancers and agencies, the best configuration is a hybrid: some public work to stay visible and credible, and a private section — protected with Passster — for NDA projects, sensitive case studies, or tailored pitches. You stay discoverable, your clients get a polished experience, and you’re always in control of who sees what.
Frequently Asked Questions
It depends on your goals. Password protection makes sense when you’re working on NDA-covered projects, sending tailored proposals to specific clients, or sharing sensitive case studies that aren’t meant for public viewing. If discoverability is a priority, keep some work public. The best approach for most freelancers is a hybrid: a public section for search presence and cold outreach, and a private portfolio in WordPress — protected with Passster — for sensitive or client-specific projects.
Yes. With Passster’s global protection, you define an exclusions list — pages that stay accessible to everyone without a password. Leave your public work samples, homepage, and contact page ungated; protect everything else. The result is a hybrid site where cold visitors can get a sense of your work while trusted clients get full access to the private section with a password or direct link.
The simplest method is sending the portfolio URL and password together in an email. For a more professional experience, use Passster’s direct access links — a URL that opens your portfolio without requiring the recipient to enter a password. You can generate a unique link per client and revoke any single link without affecting others. This is the cleaner option for first-contact outreach or formal client pitches.
It depends on how you granted access. If you used separate passwords per client (the “Passwords” protection type in Passster), remove their specific password from the comma-separated list and save. If you used username restriction, delete their username from the User Restriction field. If you used a password list with an expiration date, access ends automatically when the date or usage limit is reached — no manual action needed.
With Passster, yes. WordPress’s default password protection sends a signal that blocks search engine crawlers, so those pages cannot be indexed. Passster works differently: it displays the password form to human visitors while allowing search engines to read the page content normally. Your protected portfolio pages remain indexable and can appear in search results even while the content is locked behind a password.
A single shared password goes to all clients who need access to a page. A password list — which Passster can auto-generate — assigns a distinct password to each entry, with optional expiration dates and usage limits. Password lists are the better choice when you need time-limited access (for example, a 7-day client review window) or when you want to revoke one client’s access independently by removing just their entry from the list.
Yes. Passster supports shortcode-based content protection, which lets you lock a specific section of a page while the rest stays public. A practical use case: display project thumbnails and a brief description to everyone, then put the full case study — process, outcomes, client details — behind a password. This is the hybrid approach applied at the page level, and it works alongside Passster’s site-wide or per-page protection.