You need to restrict some content to paying members or subscribers. The obvious answer seems to be a membership plugin — but most membership plugins tackle a much bigger job than that.
If all you need is to hide a few pages or sections from the public, you can do it without a membership plugin at all. WordPress has built-in options for basic restriction. And for anything more nuanced — multiple tiers, role-based access, partial restriction — a lightweight plugin like Passster covers it without the complexity of a full membership system.
Here’s how to create members only content in WordPress, starting with what’s already available out of the box.
WordPress’s Built-in Content Restriction (And Why It Falls Short)
WordPress gives you two native ways to restrict content:
Password-protected pages. In the page settings, you set a single shared password — a feature built into WordPress since version 2.7 (December 2008, WordPress release archive) that has not gained role awareness or partial restriction in the years since. Anyone who knows it can view the page. It’s quick to set up, but the limits are real. Everyone shares one password, there are no user roles, no partial restriction, and no way to send a link that automatically unlocks the page.
Private posts. Only administrators and editors can view them. That’s fine for internal drafts but useless for giving external members access to content.
Both options fall short when you need anything beyond “one group, one password.” They don’t support:
- Multiple access tiers: different content for different member levels
- Partial restriction: showing a teaser while hiding the rest of the page
- Auto-unlock by user role: so logged-in subscribers don’t have to enter a password
- Unlock via link: so members can click straight through without typing anything
That’s the gap Passster fills. It builds on WordPress’s native password system and adds all the flexibility native protection lacks.
Choosing the Right Approach: A Quick Decision Guide
WordPress offers three content restriction options — native password protection, Passster, and a full membership plugin — and the right fit depends on how many access tiers and how much control you need.
| Your situation | Best fit |
|---|---|
| One password, one group, no tiers | WordPress native password protection |
| Multiple tiers, partial restriction, role access, or unlock links | Passster |
| Payment processing, drip content, quizzes, LMS, or 1,000+ members | Full membership plugin (MemberPress, etc.) |
Most sites wanting simple members only content gating land in the middle row.
Why Not Just Use a Full Membership Plugin?
Full membership plugins pack features most sites won’t use: drip content scheduling, quiz builders, CRM integrations, certificate generators. That’s powerful if you need it — but overkill for basic content restriction.
There’s also a practical problem: membership plugins frequently conflict with themes, page builders, and other plugins. Adding one can break things that already work.
The setup burden is real too. Members often need to create an account, subscribe to a plan, and navigate an unfamiliar user flow. That friction discourages sign-ups, especially early on. Starting simple and upgrading later is the lower-risk path.
How to Create Members Only Content in WordPress Using Passster
Passster is a lightweight password-protection plugin for WordPress with more than 10,000 active installs (WordPress.org, 2026). It lets you restrict access via a single password, multiple passwords, password lists, captcha, Google reCAPTCHA, user role restriction, or encrypted unlock links.
You’ll need a WordPress site with content you want to restrict. The free version supports a single password. For multiple passwords, password lists, user role restriction, and encrypted unlock links, you’ll need the premium version.
Step 1: Install and Activate the Passster Plugin
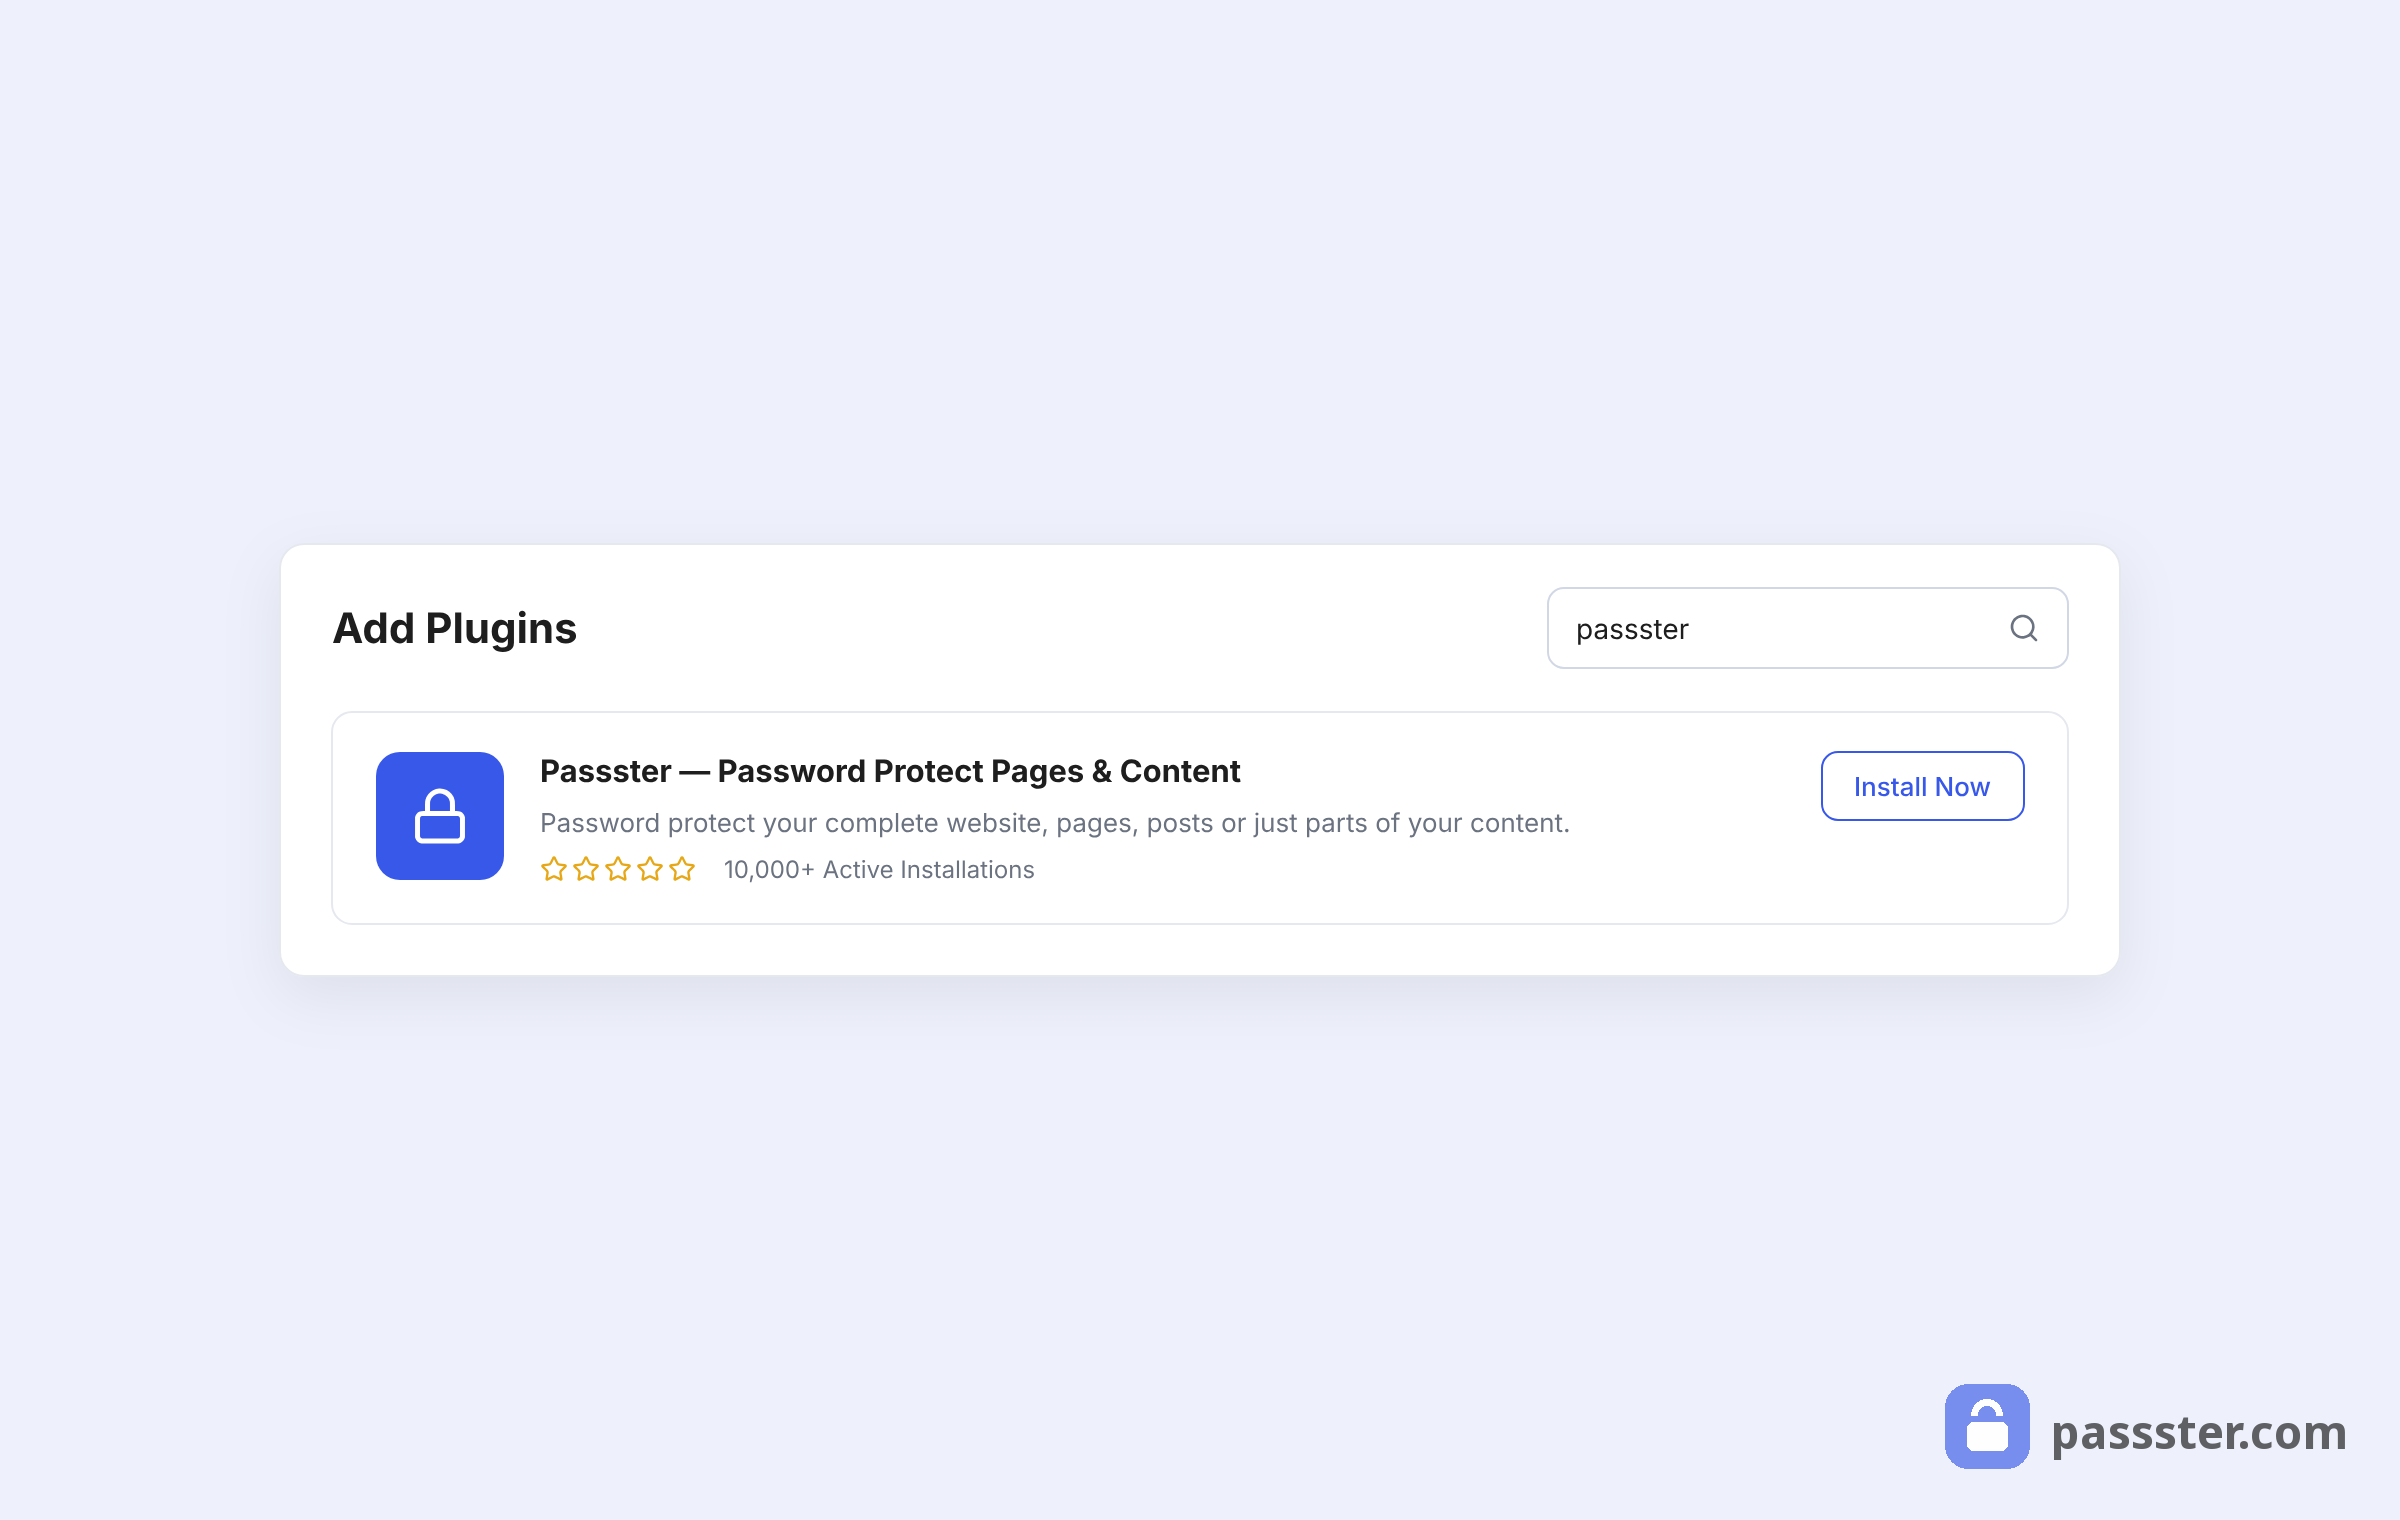
Go to Plugins > Add New in your WordPress dashboard. Search for Passster, then install and activate Passster – Password Protection.
Step 2: Choose Between Area Protection and Full-Page Protection
Before you set a password, decide what you want to protect.
Full-page protection puts the entire page behind a password form. Visitors see nothing until they unlock it. Use this for pages where the whole thing is member-only — a course module, a resource hub, or a members-only post.
Area protection hides only part of a page. You can show an intro paragraph or image to everyone, then gate the rest. This works better when you want the page indexed by Google while keeping the content restricted — more on why that matters in the SEO section below. You can read more about how area protection works here.
For a typical membership setup, full-page protection is the right choice. When editing a page or post, you’ll find the Passster (Page Protection) metabox with all the configuration options:
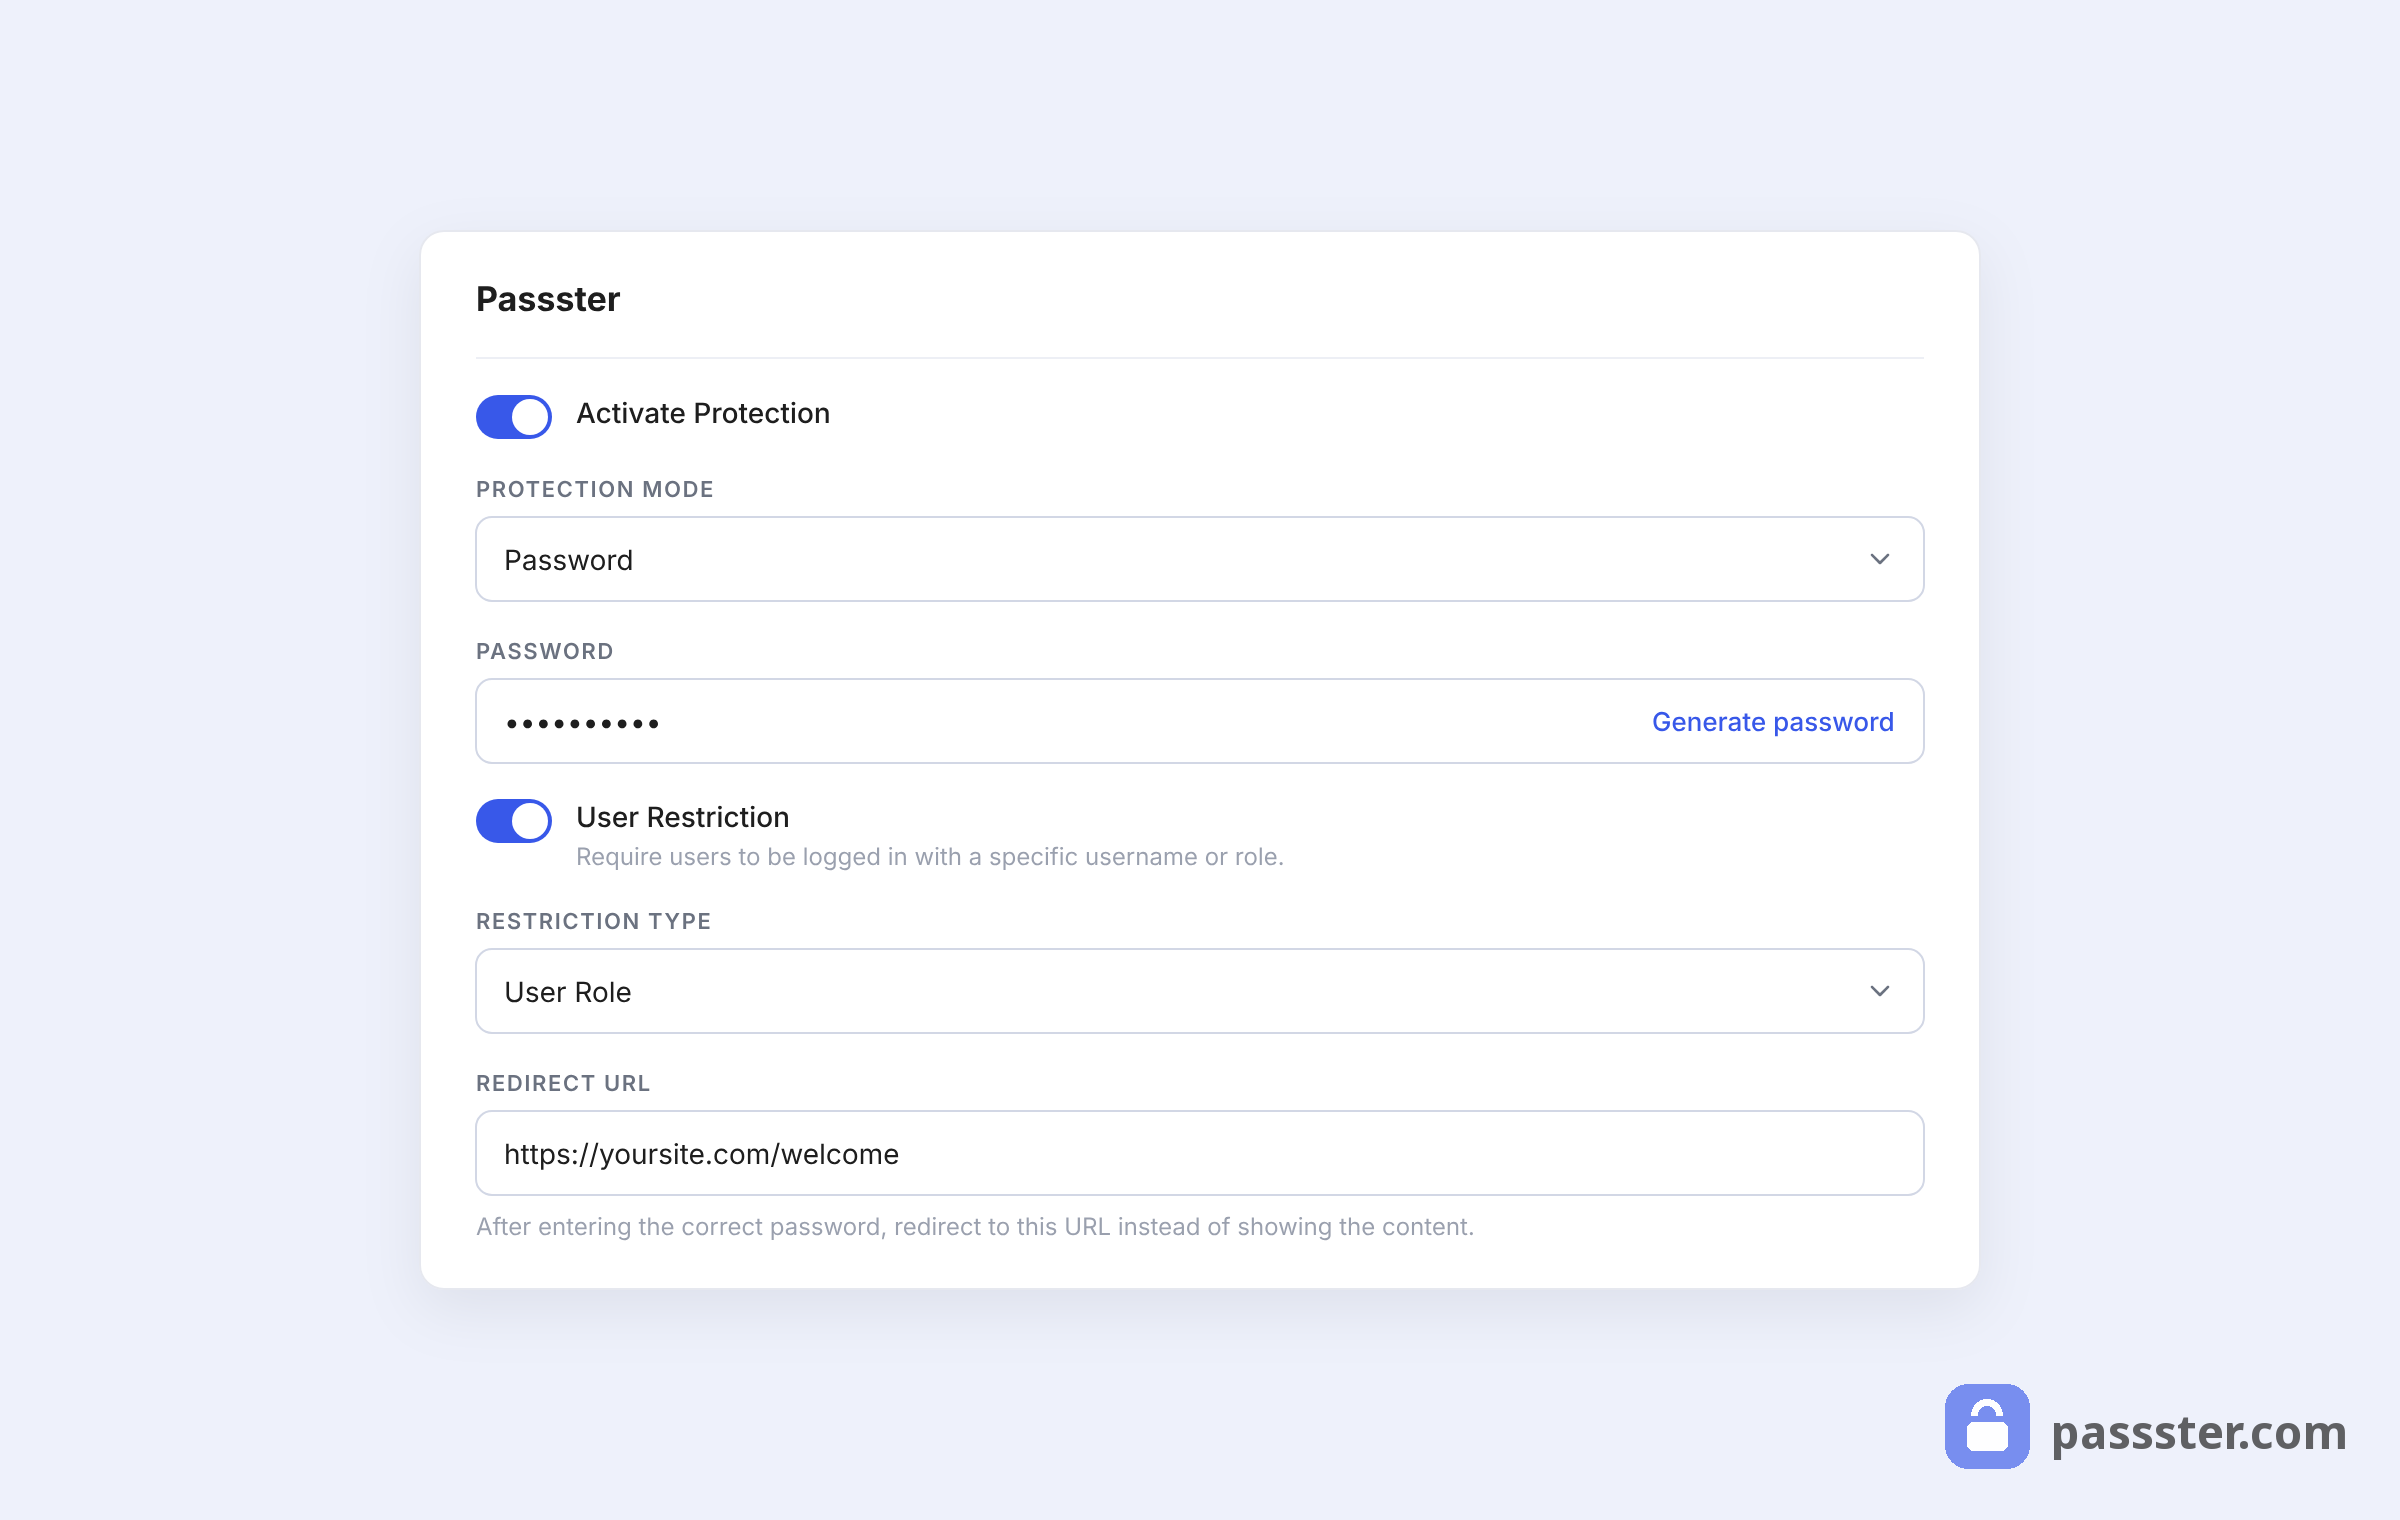
Here’s what each setting controls:
- Activate Protection: Toggle protection on or off without removing the configuration. Useful for staging your setup before going live.
- Protection Type: Choose from Password, Passwords, Password Lists, Captcha, or Google reCAPTCHA. Each selection reveals the relevant settings below it.
- User Restriction: Unlock content automatically for specific WordPress user roles. More on this in Step 3.
- Texts: Customize the form headline, instruction text, input placeholder, and button label to match your branding.
- ID: Required if a post or page contains more than one Passster form. Give each form a unique ID, or only the first match will unlock.
Step 3: Configure the Cookie Settings and Access Options
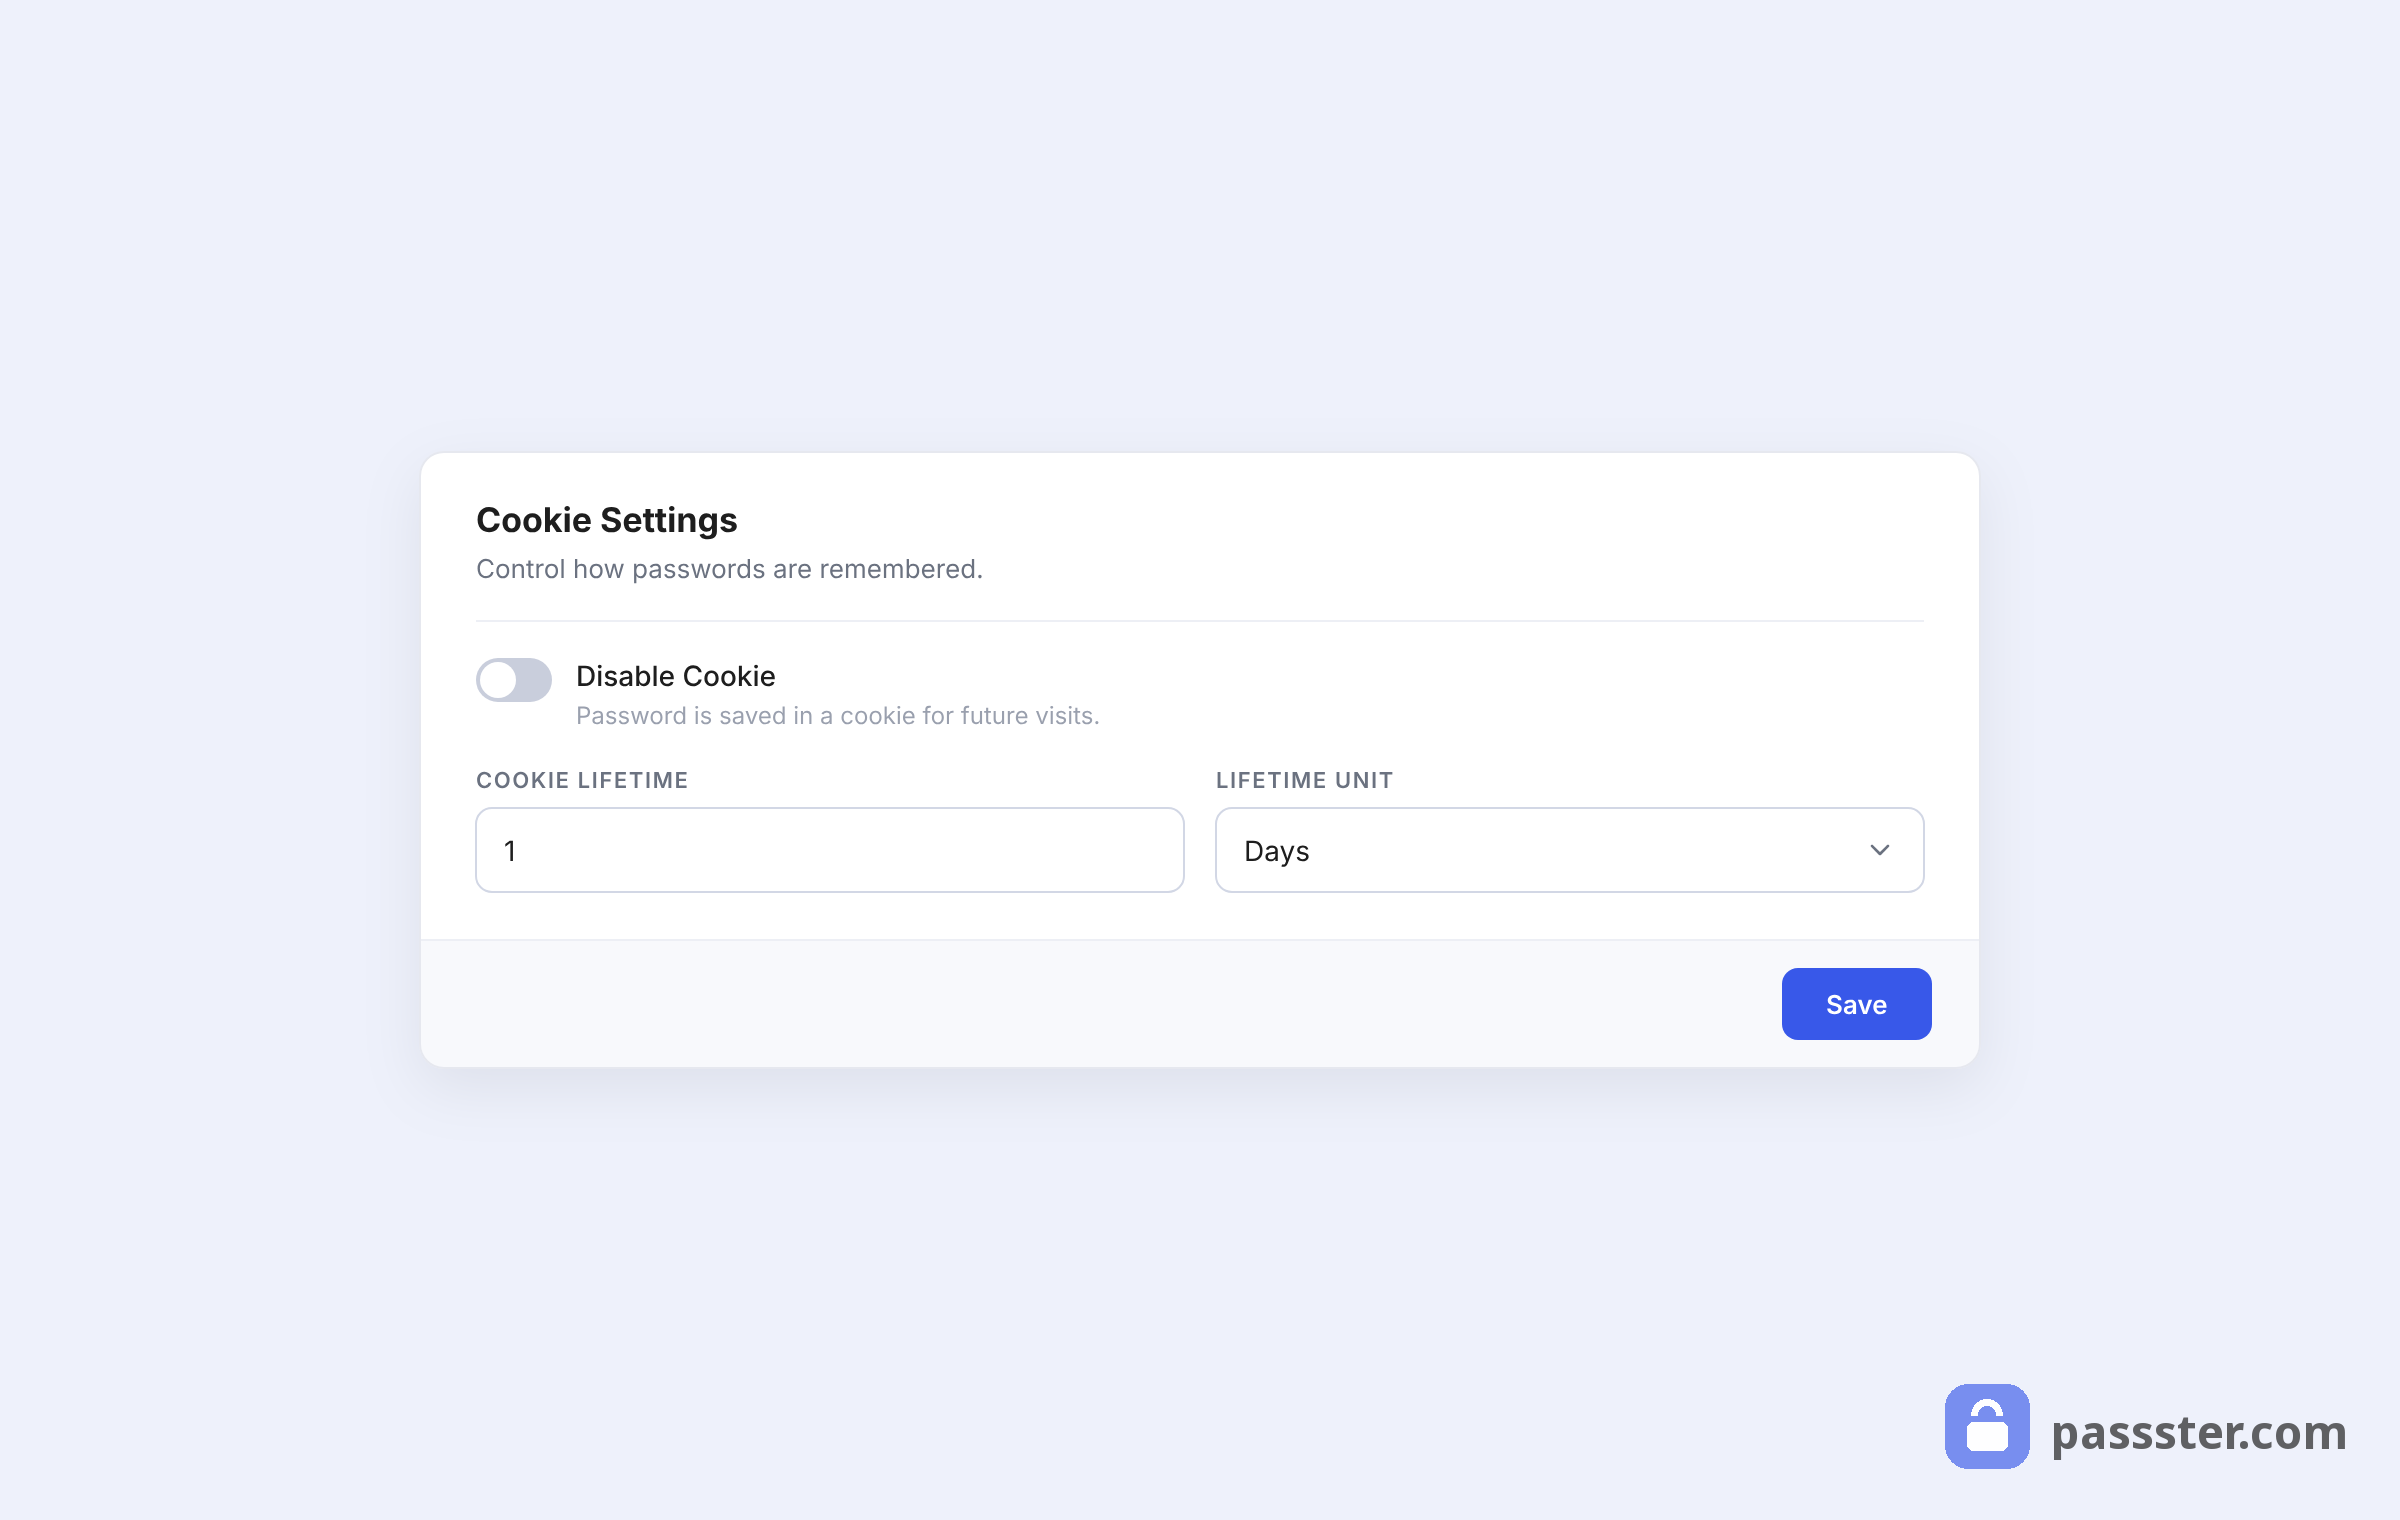
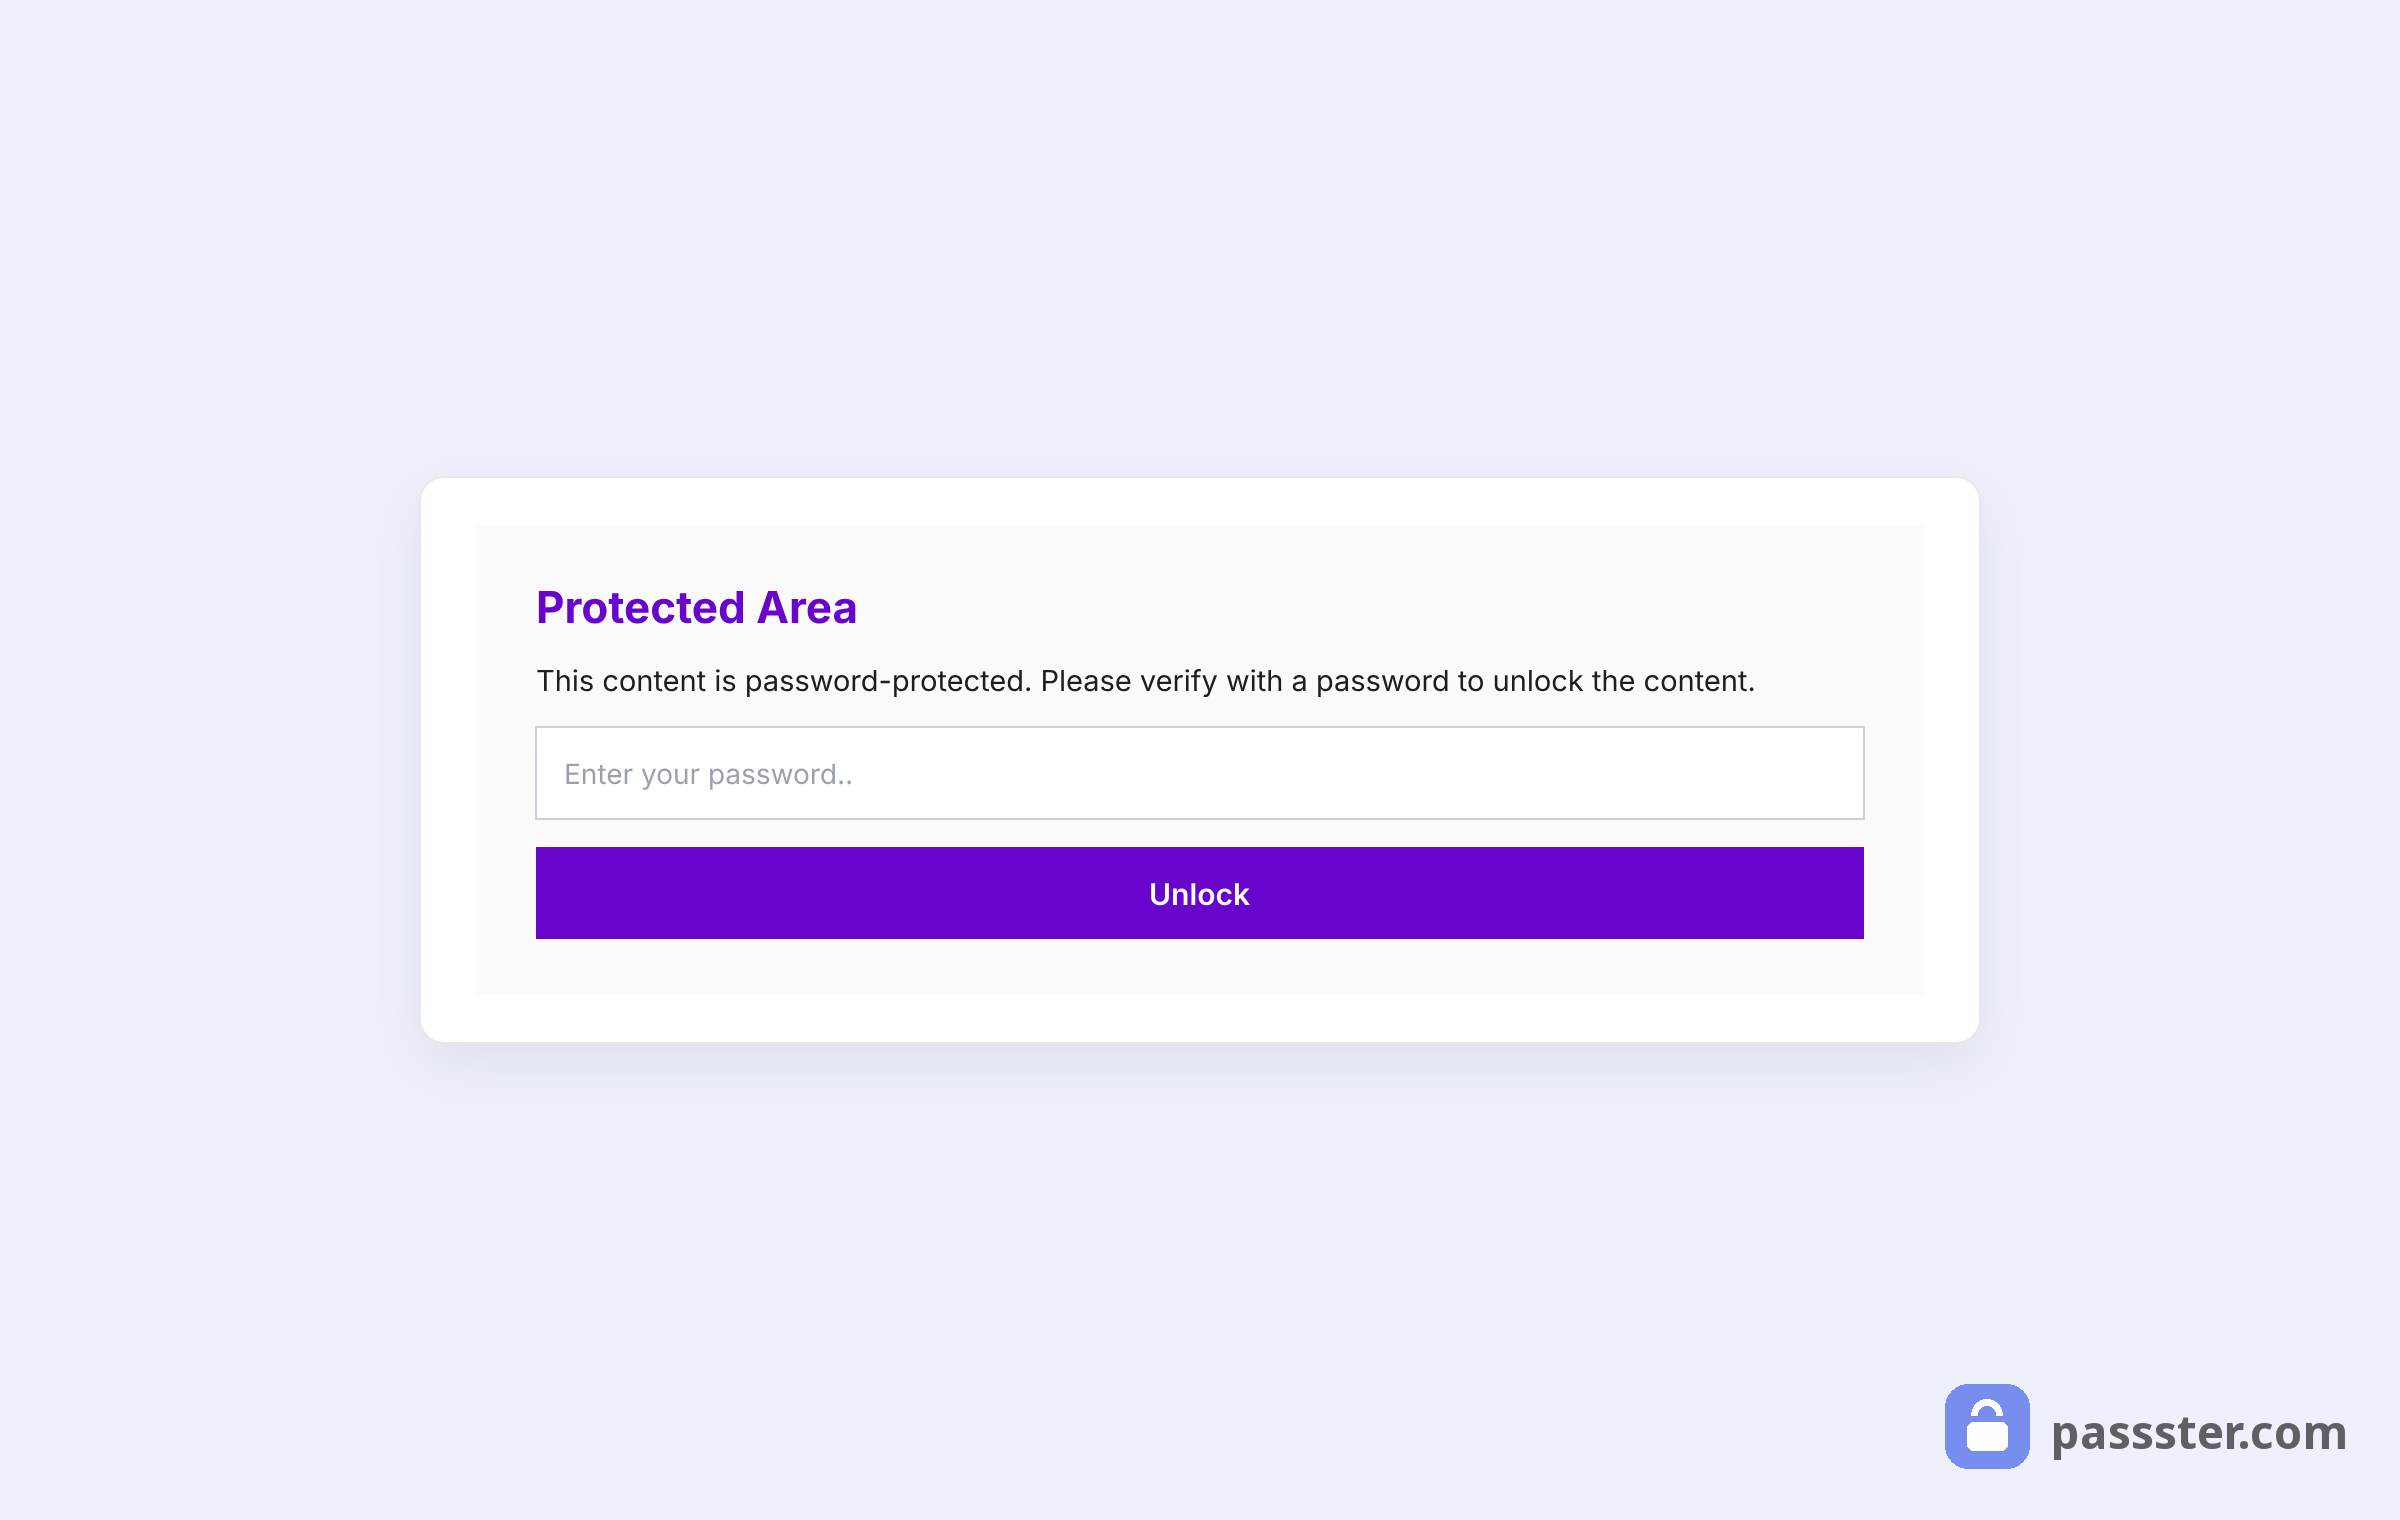
The Cookie setting is the most important one for building a members only experience. When a visitor enters the correct password on one page, the browser stores it. Any other page protected with the same password then unlocks automatically — no re-entering needed.
Multi-tier access with cookies — a concrete example:
Say you have four protected pages. Two use the password “silver” and two use the password “gold.” You give some members the silver password and others the gold one.
Silver members unlock their two pages but not the gold pages. Gold members unlock theirs. Two passwords, two tiers, zero membership plugins.
User Restriction takes it further. If a visitor is logged in as a Subscriber (or any custom role you define), Passster unlocks the content automatically — no password form shown. Visitors without that role still need the correct password. This is how you restrict a WordPress page by user role without a full membership plugin.
Two other settings worth knowing:
- Reload after successful validation: Enable this if you use a page builder and notice layout problems after someone enters the password. It forces a full page reload instead of an AJAX update.
- Third-Party Shortcodes: If a Contact Form 7 form or similar shortcode lives inside a protected area, register it here so it renders correctly on AJAX unlock.
Step 4: Unlock via Link (Optional)
Instead of asking members to type a password, you can generate an encrypted unlock link and send it directly. When a member clicks it, the protected content unlocks automatically — no password form required.
Open the Passster (Link Protection) metabox when editing the page:
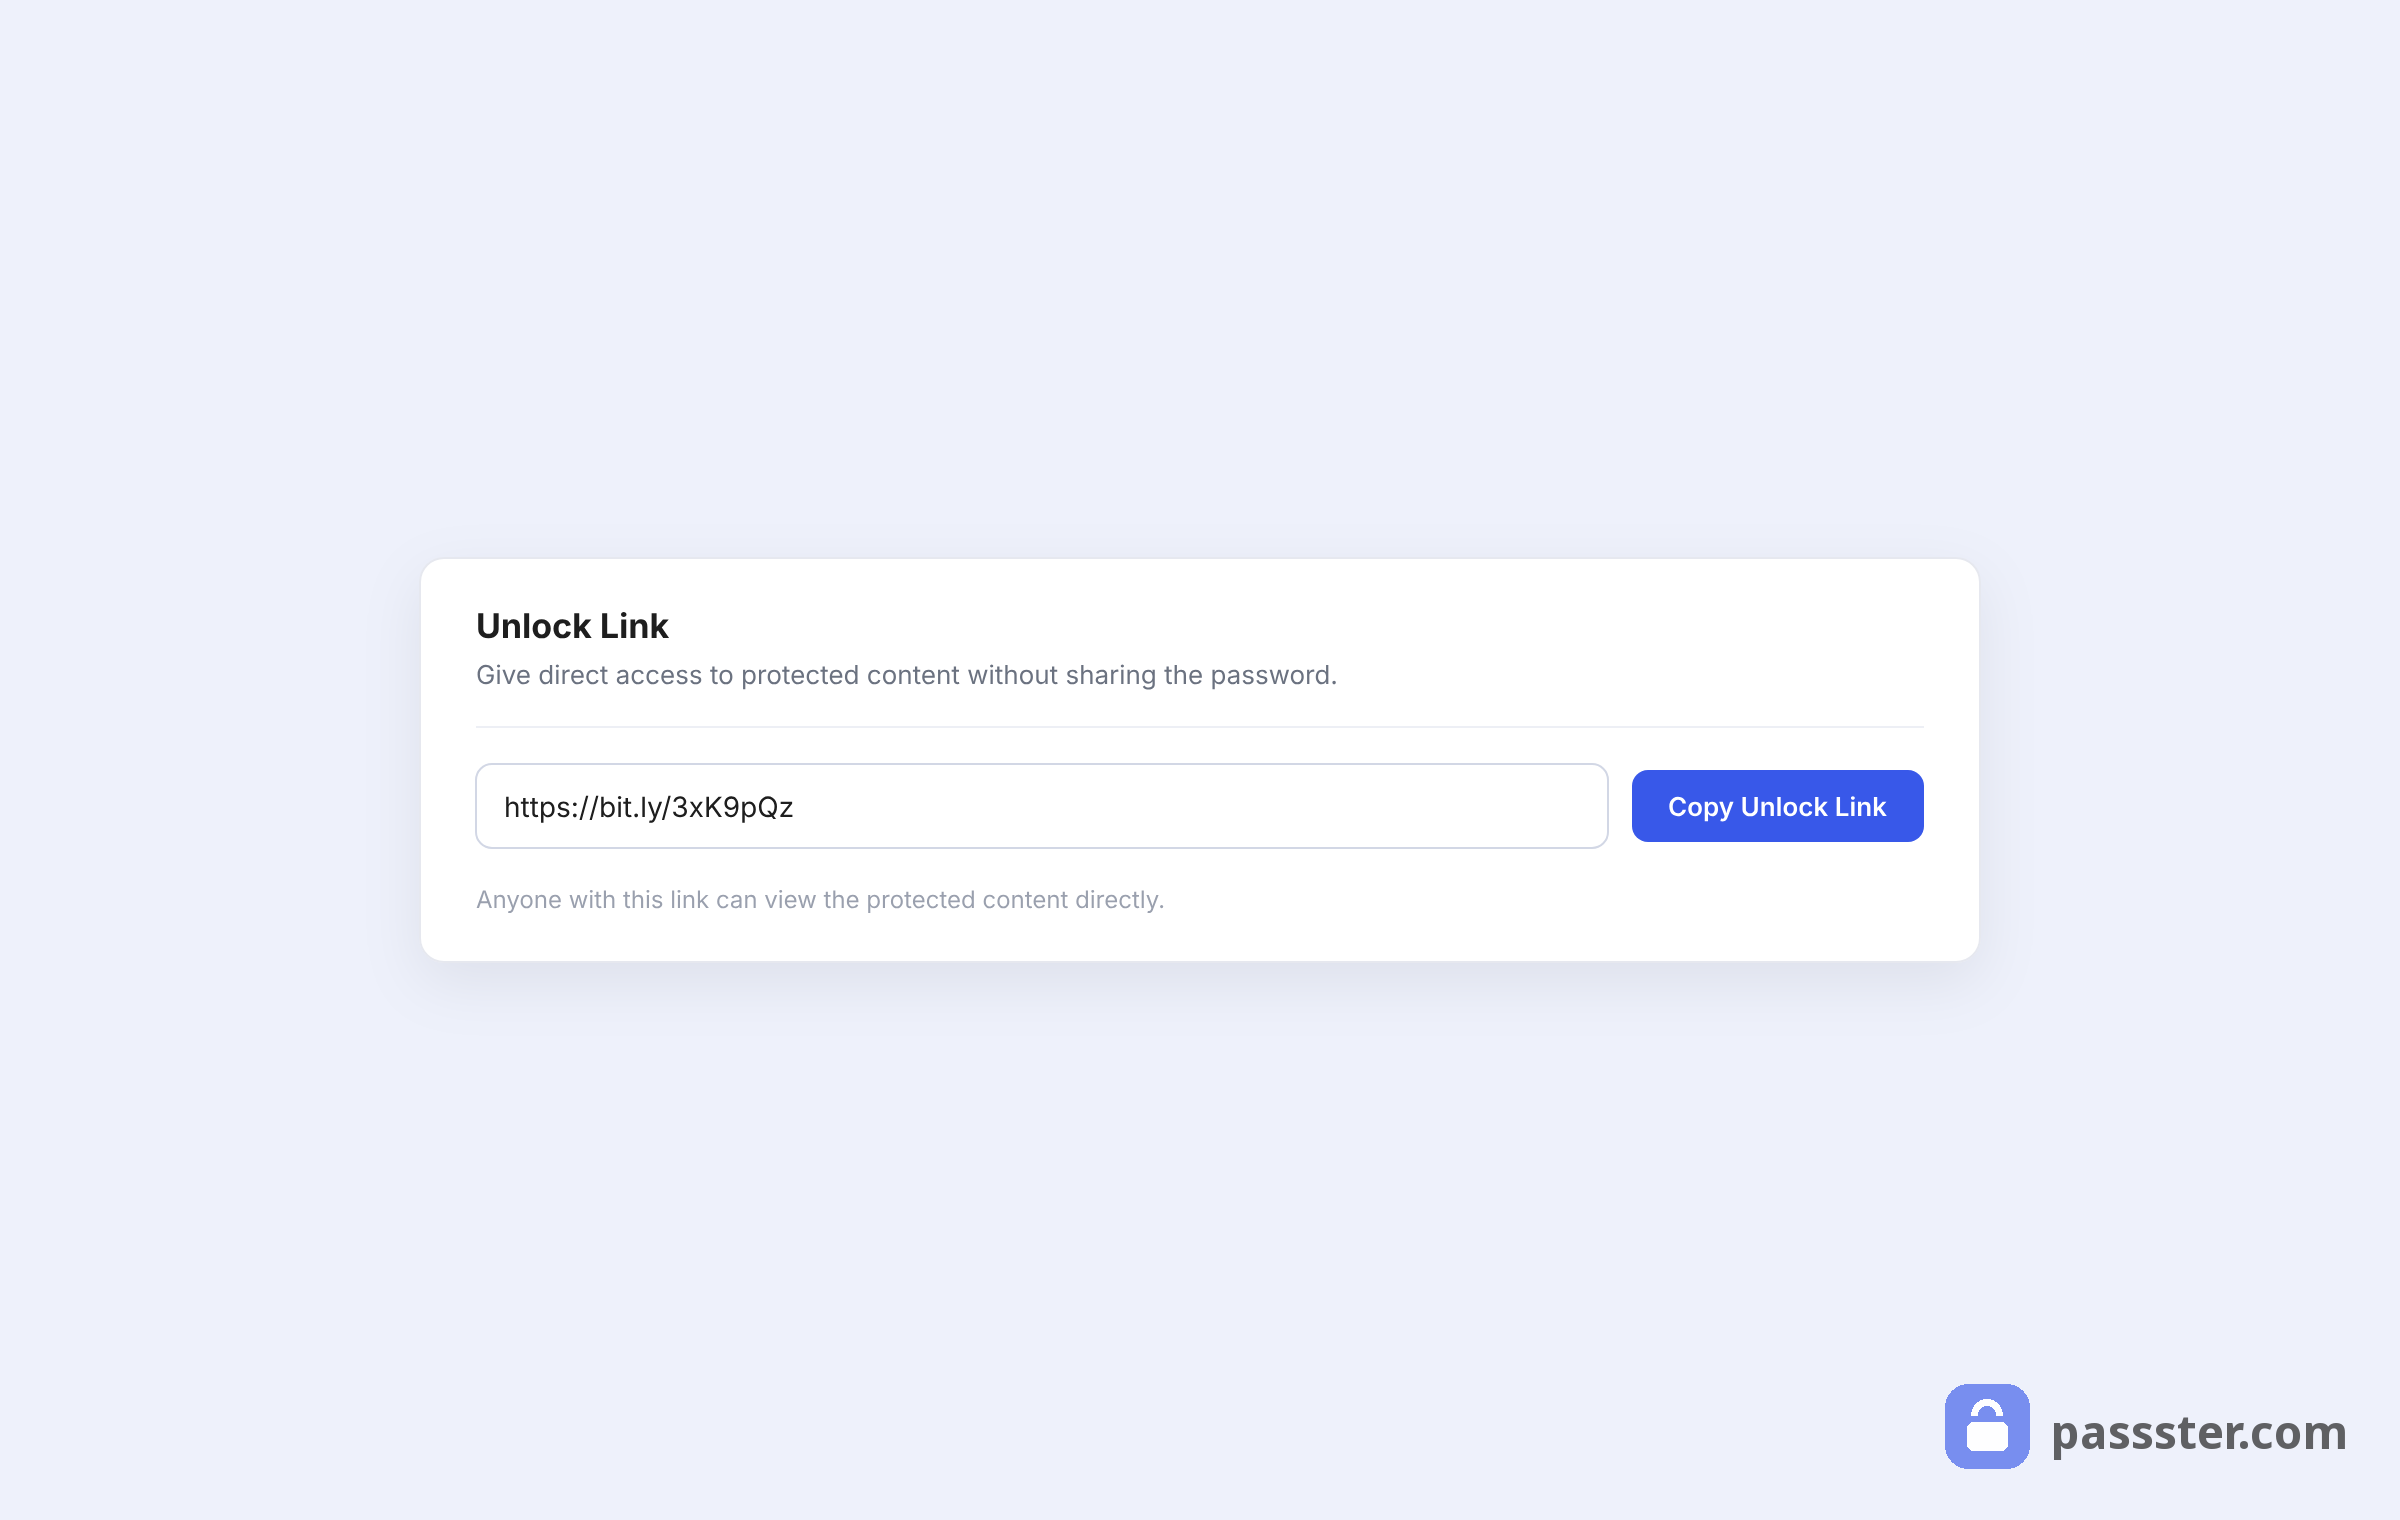
Enter the same password you used in Step 2, save the page, and Passster generates the link. You can optionally connect Bitly to shorten it — add your Bitly access token under Passster > Settings > Integrations.
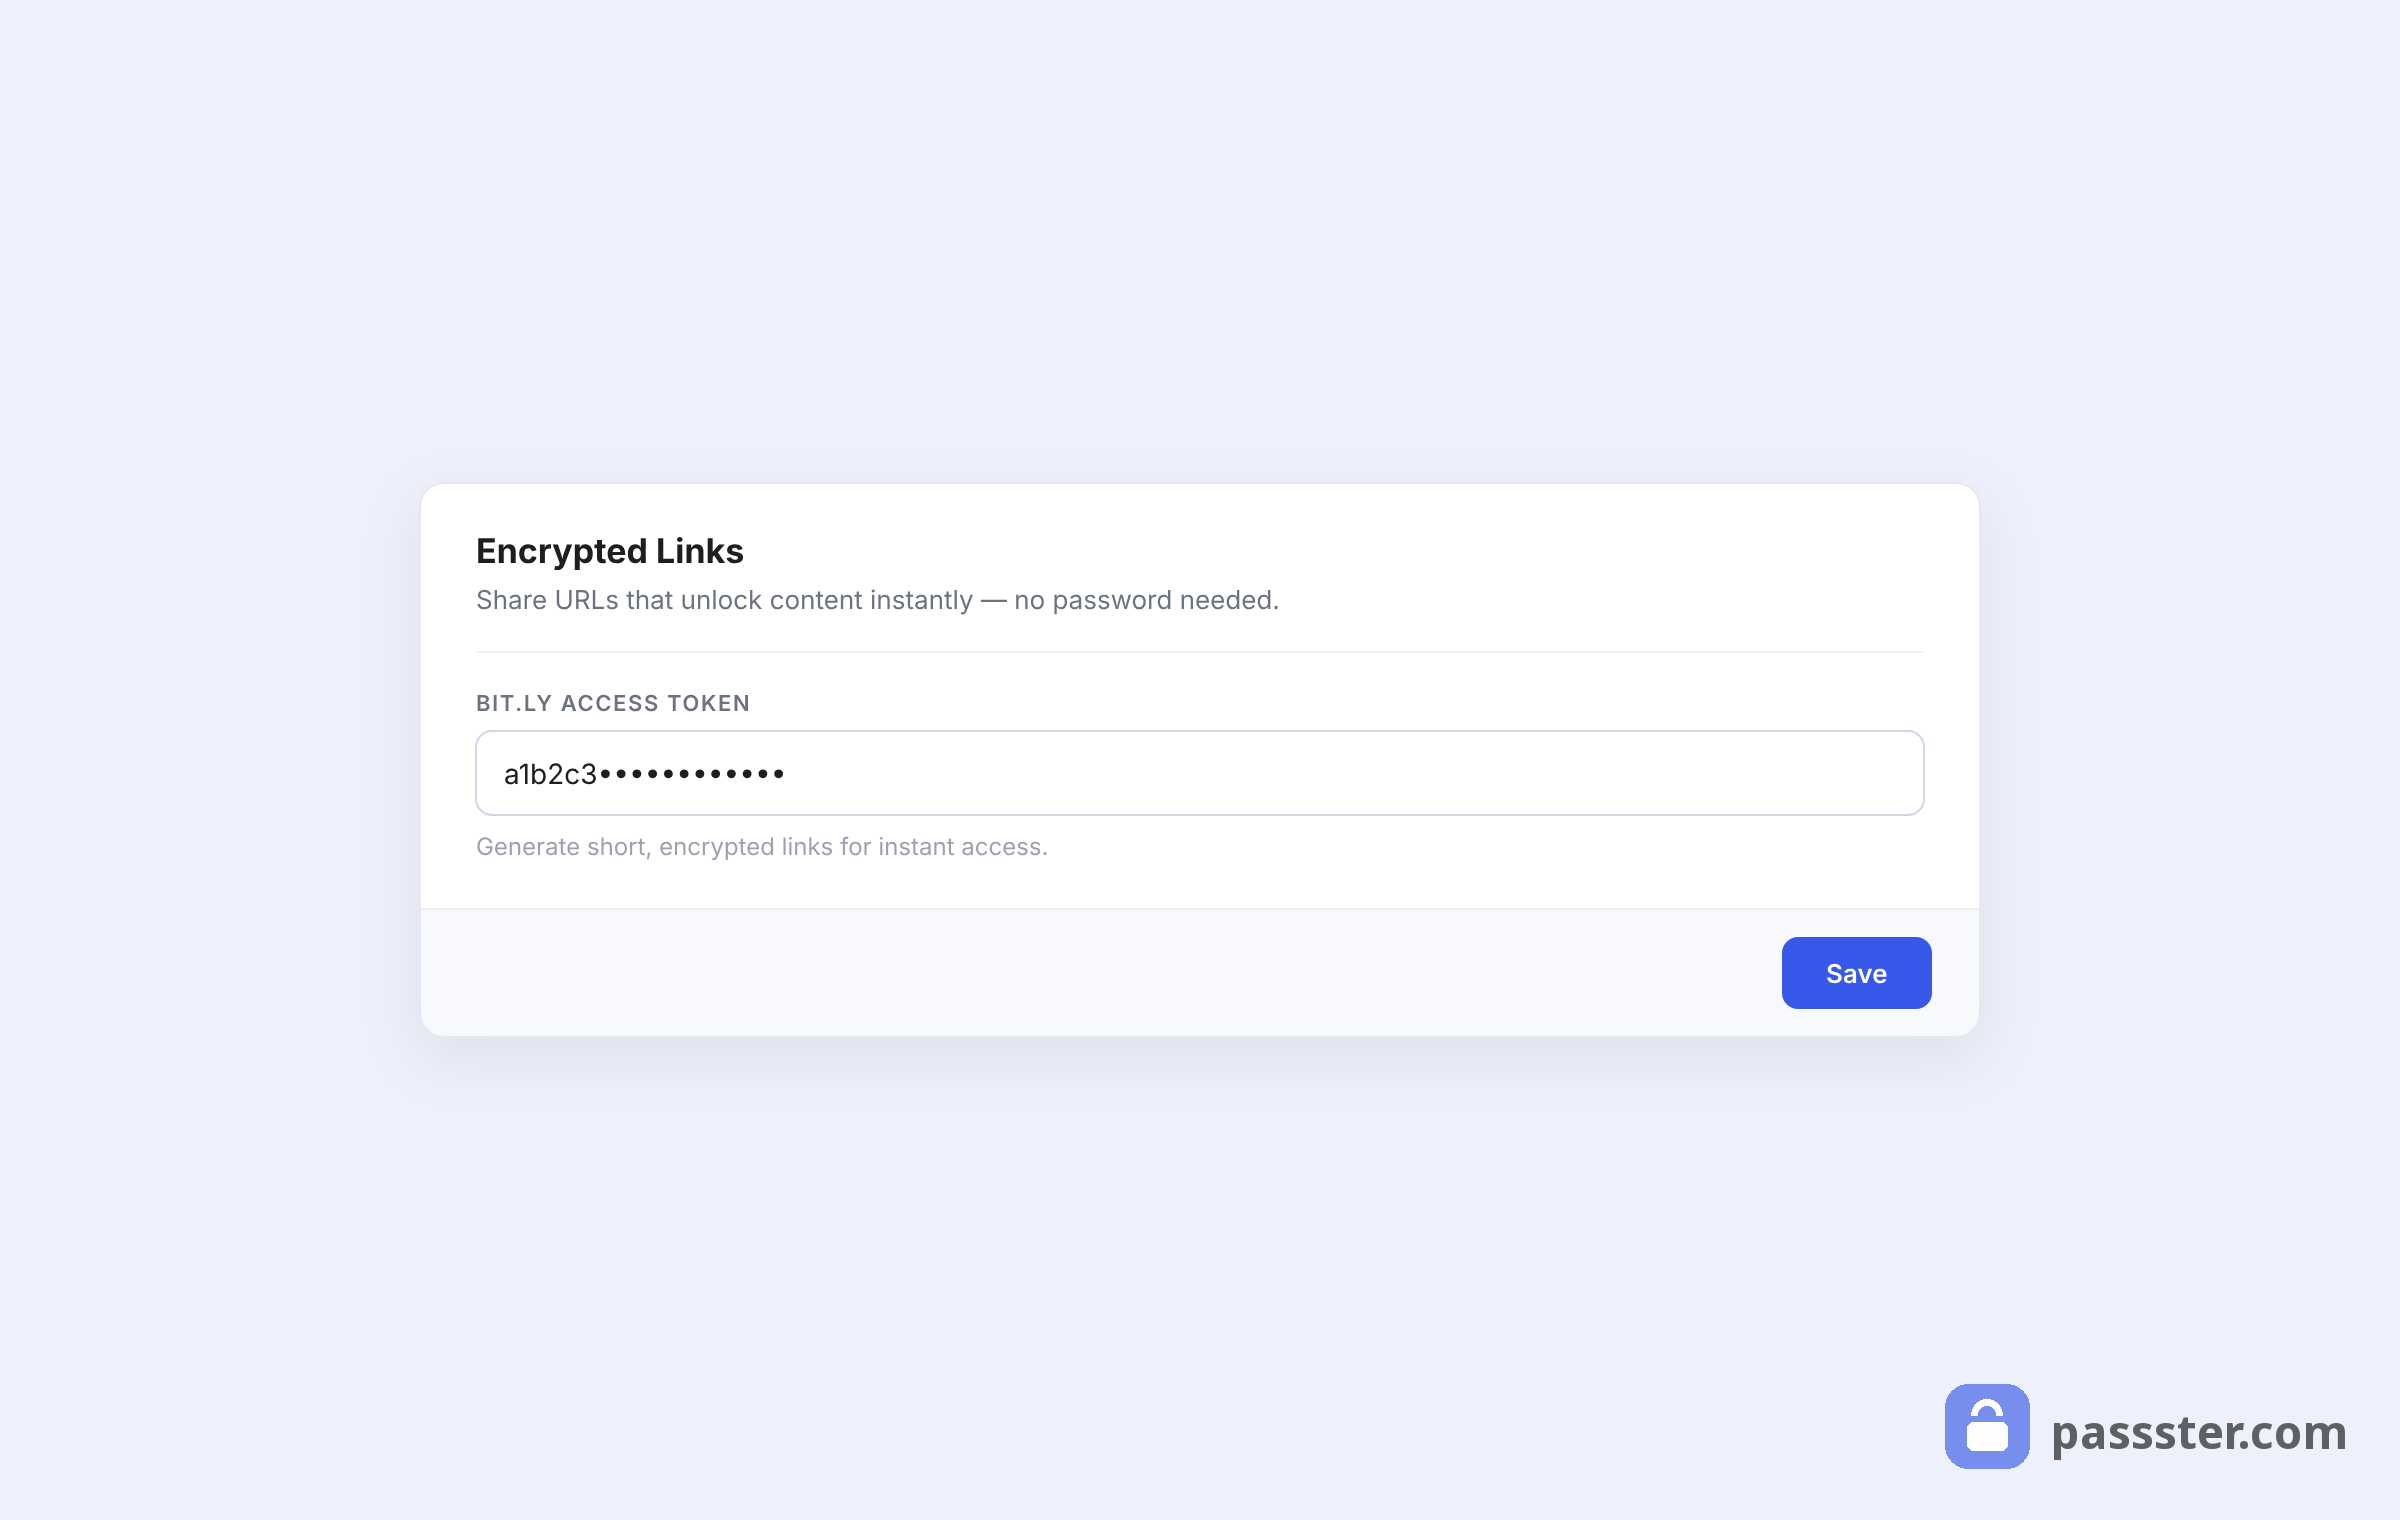
Save the page and the generated link appears at the bottom of the metabox. Send that link to your members and they’re in with a single click.
How to Distribute Passwords to Your Members
Members need to receive their Passster password or unlock link before they can access any protected content — the delivery method is as important as the protection itself.
Common delivery methods:
- Email on sign-up or purchase: Include the password (or unlock link) in a confirmation or welcome email. Most email marketing tools support automated sequences triggered by form submission, so this can run hands-free.
- Encrypted unlock link by email: Skip the password entirely. Send the link from Step 4 and members click straight through.
- Members-only welcome page: Publish the password on an unlocked welcome page that new members see after sign-up. They copy it once and the cookie setting handles every later visit.
If you use multiple tiers, keep a clear naming convention so you always know which password maps to which group of pages.
Does Gating Content Hurt Your WordPress SEO?
Password-protecting an entire WordPress page prevents Google from indexing its content, but Passster’s area protection leaves the rest of the page fully crawlable and ranked.
Full-page protection: Google cannot index the content behind a password. The page title and URL stay visible, but Google doesn’t crawl or cache the body (Google Search Central, 2024). If SEO visibility matters for a specific page, putting the whole page behind a password removes it from search results.
Area protection: Area protection hides only part of the page. The intro text, headings, and meta description stay visible and crawlable. Search engines index the page normally. This approach lets you protect the valuable section while keeping the page ranked.
The practical rule: use area protection for content you want both indexed and restricted. Use full-page protection when search visibility doesn’t matter — course modules, download hubs, or internal resource pages.
When to Consider Upgrading to a Full Membership Plugin
Passster handles most simple to mid-level use cases. But a full membership plugin makes more sense when:
- You need integrated payment processing — members pay and content unlocks automatically
- You’re running drip content on a schedule (Day 1 unlocks Module 1, Day 7 unlocks Module 2)
- Your content includes quizzes, assignments, or certificates that require an LMS
- You need member dashboards with account management, invoices, and profile pages
- You’re managing 1,000+ members and need bulk import, subscriber segmentation, or CRM sync
Until any of those apply, the overhead of a full membership system costs more than it saves. Starting with Passster and upgrading when you hit a concrete limit is the lower-risk path.
And if you want to charge for access rather than just gate it, the same Passster setup extends to paid content — our guide to adding premium content to WordPress covers the monetization side: paywall SEO, free previews, and selling access.
Wrapping Up
You don’t need a full membership plugin to create members only content in WordPress. For most sites, Passster covers the job: gate entire pages or just sections, assign different passwords to simulate tiers. It also auto-unlocks by user role and sends encrypted links so members never have to type a password.
Start simple, use cookies to simulate tiers, and only add a full membership plugin when a concrete need forces the upgrade.
Frequently Asked Questions
WordPress has a built-in option: open the page or post editor, find the Visibility setting in the status panel, and select Password Protected. Enter a password and publish. Any visitor who knows it can view the page. For more control — multiple passwords, user roles, partial restriction, or unlock links — use the Passster plugin instead.
Passster’s area protection feature lets you hide a specific section of a page while leaving the rest public. Passster wraps the private content in a shortcode and displays a password form only for that section. The page title, intro text, and meta description stay visible and indexed by search engines normally.
Full-page password protection prevents Google from indexing the content behind the password — the page exists in search results, but Google cannot crawl or cache its body (Google Search Central, 2024). Area protection avoids this: Passster gates only one section, so the rest stays crawlable and indexed normally.
Passster generates an encrypted unlock link for any protected page. Send that link to your members and they click straight through — no password form appears. You can also configure User Restriction so specific WordPress user roles (Subscriber or a custom role) bypass the password and see the content automatically after login.
With Passster’s User Restriction setting, choose which WordPress user role bypasses the password. Logged-in users with that role see the content automatically — no form shown. Visitors without the role still need the correct password. No code required. Without a plugin, the same result needs custom PHP using current_user_can() in your theme.
Upgrade when you need integrated payment processing, drip content delivery on a schedule, quizzes or certificates, member dashboards with account management, or a subscriber base over 1,000 users. Until one of those applies, Passster handles most content restriction scenarios without the setup overhead a full membership system requires.