How to protect part of a page/post
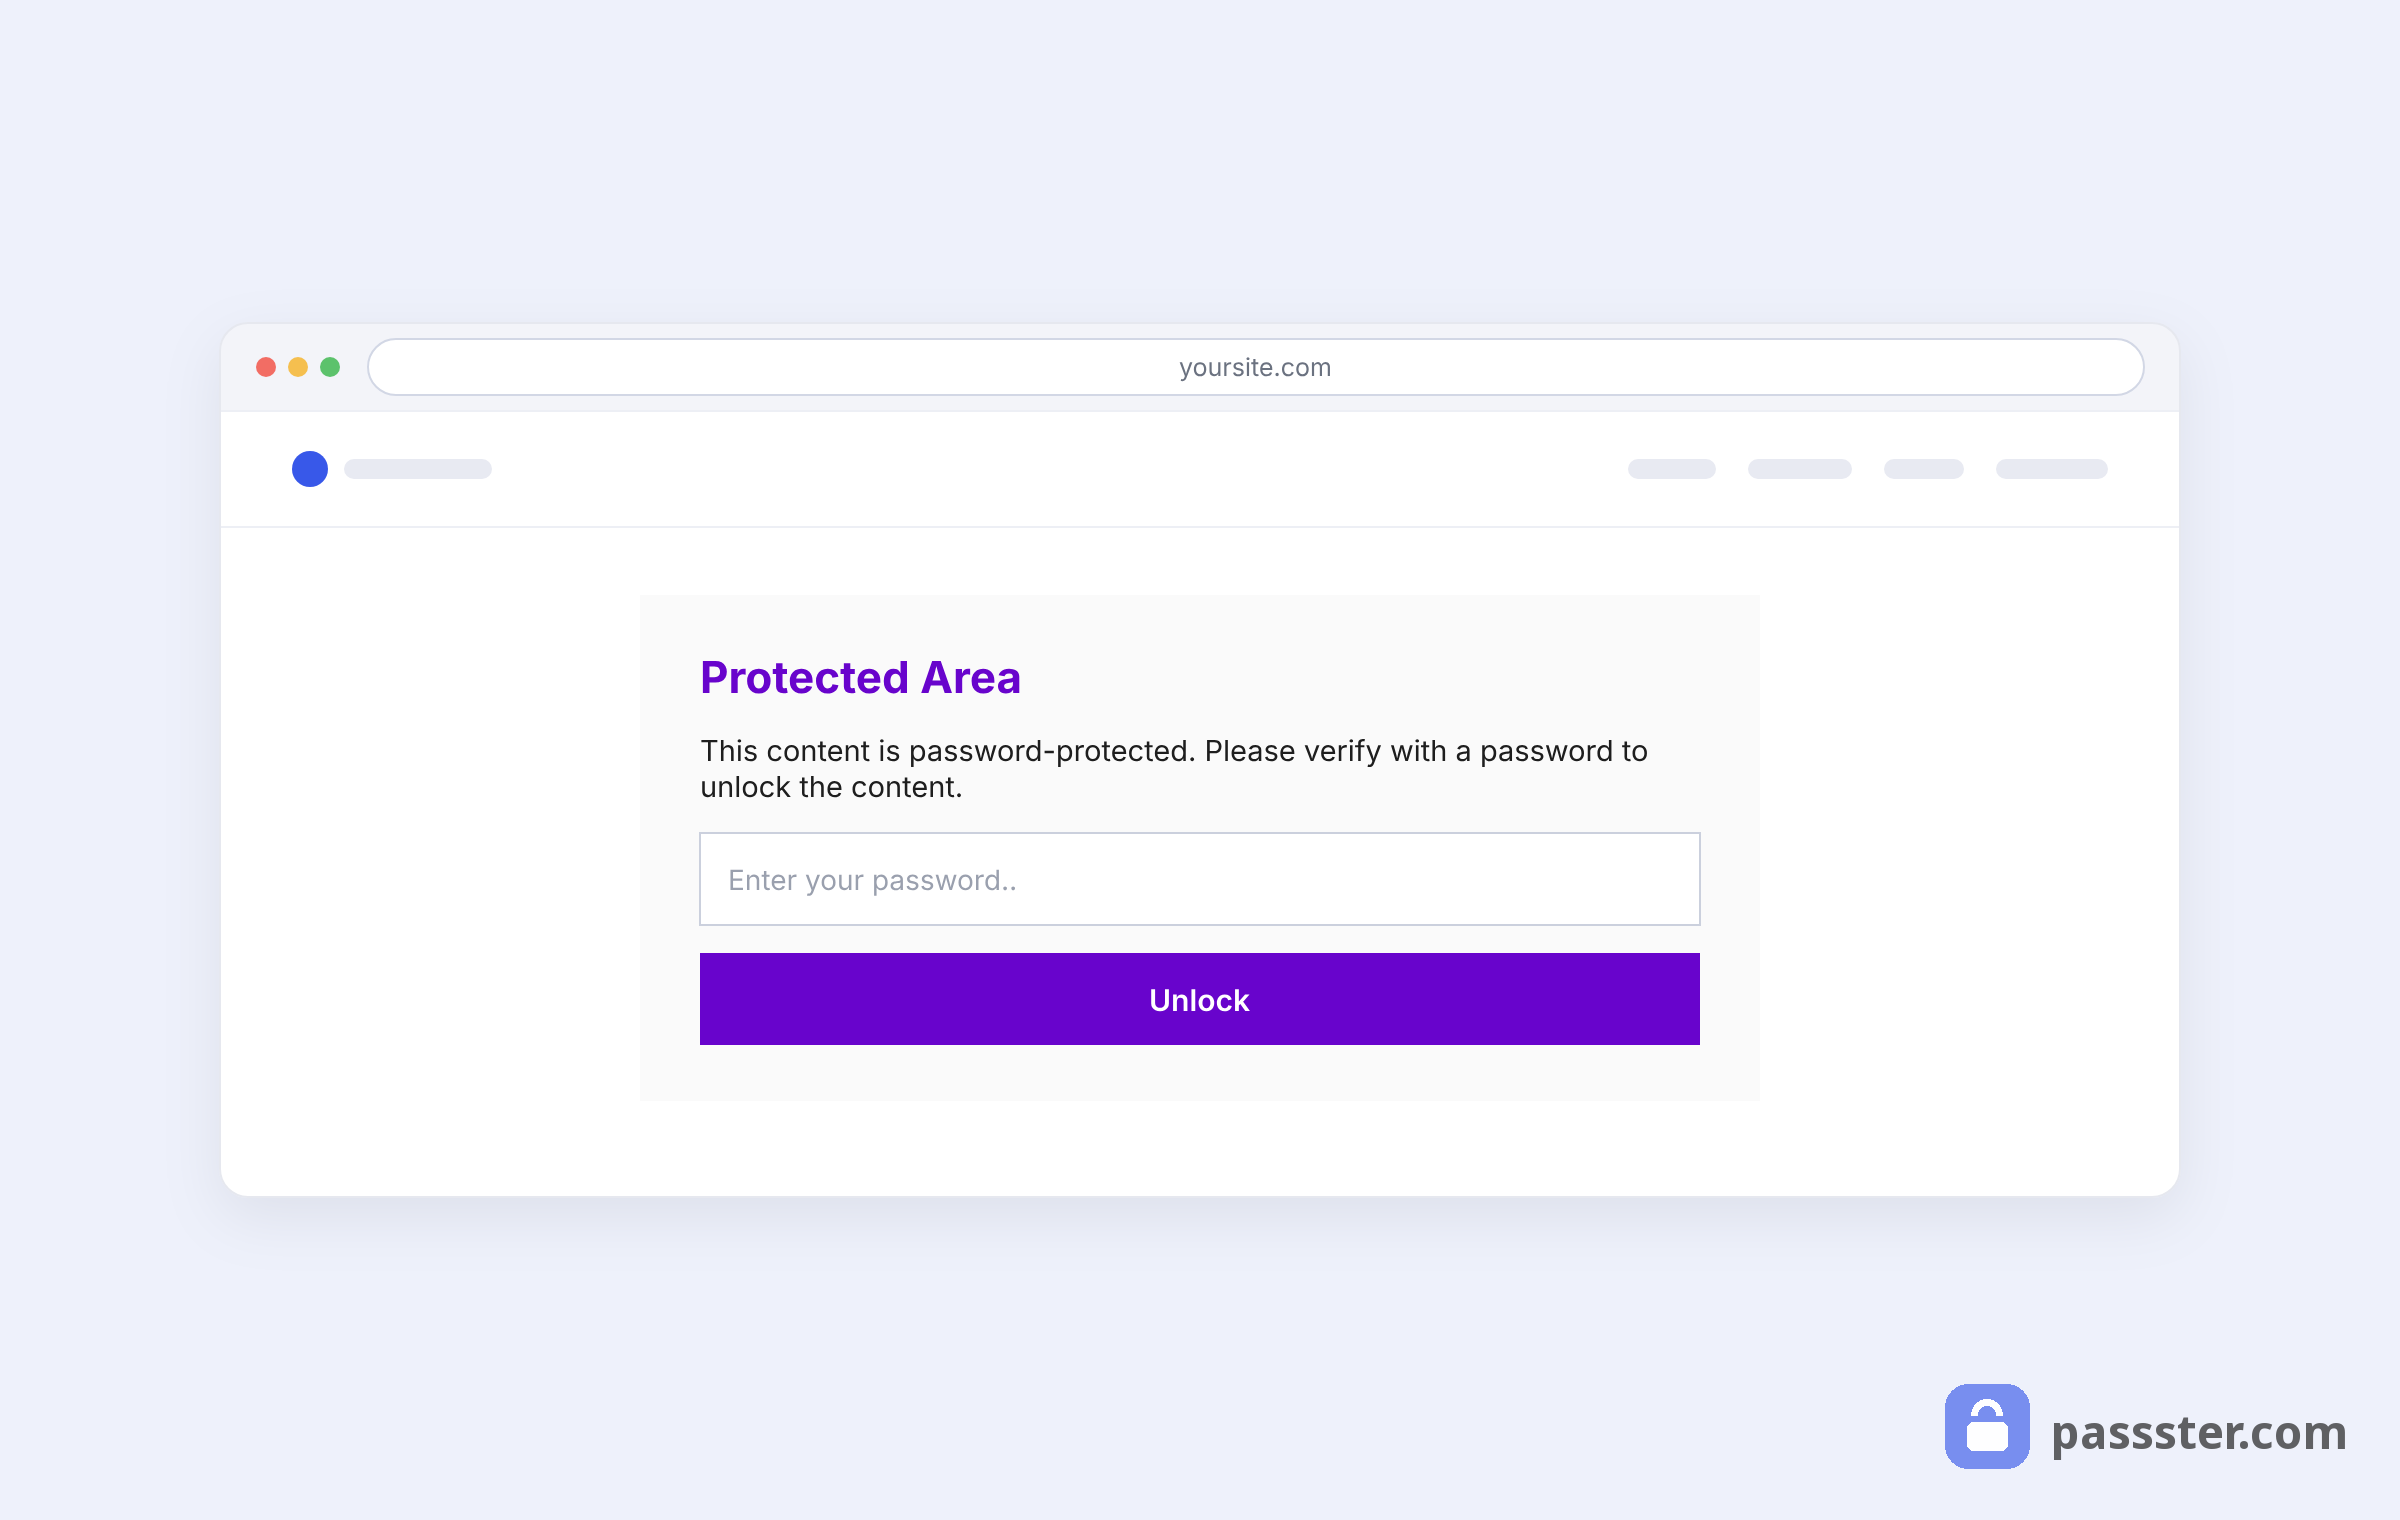
If you’re looking to protect only part of a page or post on your WordPress site, you can do so with Passster’s Area Protection.
The first thing you’ll need to do is create the area you want to protect.
Create your protected area
To do this, take the following steps:
- From your WordPress dashboard, go to Passster > Protected Areas.
- Click the Add New button at the top of the page. This will open up a page that looks a lot like a normal page editor in WordPress.
- Give this ‘area’ a title.
- This title is only used on the backend of your site (it will not be visible on the front end of your site). So give it a name that will help you organize/structure it better.
- Then add your ‘area’ content.
- You can add anything you would normally add to a page or post in this section.
- Once happy, click the Publish button at the top of the page.
Note: You can also use your Page Builder theme here. To do this, you’ll need to activate Protected Areas in your page builder before you can use it to style your areas.
Here are a couple of tutorials on how to do that:
Once you’re happy with your content, we’ll need to generate and customize the shortcode.
Customize your shortcode
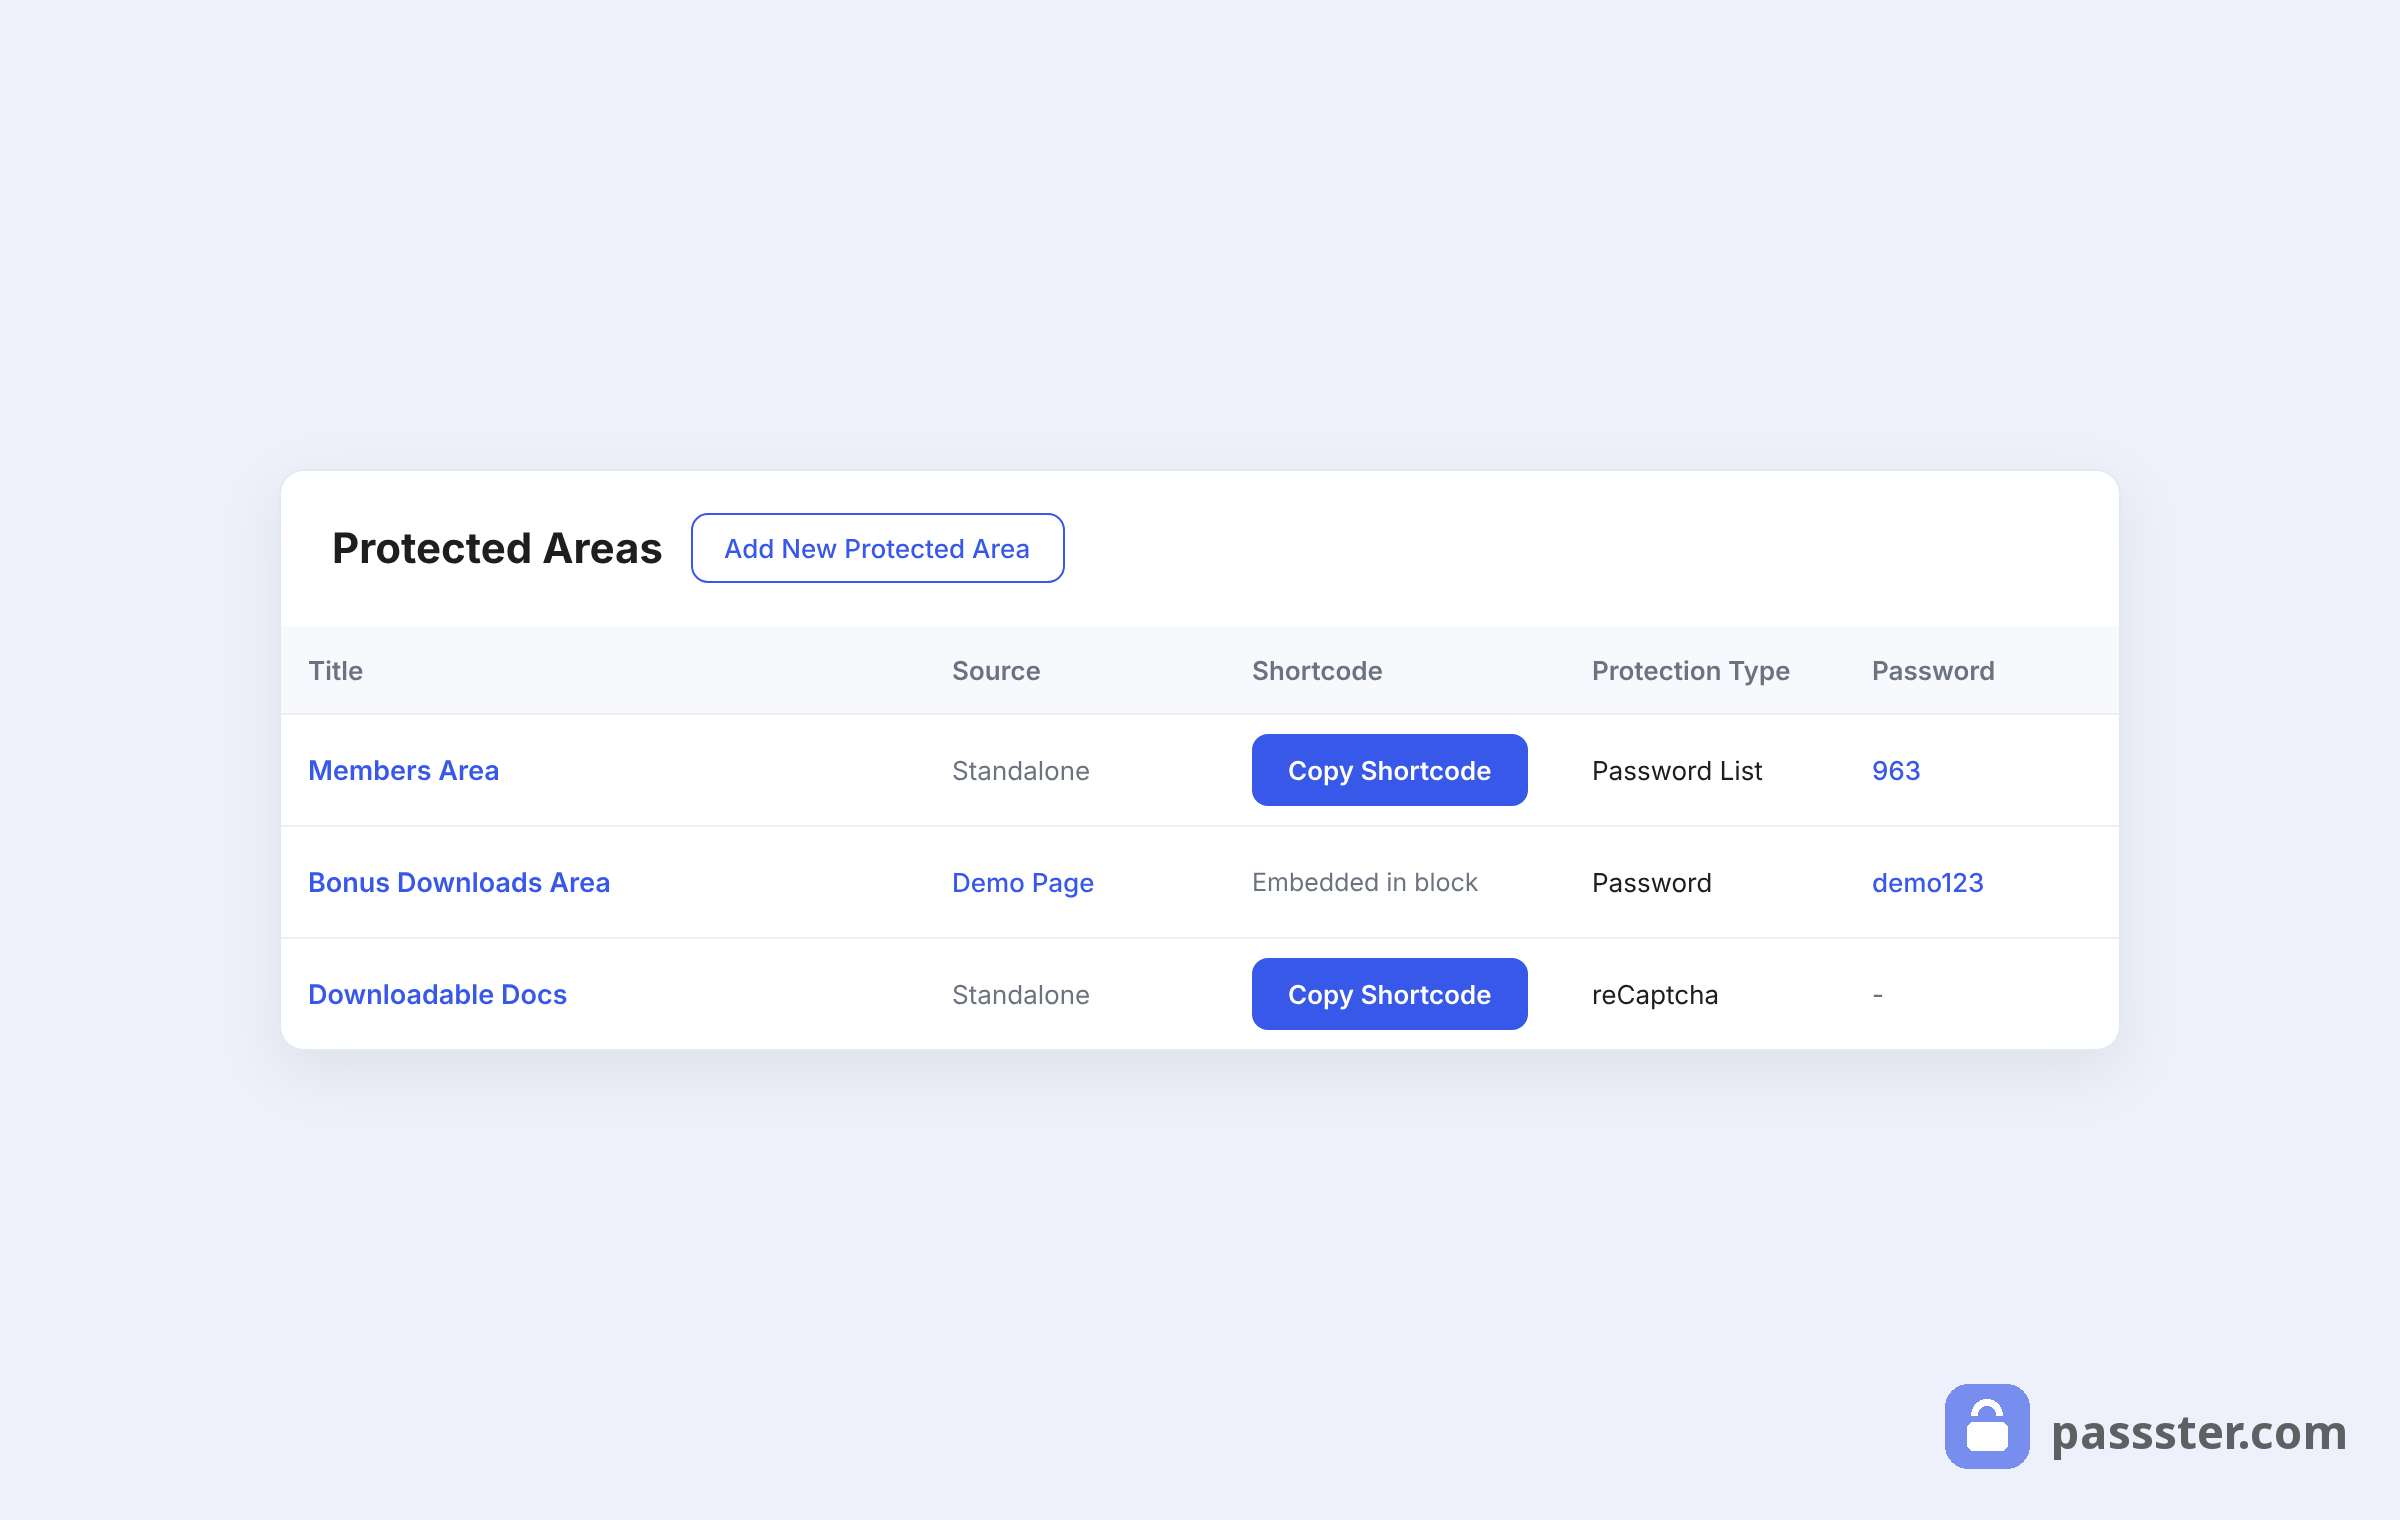
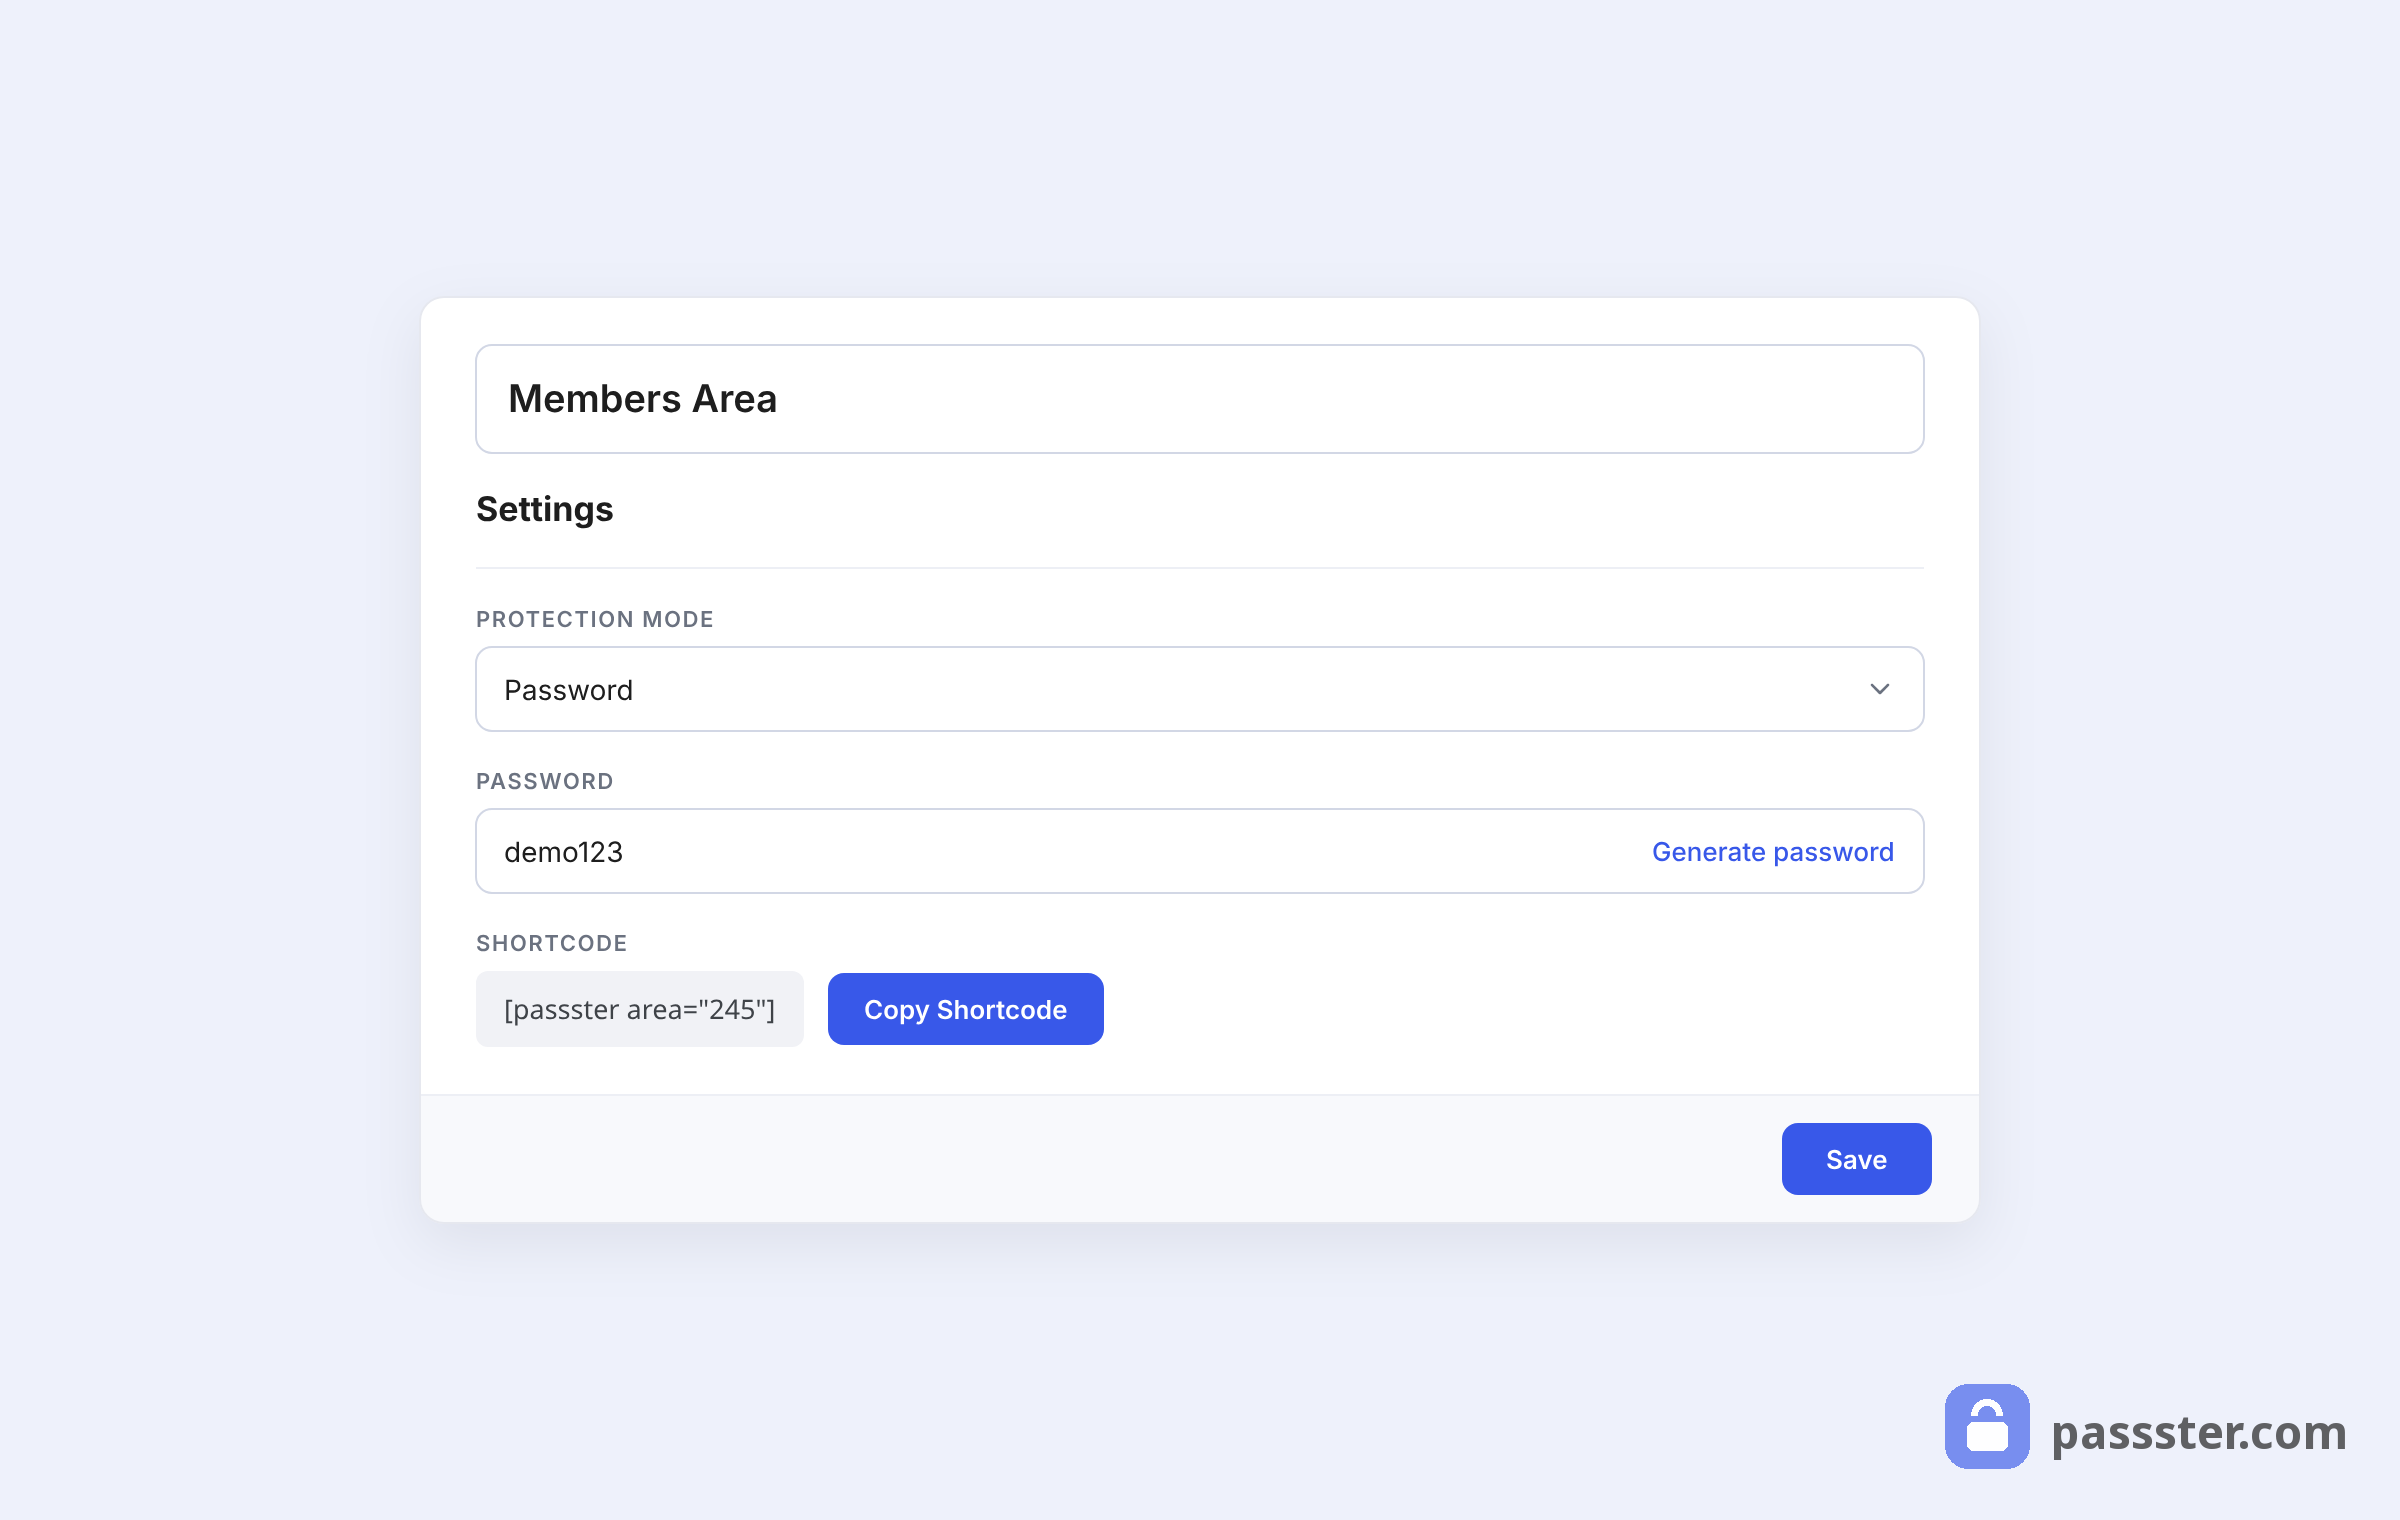
Once you’ve saved or published your page, you’ll see a button called Copy Shortcode underneath the Redirect settings on the right-hand side. Click it and the shortcode for your protected area will be copied.
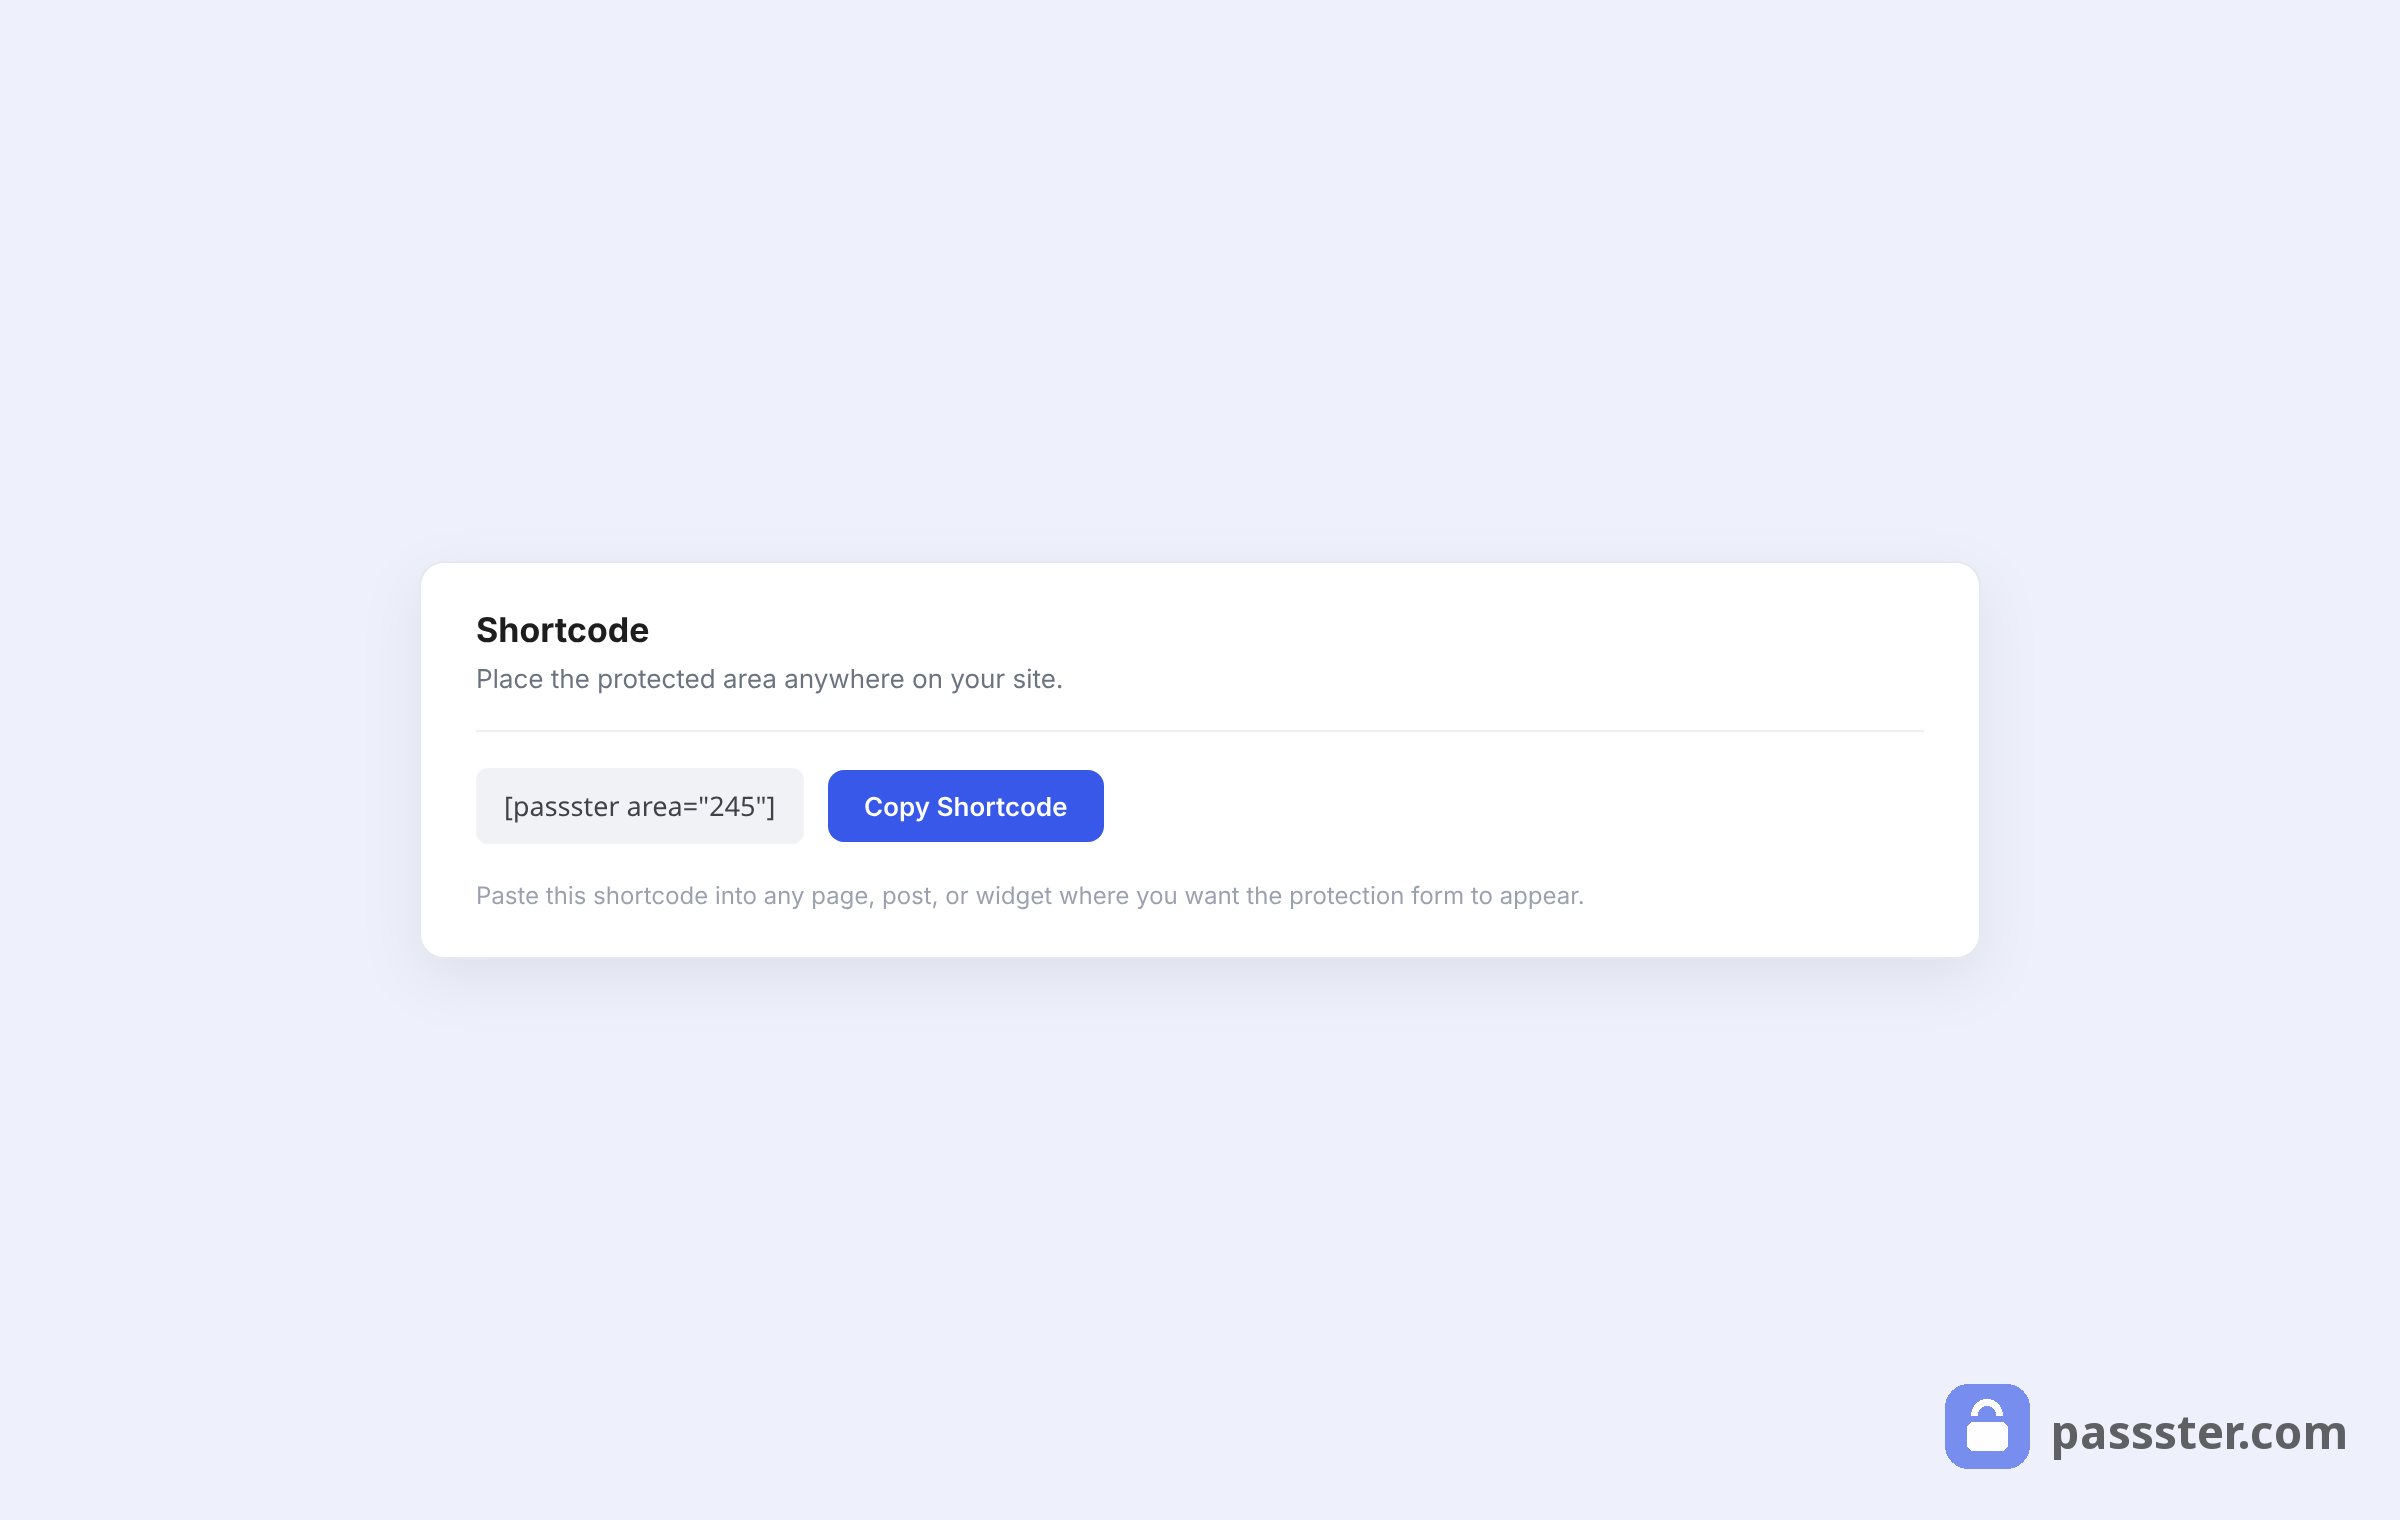
A shortcode is a small amount of text and numbers within square brackets like this: [passster password="password" area="81"]
This shortcode can then be added to any WordPress page or post to display your protected content hidden behind a form.
Now that your basic shortcode has been created, there are a few settings you can change that will alter what kind of protection you’d like. This will also change the contents of the shortcode itself.
To do this, take the following steps:
- While still on the edit page for your protected area, open up the settings sidebar if not already open. You can do this by opening the protected area’s Settings panel.
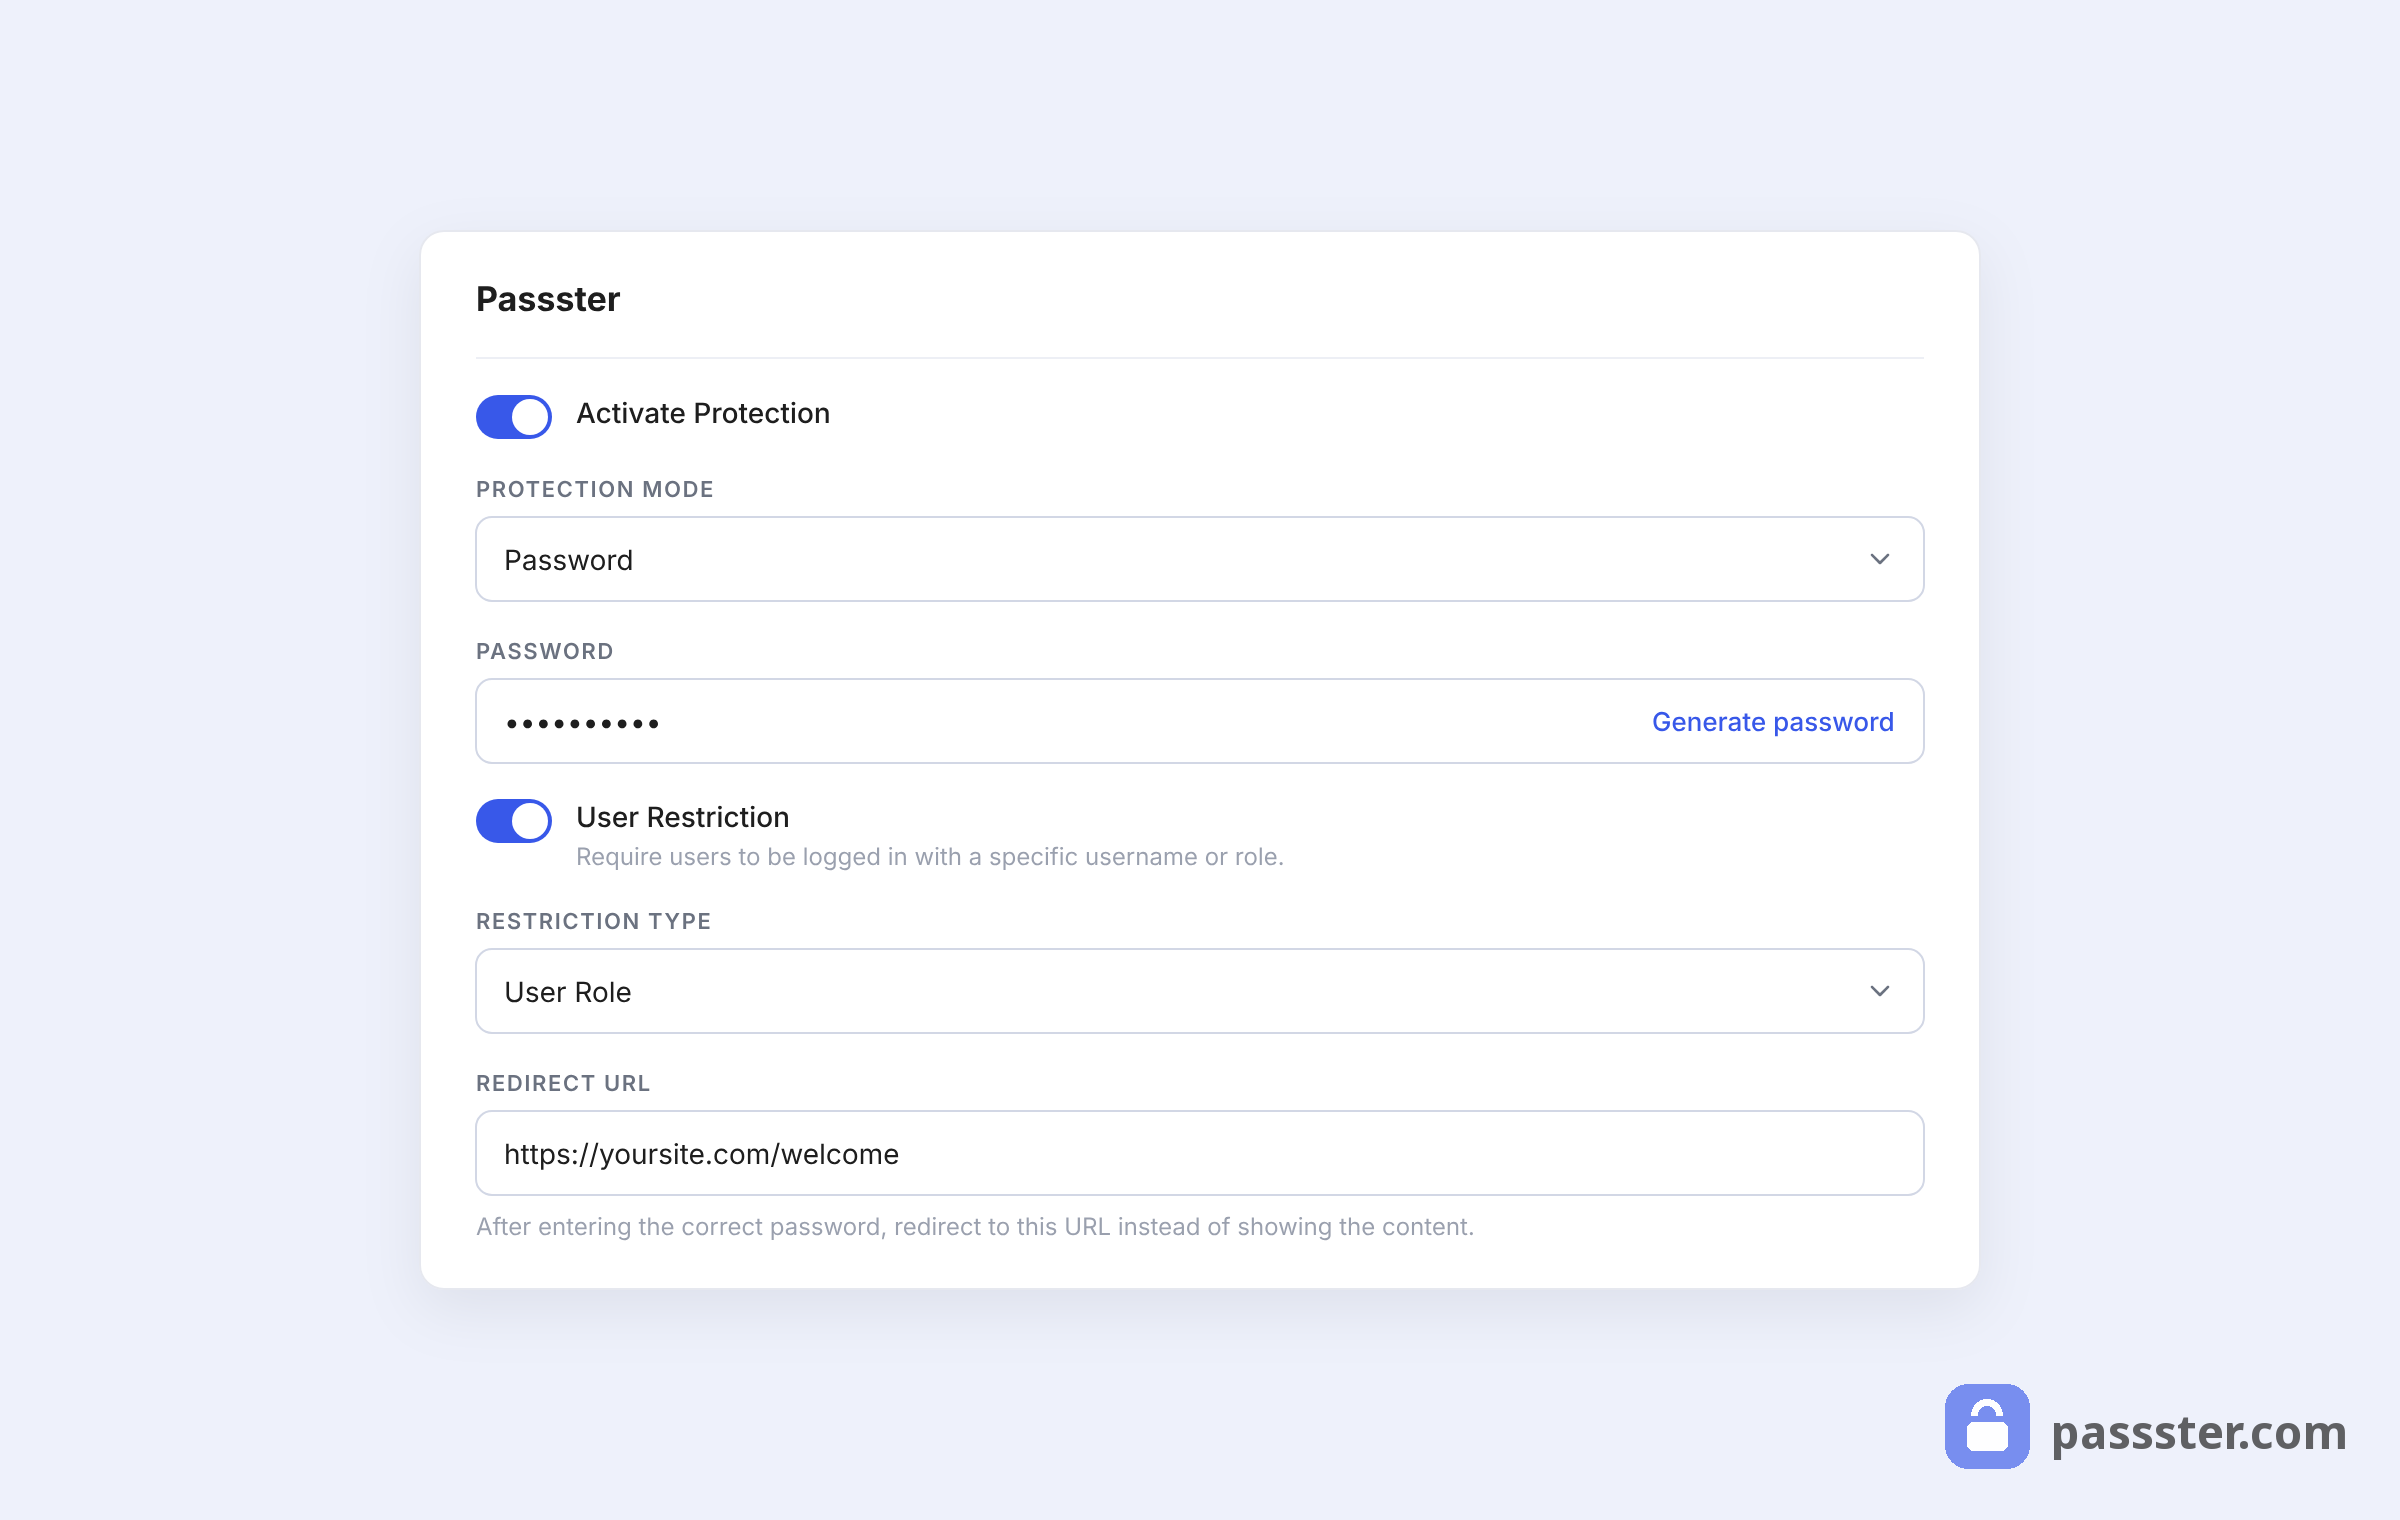
- Here you’ll be able to pick the type of protection you’d like from the Protection Type dropdown. Including:
- Password
- Multiple Passwords
- Password lists
- Google reCAPTCHA
- Based on your selection, the fields below will change, and the description text underneath it will guide you on filling out the fields.
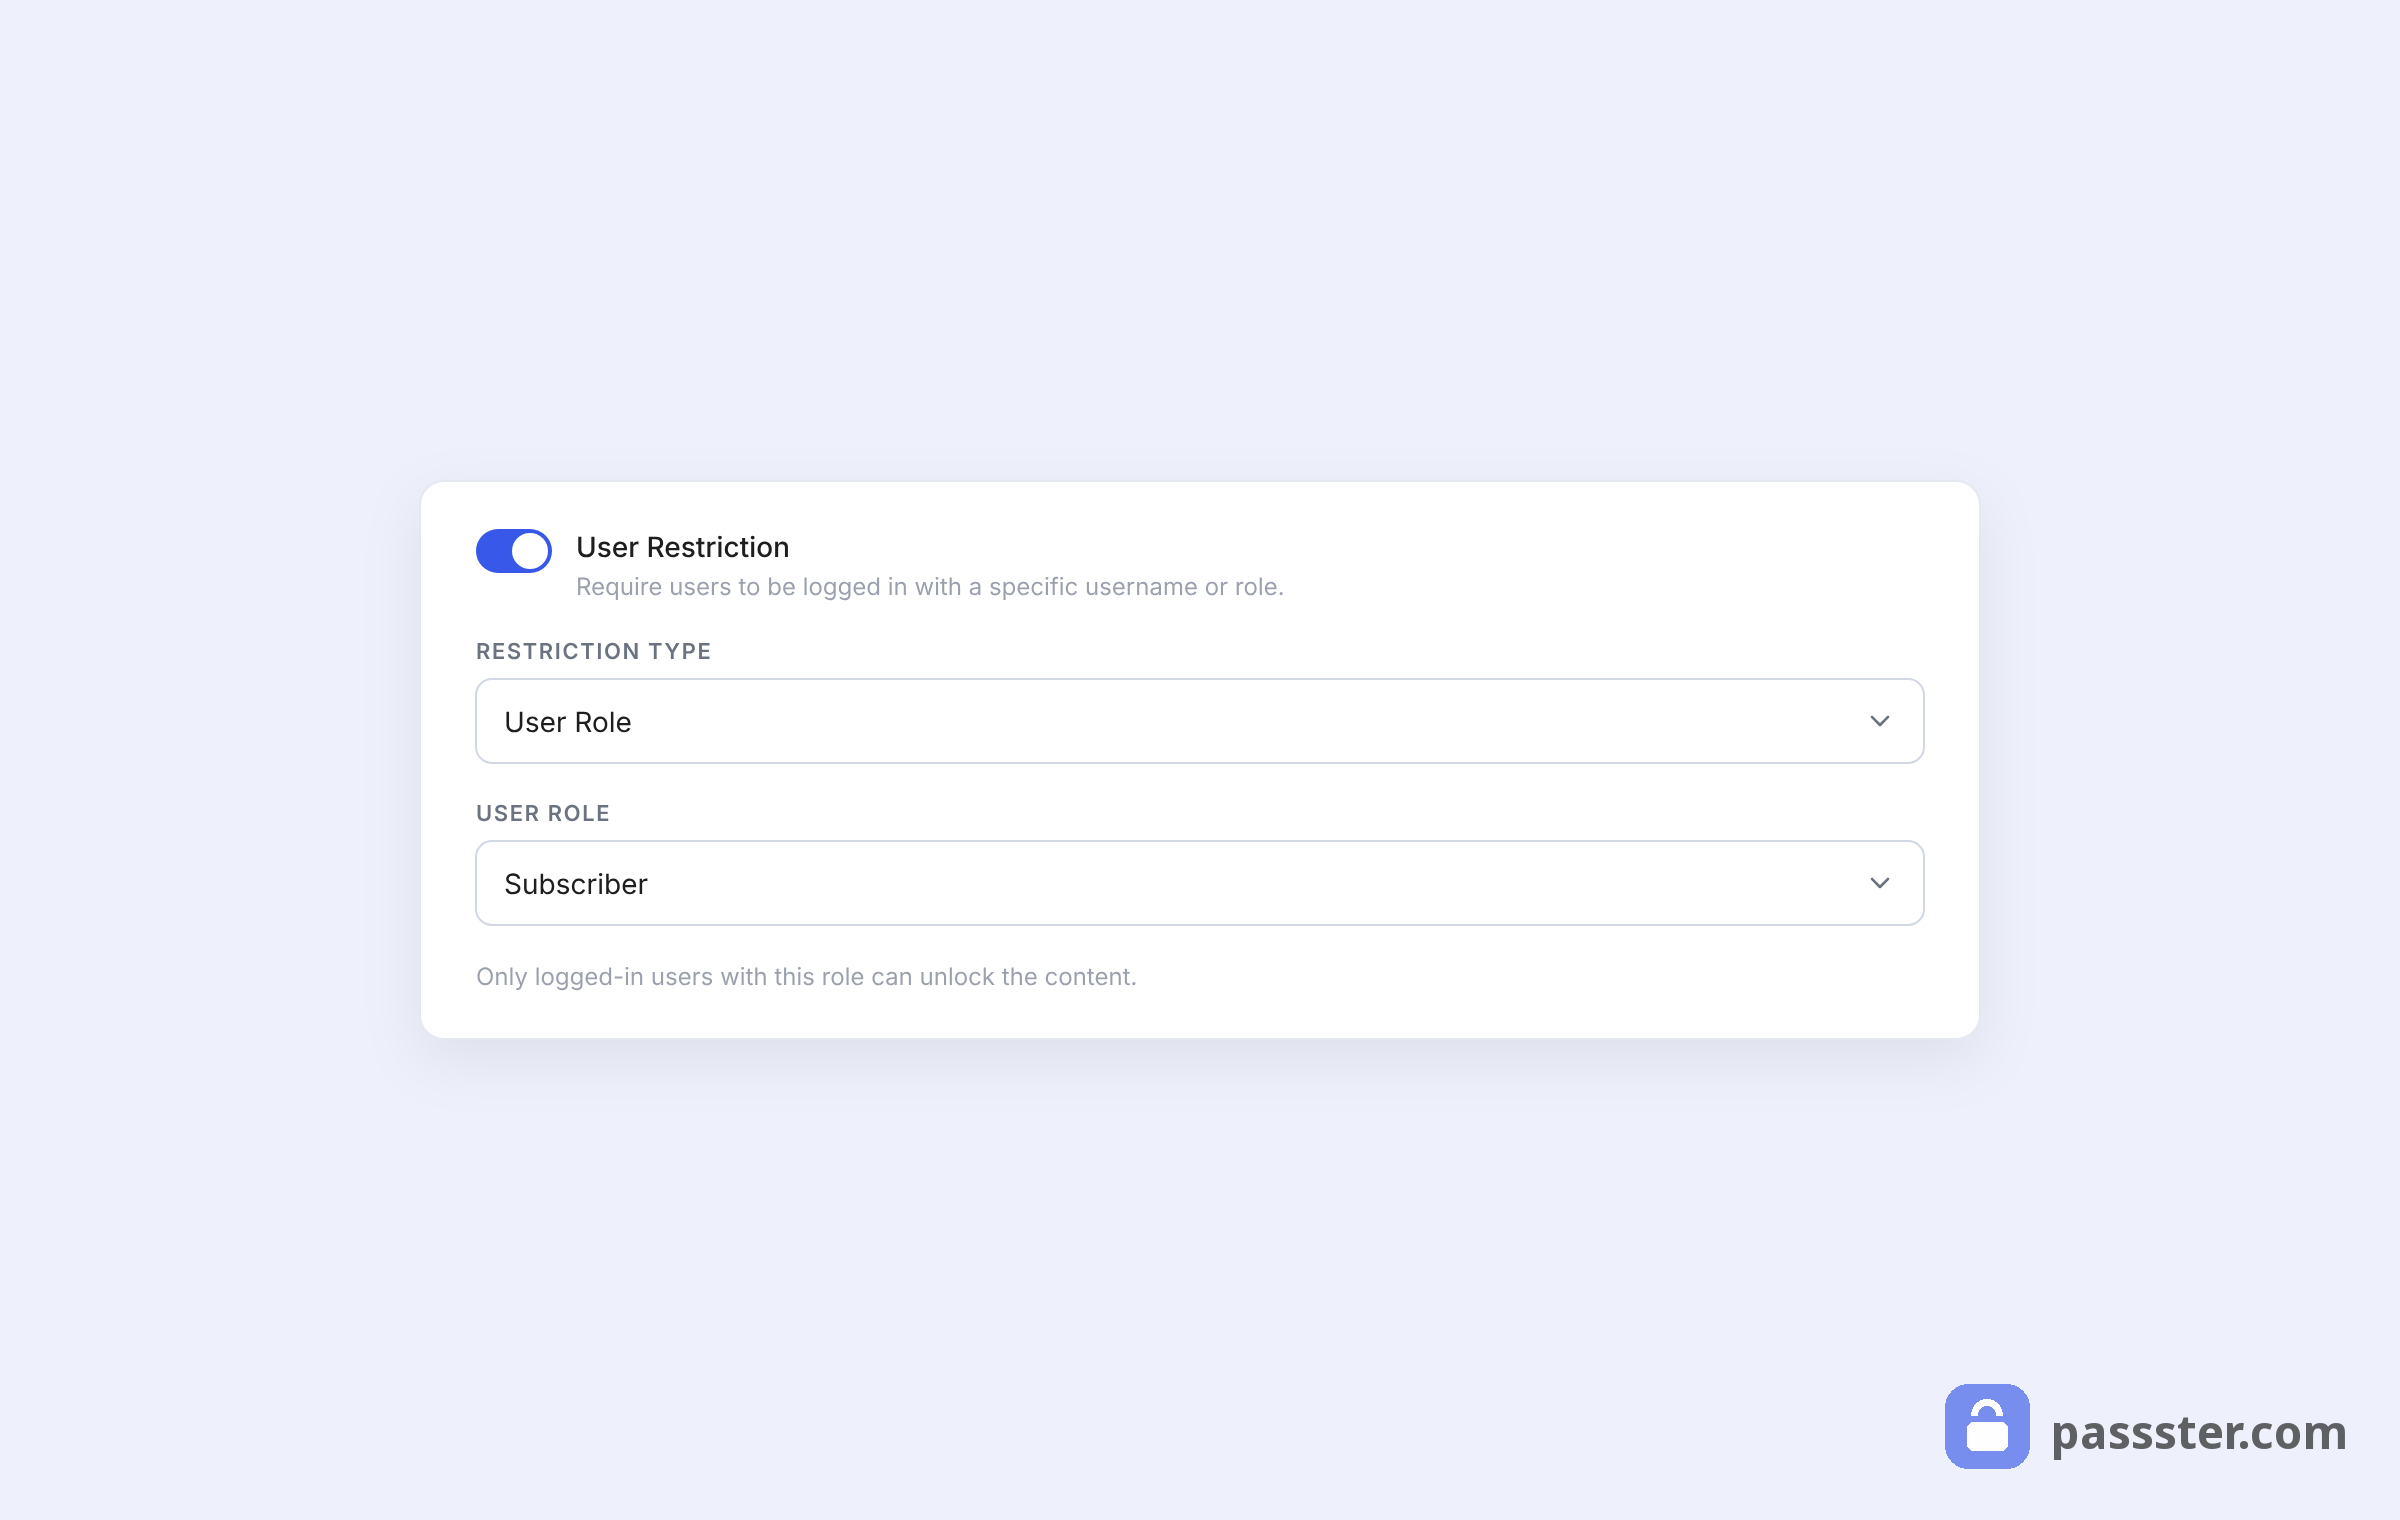
- Next, scroll to the User Restriction section. Here you’ll be able to decide if you want to unlock the content for certain users or user roles automatically.
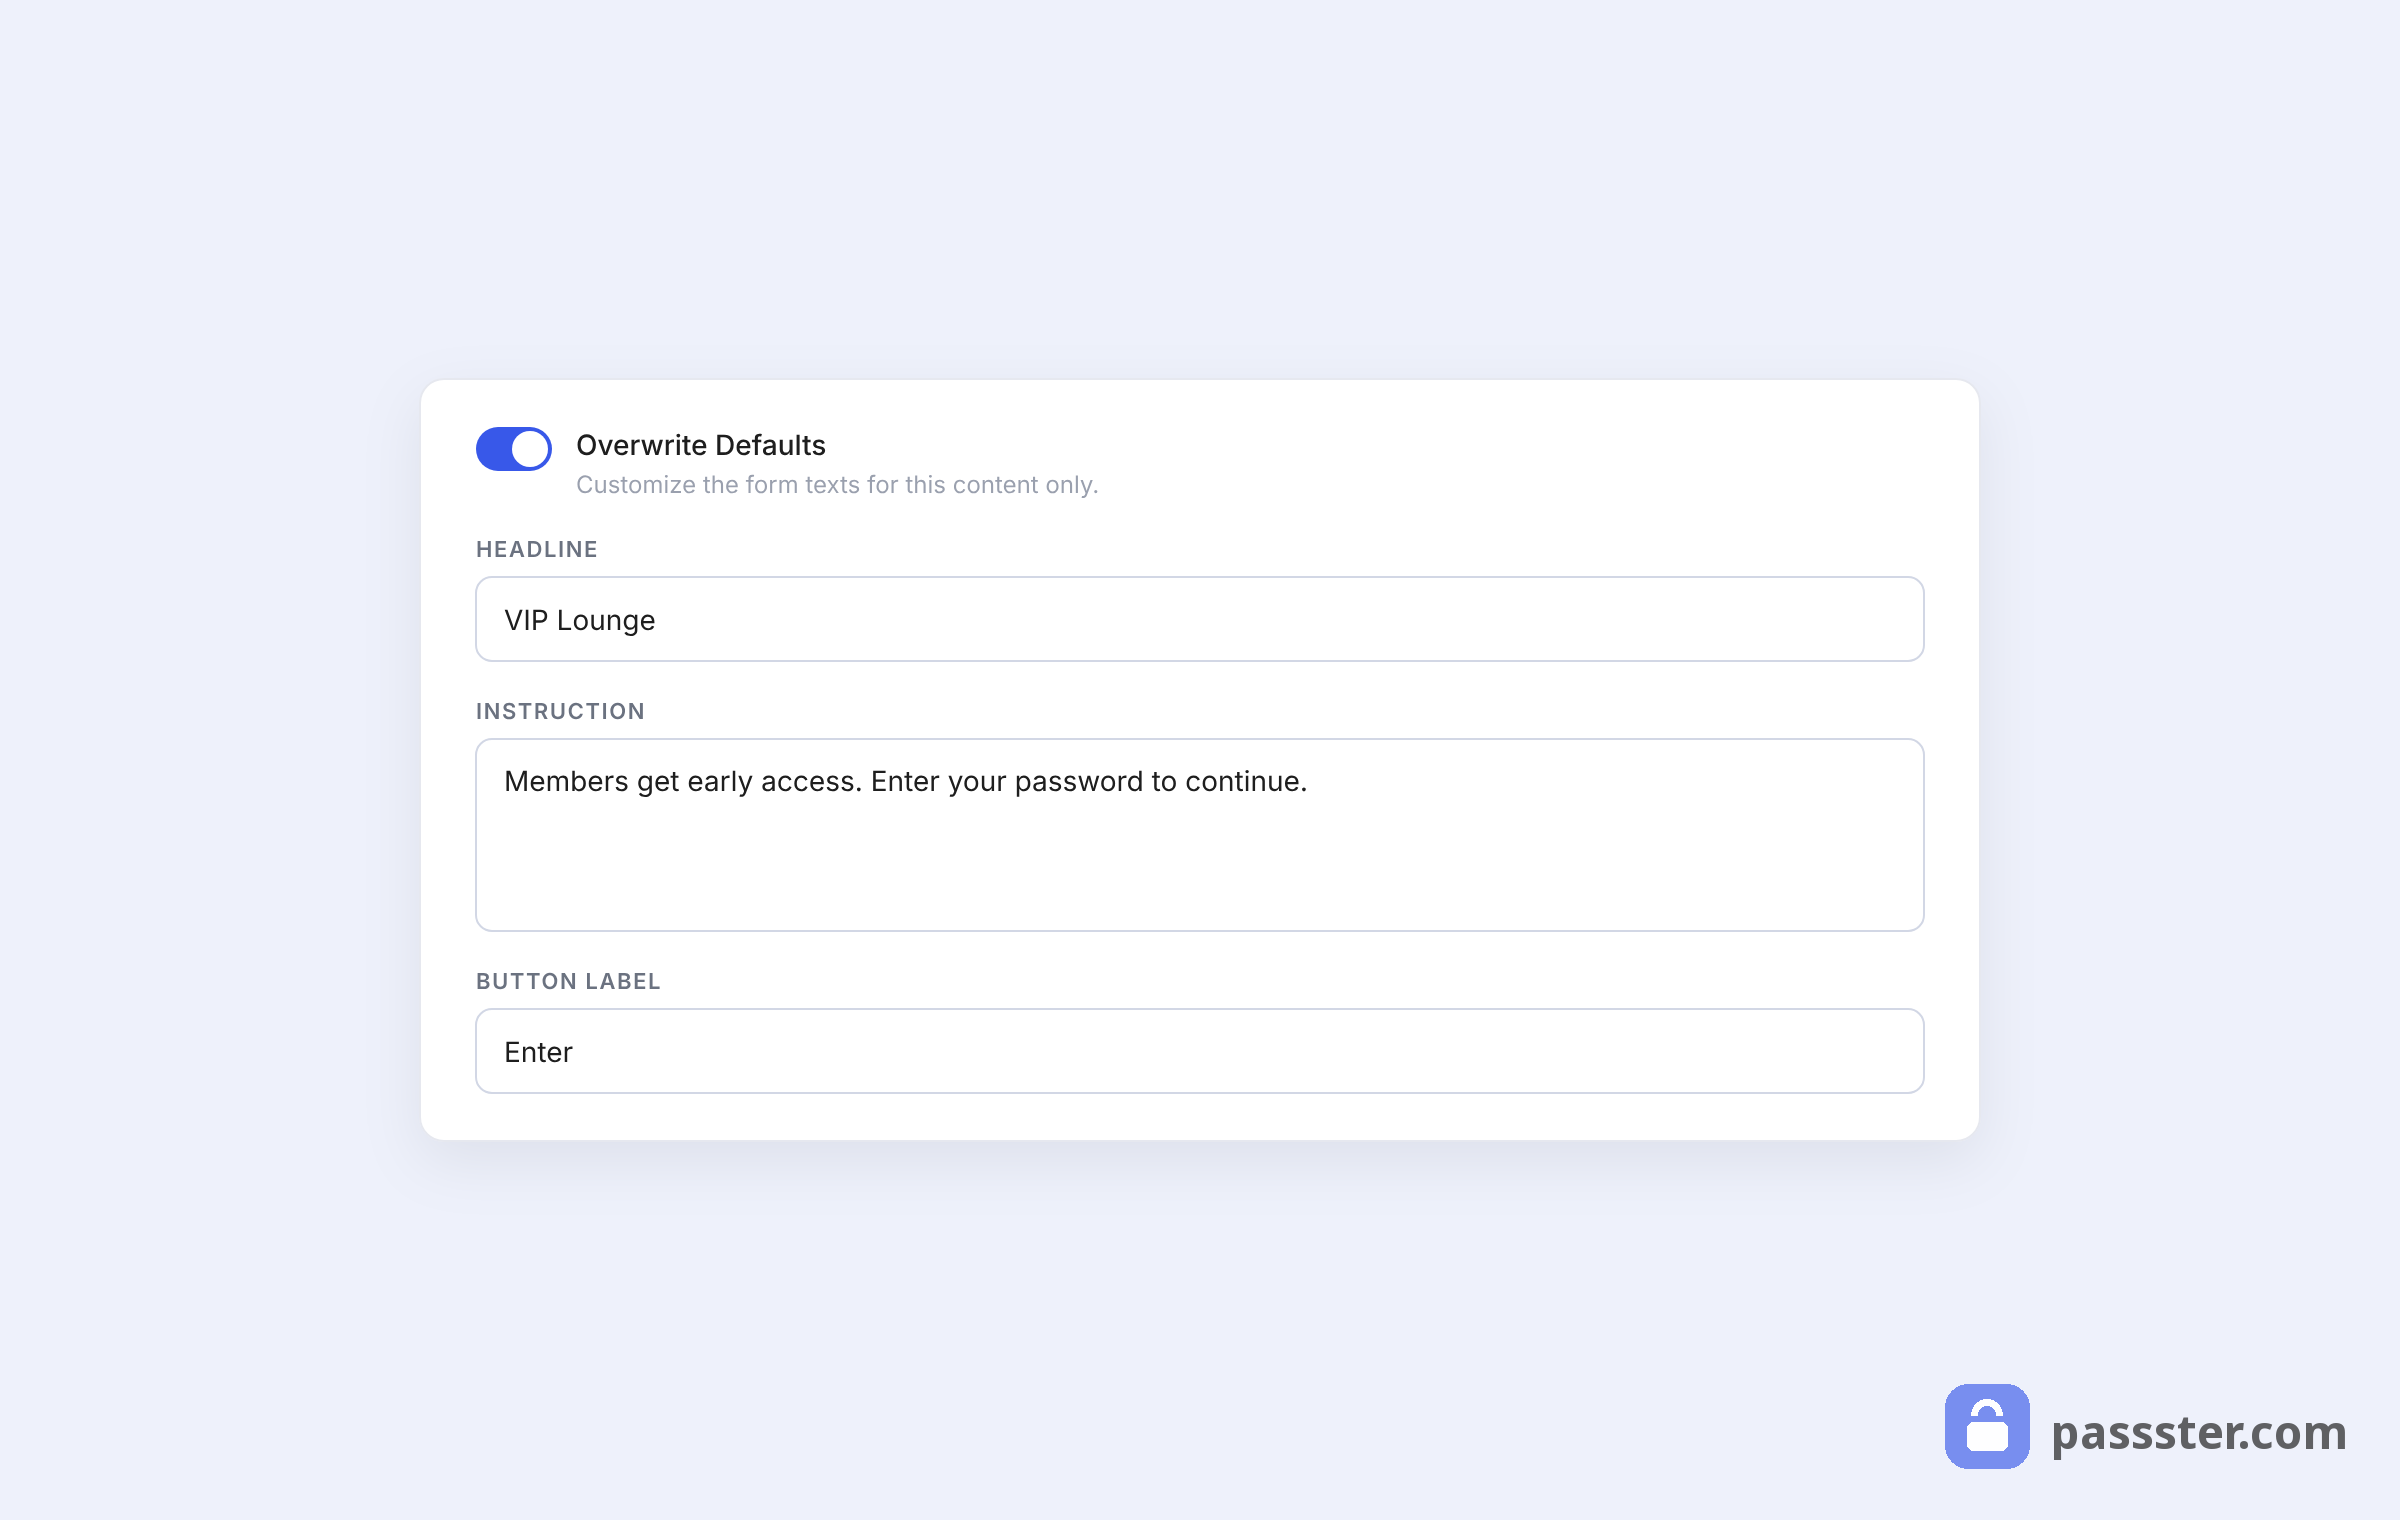
- Lastly, in Overwrite Defaults, you’ll be able to change the form headline, description, placeholder, and button texts for your shortcode.
- Once you’ve made all your changes, click Update, and your shortcode will be updated too (you may need to refresh the page to see changes).
- Once done, copy the shortcode, and we’ll move on to the next stage.
We’ve created our protected area and decided how we want to protect it, so now, let’s get it added to a page/post.
Add your shortcode to a page/post
Adding this shortcode and therefore your protected area to a page or post only takes a few steps:
- From your WordPress dashboard, go to Pages > All Pages and click to edit the page you want to add your protected area to.
- Of course, at this stage, you could also create a new page/post and then take the same steps below.
- Next, click within the content area itself and paste the shortcode. WordPress should automatically turn it into a shortcode ‘block’.
- If this doesn’t work, instead, click inside the content area and click the black + symbol. Search ‘shortcode’ in the search field that pops up and click on it to add. Then paste your shortcode into the shortcode ‘block’.
Once done click Update at the top of the page and your protected area will appear.
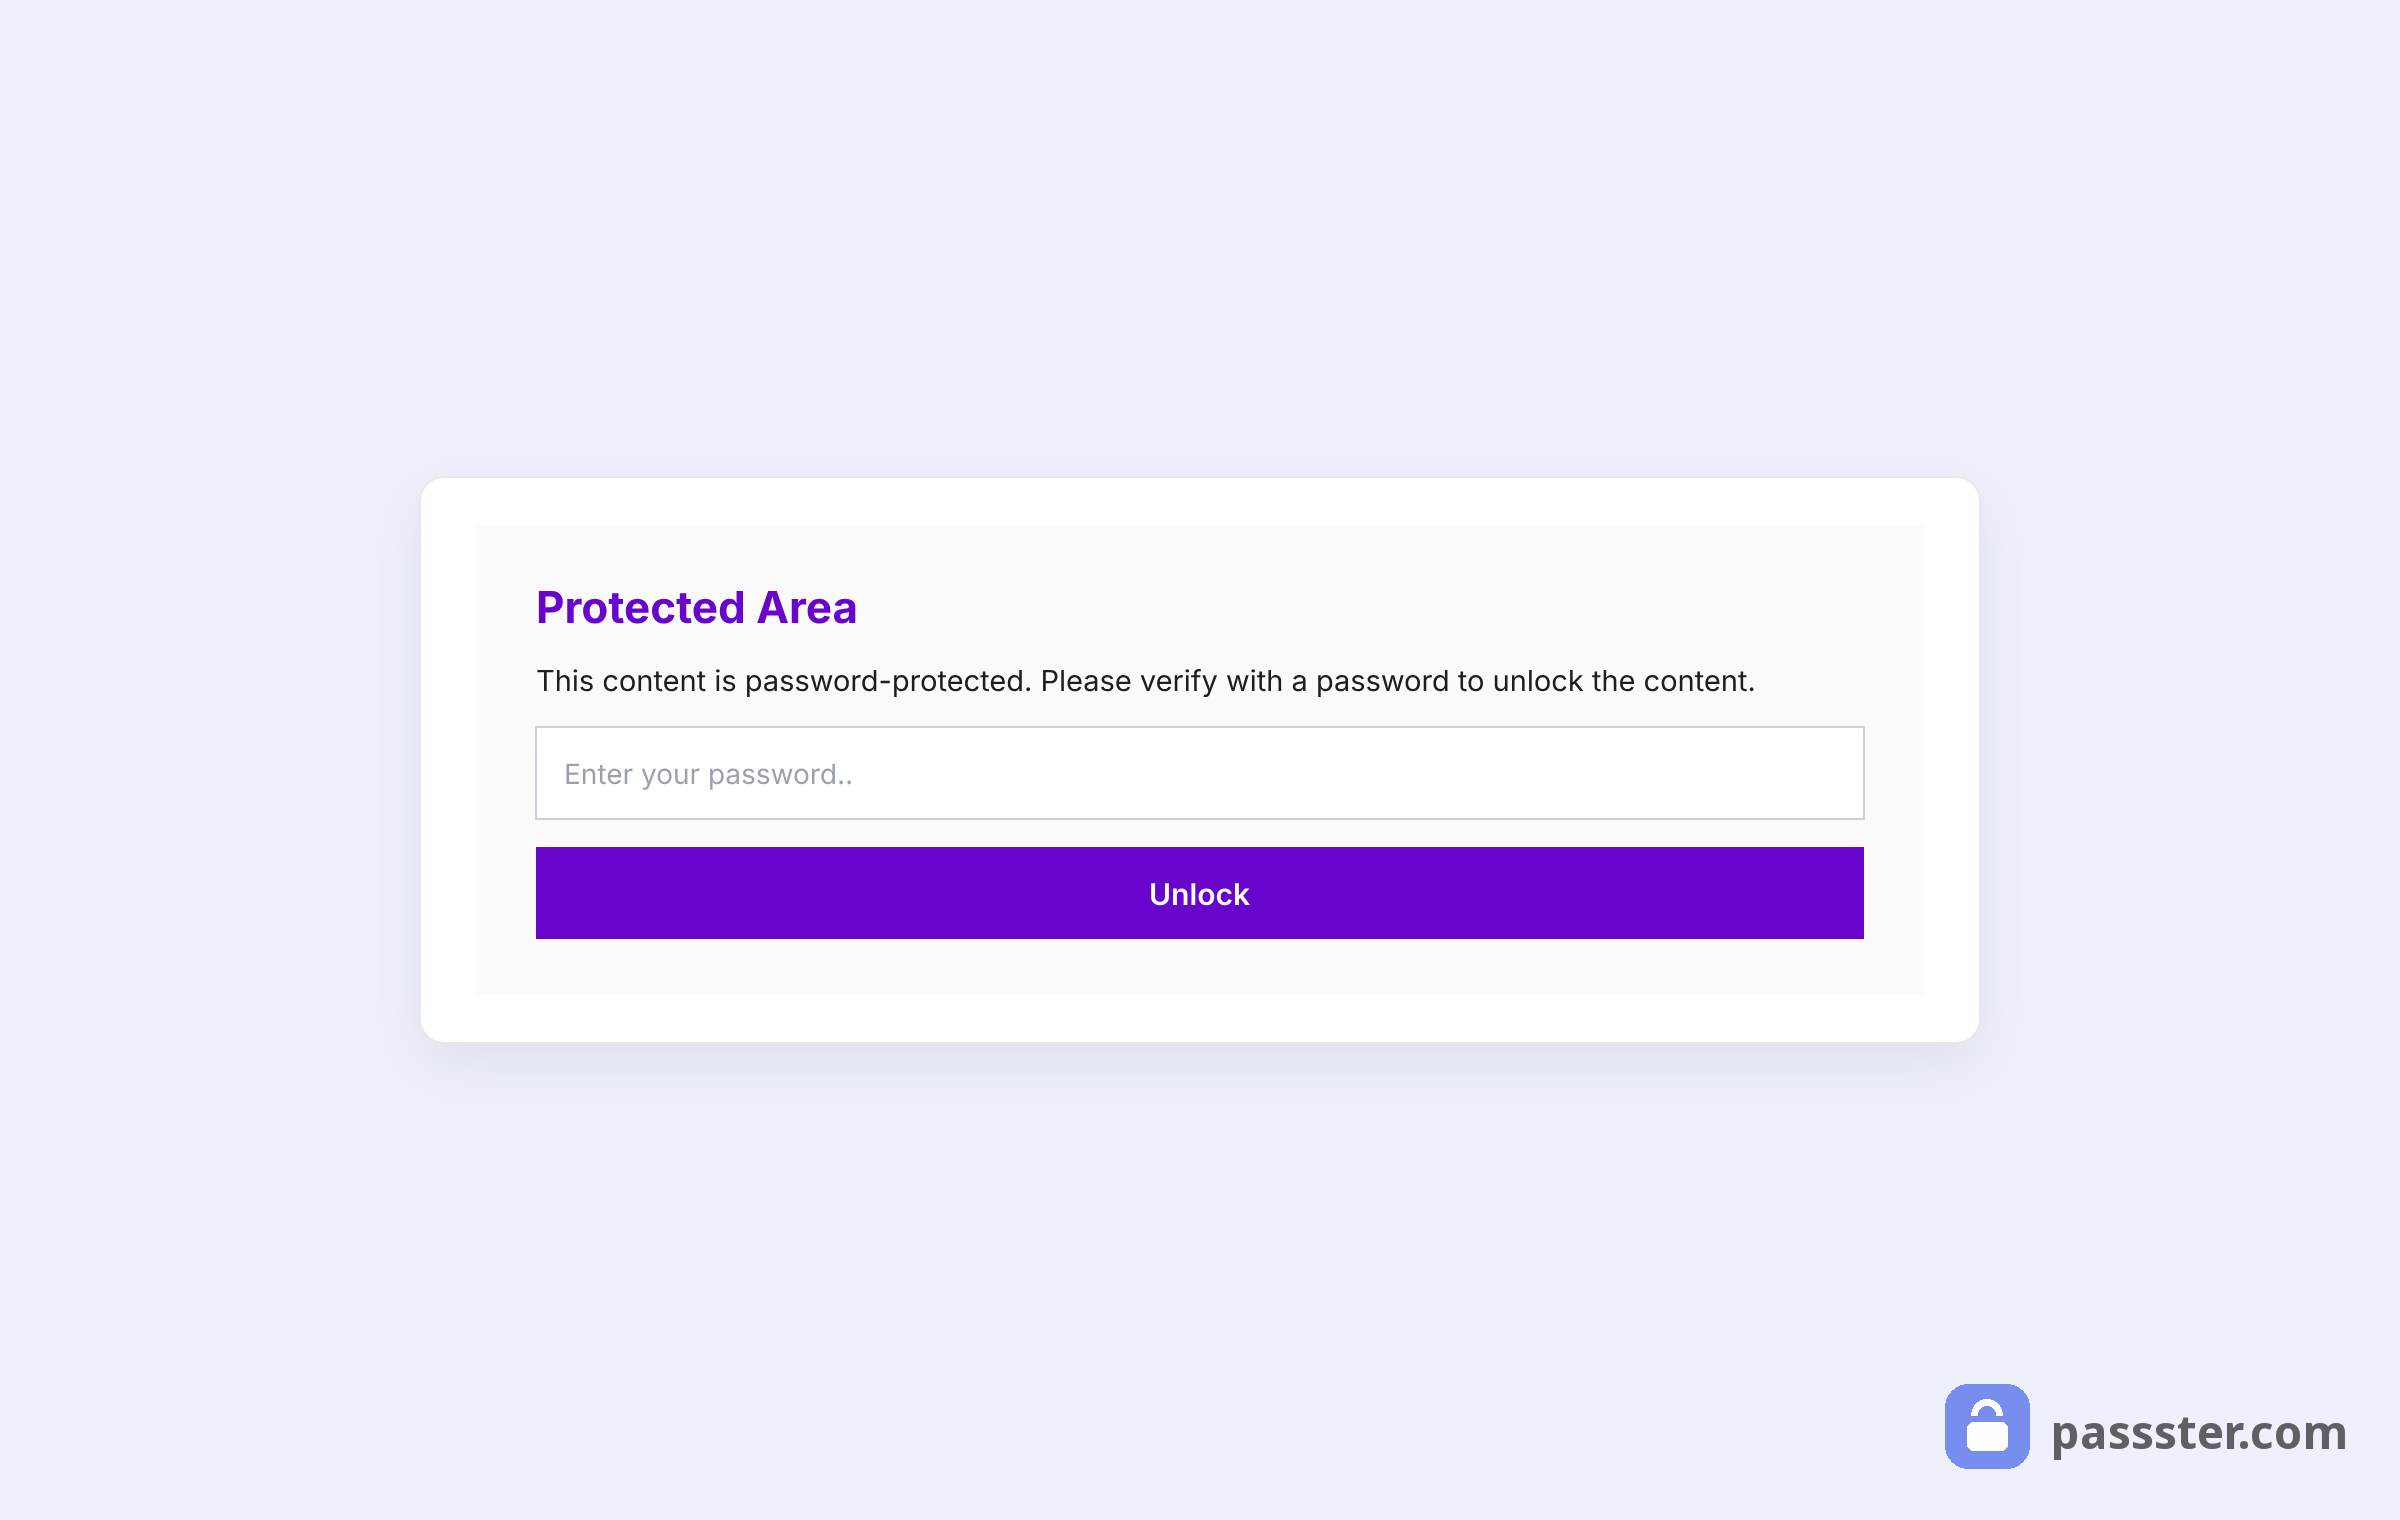
Using the Protected Area Block
You can also use the “Protected Area” block right within the Block Editor to select a protected area:
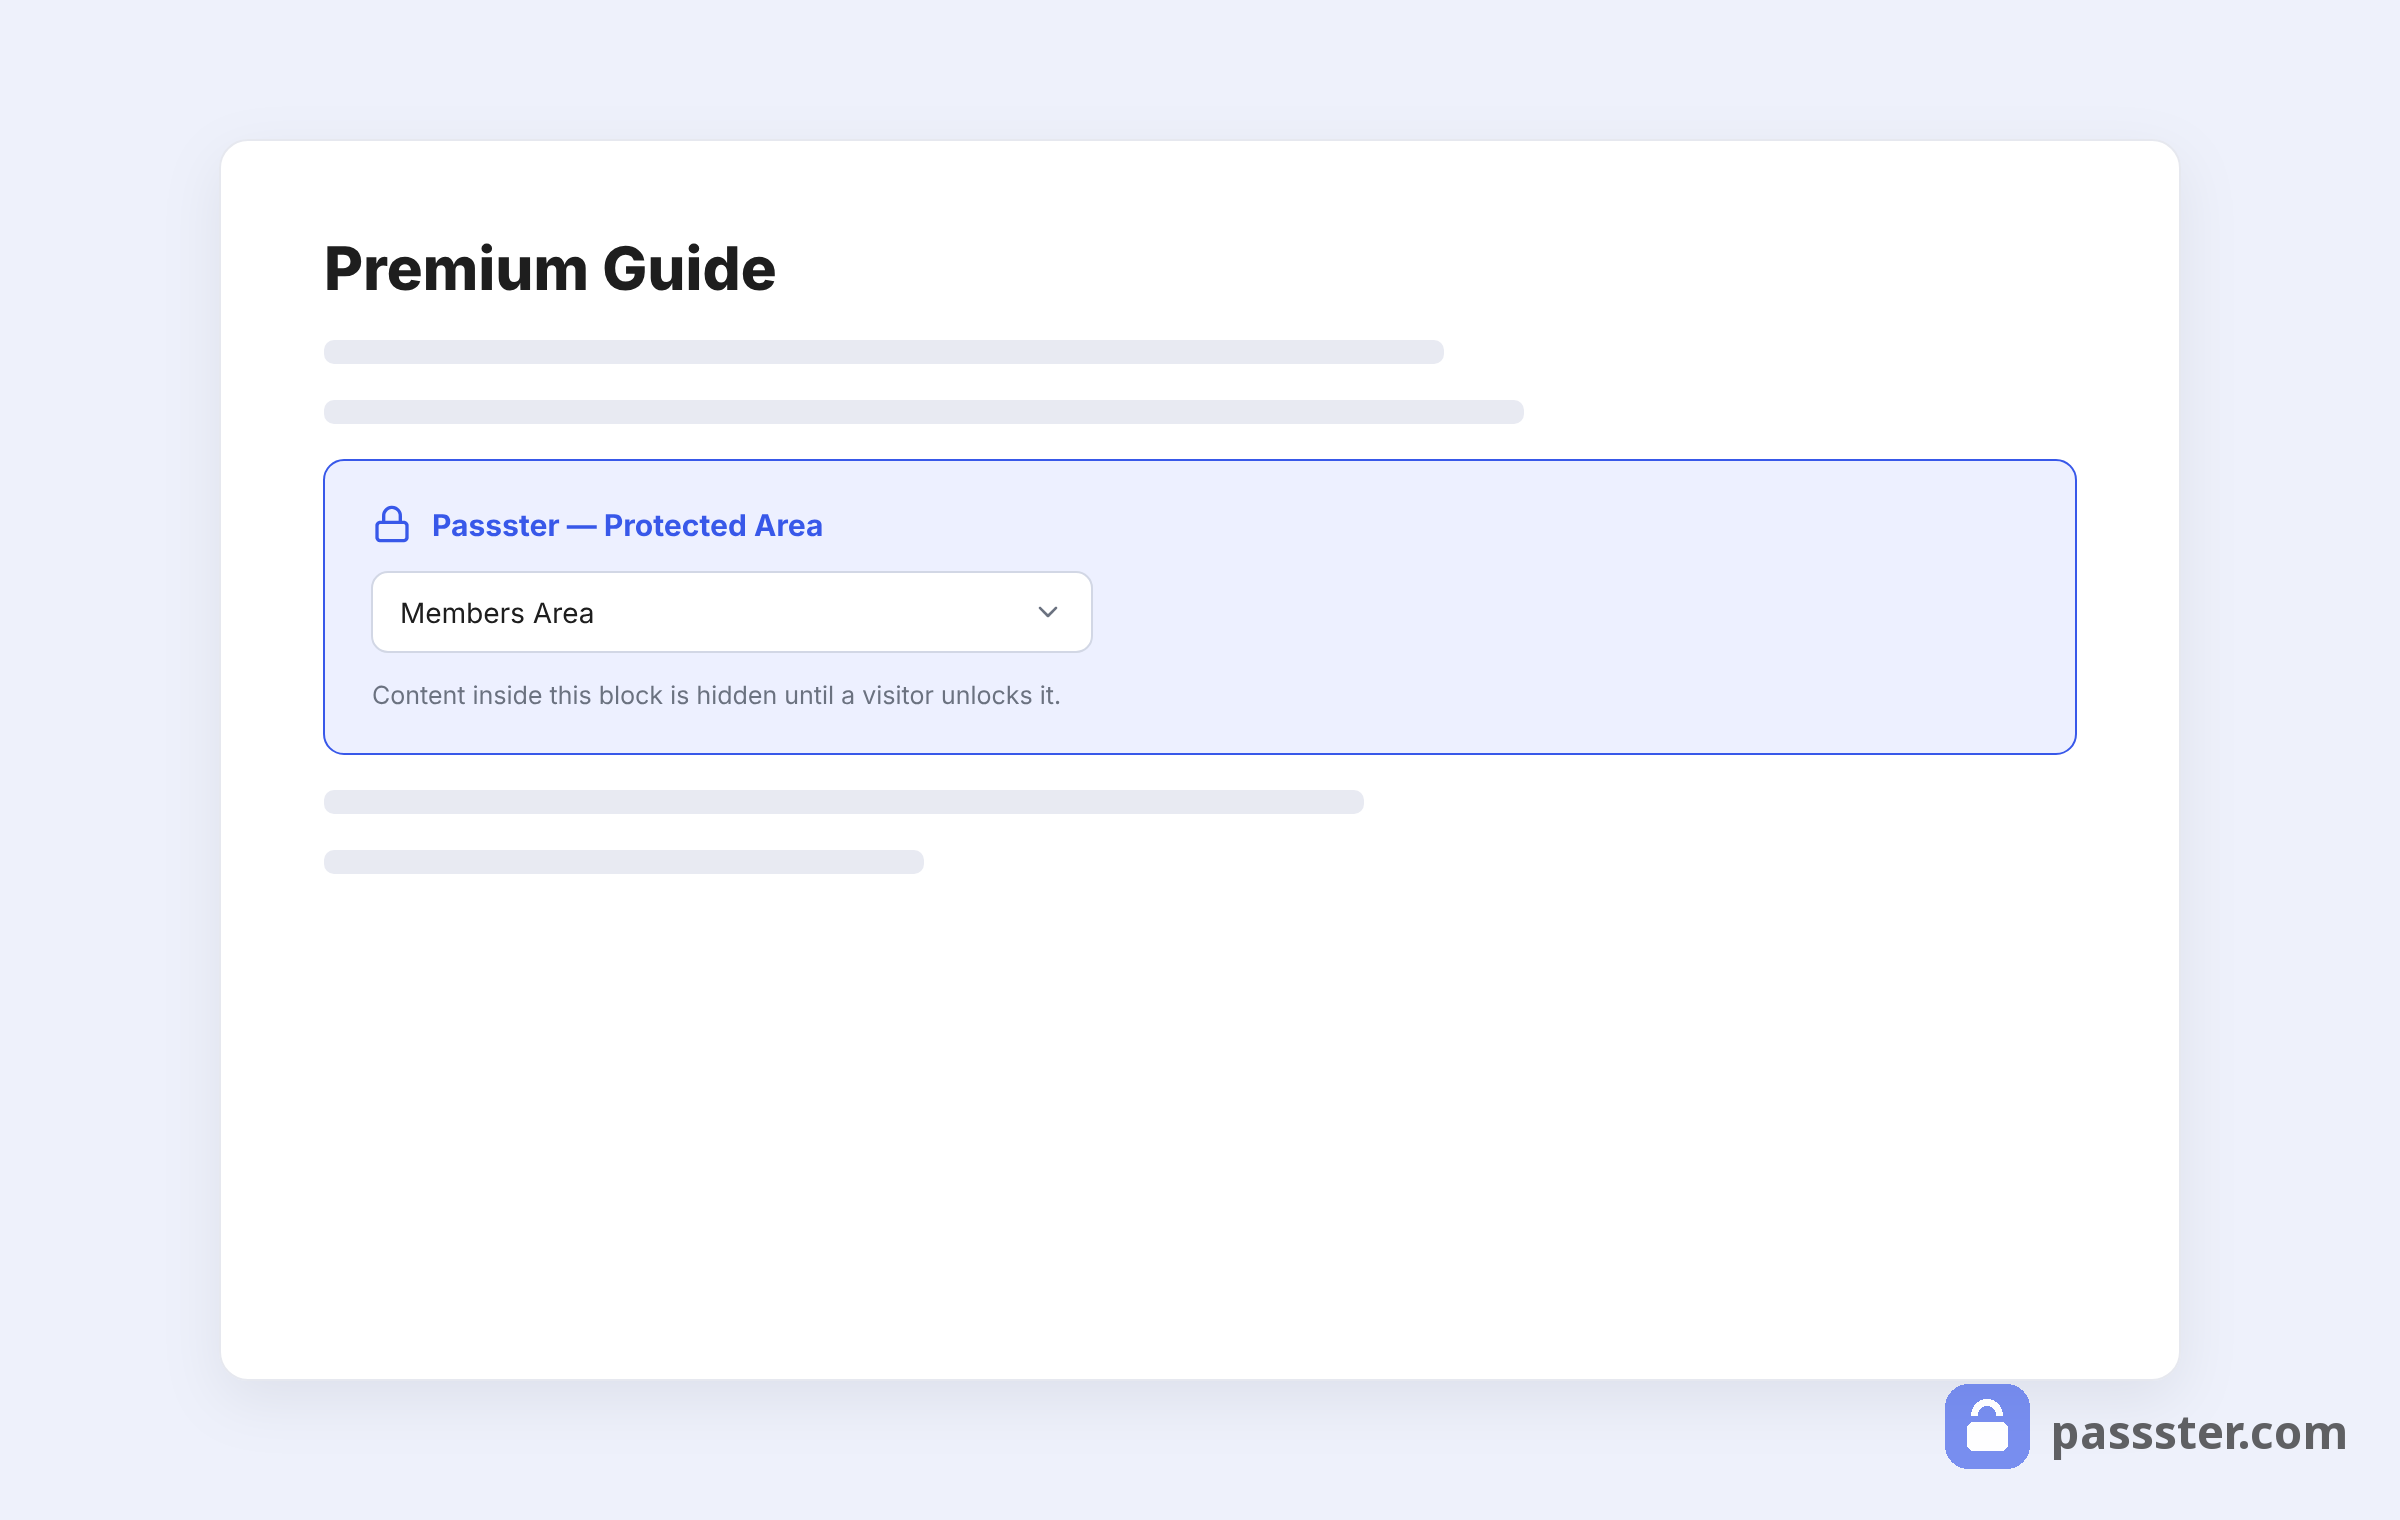
Once added you can select a protected area by clicking on the password form and using the select menu on the right side of the screen. You can also create a new area and quickly update the list of available areas without reloading the page:
You can also edit all labels and texts for that area directly within the block editor by clicking on the individual sections within the password form. Let’s say you want to modify the headline of that specific password form, click on the headline: