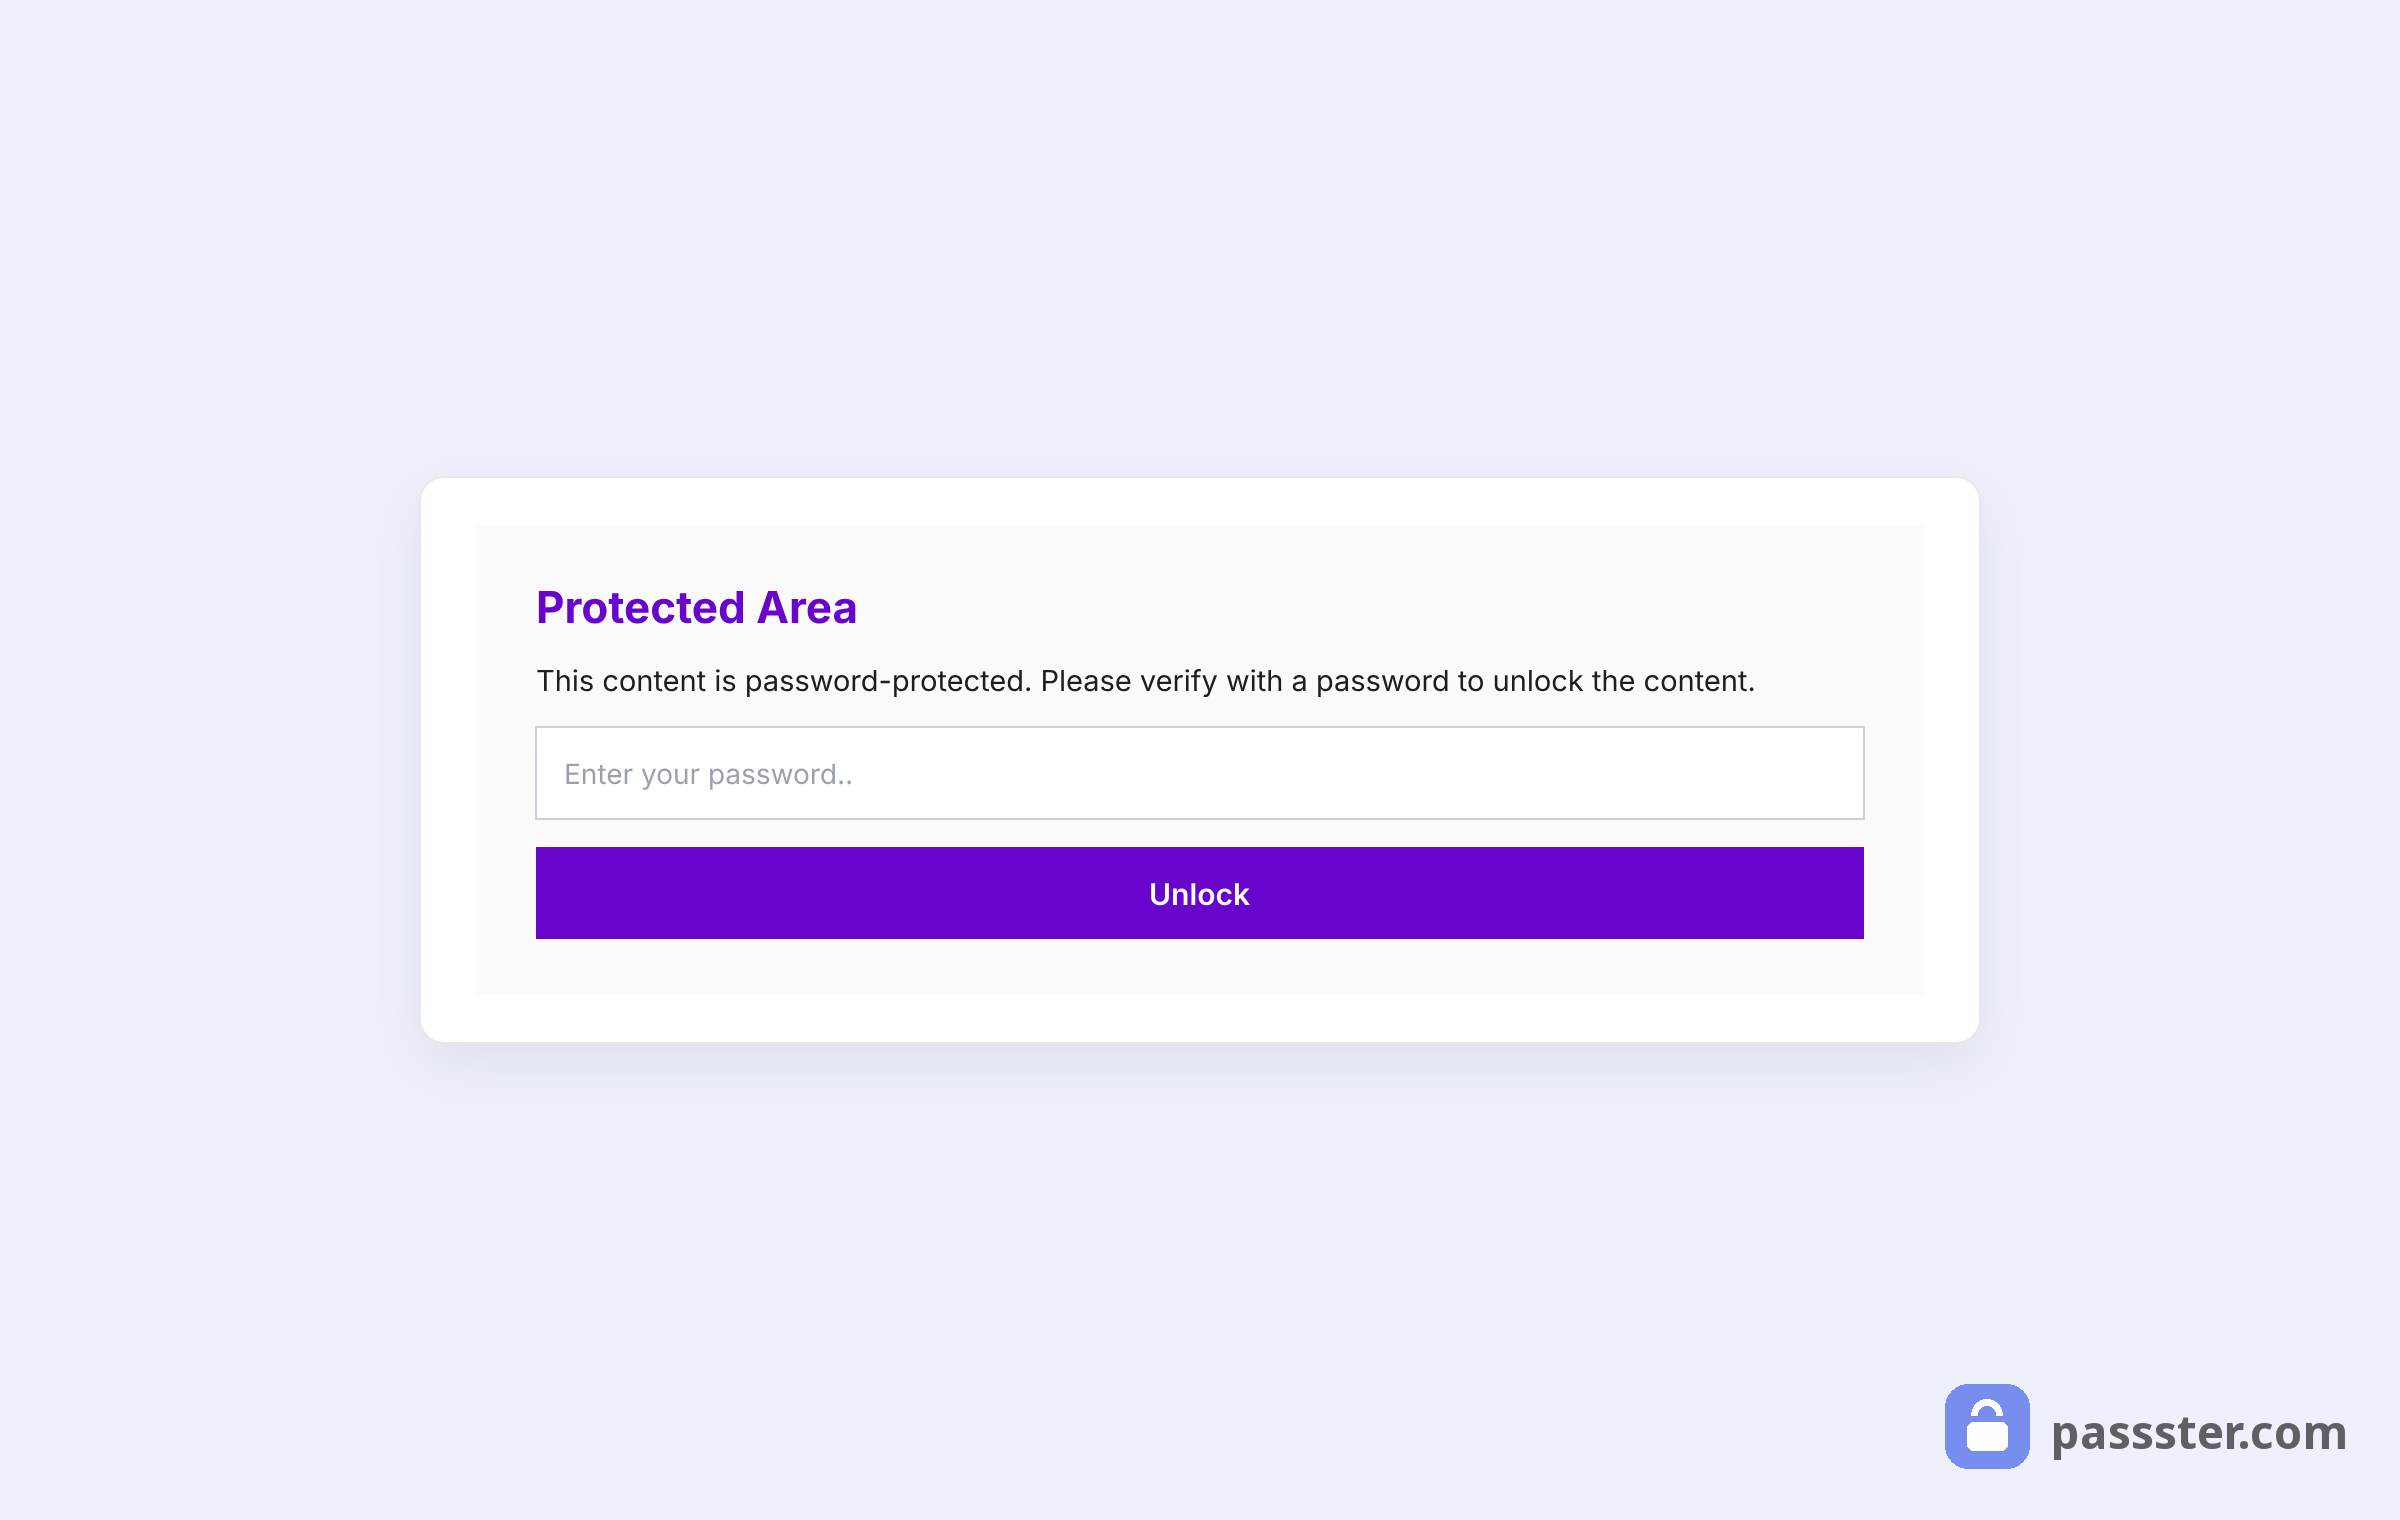
How to protect a whole page/post
If you’re looking to protect a whole page or post on your WordPress site, you can do so with Passster.
In this example, we’ll protect a page, but this technique works the same for posts too.
To protect a WordPress page, take the following steps:
- From your WordPress dashboard, go to Pages > All Pages and click to edit the page you want to protect.
- You can also create a new page and protect that.
- In the settings sidebar on the right (if you don’t see this, click the cog icon at the top right of your screen), scroll down until you get to the Passster section.
- Click the Activate Protection toggle button to protect your page.
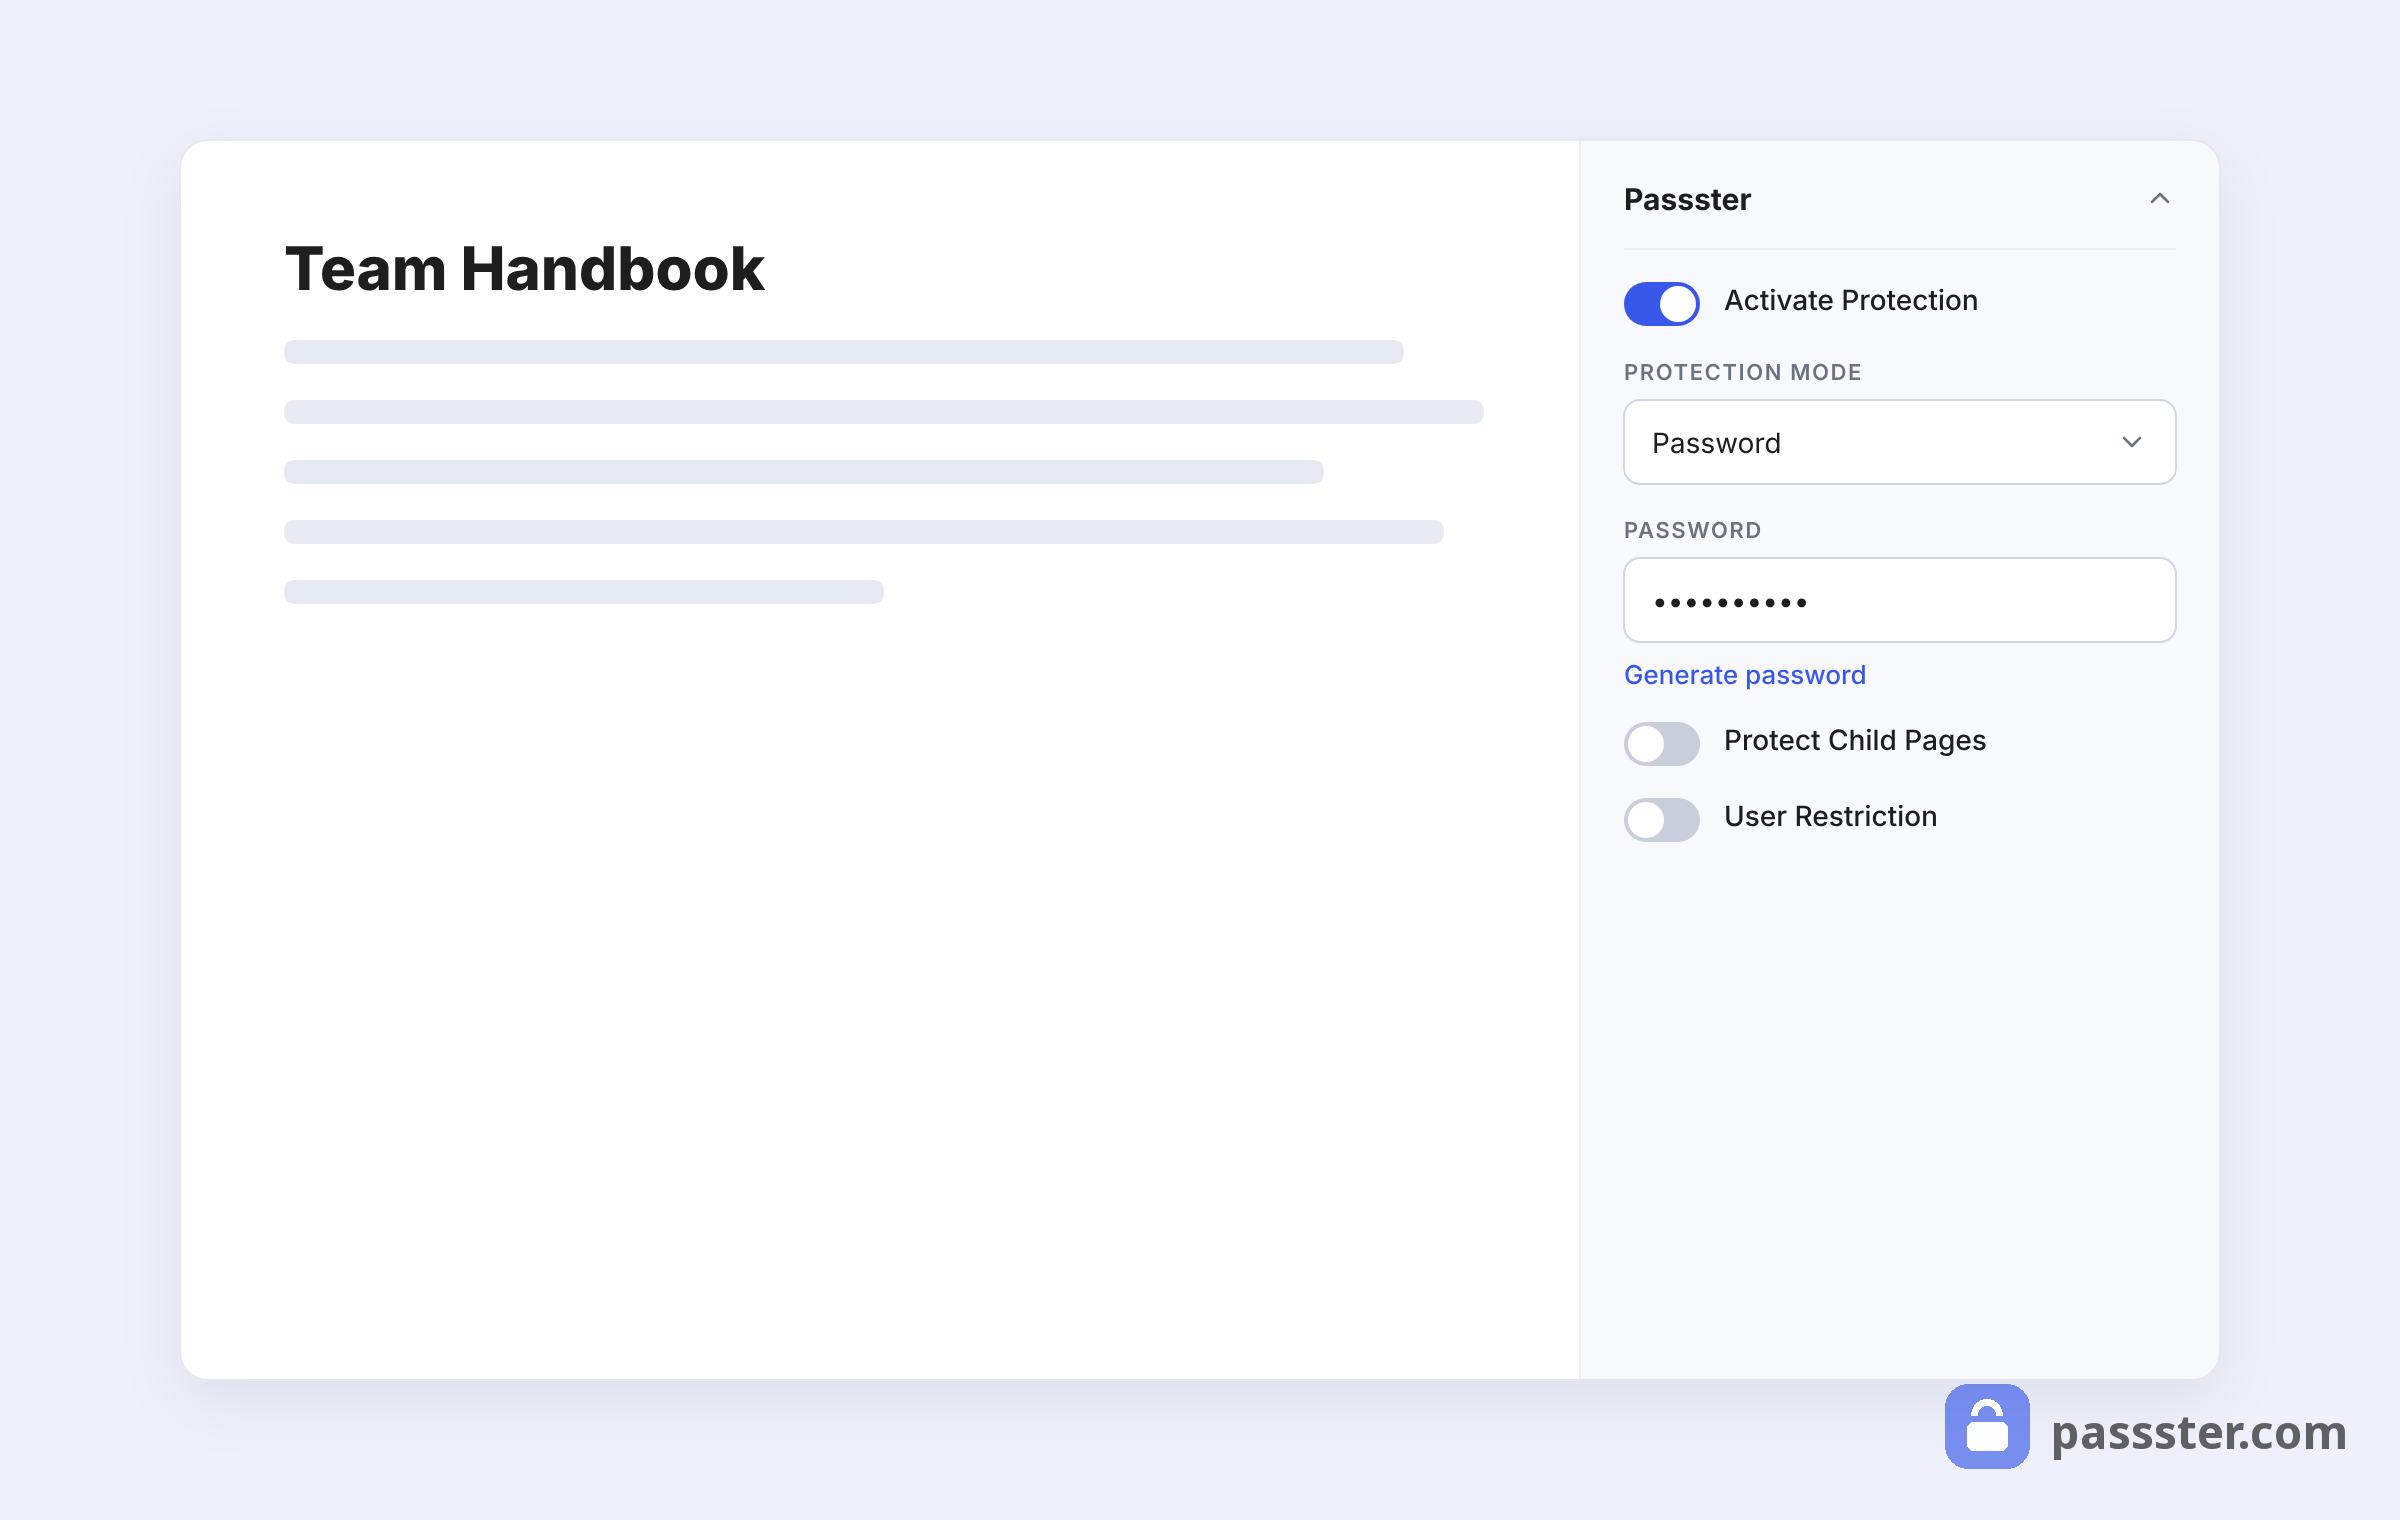
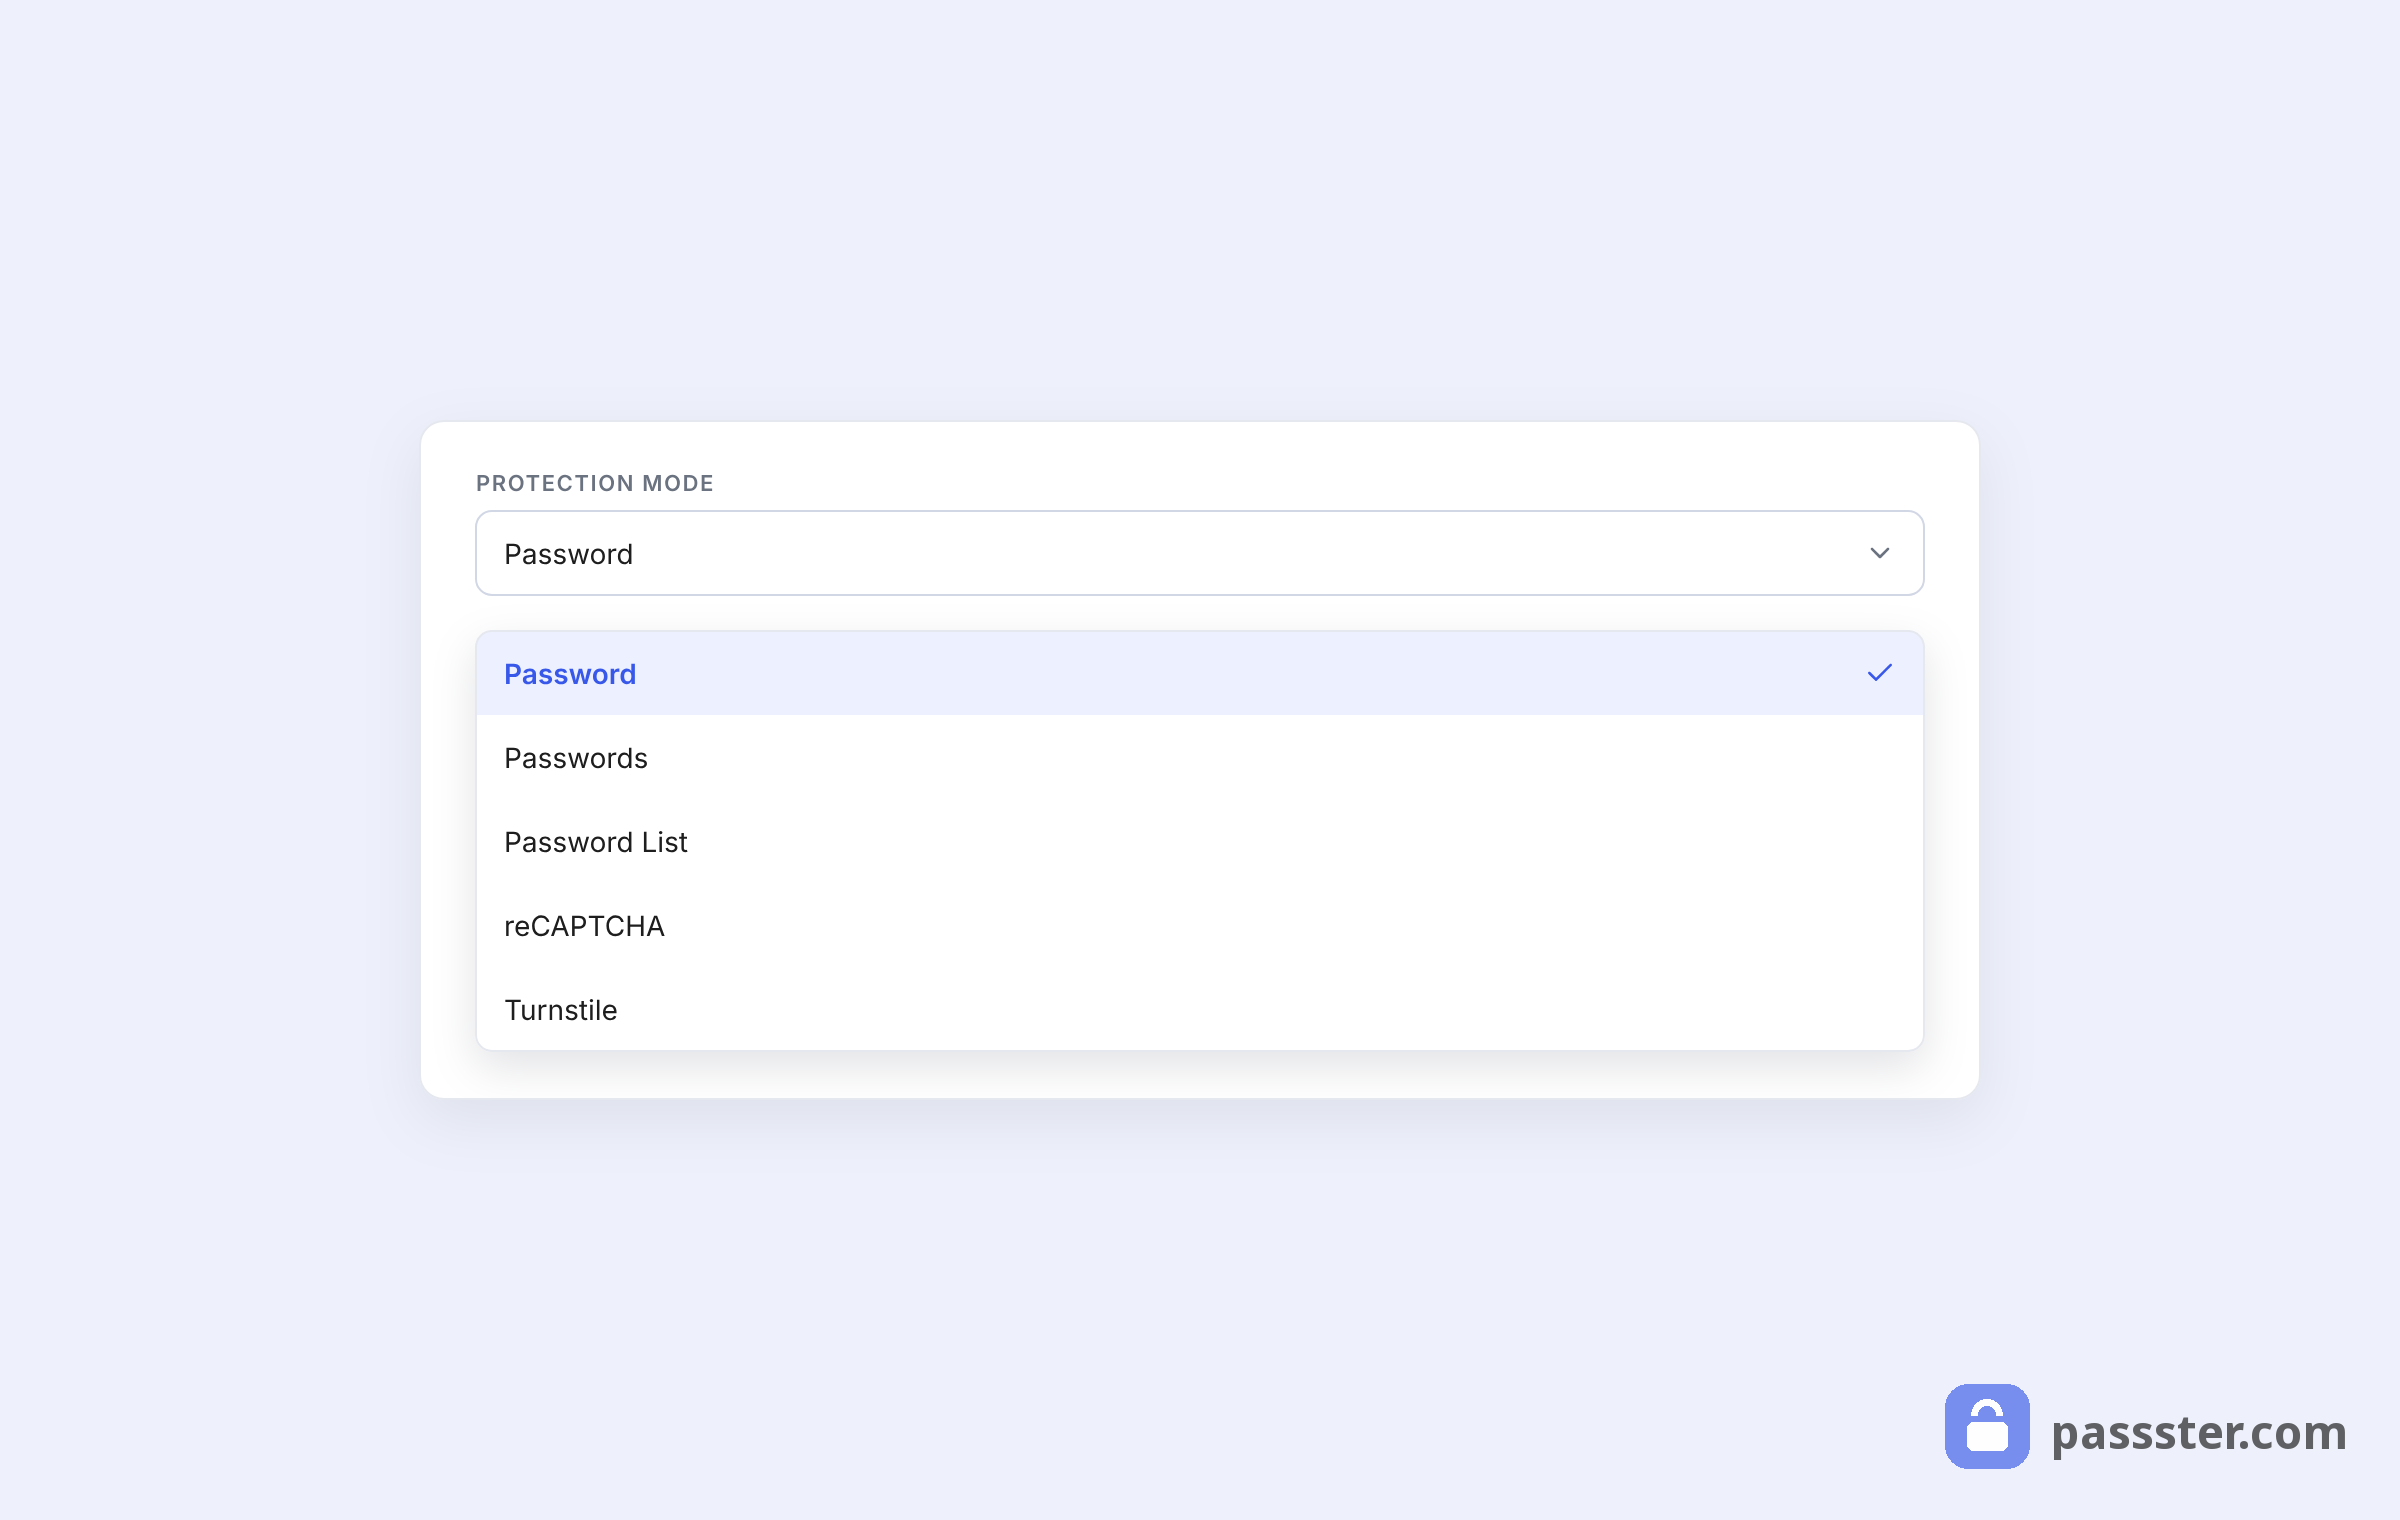
- Next, we’ll need to pick our protection type in the Protection Type dropdown. There are four options here:
- Password allows you to set one specific password to gain access.
- Passwords allows you to enter multiple different passwords to gain access. Add these as a comma-separated list.
- Password List allows you to select one of your pre-created password lists. By creating a list rather than just using Passwords, you’ll have more control over your password expiry.
- Google reCAPTCHA doesn’t require a password and instead restricts bots and hackers on the page with invisible or visible CAPTCHA.
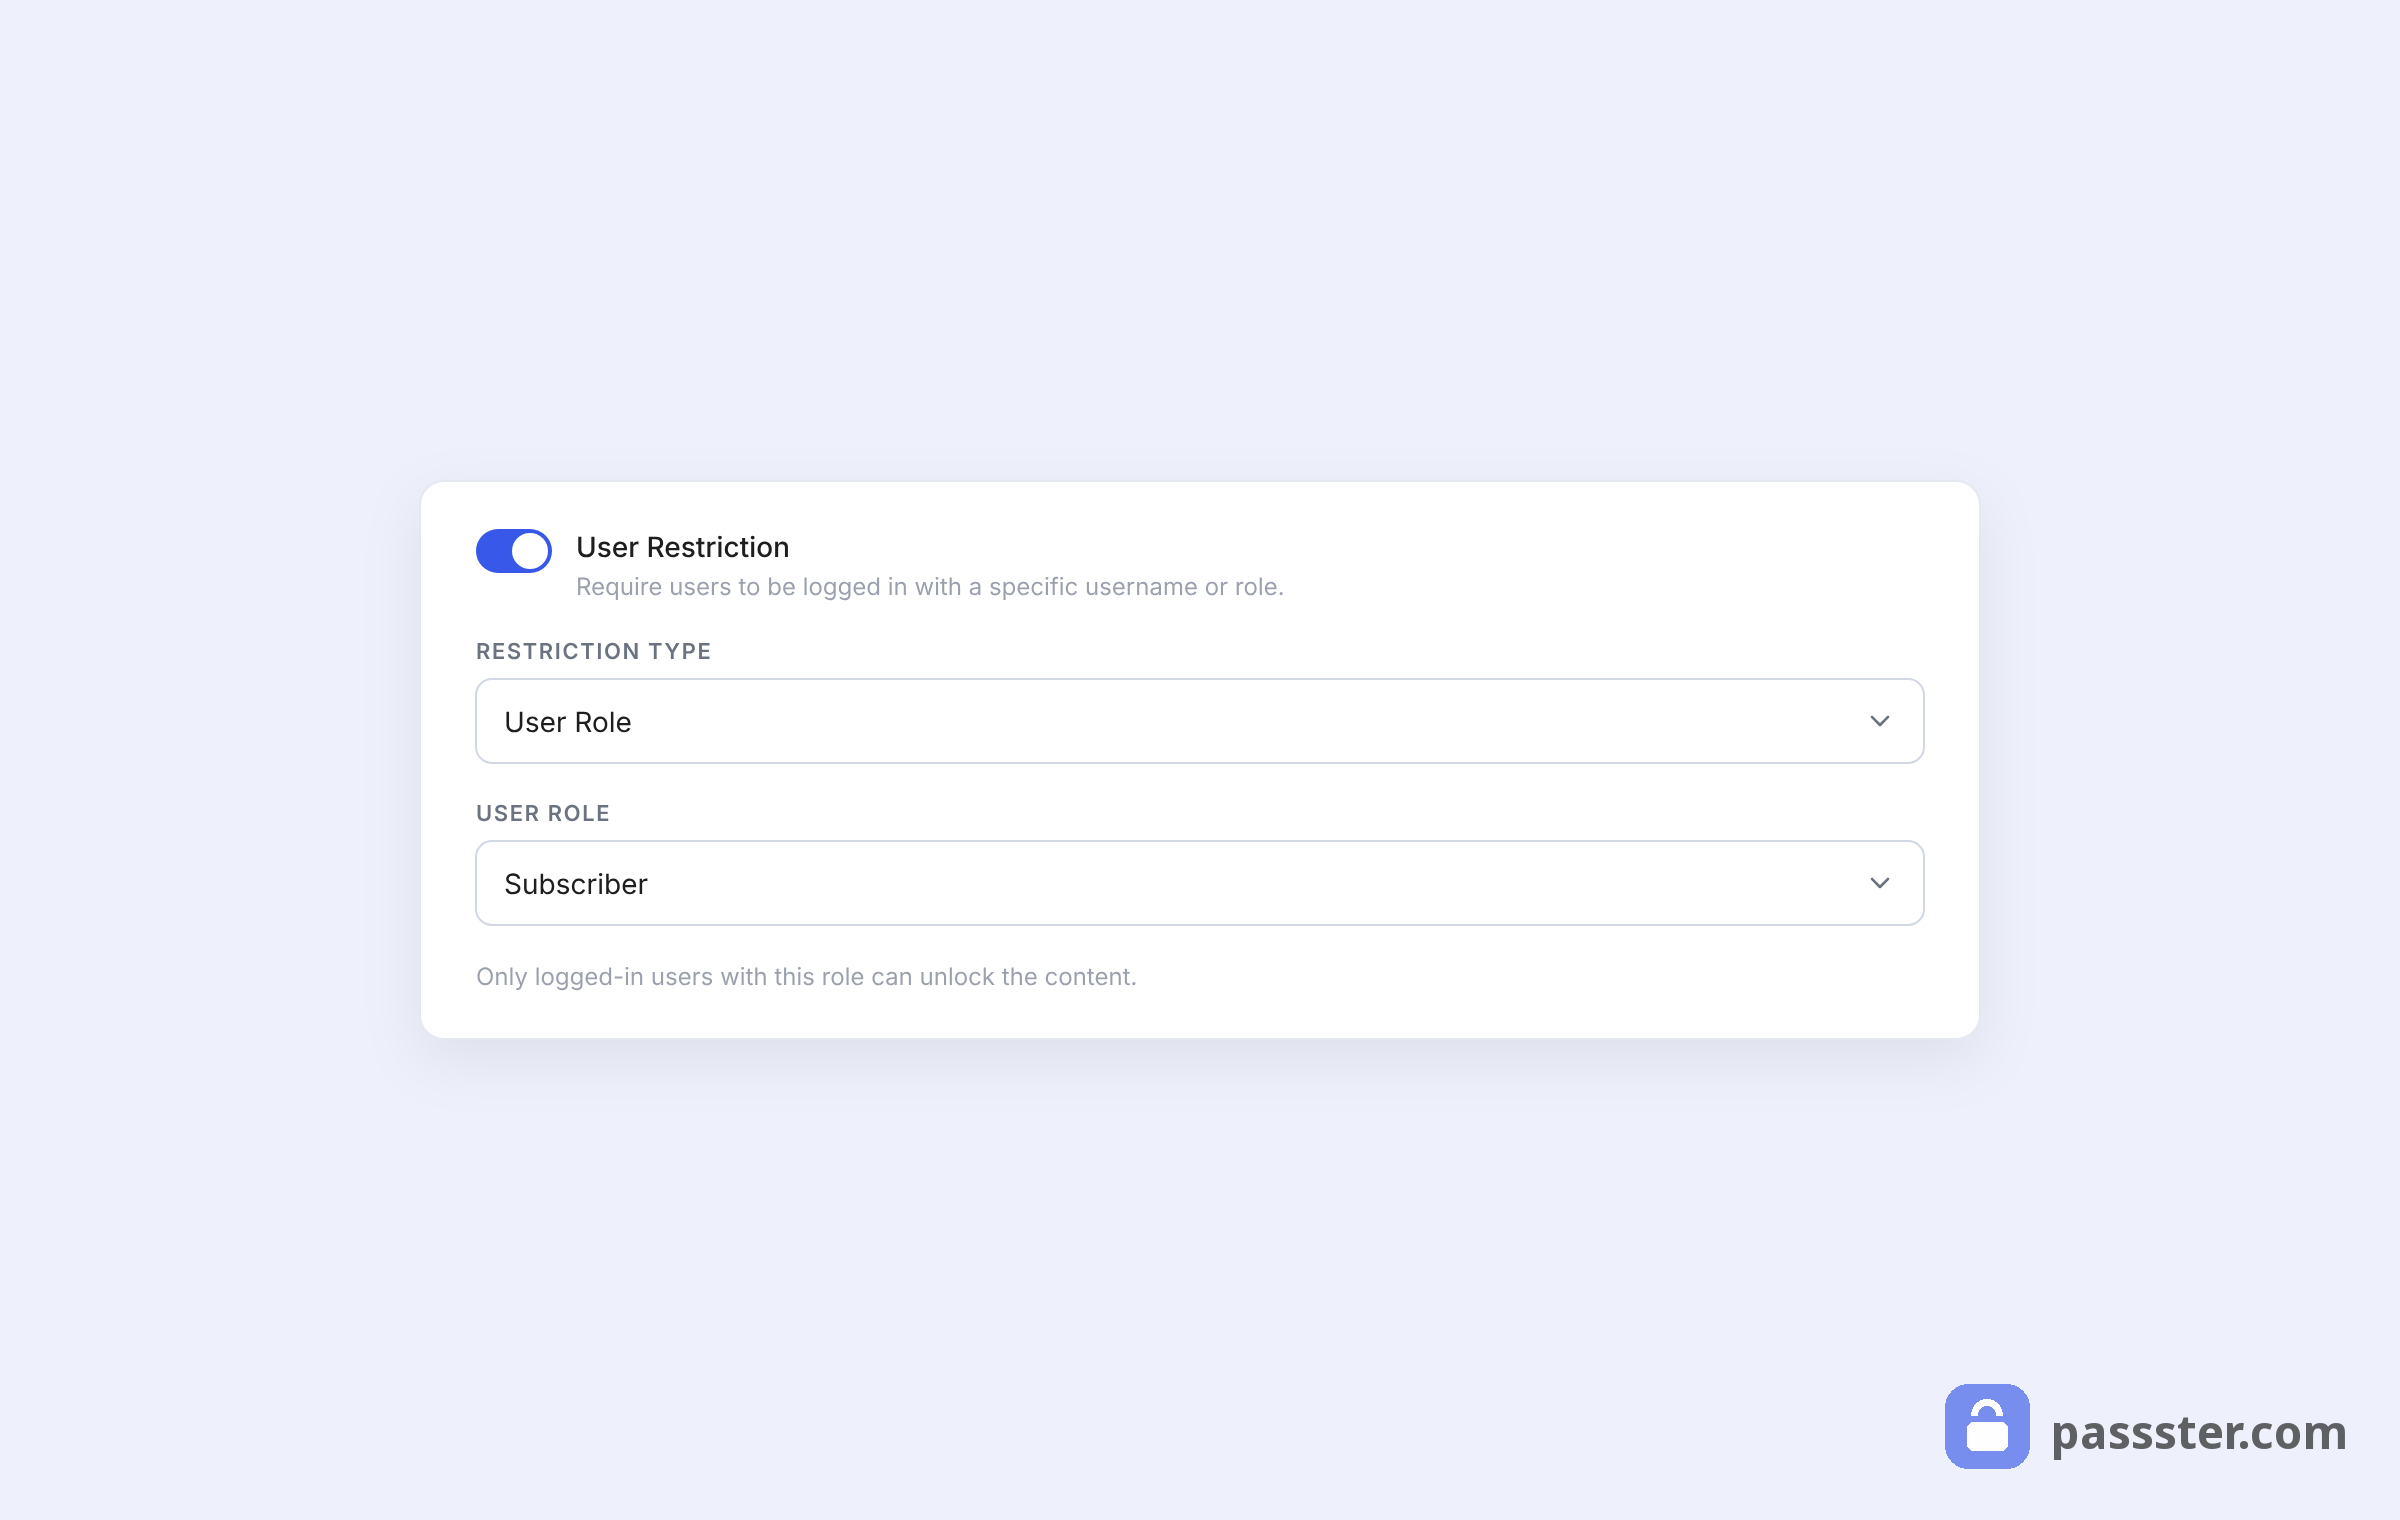
- Underneath this, you’ll see User Restriction. Change the User Restriction Type (Username or User Role) using the dropdown. Then specify which of these you’d like in the User role or username field.
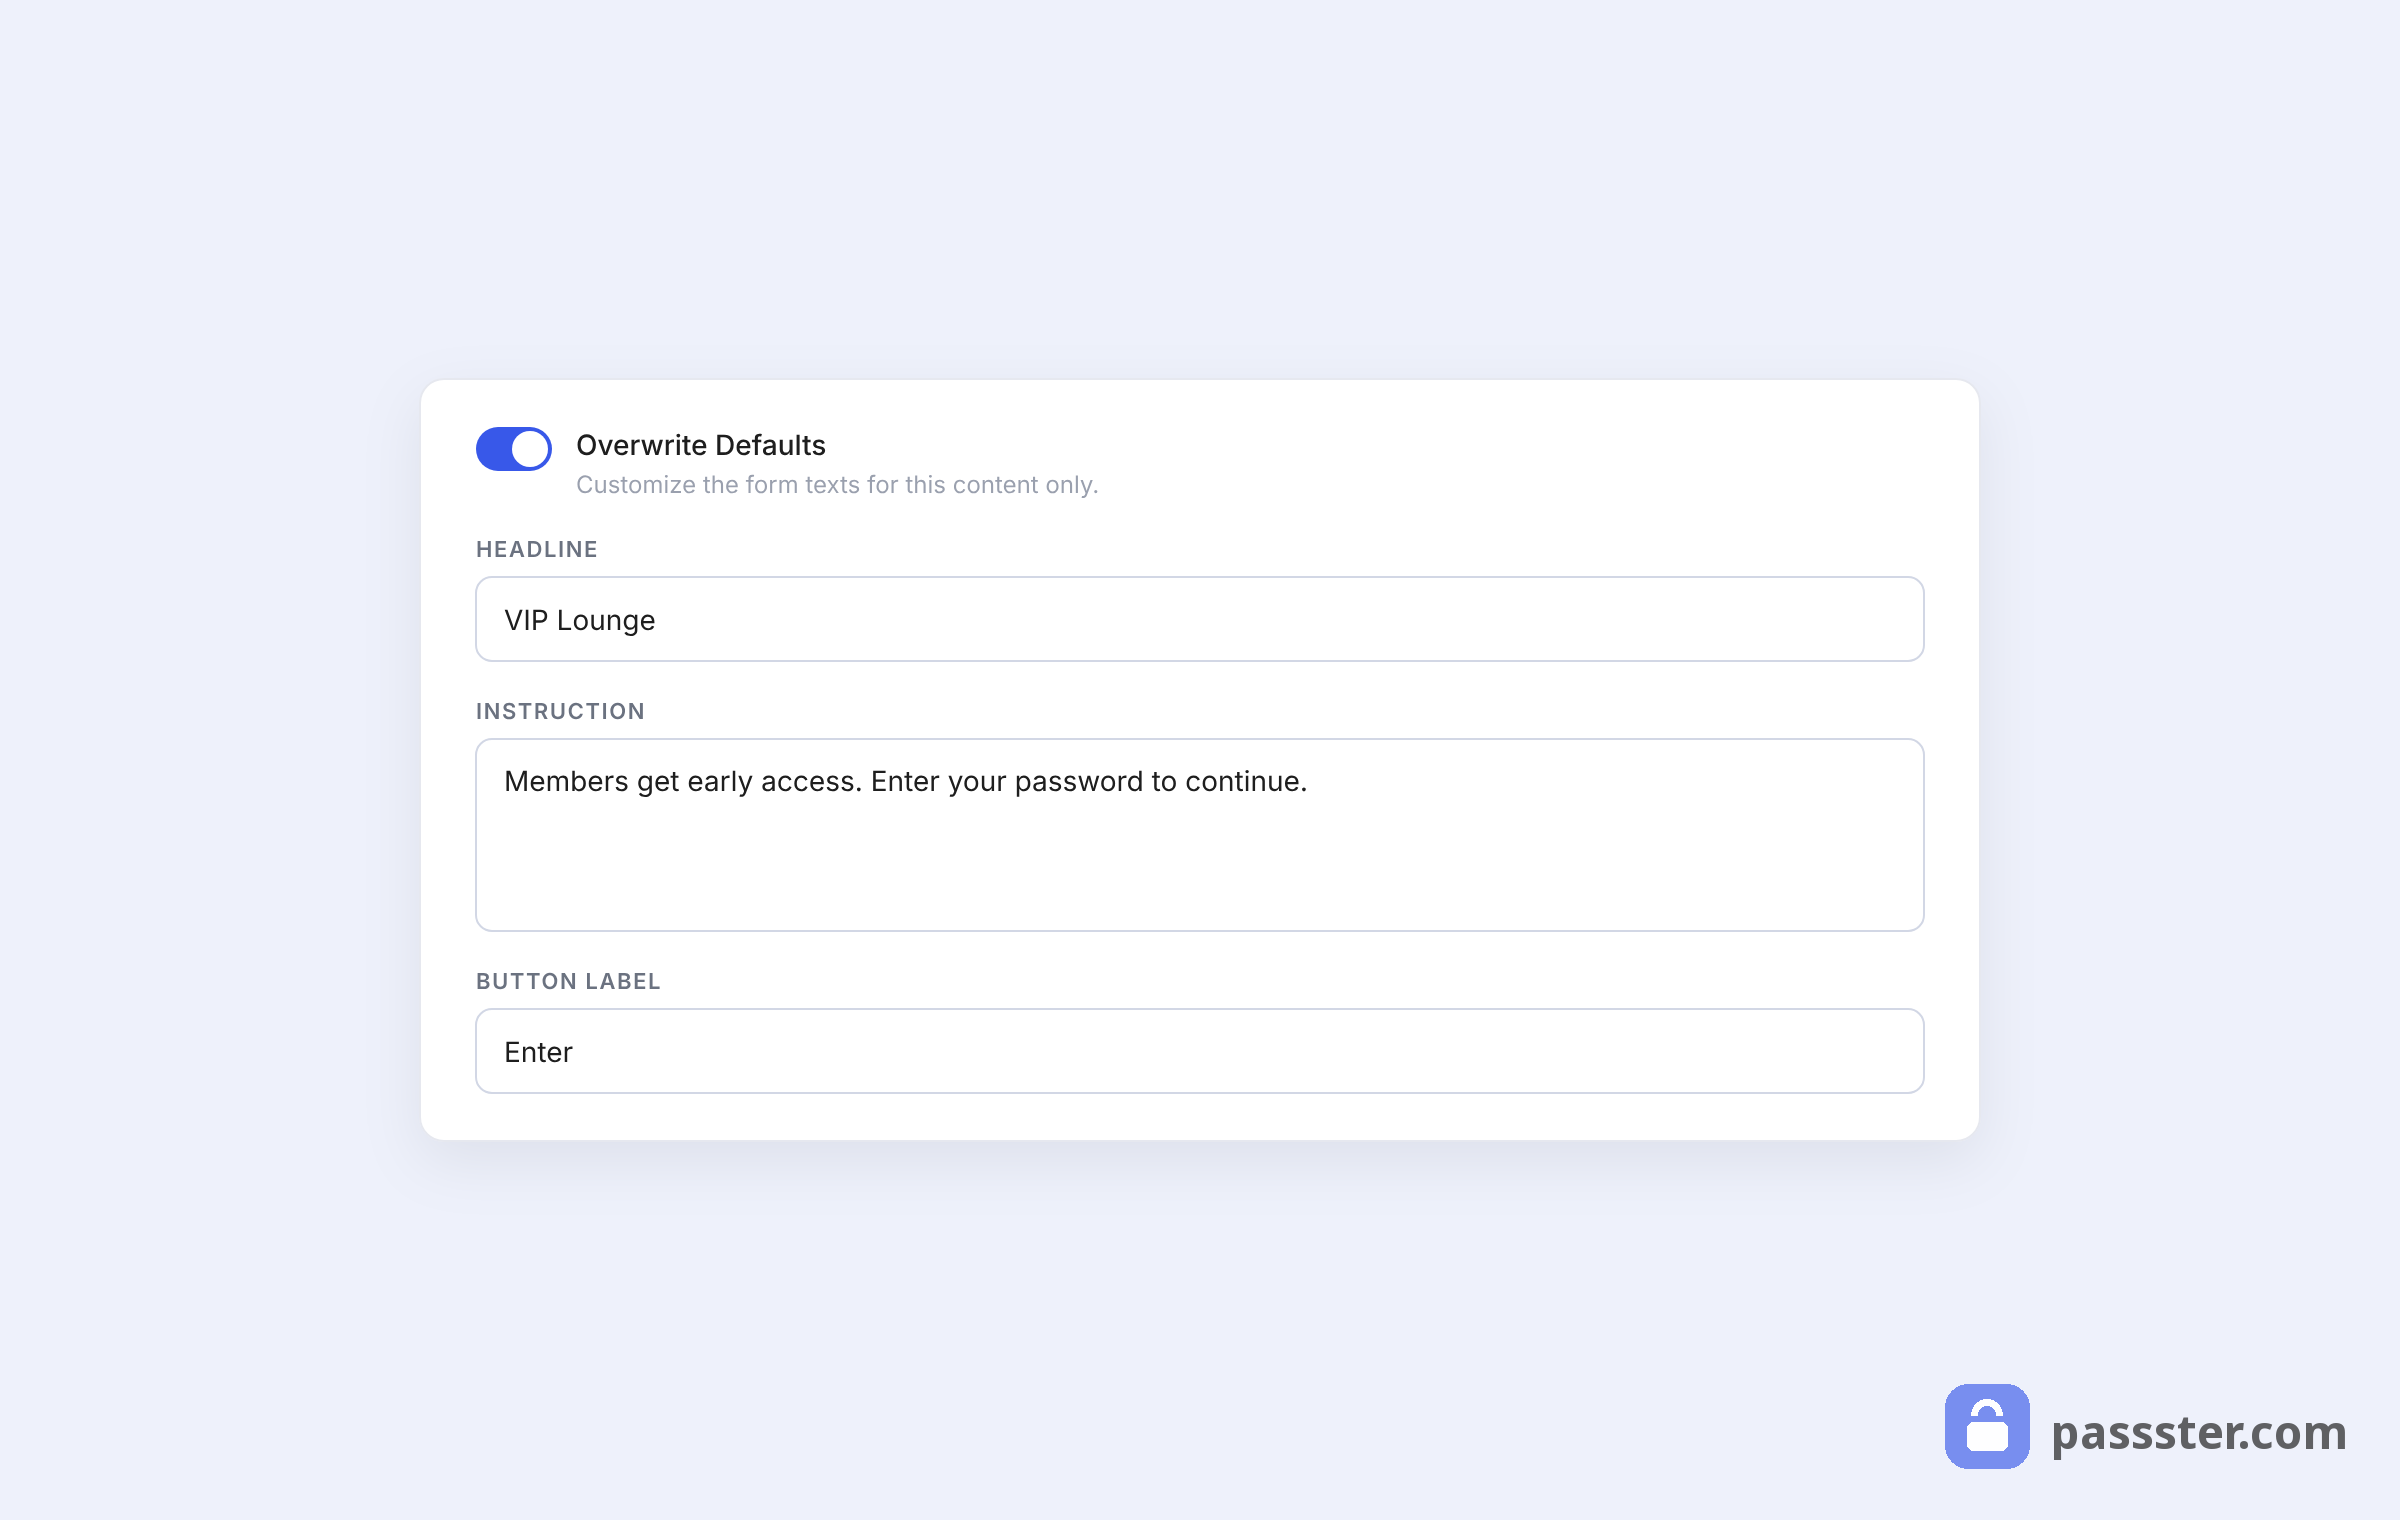
- Then, in the Overwrite Defaults section, you have a few options which allow you to customize the text that appears on the protected page. Here you can change everything from the page headline to the instructions, form elements, and button.
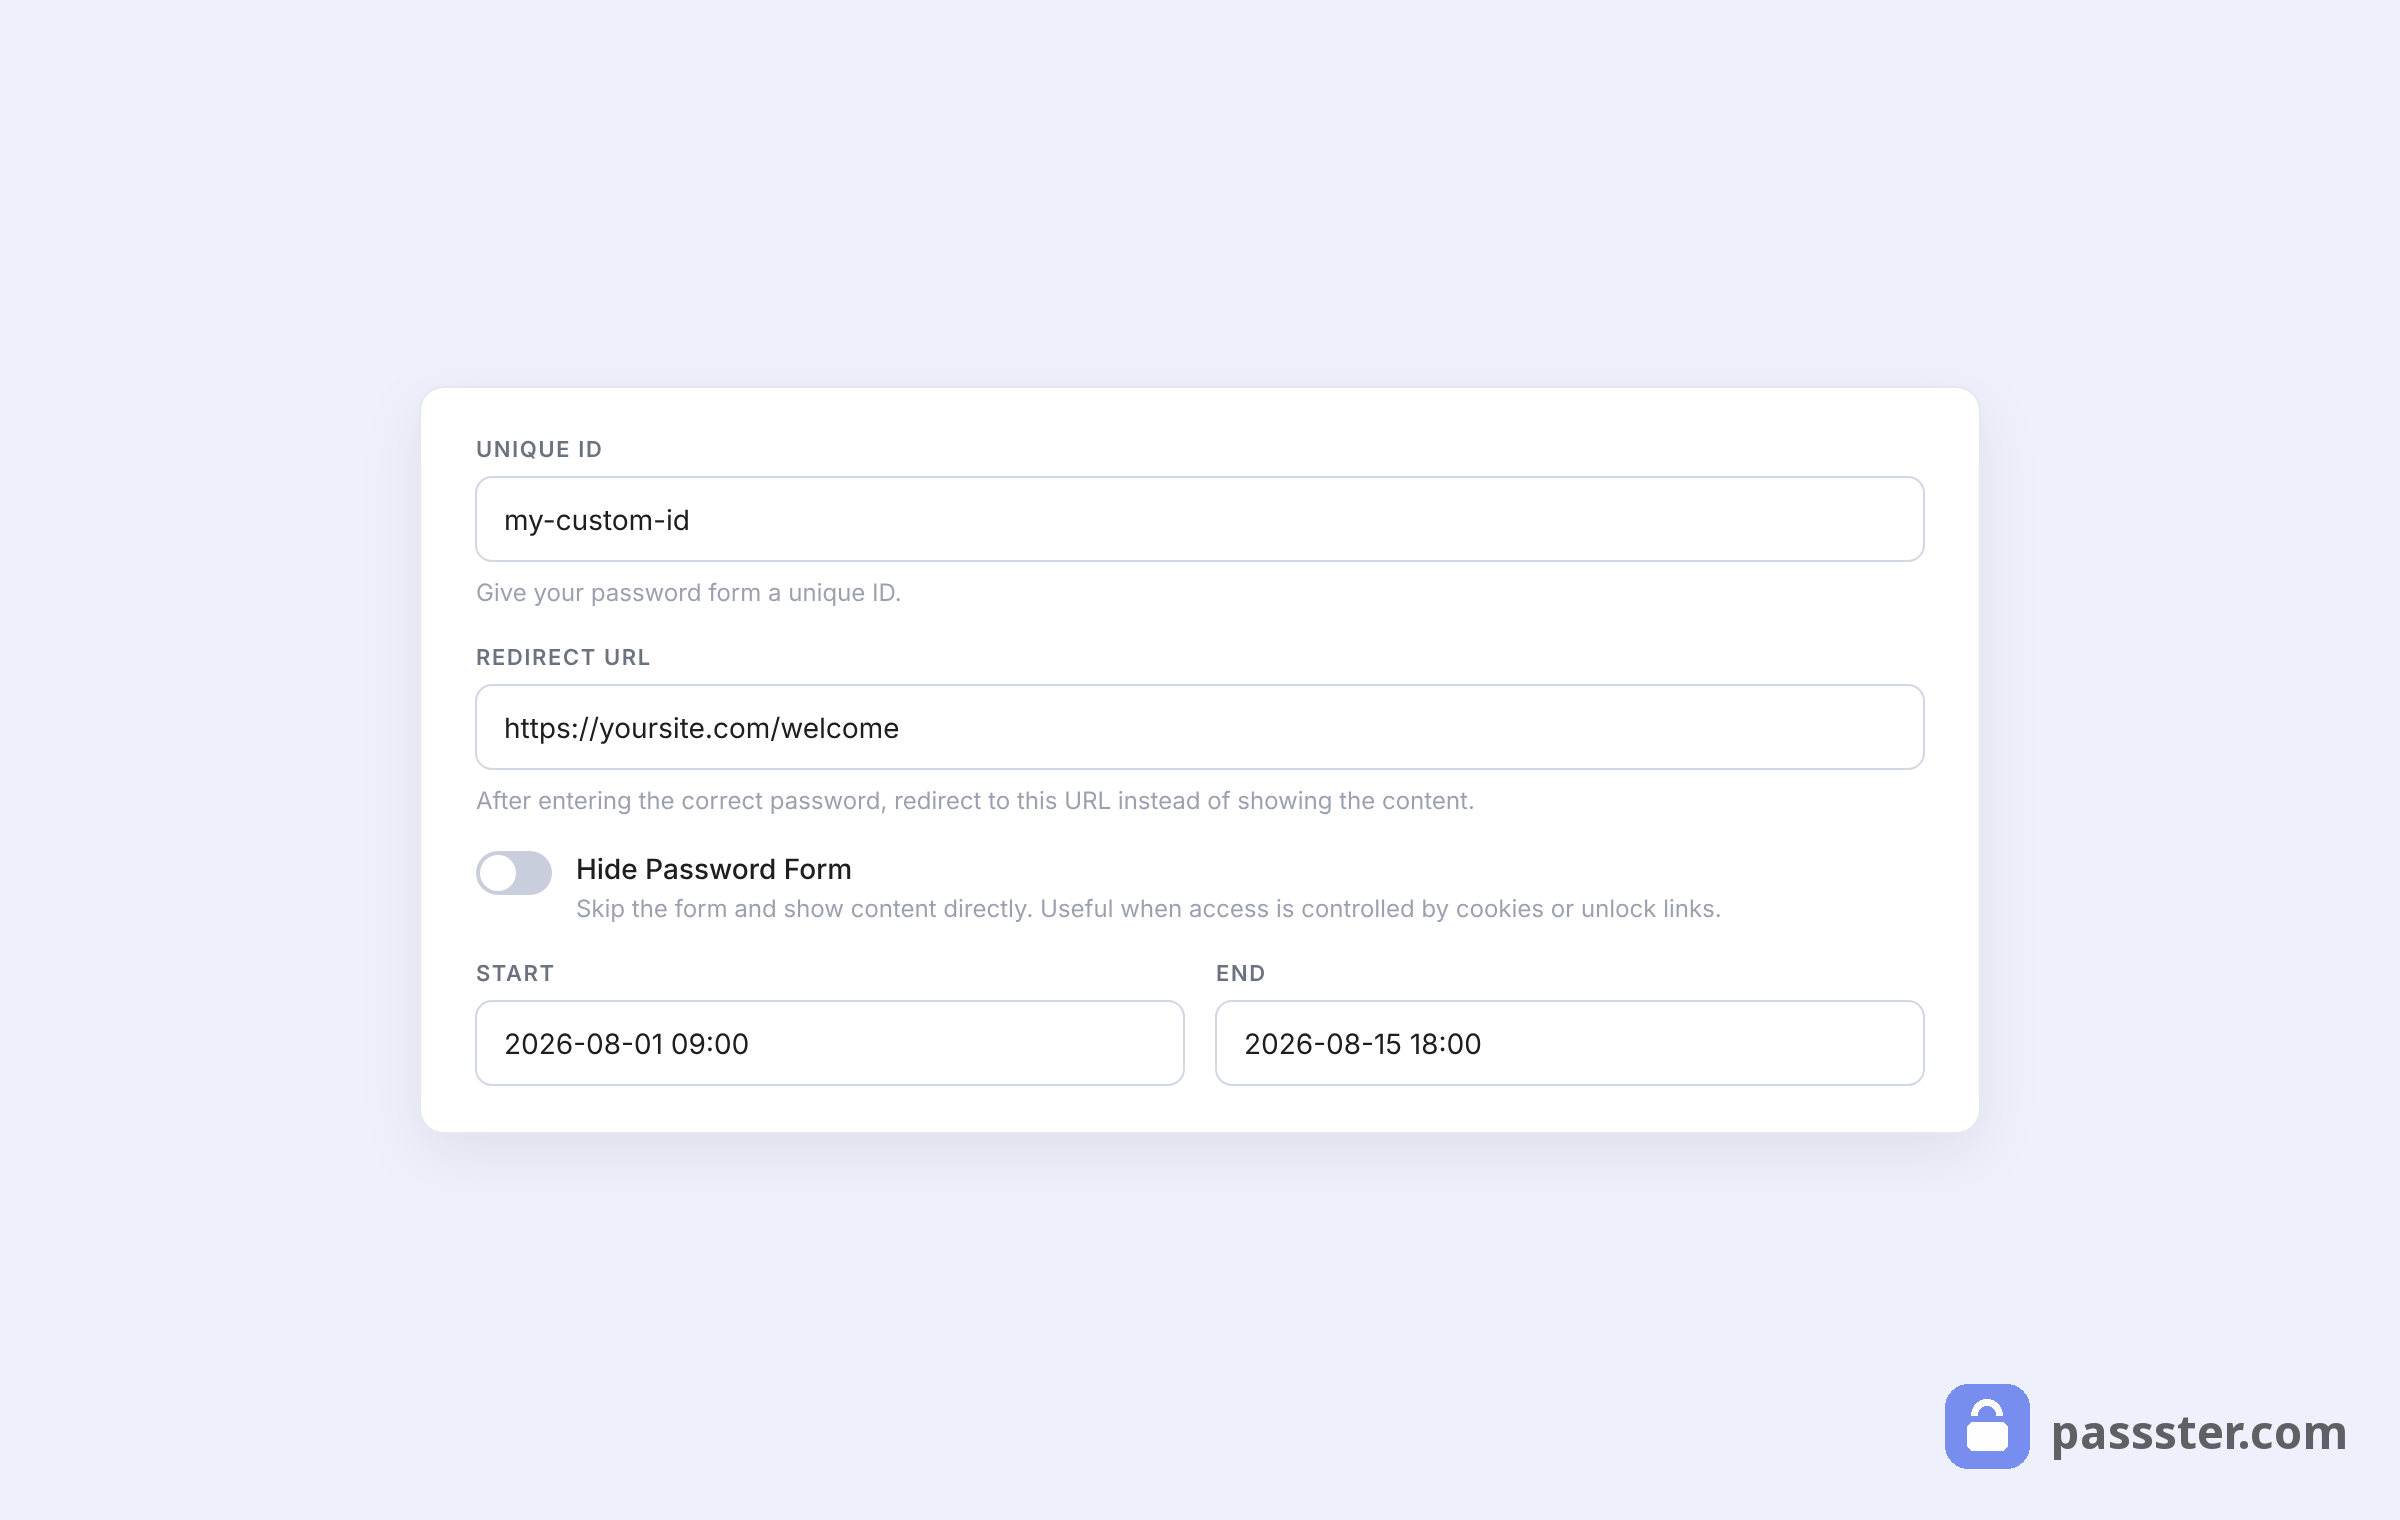
- In the Misc Settings section, you can hide or show the password form and set a redirection URL in the Redirect URL field. This will redirect website visitors to another URL once they’ve gained access.
- Once you’re happy with all your settings, click the blue Publish or Update button at the top of the page.