
How to unlock protected content via a link/URL
If you’re looking to protect your site content but want to save specific visitors time, you can send them an encrypted link that will automatically unlock your site/content when someone uses it.
This link is used in combination with the password protection option. The password itself will be encrypted inside of the link. So even if you share the link with someone, they can’t copy the password directly and use it later. Or even try to use it in other protected areas.
So if you want to use an encrypted link, take the following steps:
Link Passster to Bitly
Before we actually generate the link, we first need to turn on a setting and create a Bitly account (if you don’t already have one).
- From your WordPress dashboard, go to Passster > Settings and open the Integrations tab and find the Encrypted Links section.
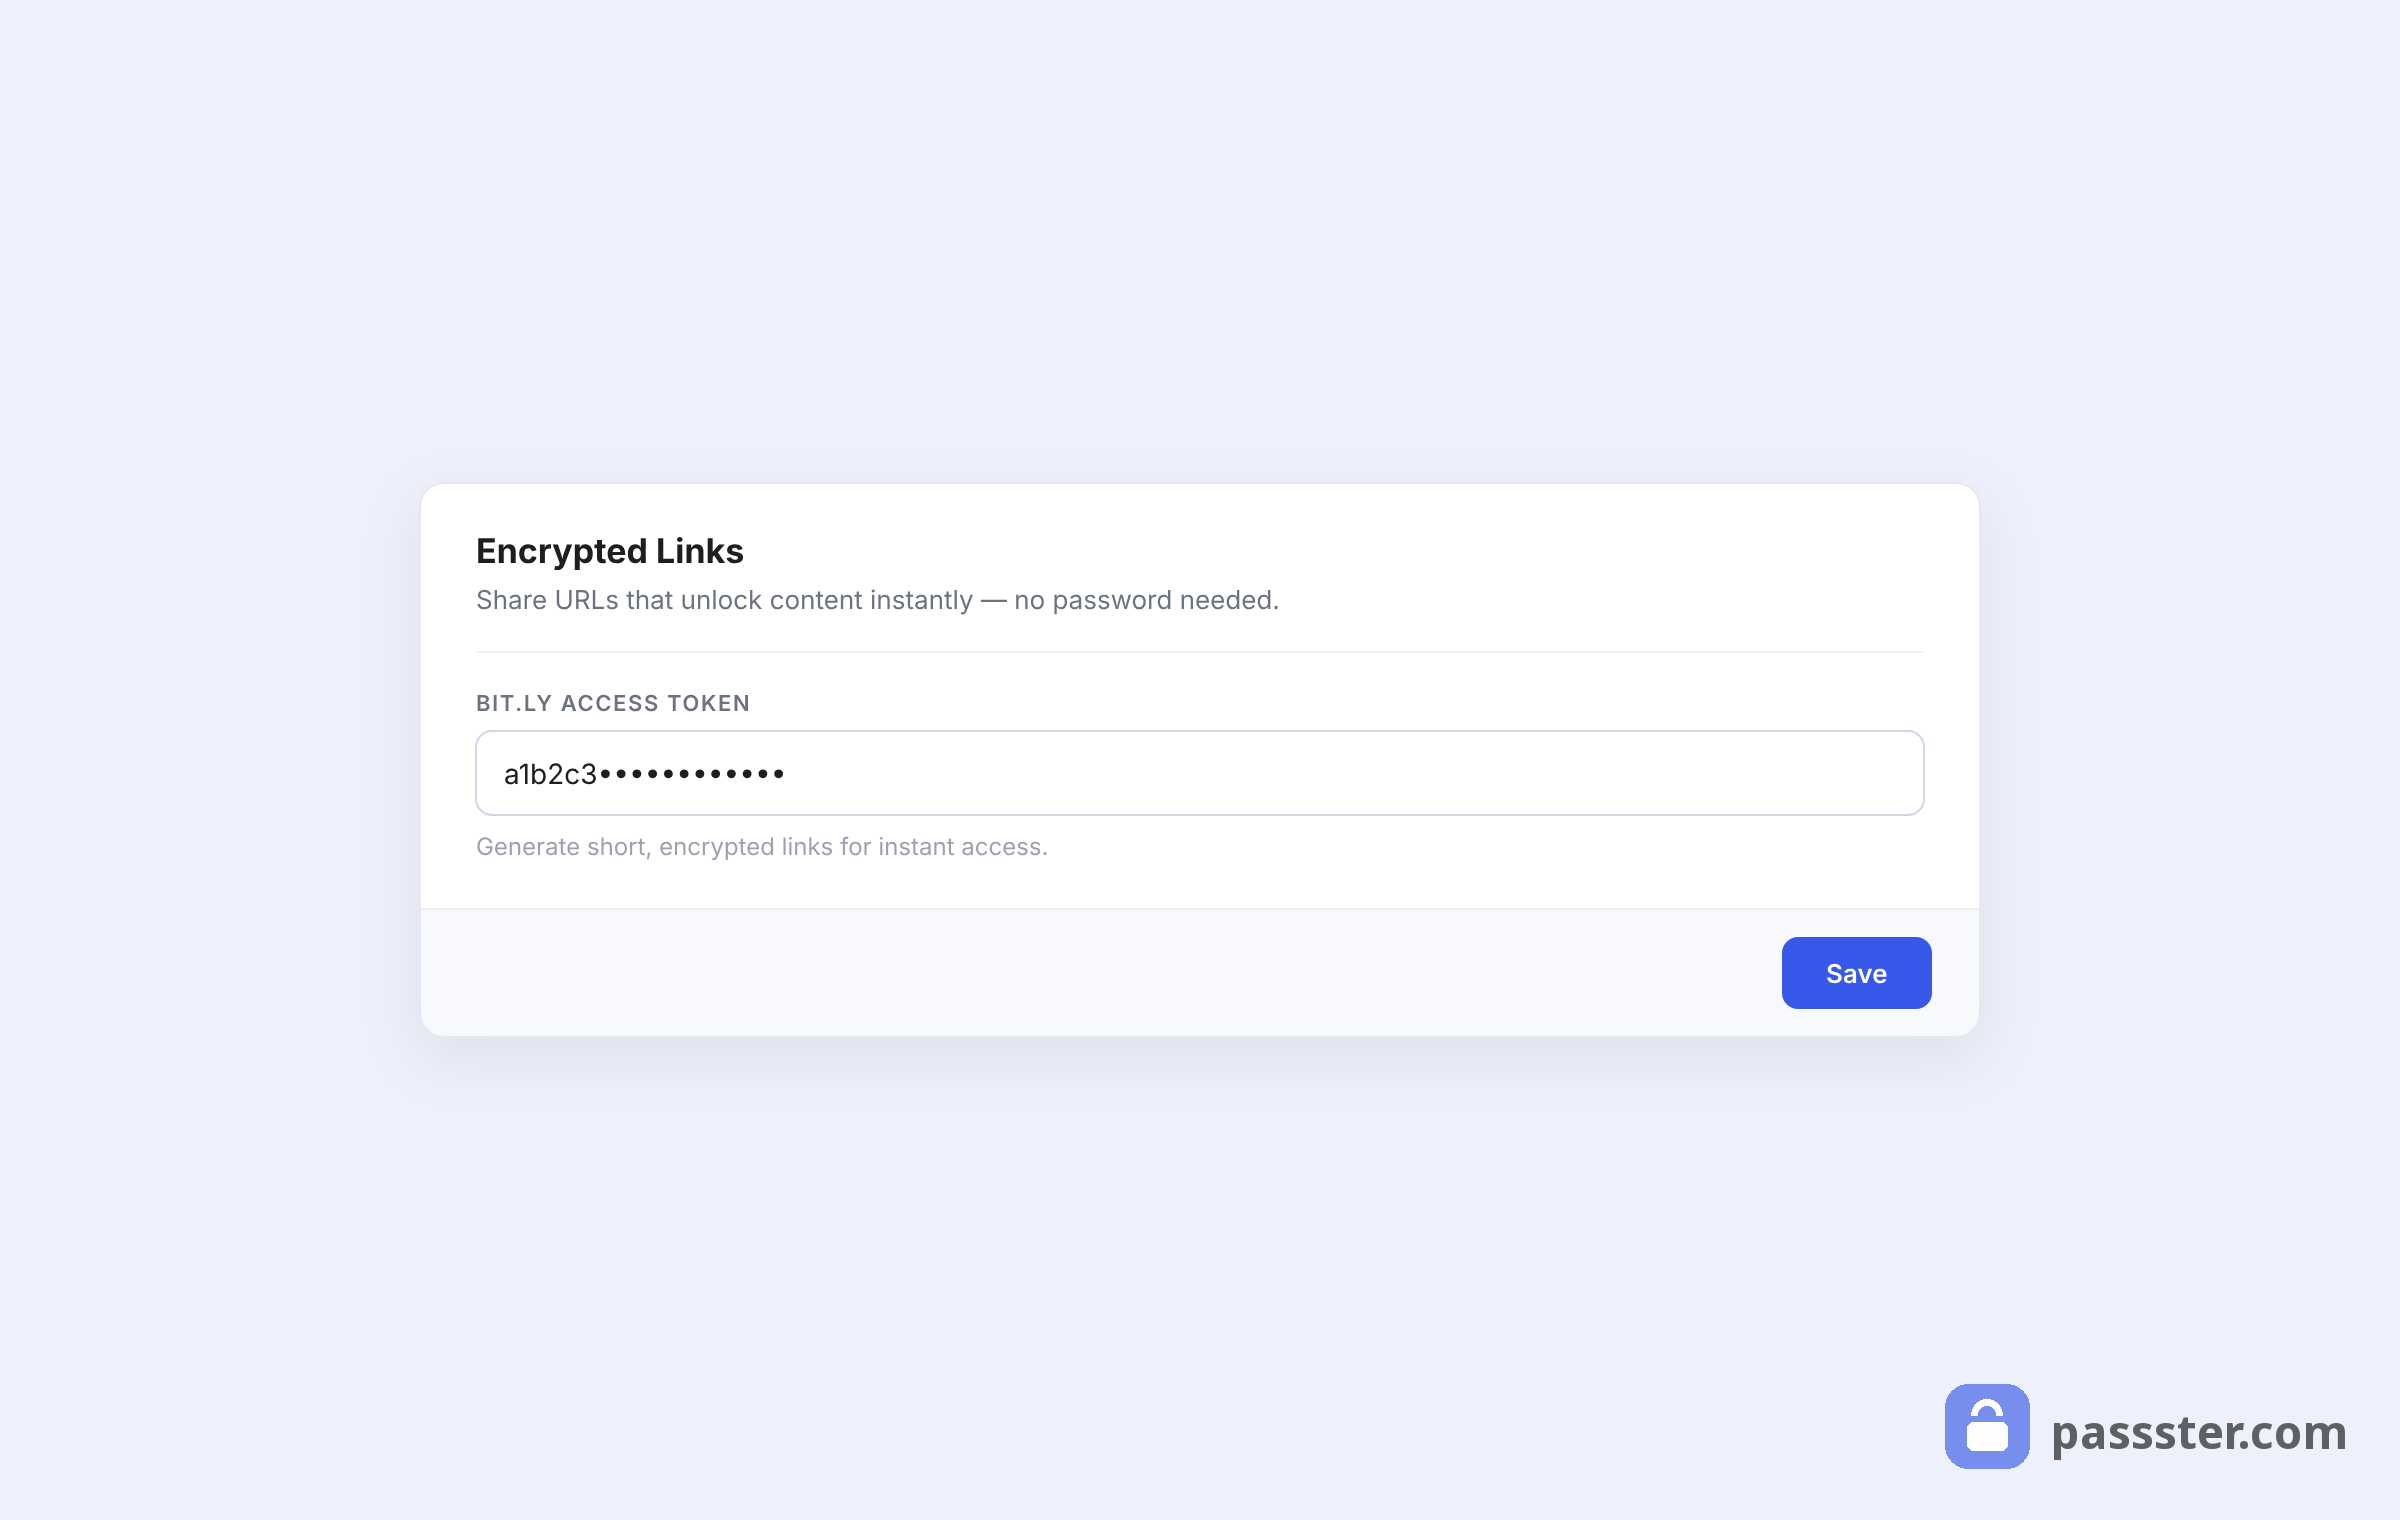
- Scroll down the page until you get to the Bit.ly section.
- Here you’ll see a field underneath Bit.ly Access Token. To activate link protection, we need to link Bit.ly up with Passster with this token.
- To do this, create an account with, or sign in to bitly.com (it’s free).
- Next, click the link with your username at the top right and click Settings.
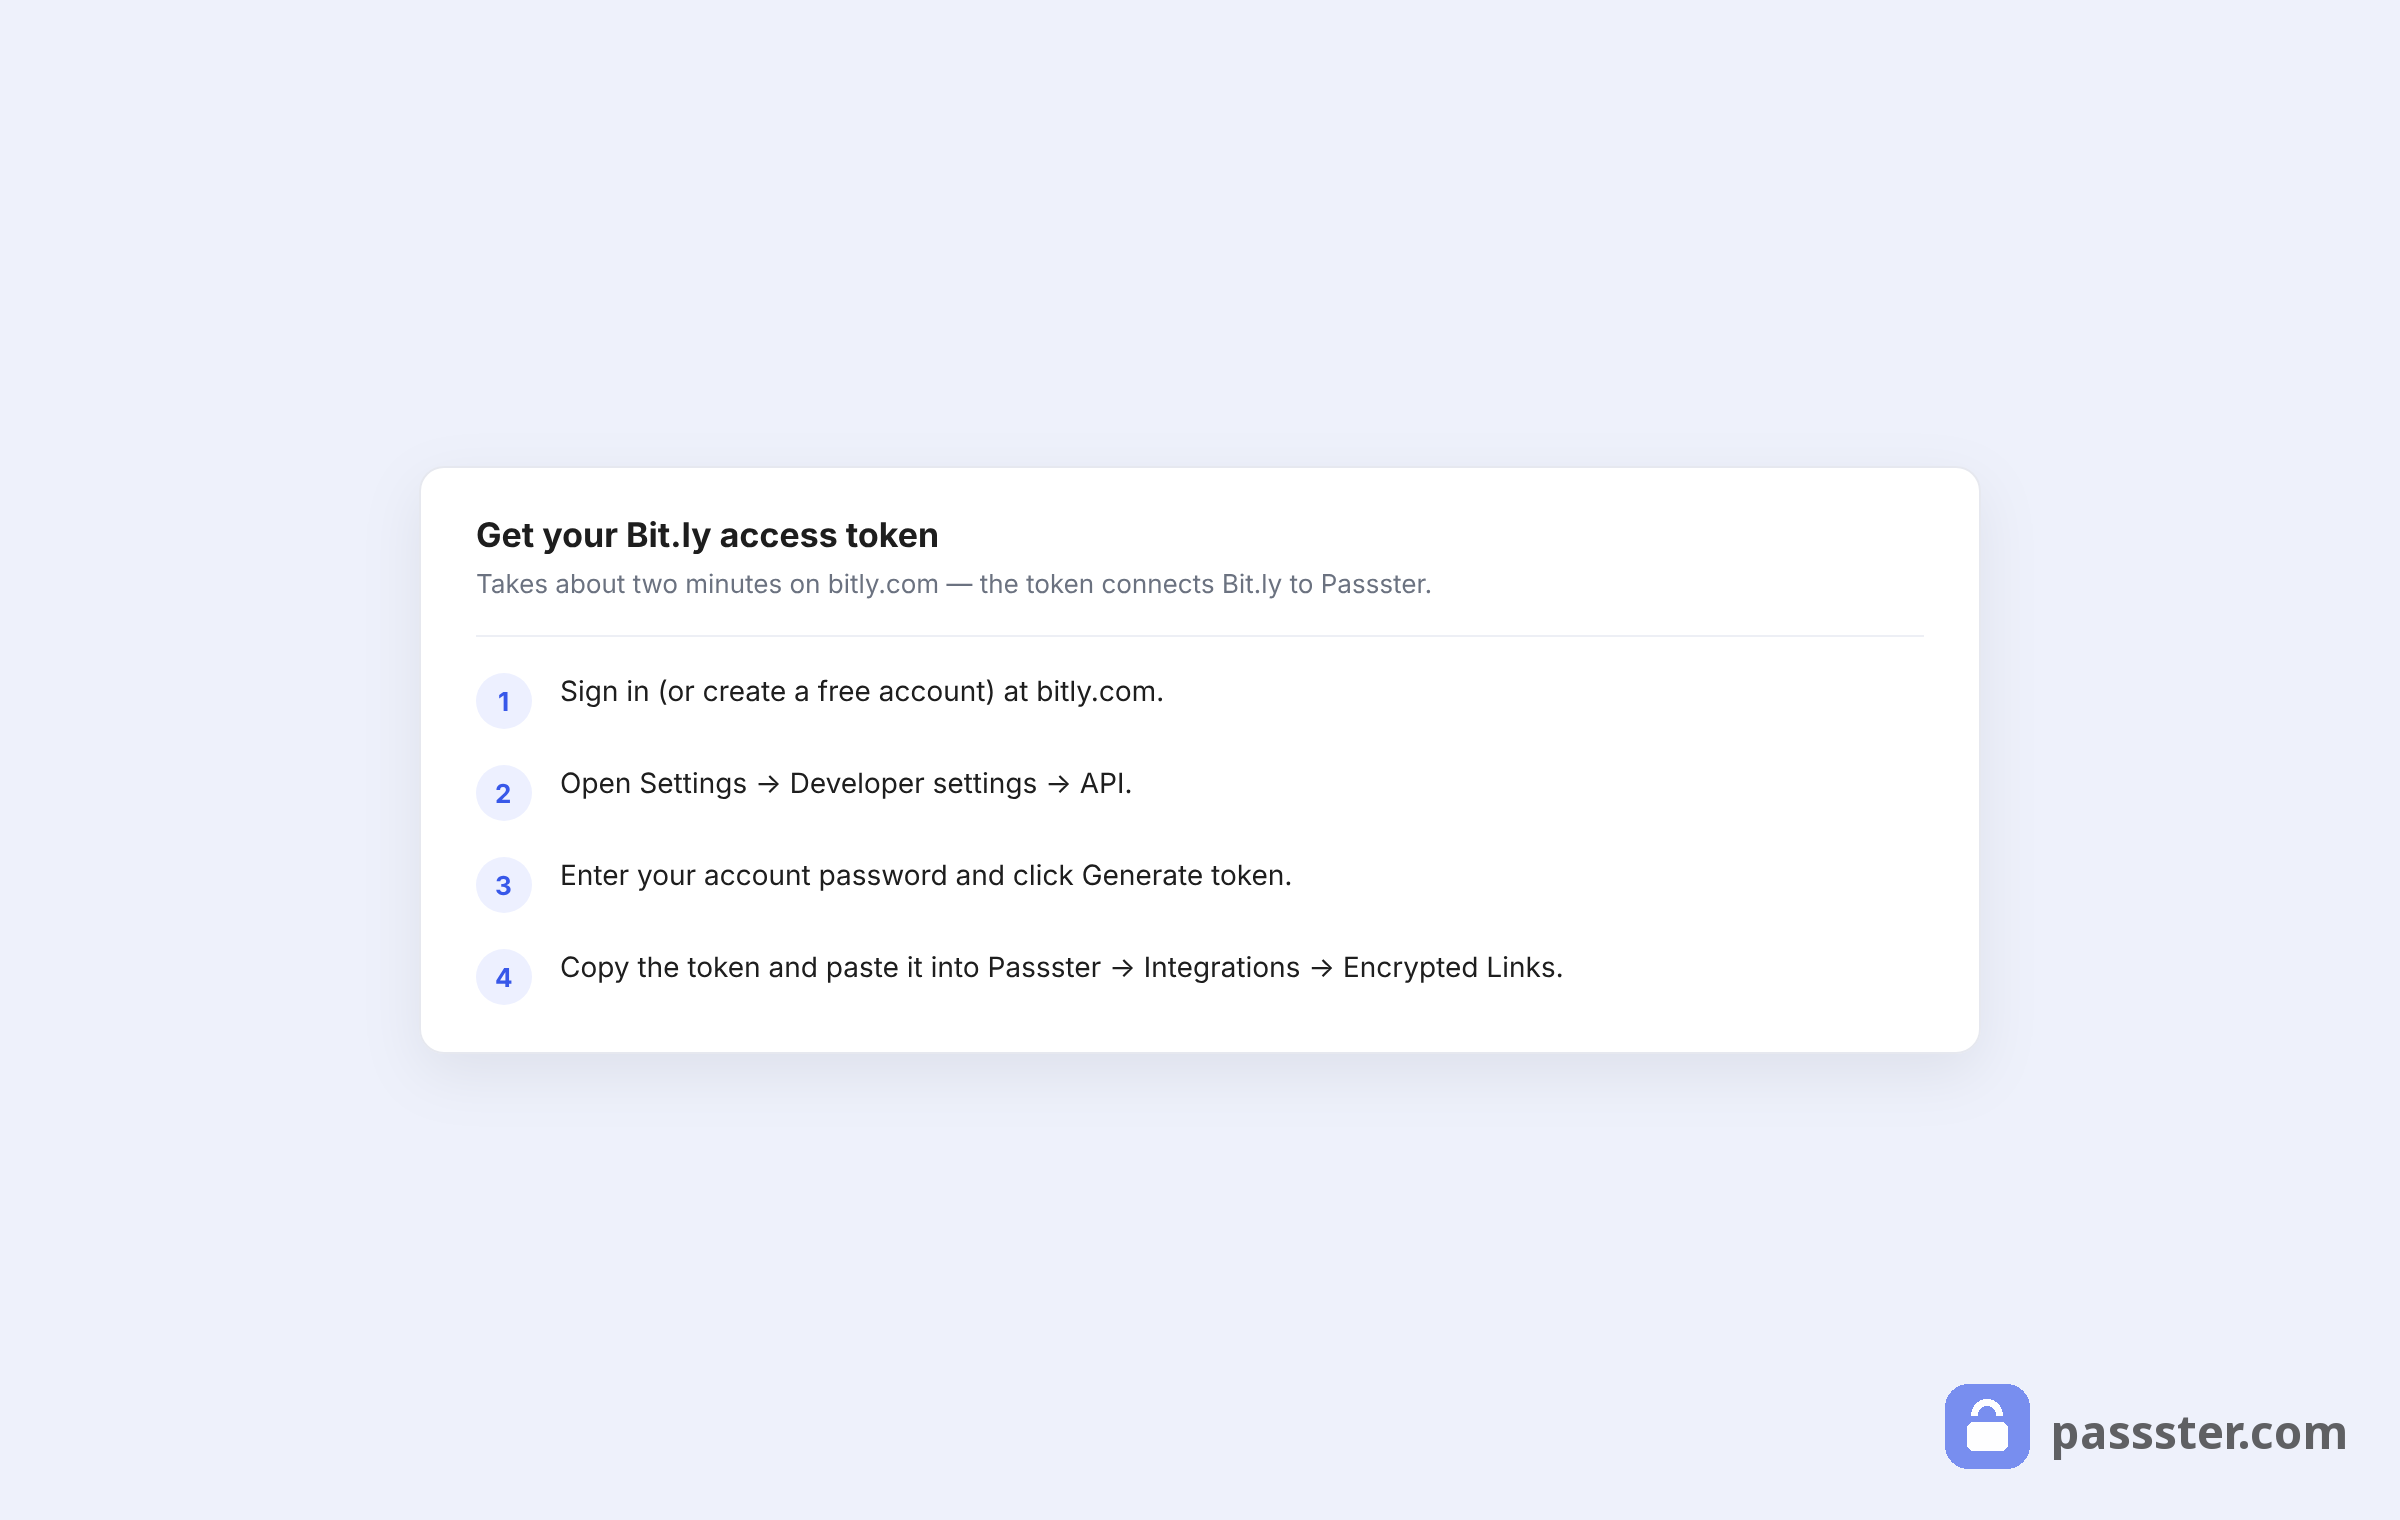
- Next, click API in the menu on the left and enter your password in the Access token field.
- Click Generate token and copy the long string of letters and numbers that appear.
- Go back to the Integrations tab in Passster and paste the long string into the Bit.ly Access Token field.
- Then click Save Changes.
- To check if you’ve connected them together properly, click on the Integrations link on the left (on the Bitly settings page) and check the App connections section. Bitly API should be there.
Create your encrypted link
Now we have Bitly, and Passster connected, let’s create your encrypted link.
- From your WordPress dashboard, go to Pages > All Pages and click to edit the page you want to protect.
- In the settings sidebar on the right (if you don’t see this, click the cog icon at the top right of your screen), scroll down until you get to the Passster section.
- Click the Activate Protection toggle button to protect your page.
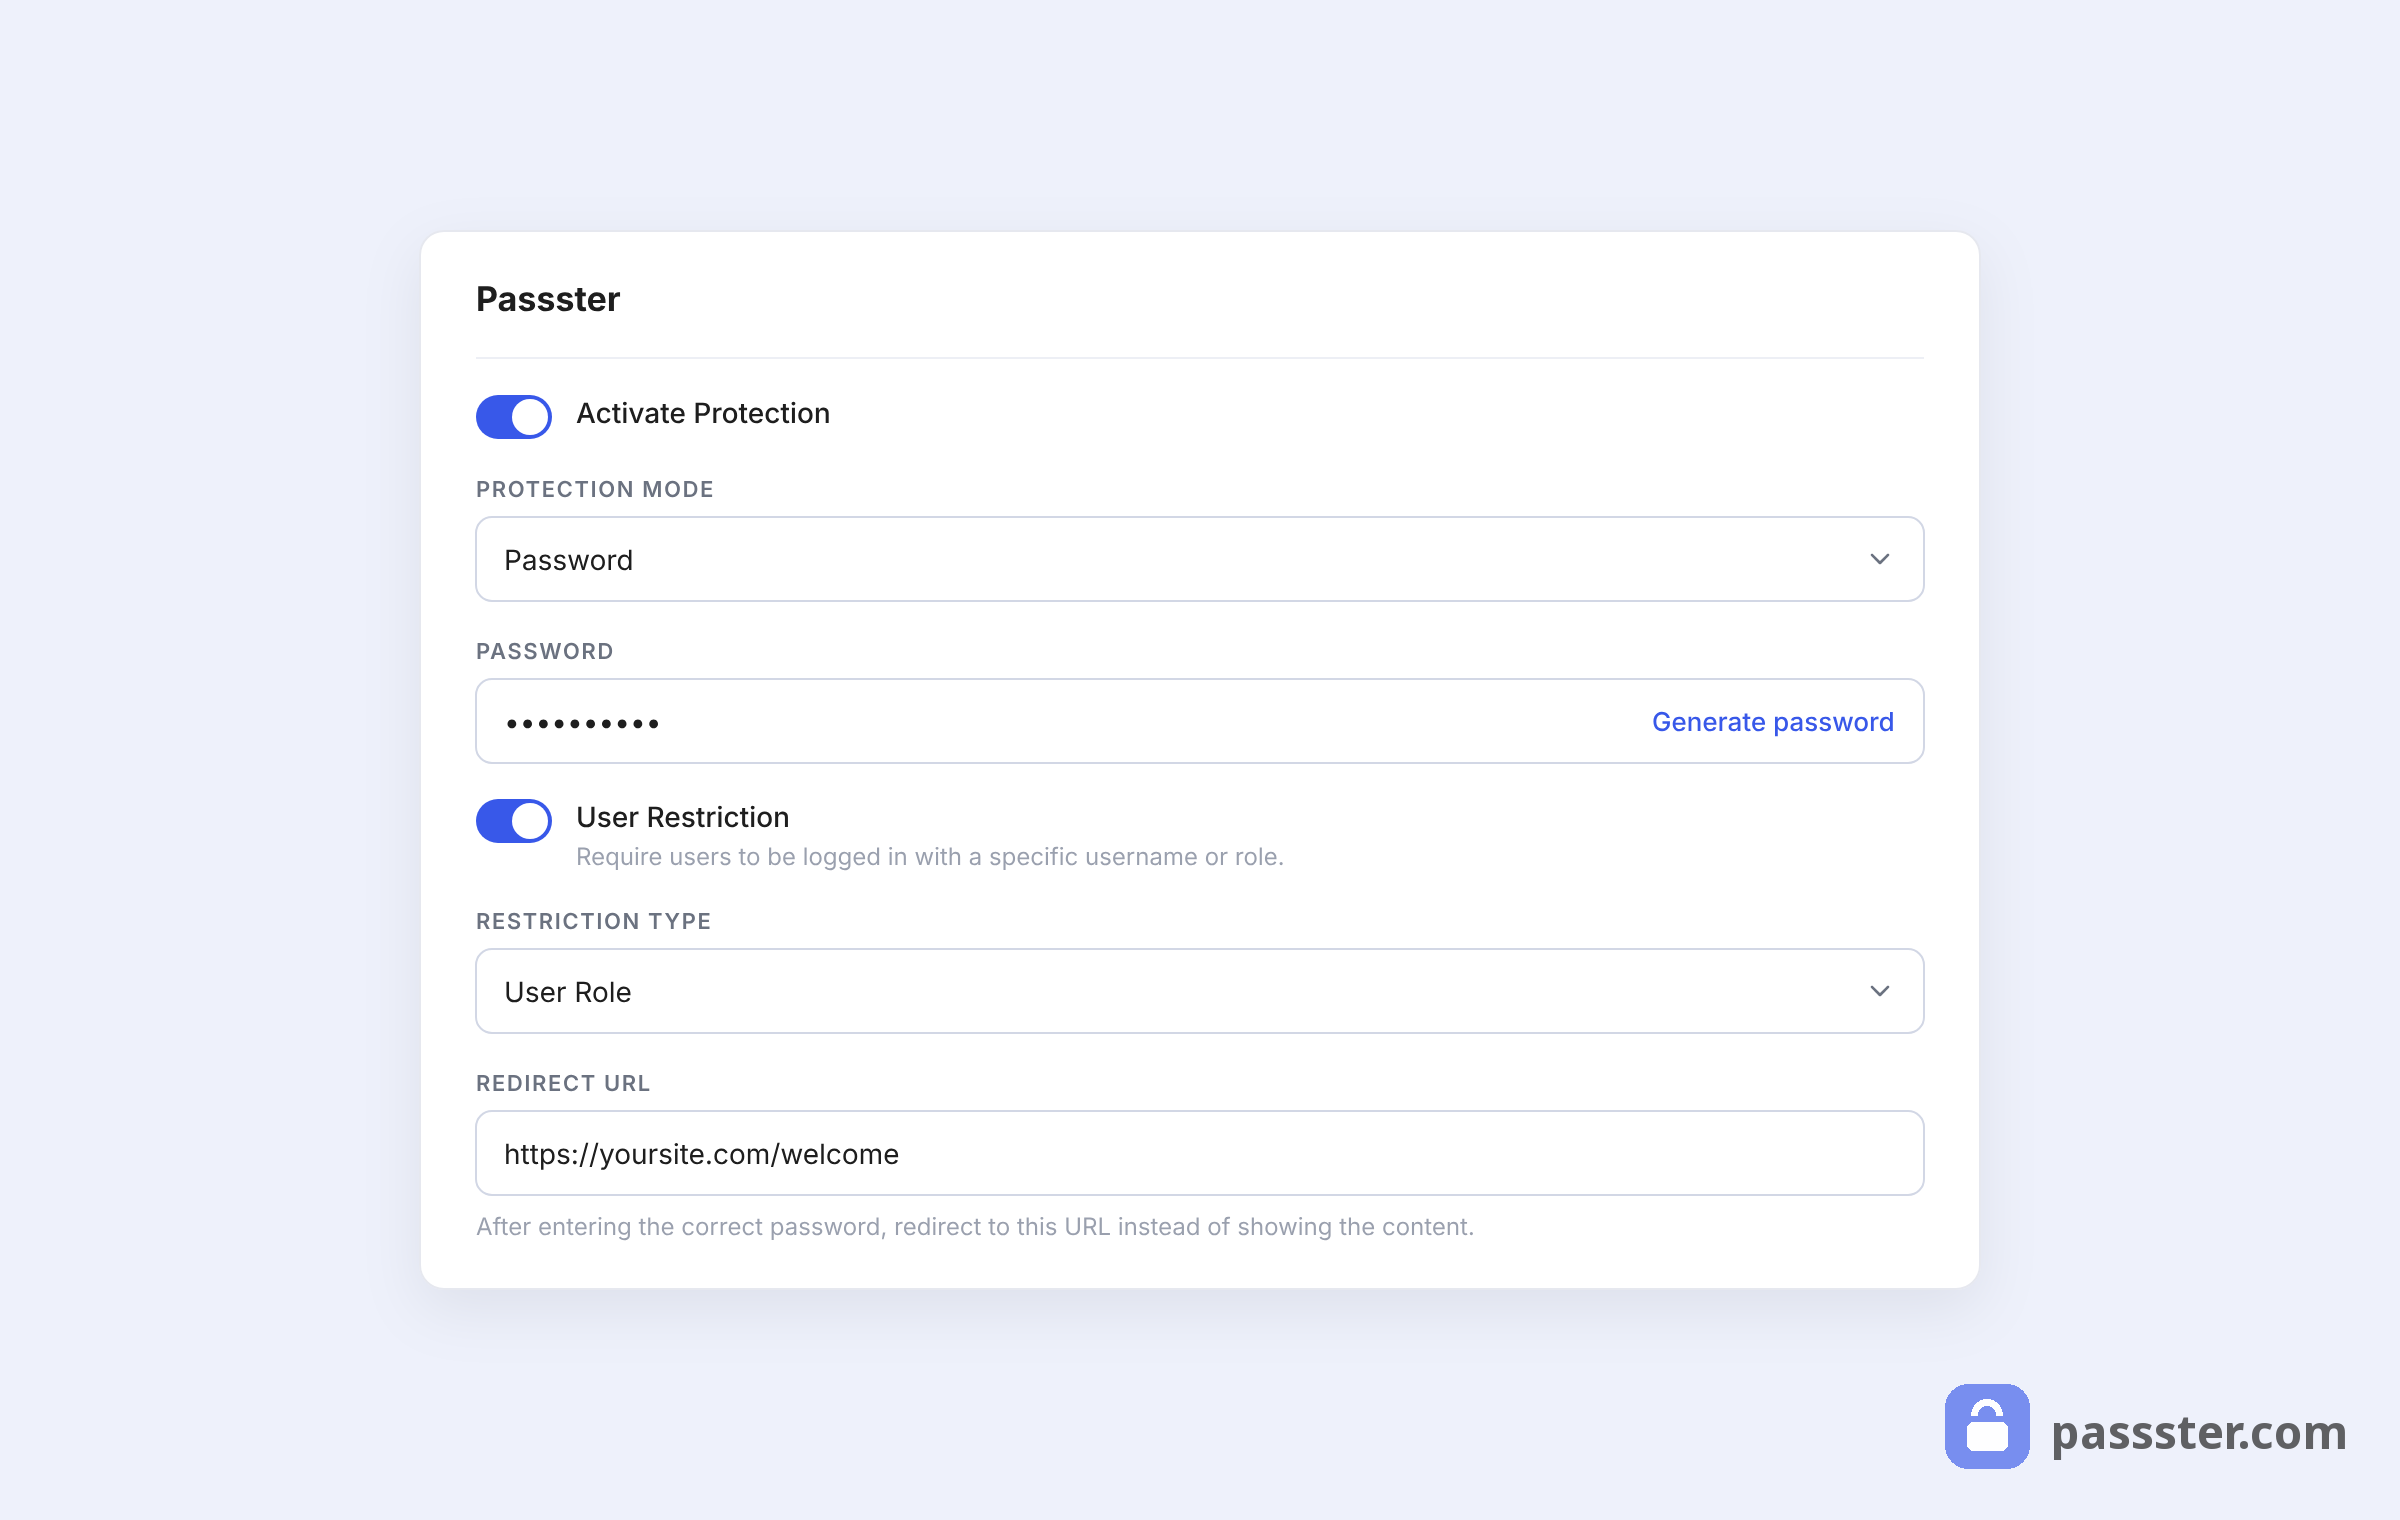
- Next, we’ll need to pick our protection type in the Protection Type dropdown. In this case, we’ll pick Password.
- Type in your password of choice in the Password field that appears.
- Once you’re happy with all your page protection settings, underneath Redirect, you’ll see a button called Copy Unlock Link. Click this to copy this page’s encrypted bitly link. Then send it to whoever you want to give page access to.
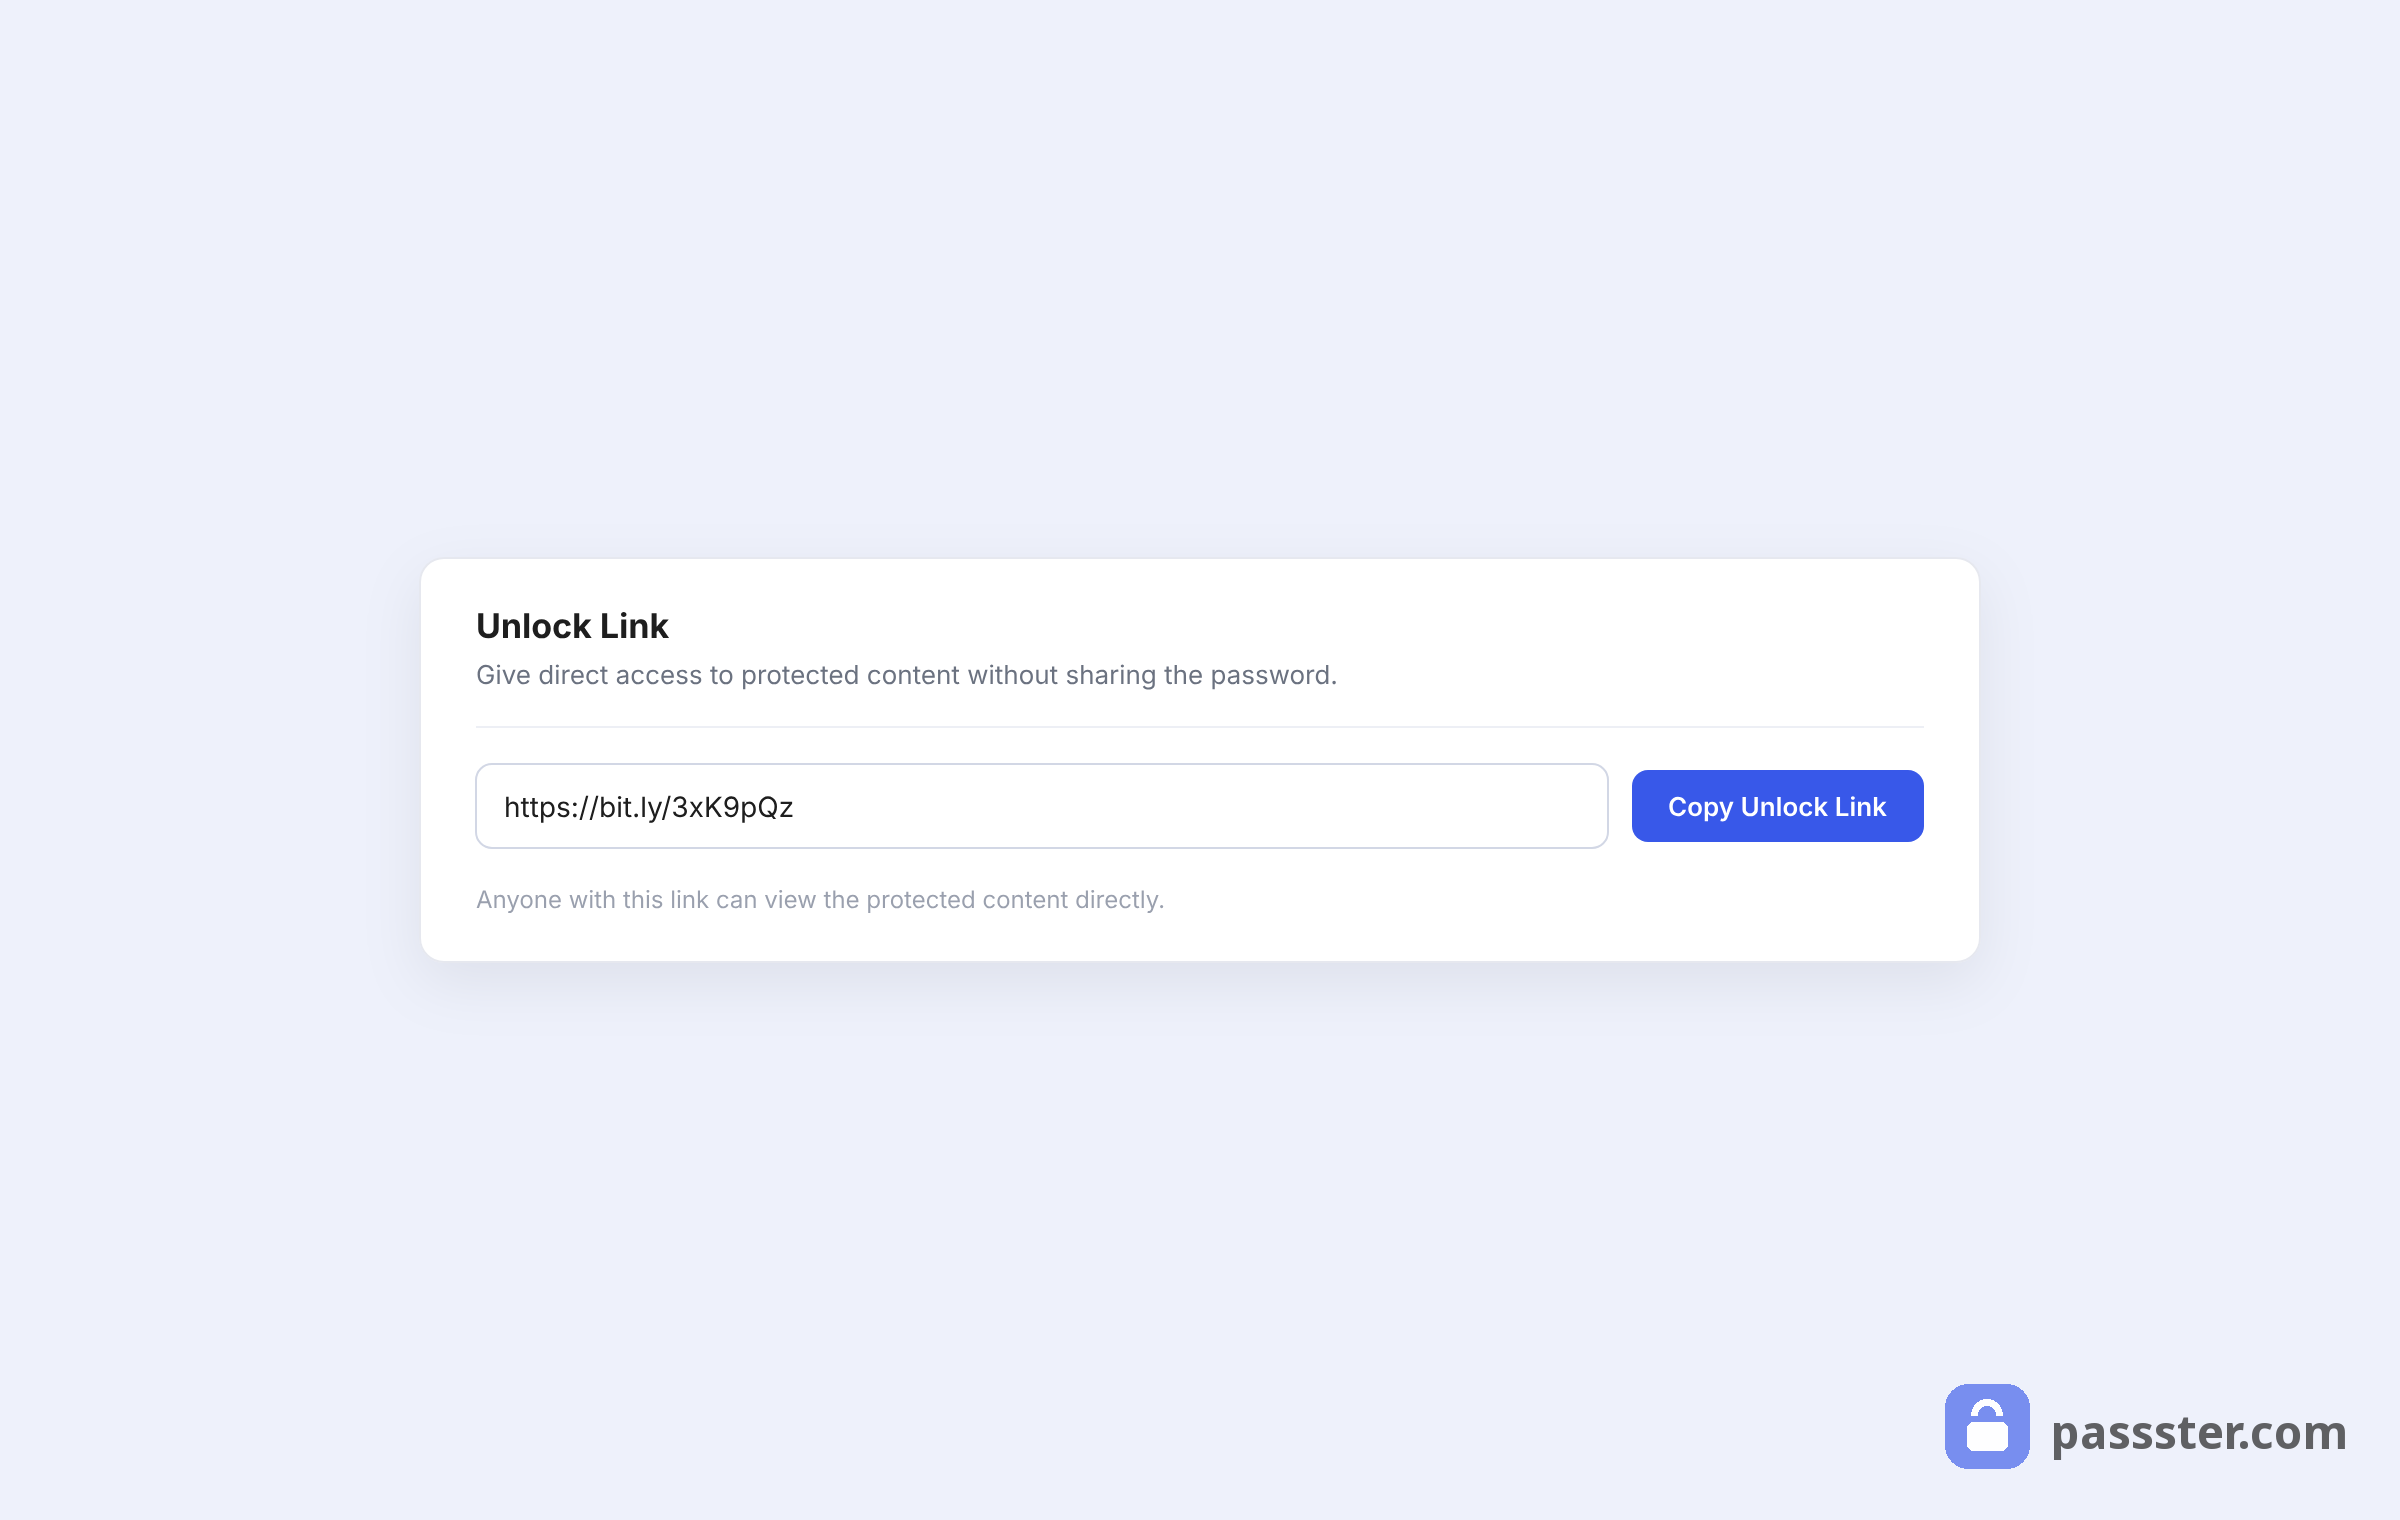
Note: You need to publish your page before the link appears.