
The Turnstile option in Passster helps protect your password-protected content by requiring users to complete a CAPTCHA challenge before they can access the protected areas of your website. This adds an additional layer of security to ensure that only legitimate users can access the content.
Prerequisites
Before enabling Turnstile, make sure you have the following:
-> Passster Pro Plugin
For more details on installing and activating Passster Pro, check out this guide: Unlock Premium Features and License Activation.
Configure Turnstile CAPTCHA
Once Passster Pro is installed and activated, follow these steps to enable Turnstile CAPTCHA protection for your password-protected content:
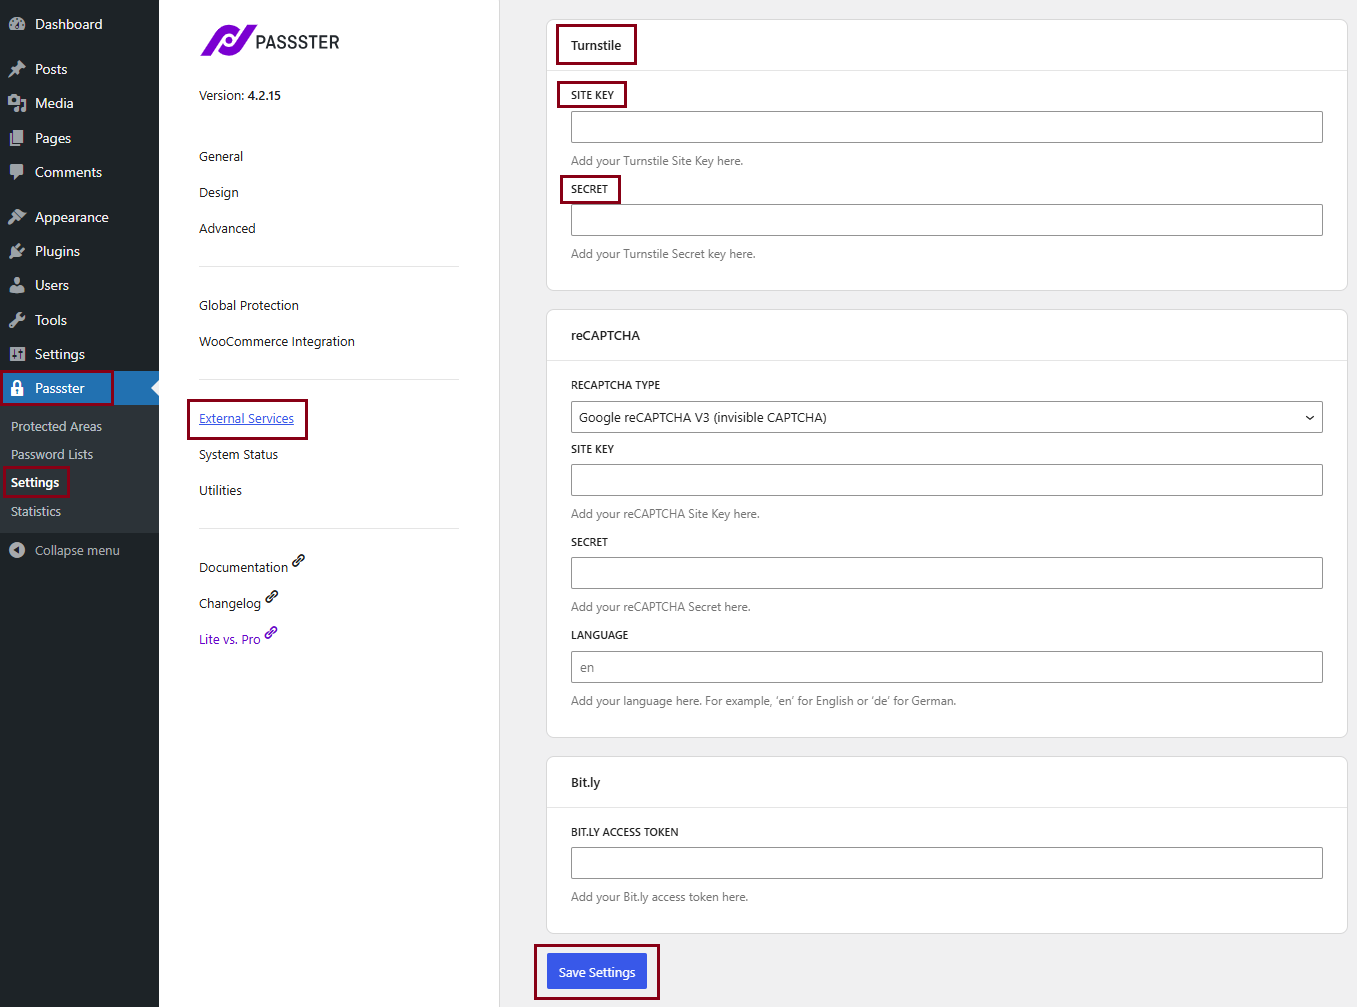
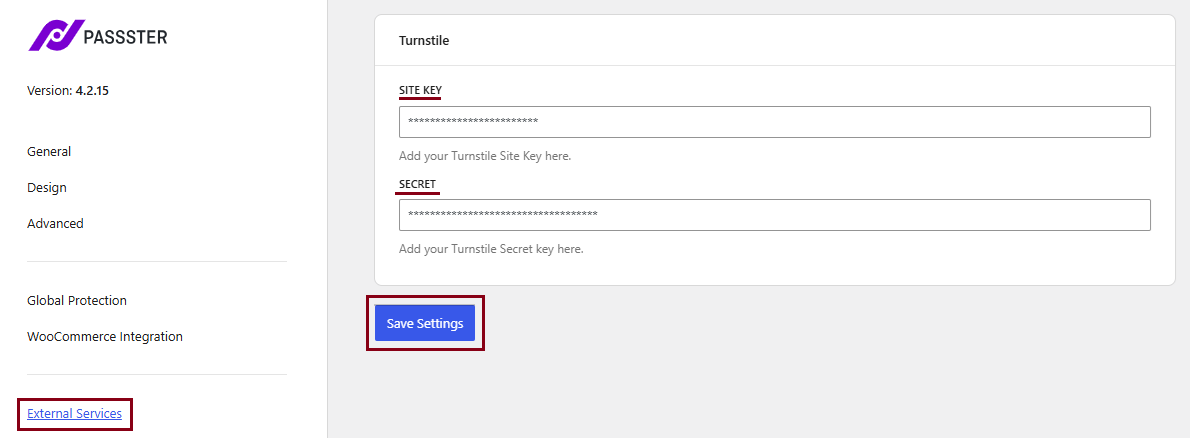
Go to your WordPress Dashboard > Passster > Settings > External Services.
In the Turnstile Settings section, enter your Turnstile Site Key and Turnstile Secret Key into the appropriate fields.
Click Save Settings to apply your settings.
Obtain Your Turnstile API Keys
To use Turnstile, you will need API keys from Cloudflare.
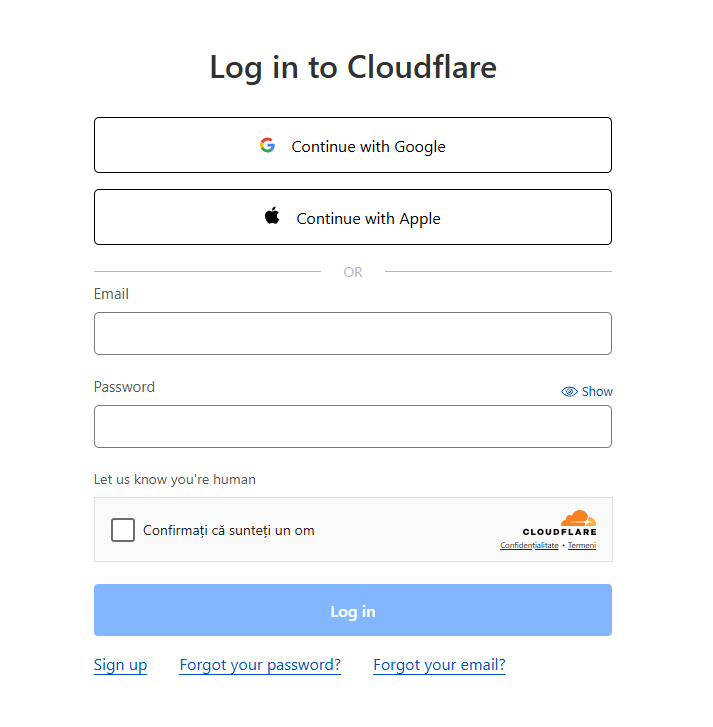
Visit Cloudflare and log in using Google, Apple, or your email and password.
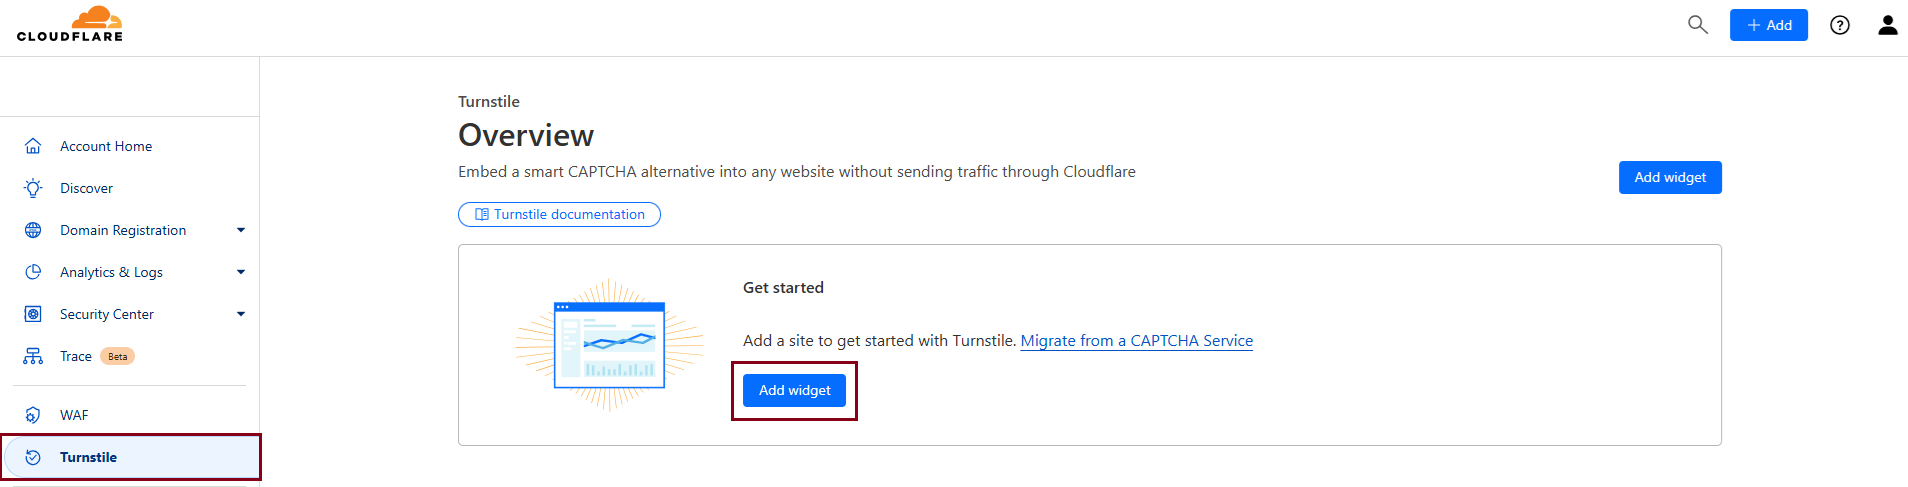
Navigate to Turnstile > Add Widget.
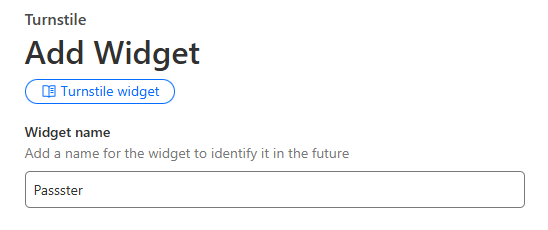
In Widget Name, enter a title for your widget.
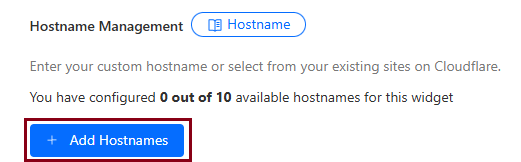
Under Hostname Management, click Add Hostnames.
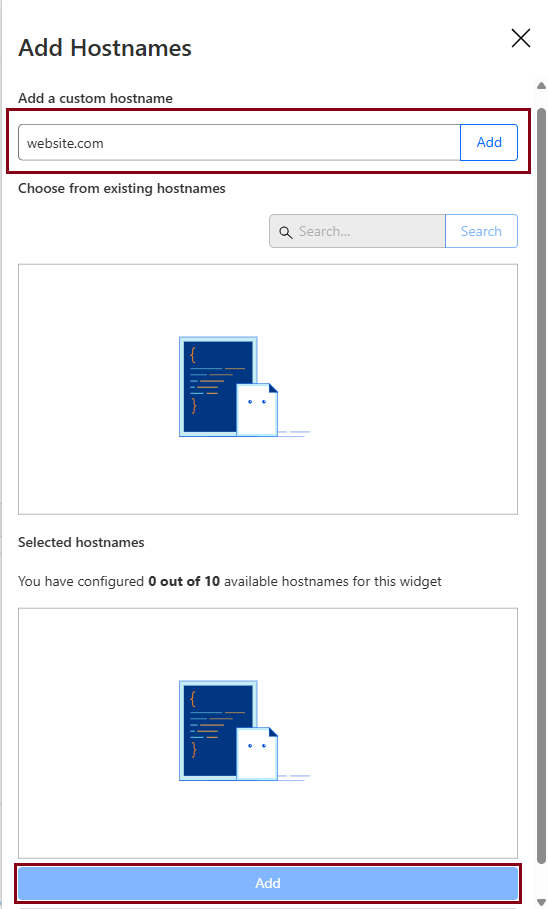
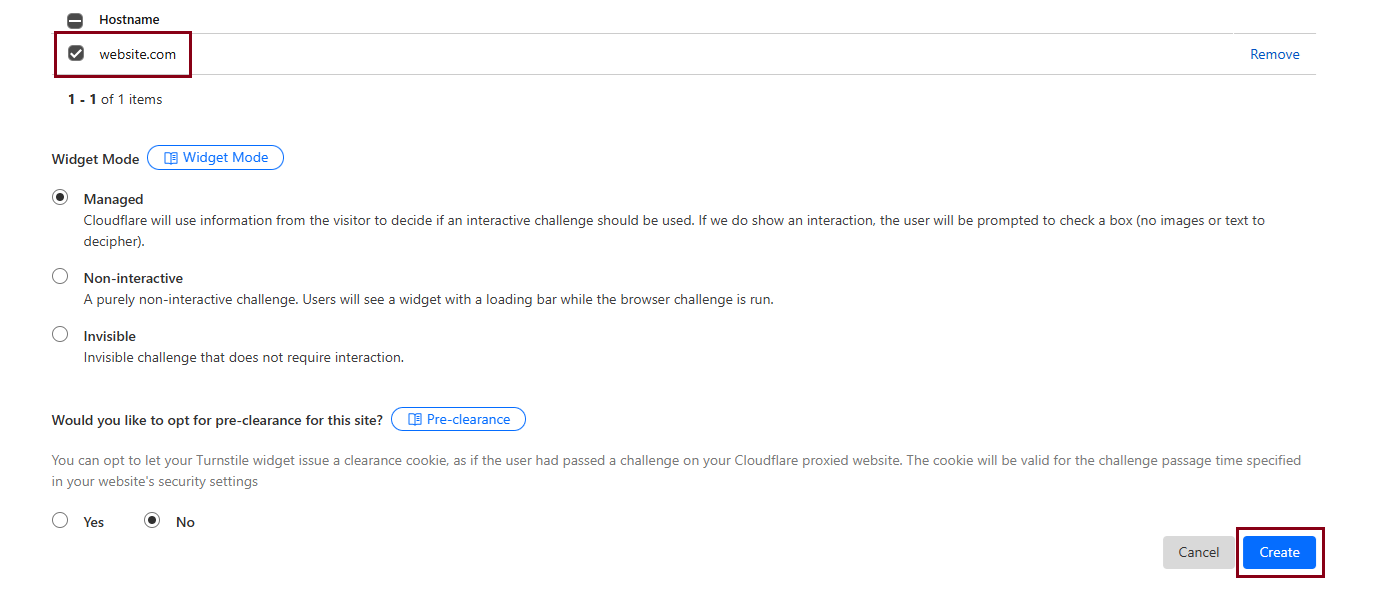
Enter your website URL and check the box in front of it at the bottom.
Click Create.
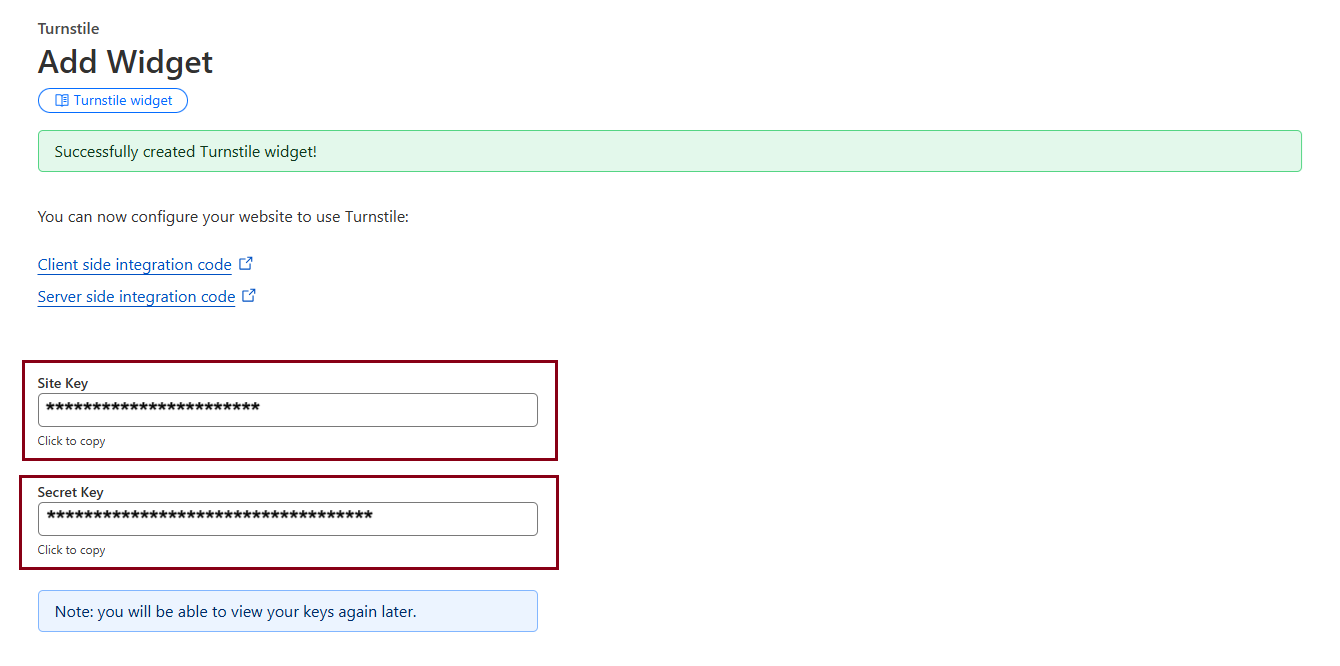
Copy the Site Key and Secret Key displayed on the screen.
Once you have your keys, return to the Passster Settings in your WordPress Dashboard, paste the keys into the Turnstile Settings, and click Save Settings.
By following these steps, you will have successfully integrated Cloudflare’s Turnstile CAPTCHA with Passster, providing an extra layer of protection for your password-protected content.