
When the time comes to part ways with Passster, whether for a fresh start or a change in strategy, it’s essential to understand the nuances of deactivating and deleting the plugin.
This comprehensive guide will walk you through both methods, highlighting the differences and ensuring a clean removal process.
Deactivating and Deleting Passster
-
Access Your WordPress Dashboard
Log in to your WordPress dashboard. -
Navigate to Plugins
Click on “Plugins” in the left sidebar. -
Locate Passster
Scroll through your plugins list until you find Passster. -
Deactivate Passster
Click the “Deactivate” button under Passster.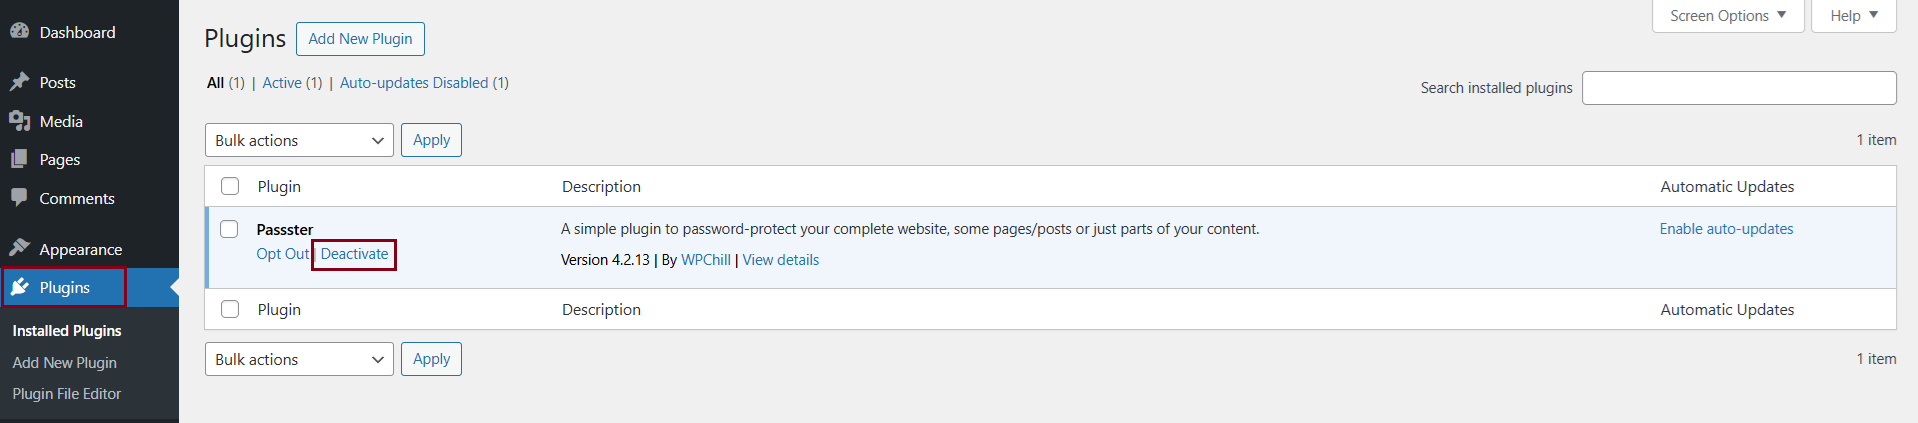
-
Delete Passster
Once deactivated, click on “Delete.” Confirm your decision in the pop-up window by clicking “OK.” Wait for the deletion process to complete.
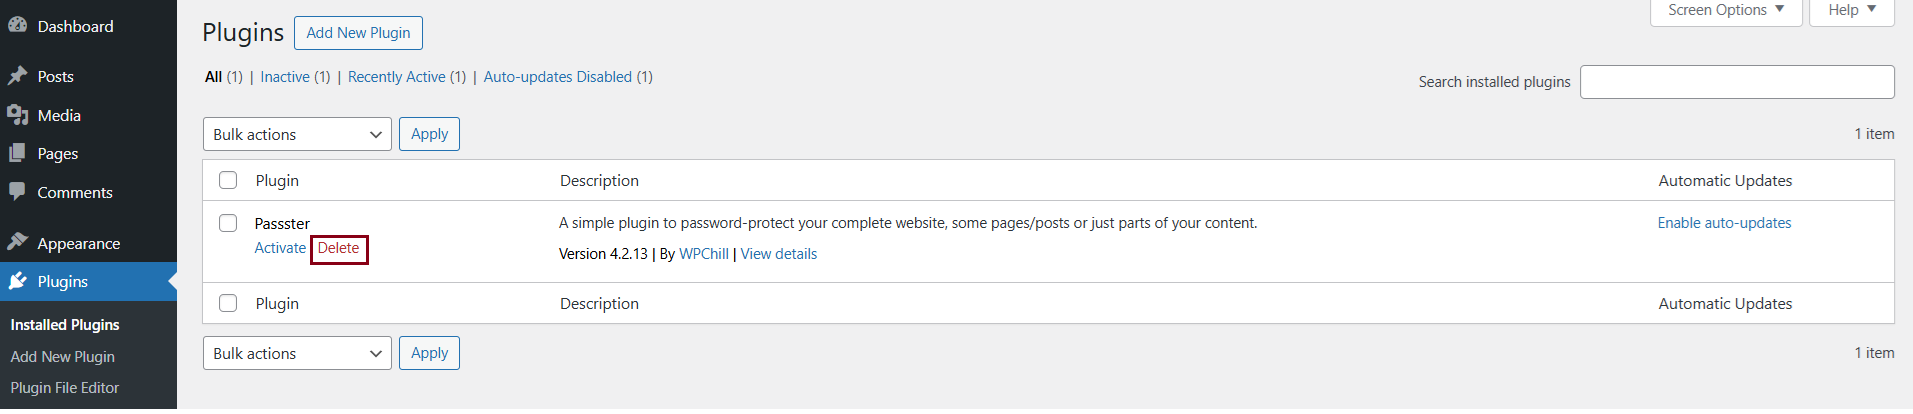
The plugin will be deleted, and you will see a message confirming the plugin was removed.
Note: This method removes Passster from your site but retains any relevant data in your database. If you reinstall Passster later, your settings may be restored.
By following these steps, you can confidently manage the removal of Passster from your WordPress site, ensuring a smooth and controlled transition.