WordPress gives you two ways to restrict page access to logged-in users:
- WordPress’ built-in Visibility settings: no plugins needed, but limited to full-page lockdown with no role-based control.
- The Passster plugin: role-based restriction, multiple passwords, CAPTCHA, encrypted access links, and partial content restriction.
You’ll find both methods covered step by step in the sections below.
Your site may be open to the public, but that doesn’t mean every section has to be. Whether you’re running an online store, a membership community, or an e-learning platform, keeping select content behind a login keeps it valuable and exclusive.
Why restrict page access to logged-in users?
Three business scenarios make a strong case for restricting page access to logged-in users: protecting in-progress work, rewarding loyal members, and gating premium content.
Rebuilding parts of your website
One of the most common reasons to restrict site access is rebuilding or updating parts of your website. This is especially true during rebranding campaigns or when switching WordPress themes.
In these cases, businesses create a password-accessible version of their site to preview changes — keeping the work-in-progress hidden from visitors until it’s ready to go live.
Exclusive drops
Another strong use case is limiting access to select users — think exclusive product launches or early-access announcements for your most loyal customers.
This works particularly well for membership sites, where logging in (or signing up via a registration page) is what unlocks member content.
Exclusivity is a powerful tool for upselling your brand or growing your customer base through a registration form or user profile.
Subscription and members-only content
Premium content is the backbone of many online businesses — and the e-learning sector is a prime example. The global online education market is projected to reach $203.81 billion in 2026 (The Business Research Company, 2026), with a CAGR of 8.20% through 2029 (iSpring Solutions, 2026).
In fact, this market runs entirely on gated content. Users pay for access to specific courses, videos, or resources, and their subscription tier determines what they can see.
Protecting sensitive data
For ecommerce sites, most visitors only ever see the front-end storefront. But behind it sits a back-end system managing pricing, promotions, user information, order fulfillment, and product images.
Much of this data is sensitive — especially anything tied to financial details. For that reason, restricting back-end access to authorized users only is standard practice, not optional.
What happens when a user is not logged in?
What unauthorized visitors see depends on which restriction method is active — Private, Password Protected, or Passster.
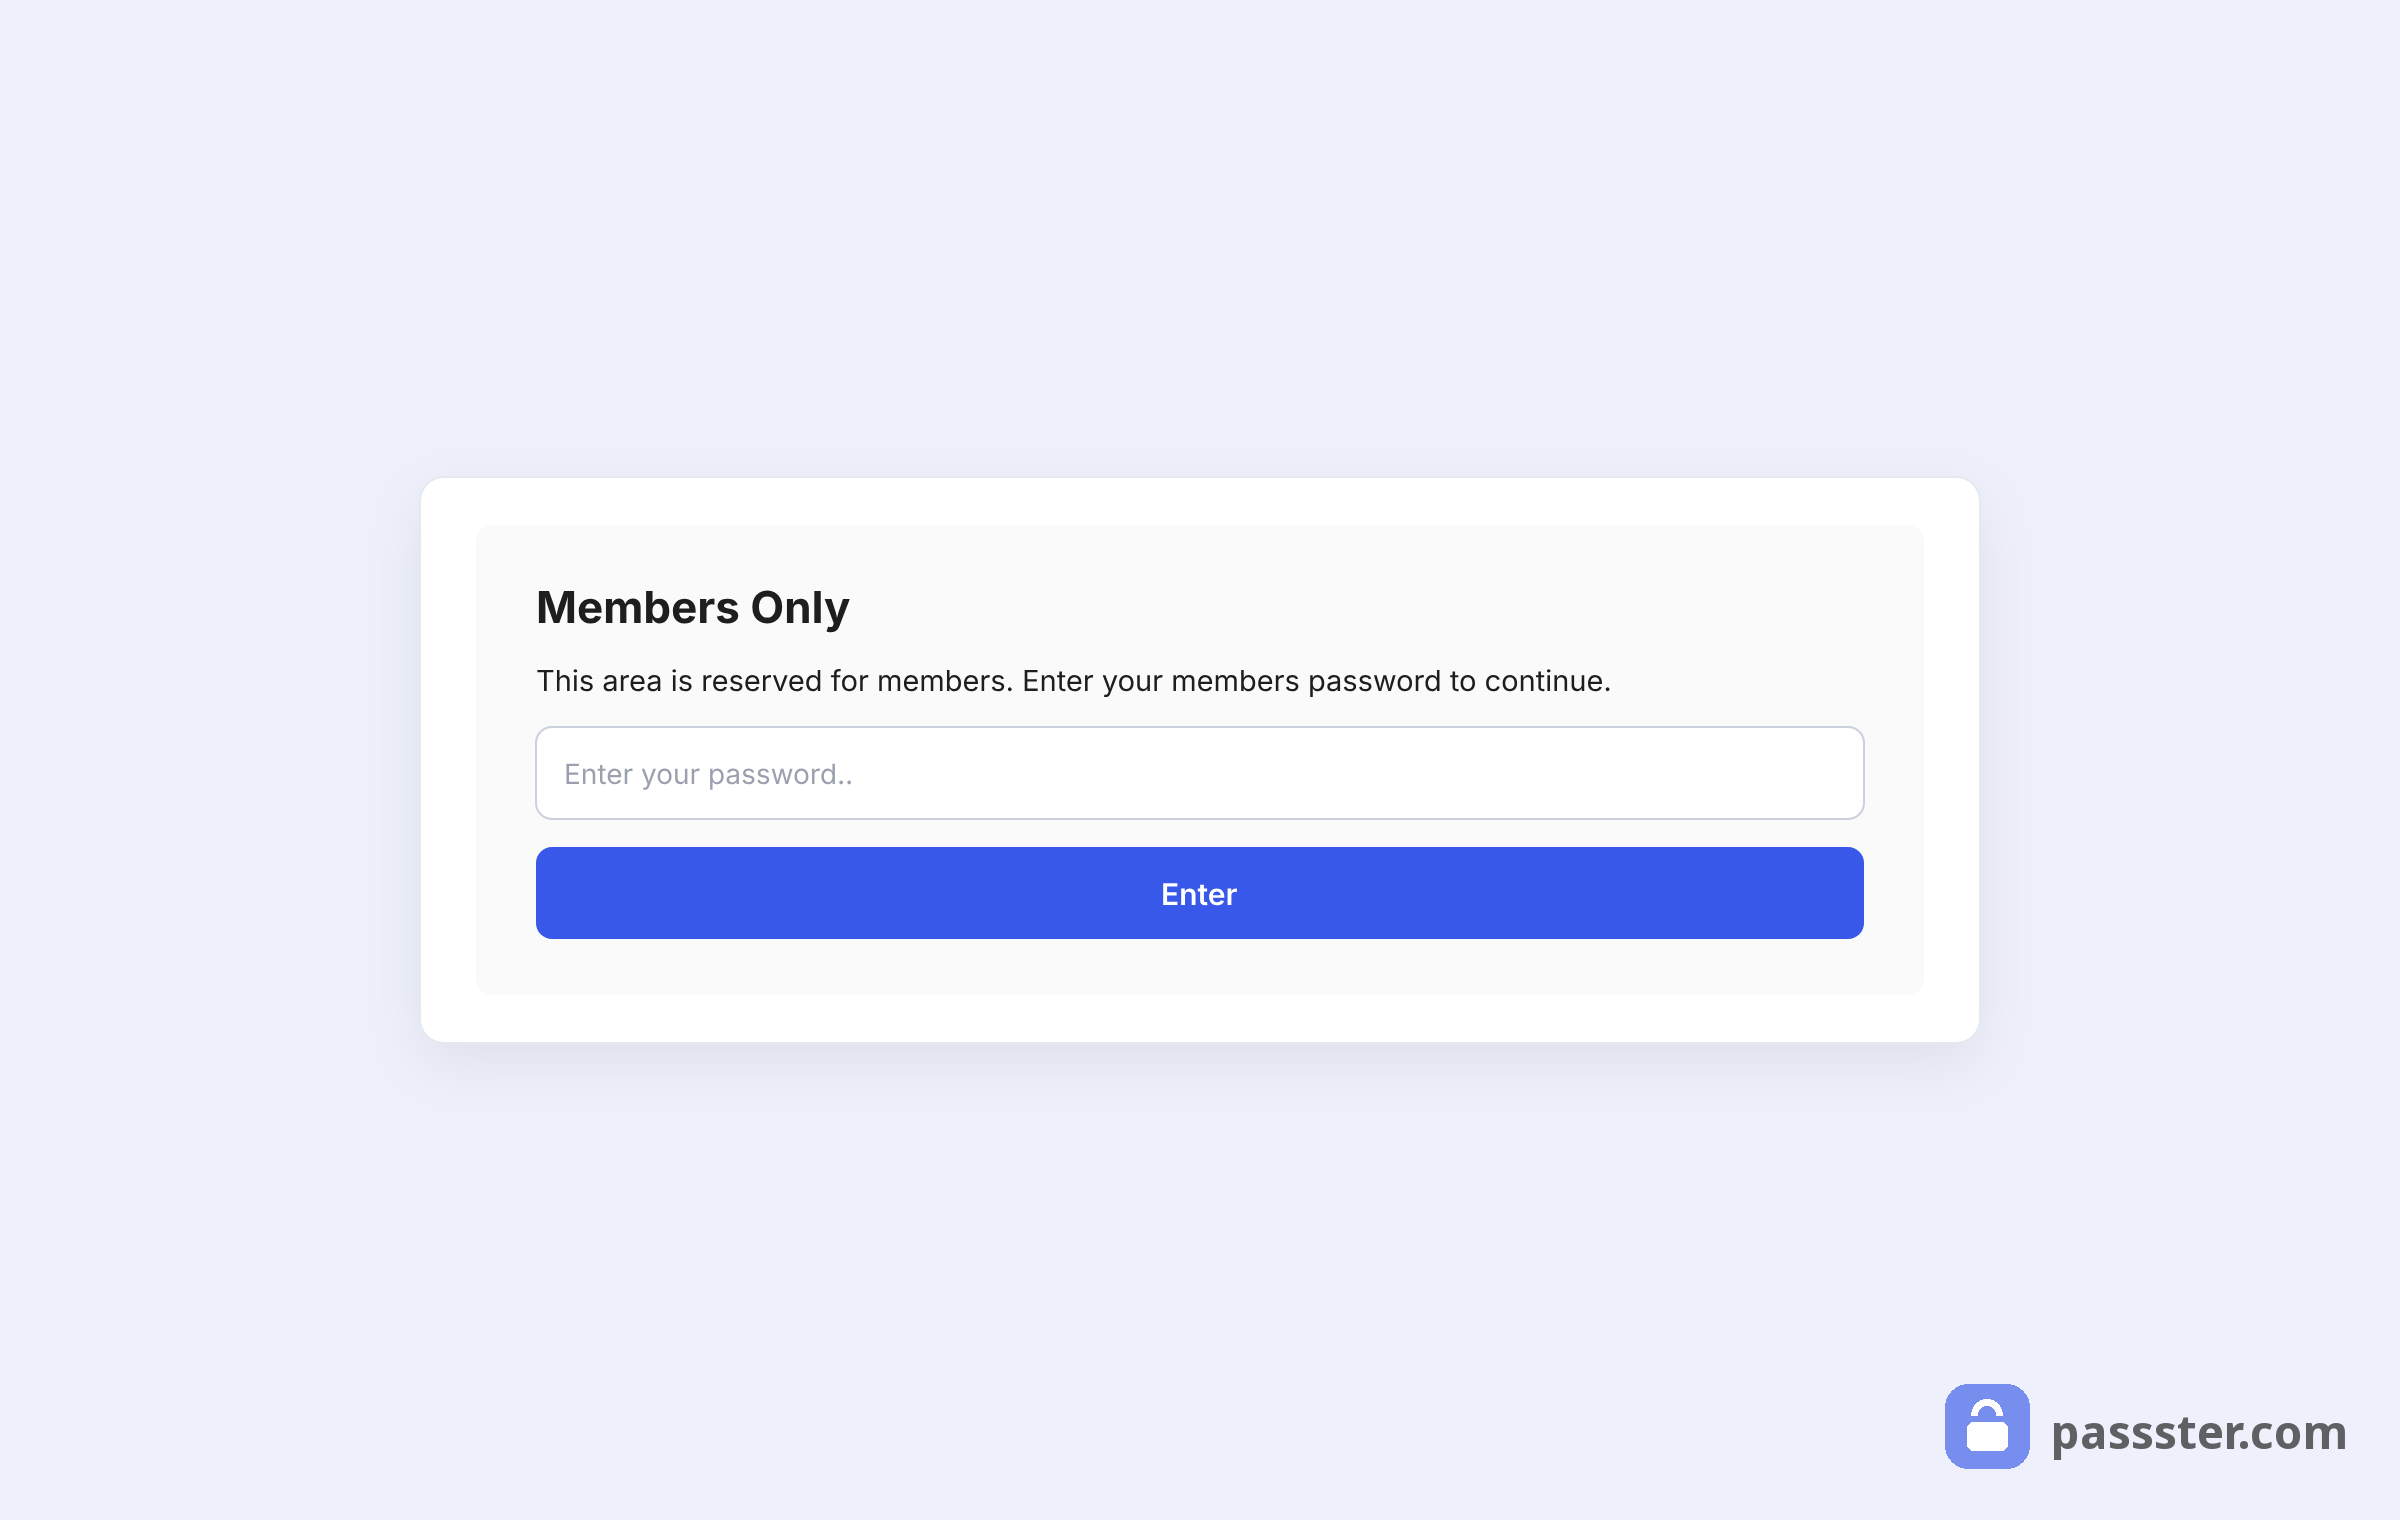
With a Private page, WordPress returns a “Page not found” response — the page simply doesn’t exist for an unauthorized visitor. With a Password Protected page, visitors see a password prompt in place of the content and can’t proceed without it.
With Passster, you have more control. You can redirect unauthorized users to a specific page — such as a sign-up or login page — rather than showing a dead end. That gives visitors a clear next step rather than a confusing 404.
How to restrict page access to logged-in users in WordPress
WordPress offers two methods to restrict page access to logged-in users: the built-in Visibility settings (free, no plugin) and Passster (role-based, granular control). Use the built-in method for a quick all-or-nothing lockdown; use Passster when you need role-based filters, multiple passwords, or partial content restriction.
Method 1: WordPress default privacy settings
One of the easiest ways to restrict a page is through WordPress’ built-in Visibility settings. No plugin is required — just a few clicks in the block editor.
- From your WordPress dashboard, go to Pages.
- Create a new page via Add New, or open an existing page to edit.
- In the left sidebar, click the option next to Visibility that currently reads “Public.”
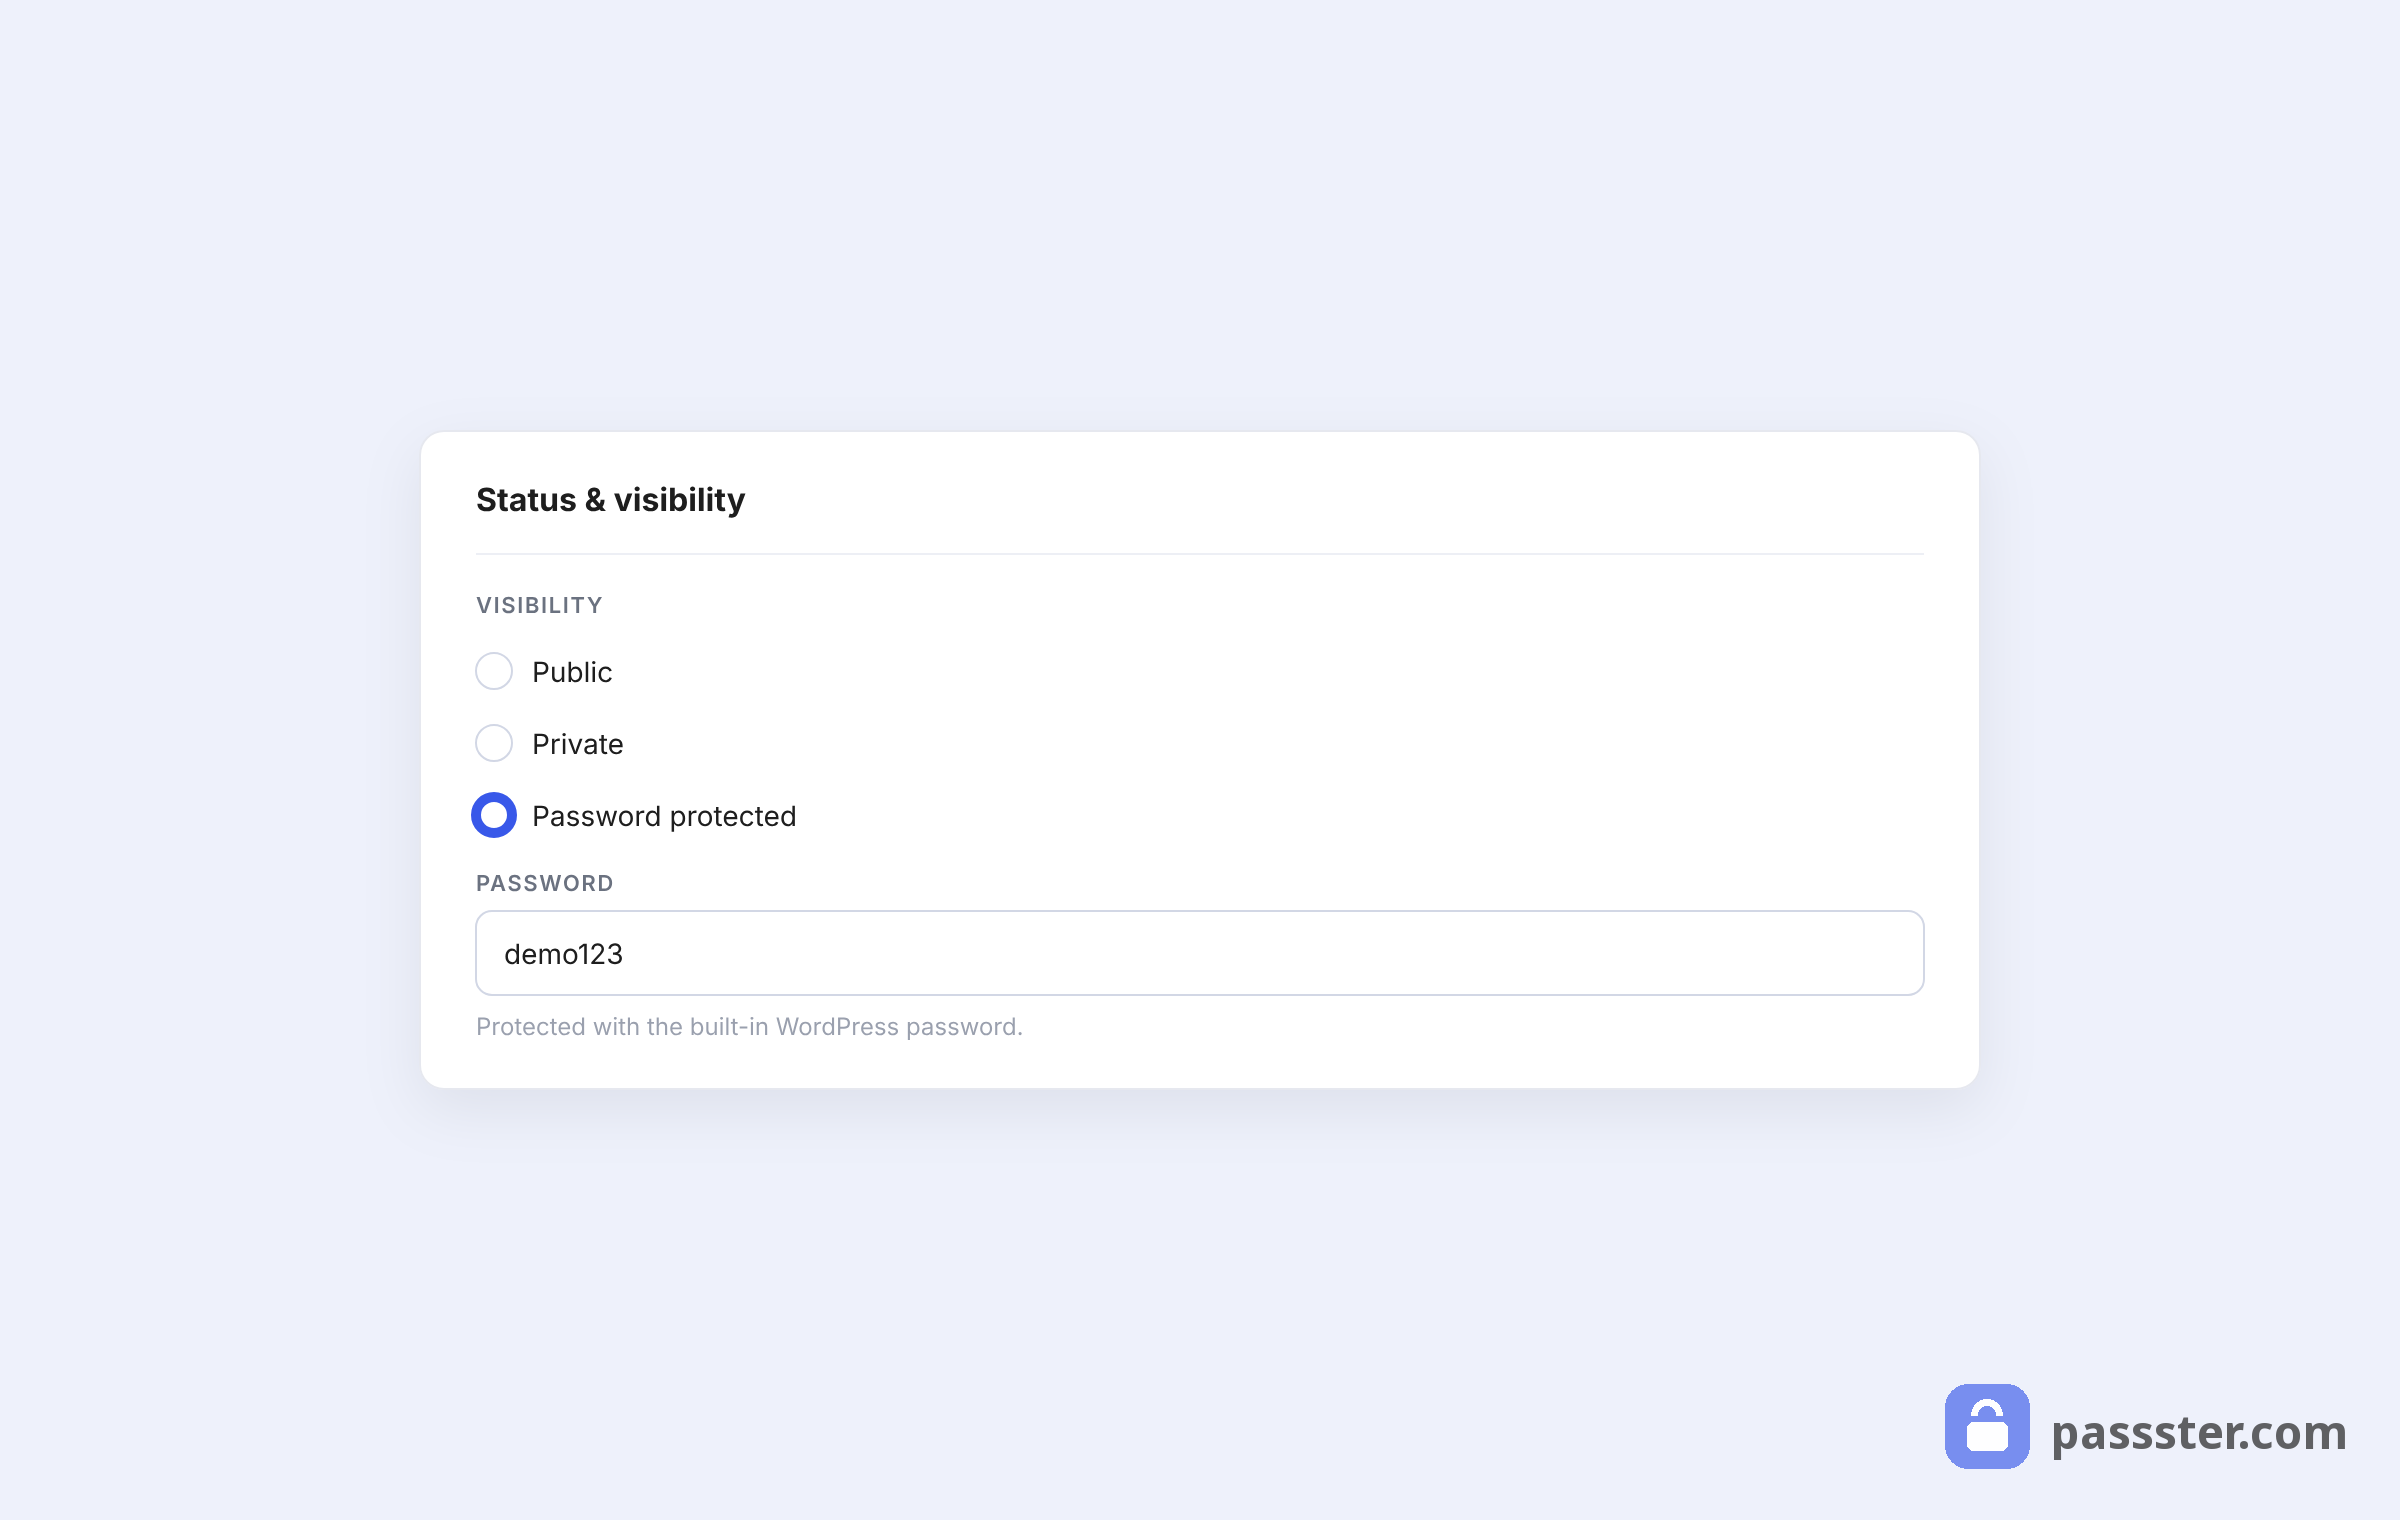
- Switch the visibility to either Private (the page is only visible to logged-in users with Editor or Administrator roles — regular Subscribers won’t see it) or Password Protected (anyone with the password can view the page — no login required).
- Click Publish or Update to save your changes.
Limitations to know: This method is all-or-nothing. You can’t restrict by user role or subscription level, and you can’t attach a registration or sign-up form. Everyone without the password (or the right role) is simply locked out.
If you need role-based access, or want non-logged-in visitors to have a clear path to sign up, you’ll need a plugin.
Built-in WordPress vs. Passster: a quick comparison
| Feature | WordPress built-in | Passster |
|---|---|---|
| Restrict full page | ✓ | ✓ |
| Restrict by user role | ✗ | ✓ |
| Multiple passwords | ✗ | ✓ |
| CAPTCHA protection | ✗ | ✓ |
| Partial / block-level restriction | ✗ | ✓ |
| Encrypted access links | ✗ | ✓ |
| Custom login form | ✗ | ✓ |
| Cost | Free | Pro (paid) |
Method 2: Restrict page access with Passster
The Passster plugin gives you far more granular control over who sees what — whether that’s a single page, a post, a WooCommerce product, or just a specific section of content.
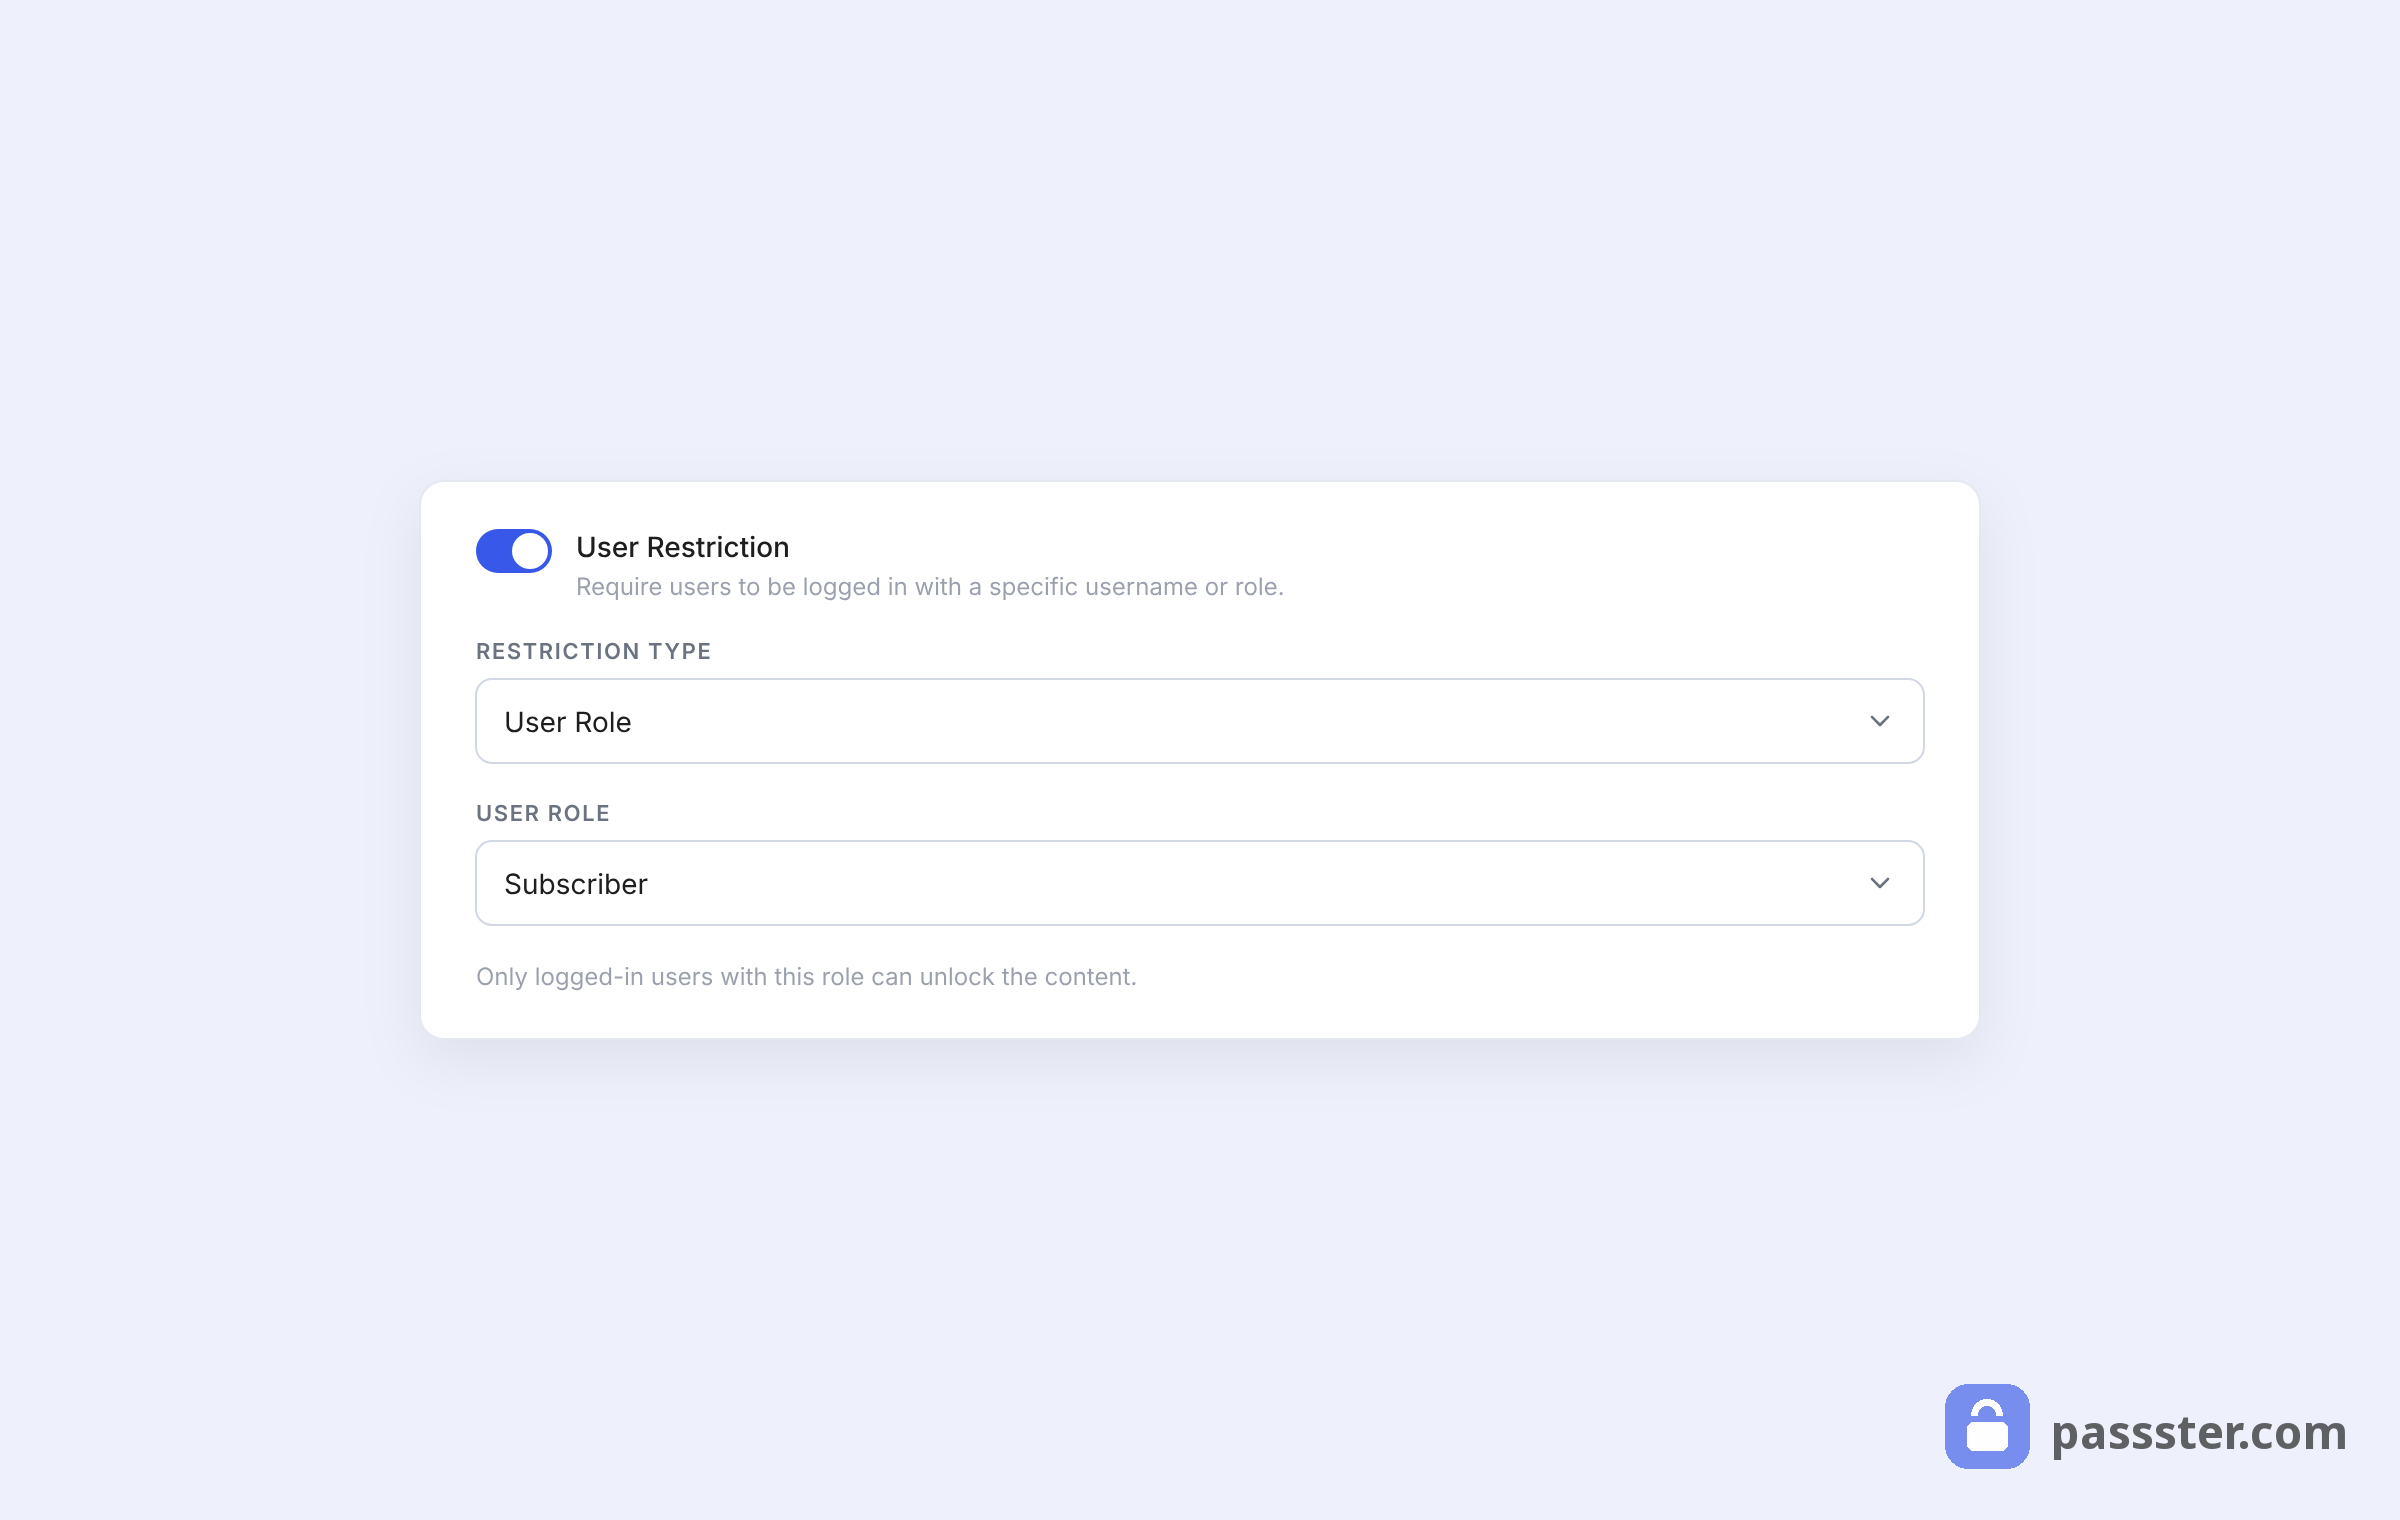
Passster lets you restrict access by:
- User role: only specific logged-in users (e.g., Subscribers, Members) can view the content.
- Password: single passwords, multiple passwords, or imported password lists.
- CAPTCHA: a challenge-response test that blocks automated bots from bypassing the access form.
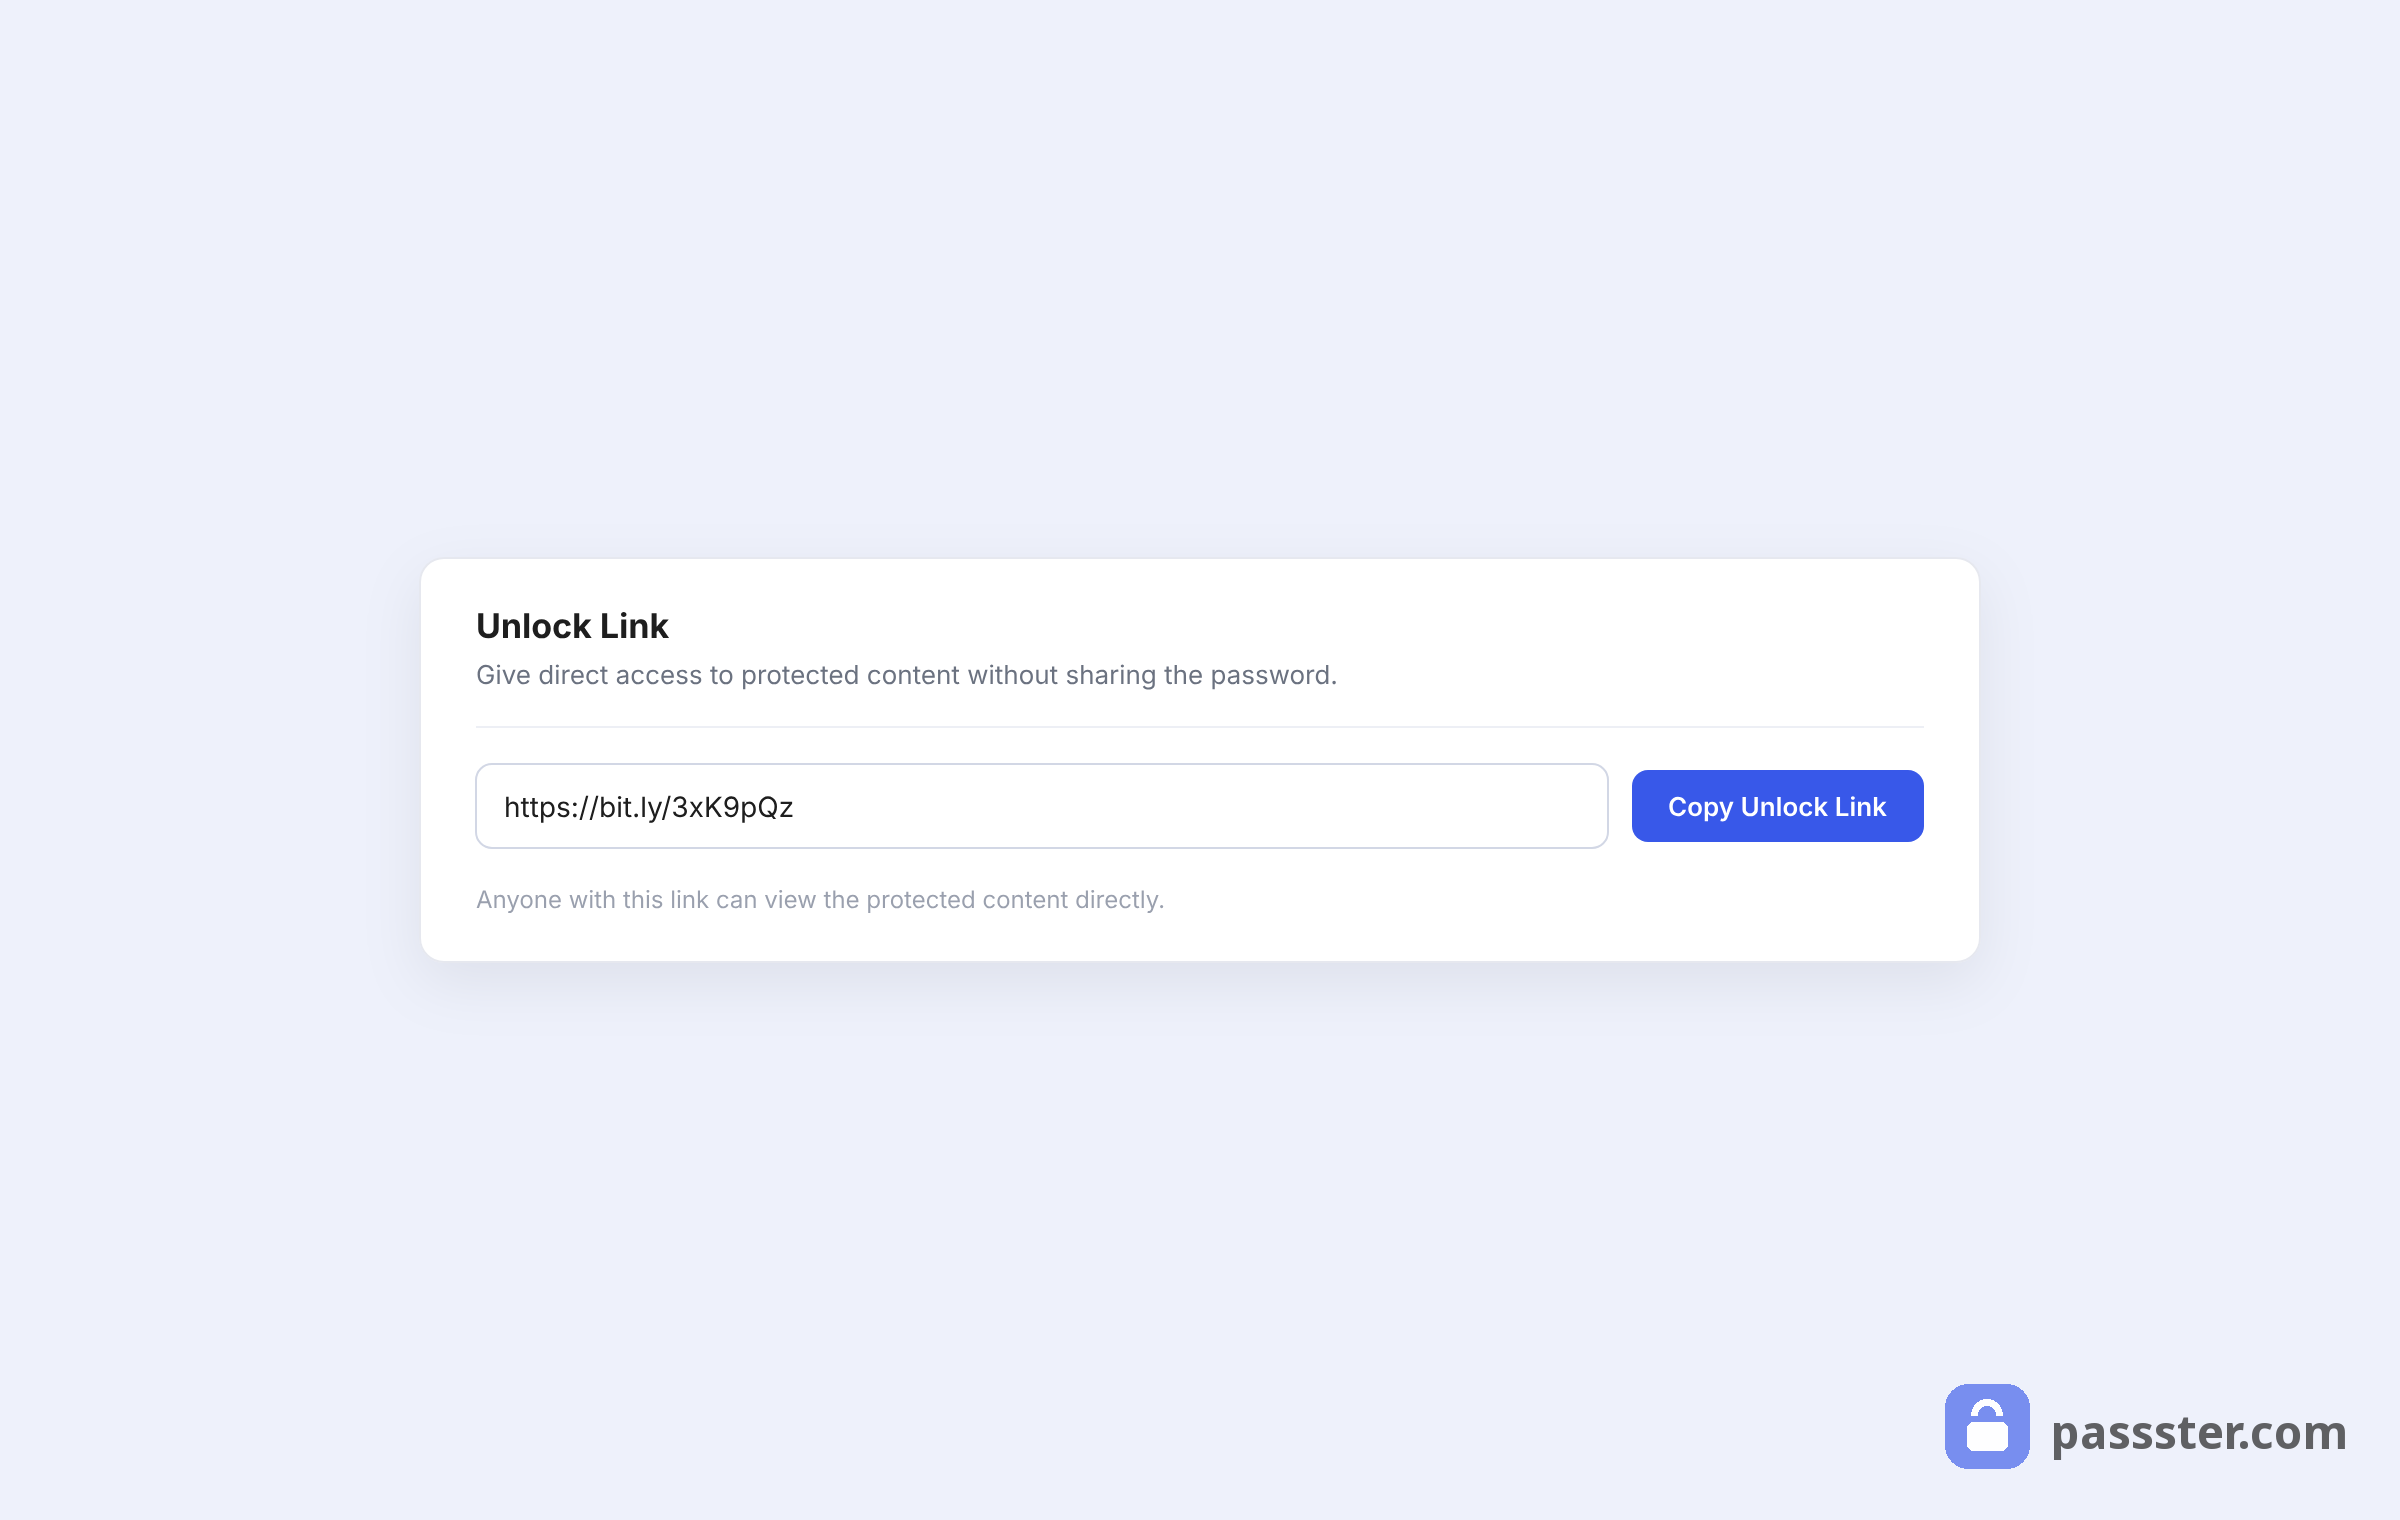
Plus, you can generate encrypted access links to share directly with users, giving them entry without needing to enter a password manually.
#### Installing Passster
You’ll need to purchase the pro version at passster.com/#pricing. After purchase, download the .zip file from your confirmation email.
- In your WordPress dashboard, go to Plugins > Add New.
- Click Upload Plugin and select the
.zipfile. Click Install Now, then Activate.
#### Setting up protection on a page
Once Passster is active, open the page you want to protect in the block editor.
- Click Activate Protection in the Passster sidebar panel.
- Set the Protection Mode to Password.
- Enter a secure password.
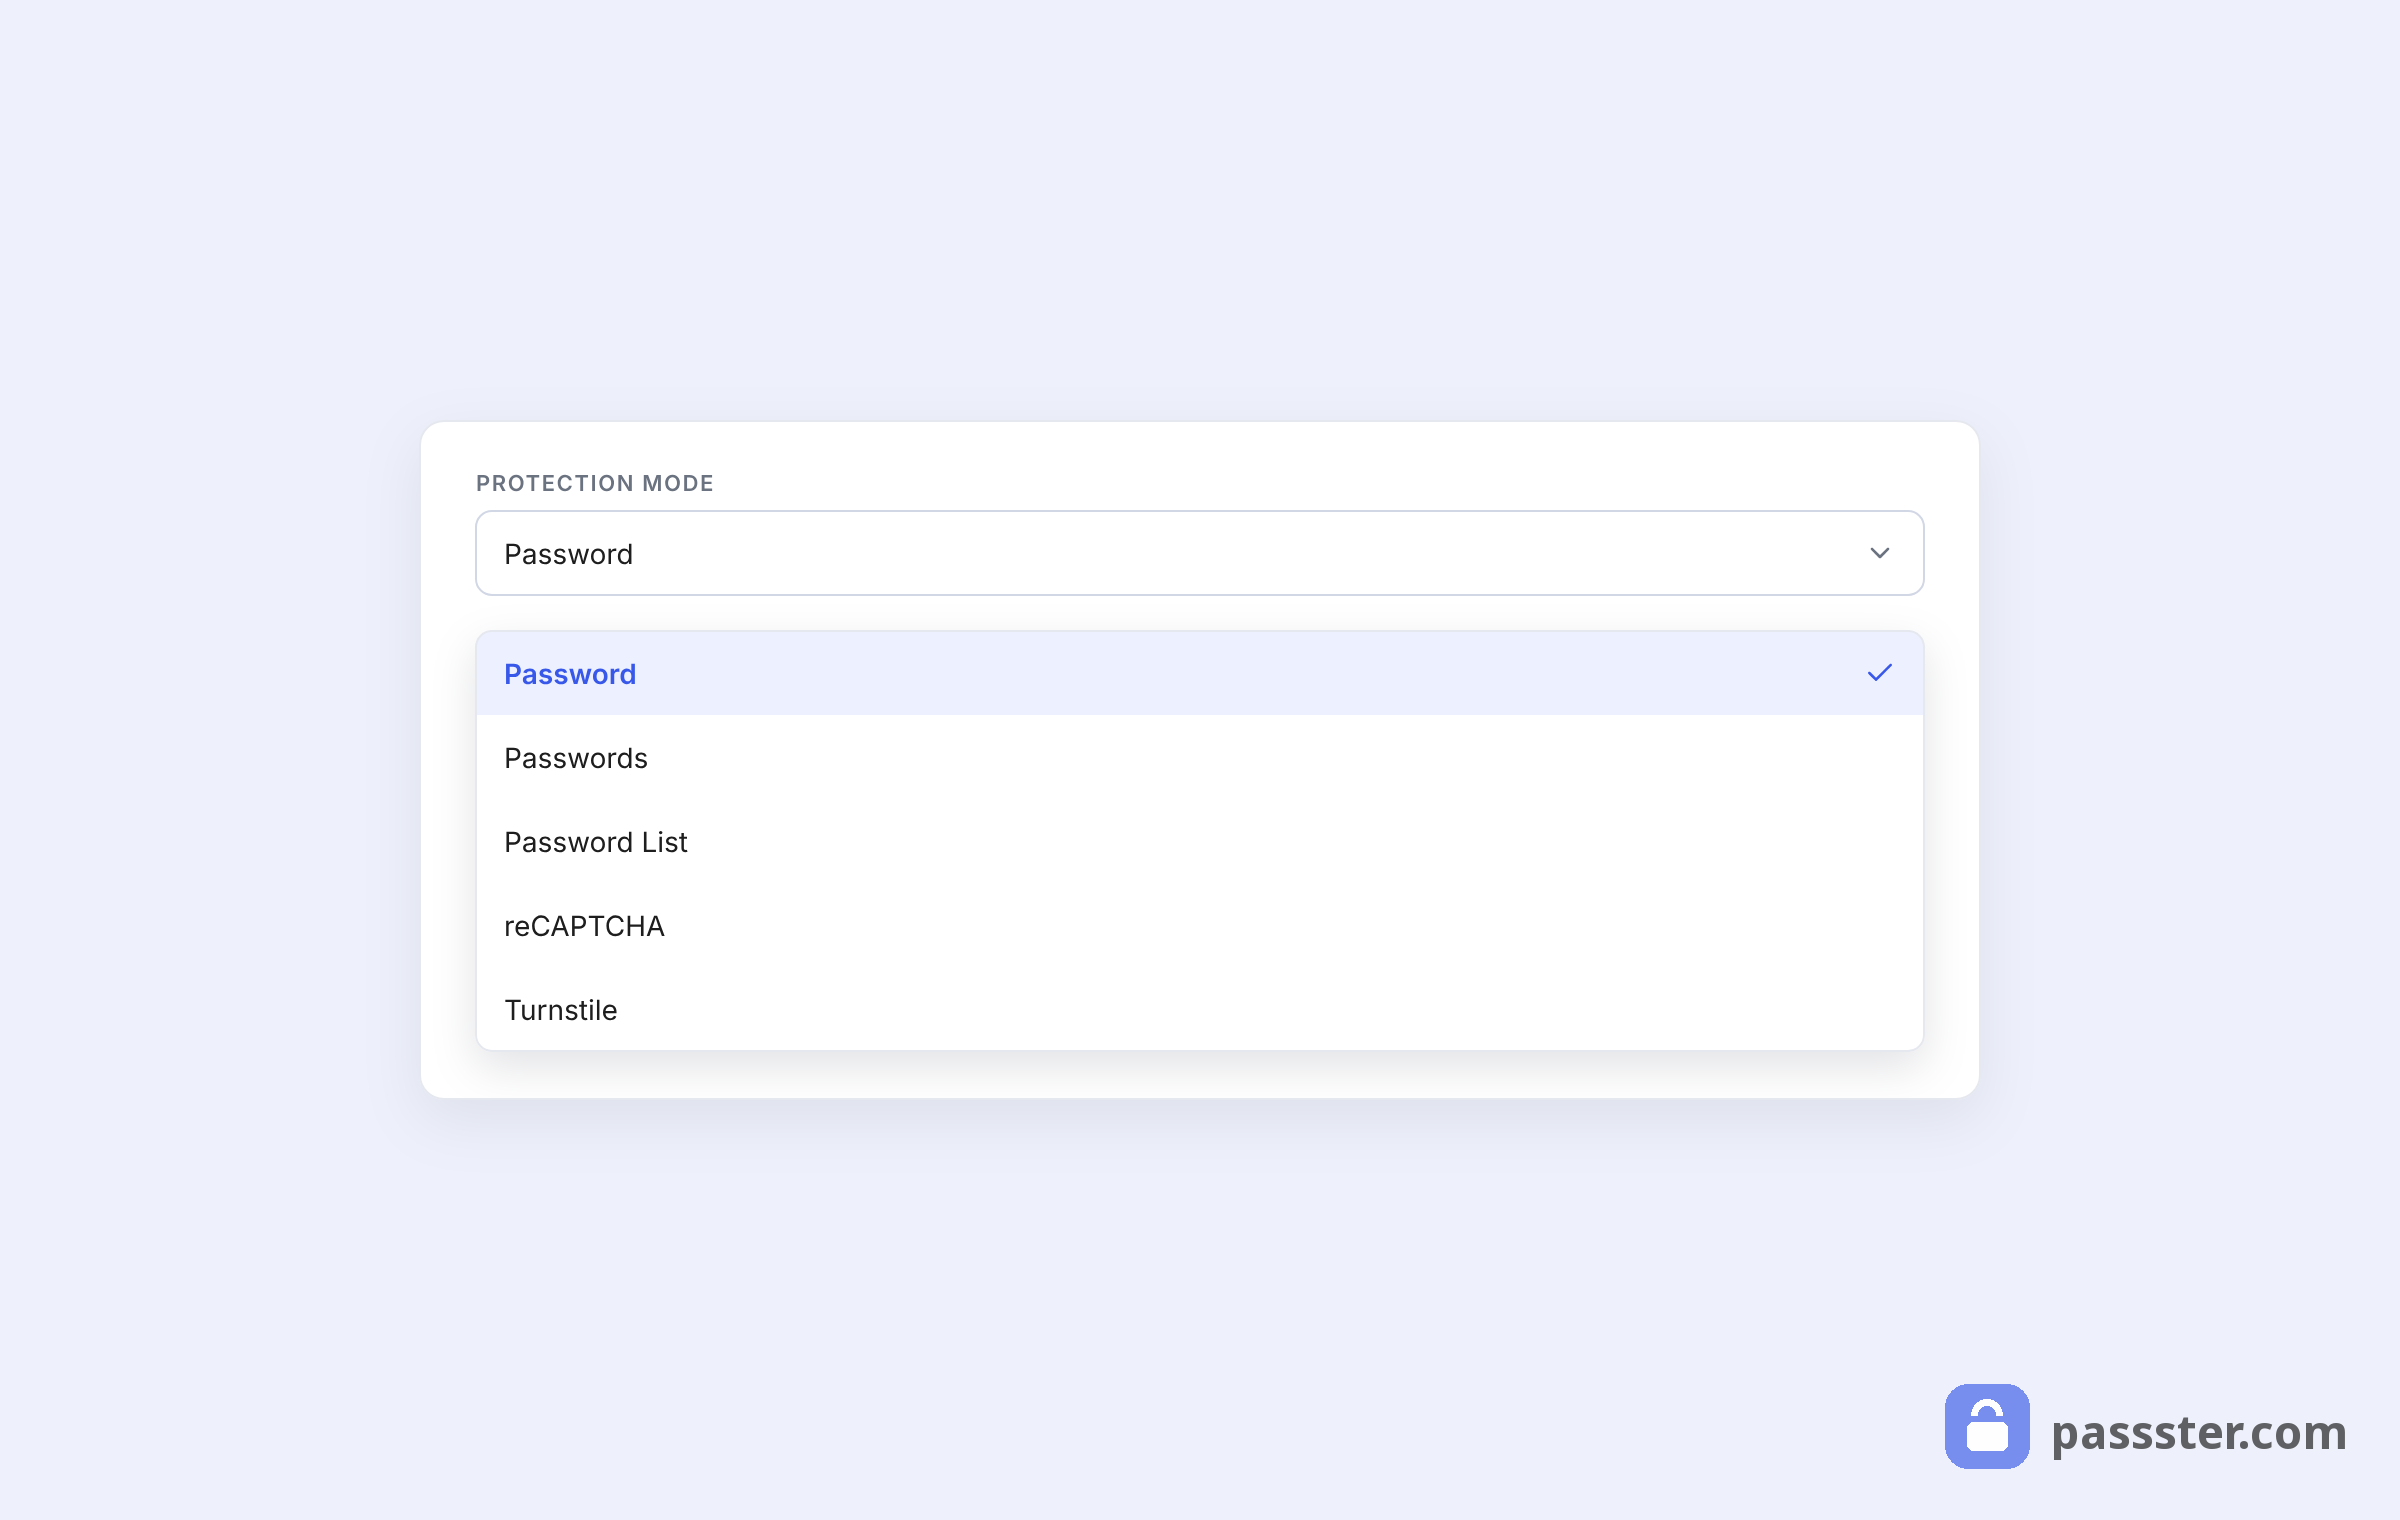
- Select which User Role this page is restricted to — including Members and Subscribers.
This combination of password protection and role-based filtering ensures your content surfaces only to the right audience.
#### Restricting partial content (block-level)
Unlike the WordPress default method, Passster can protect just part of a page. You can wrap a specific block — a download button, a video, a premium callout — with protection while keeping the rest of the page public. This is useful for teasing members-only content alongside free content within a single page.
#### Customizing the login form
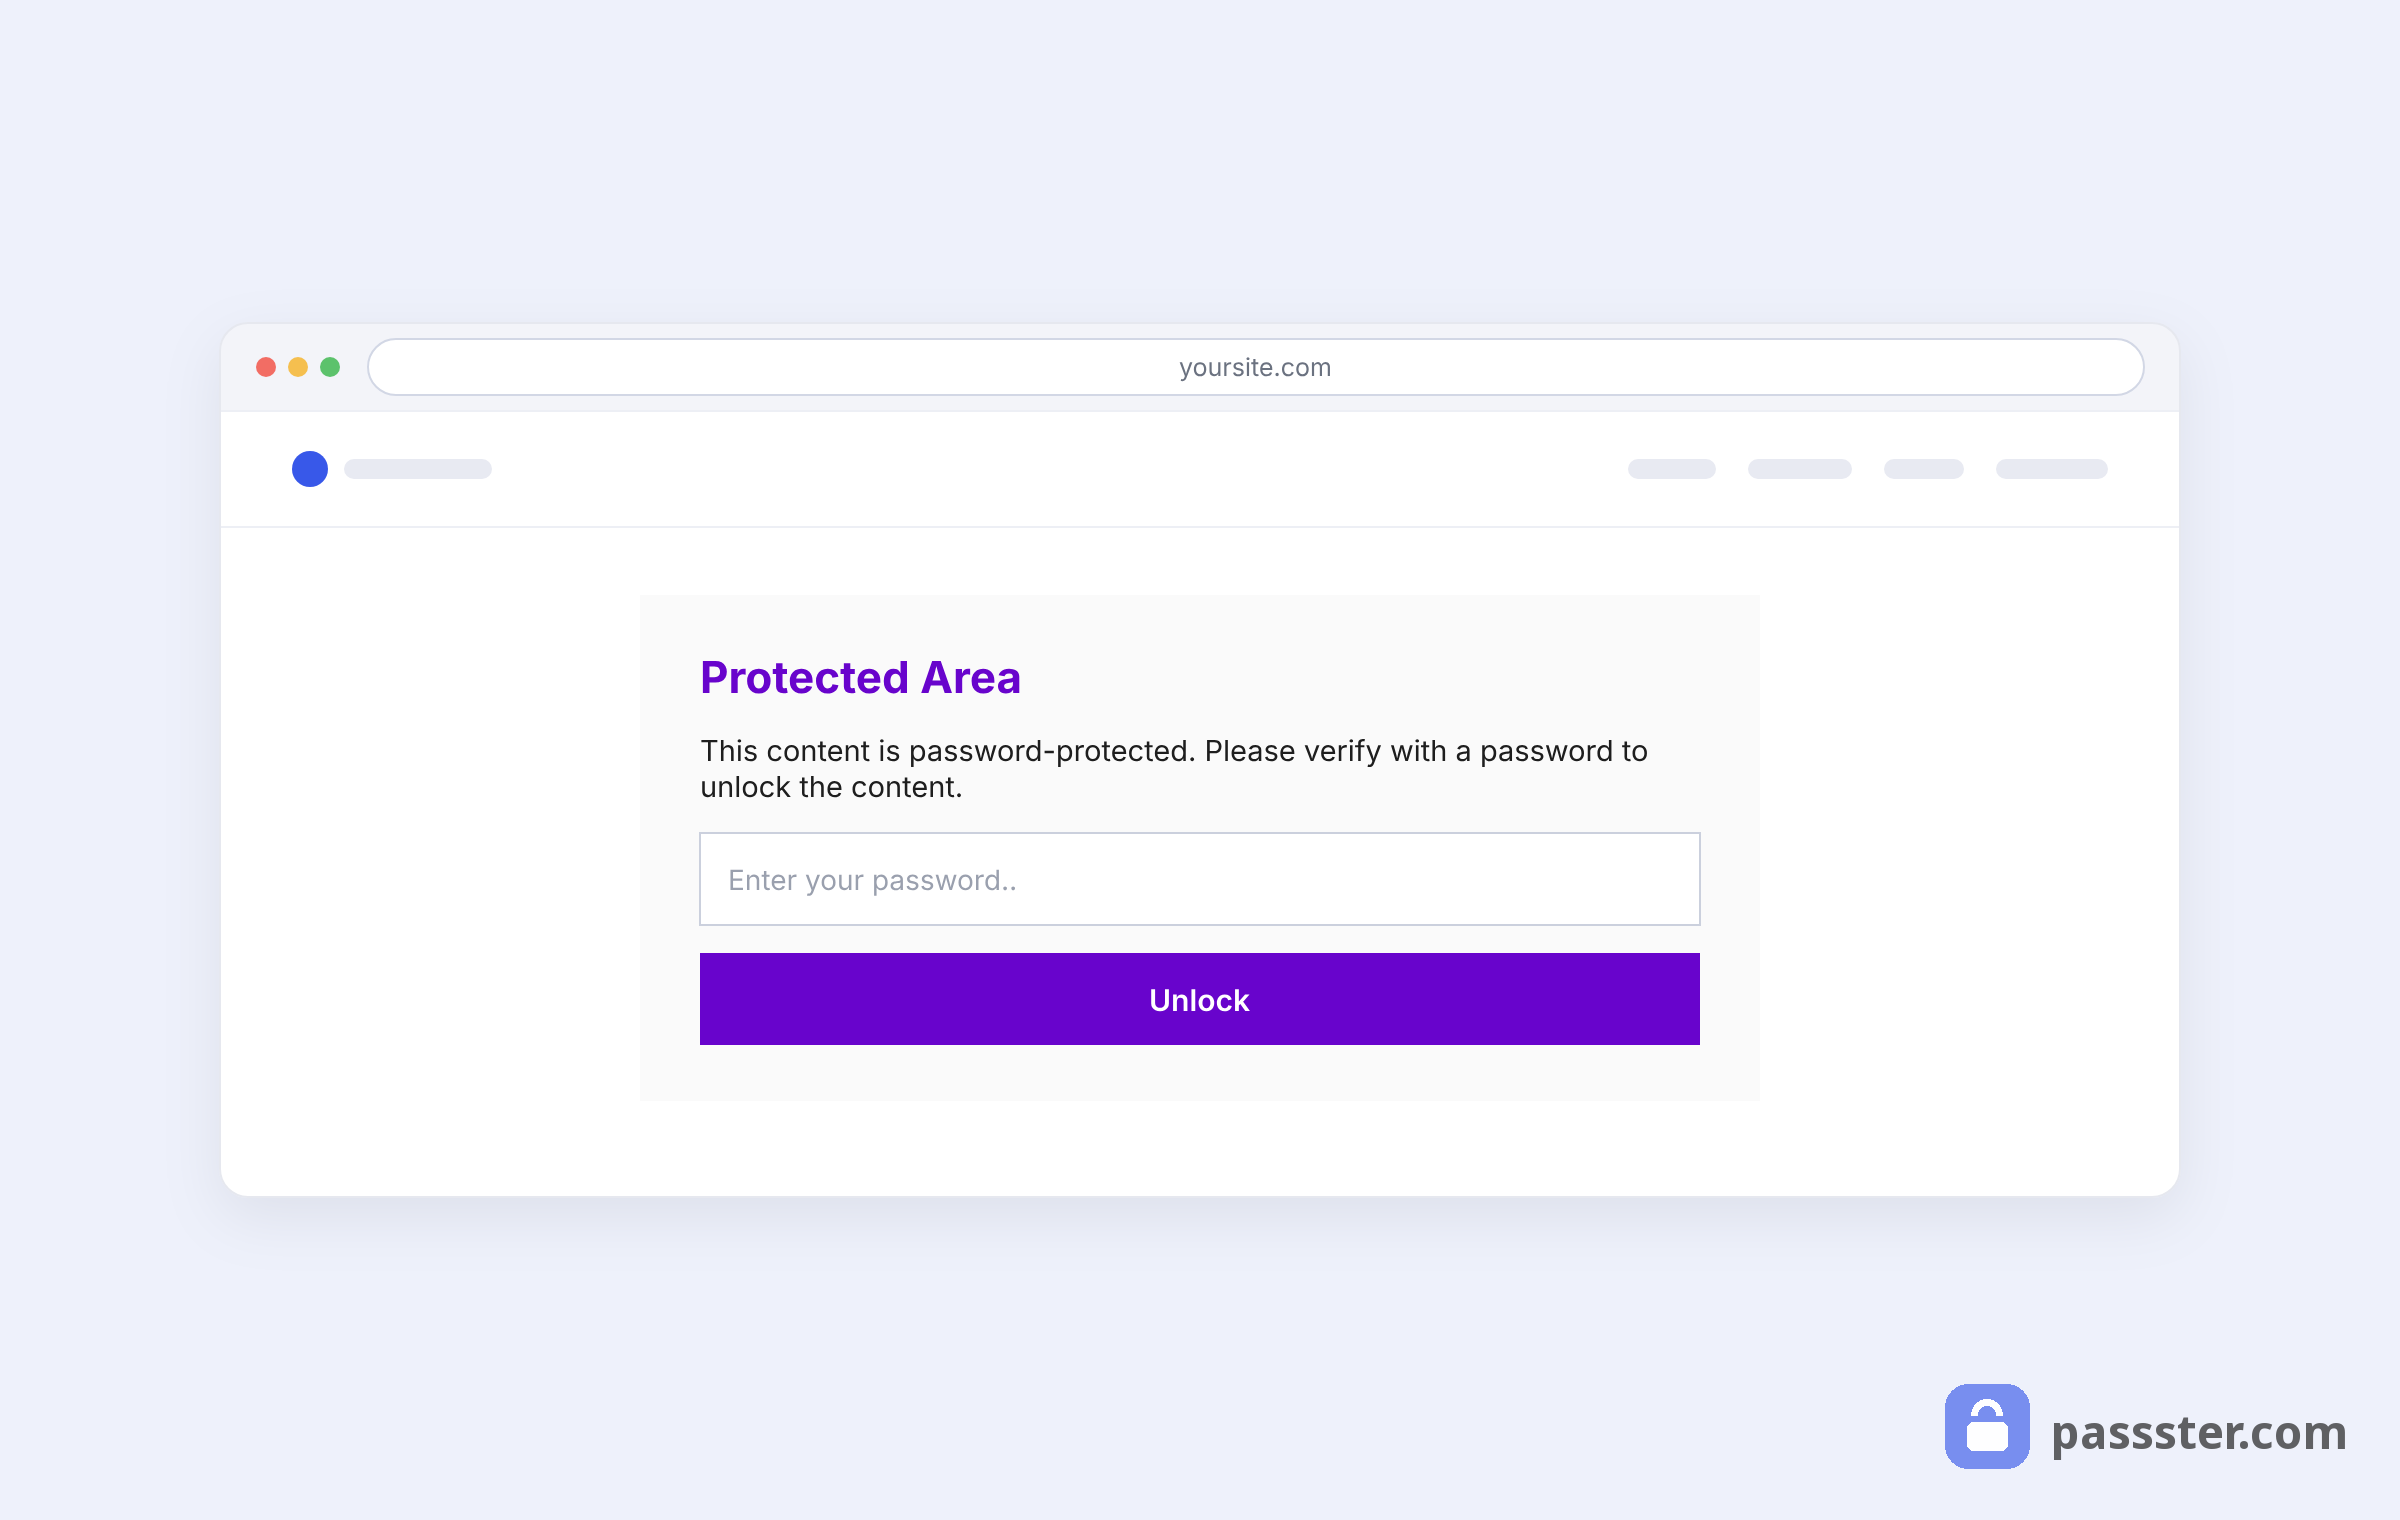
Passster replaces the standard content view with a login form when a visitor lacks access. You can style that form to match your site’s design.
- Go to Passster > Settings.
- Open the Design tab at the top.
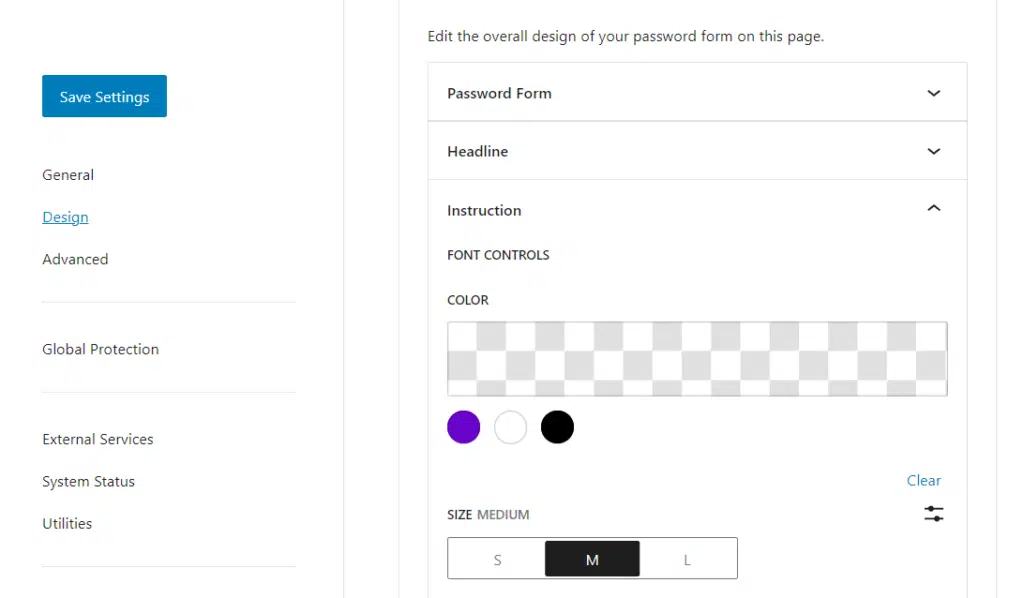
- Adjust the font, form width, spacing, margins, and colors.
- Customize the headline color, font, and size.
- Update the Instruction and Button settings in the same way.
- Click Save Settings.
Your page is now protected and the login form is on-brand.
WordPress user roles: who can access what?
WordPress’s built-in Private visibility only covers Admins and Editors, but Passster’s User Restriction can grant access to any role — Subscribers included. For the full role-by-role breakdown, plus how to restrict a single section of a page by role, see our guide to restricting content by role in WordPress.
Frequently Asked Questions
Private hides the page entirely from everyone except logged-in Editors and Administrators. Password Protected shows the page to anyone who enters the correct password — no login account needed.
Yes. WordPress’ built-in Visibility settings are free and require no plugin. The trade-off is all-or-nothing restriction — no role filtering. Passster’s free plugin covers basic password protection, with role-based access available in the pro version.
Not with WordPress’ built-in tools — those work at the page level only. Passster supports block-level protection, so you can gate a specific section while keeping the rest of the page visible to everyone.
With a Private page, they get a 404 response. With a Password Protected page, they see a password entry form. With Passster, you can redirect unauthorized visitors to a custom page — such as a registration or login page — for a smoother experience.
Restrict page access in WordPress today
Restricting page access protects sensitive data, powers membership models, and creates the exclusivity that keeps users engaged.
For simple all-or-nothing lockdown, WordPress’ built-in Visibility settings handle it in minutes. For anything more — role-based access, multiple passwords, partial content gating, or encrypted unlock links — Passster offers the control you need.