A password protected website asks visitors for a password before they can view your pages, posts, or entire WordPress site — so only people with the right credentials get in.
The stakes for getting this right are rising. In fact, Sucuri’s 2024 SiteCheck Malware Trends Report found WordPress made up over 90% of the infected CMS websites it scanned that year.
Yet not everything you publish is meant for everyone. A staging site, a client preview, members-only resources, internal documents — plenty of cases call for controlling exactly who can open a page. That’s the job password protection does.
This guide shows you how to add password protection to your site with Passster, a leading password protect WordPress plugin. You’ll see why it matters, when to use it, and how it beats WordPress’s built-in option. Then we’ll set it up step by step — your whole site, single pages, parts of a page, and WooCommerce products.
Why Password-Protect Your Website?
A password protected website gives you controlled access to your content — only people with the right password can view it. WordPress powers around 42% of all websites (W3Techs, 2026), which makes it the top target for attacks. Limiting who sees your content — during a build, a client review, or a members-only launch — keeps it out of the wrong hands.
Here are the four situations where password protection makes sense:
- Staging and development sites. You’re building or testing in public — but you don’t want Google indexing a half-finished site, and you don’t want competitors getting an early look. A site-wide password keeps work-in-progress private.
- Client previews. You’ve built something for a client and need them to review it before launch. A password gives the client access without opening the site to the world.
- Membership and subscriber content. You have articles, courses, or downloads that are only for paying members or newsletter subscribers. A password protected area keeps the free and paid tiers separate without requiring a full membership plugin.
- Wholesale and VIP product access. You run a WooCommerce store with trade pricing or exclusive products that shouldn’t be visible to retail visitors. Password protection lets you restrict those catalog pages to approved buyers only.
The goal is the same: control over who sees what, without the overhead of a full login system.
WordPress Built-in Password Protection vs. Passster
Of course, WordPress does include a native password protection option. When you edit any post or page, you can set the visibility to “Password protected” and enter a single shared password. It works — but it has real limits:
- One password per item: you can’t distribute different passwords to different groups.
- No design control: the form uses WordPress’s default styling; you can’t match it to your brand.
- No reCAPTCHA or bot protection: bots can hammer the form unimpeded.
- No partial-content protection: you can lock a whole page, but not a section within it.
- No WooCommerce integration.
- No usage tracking or access statistics.
That last point matters more than it looks. In 2025, brute-force attacks caused 37% of successful web app break-ins — up from 21% the year before (Verizon DBIR 2025, via DeepStrike). A shared password with no bot protection and no tracking is an easy target.
Passster keeps what works about WordPress’s built-in option and adds everything above. You can do anything — from a simple one-password page to a full setup that emails buyers their own password through WooCommerce.
What is Passster?
Passster is a WordPress plugin that adds password protection to your site. In short, it works on your whole site, single pages and posts, parts of a page, and WooCommerce products. Best of all, visitors don’t need to create an account.
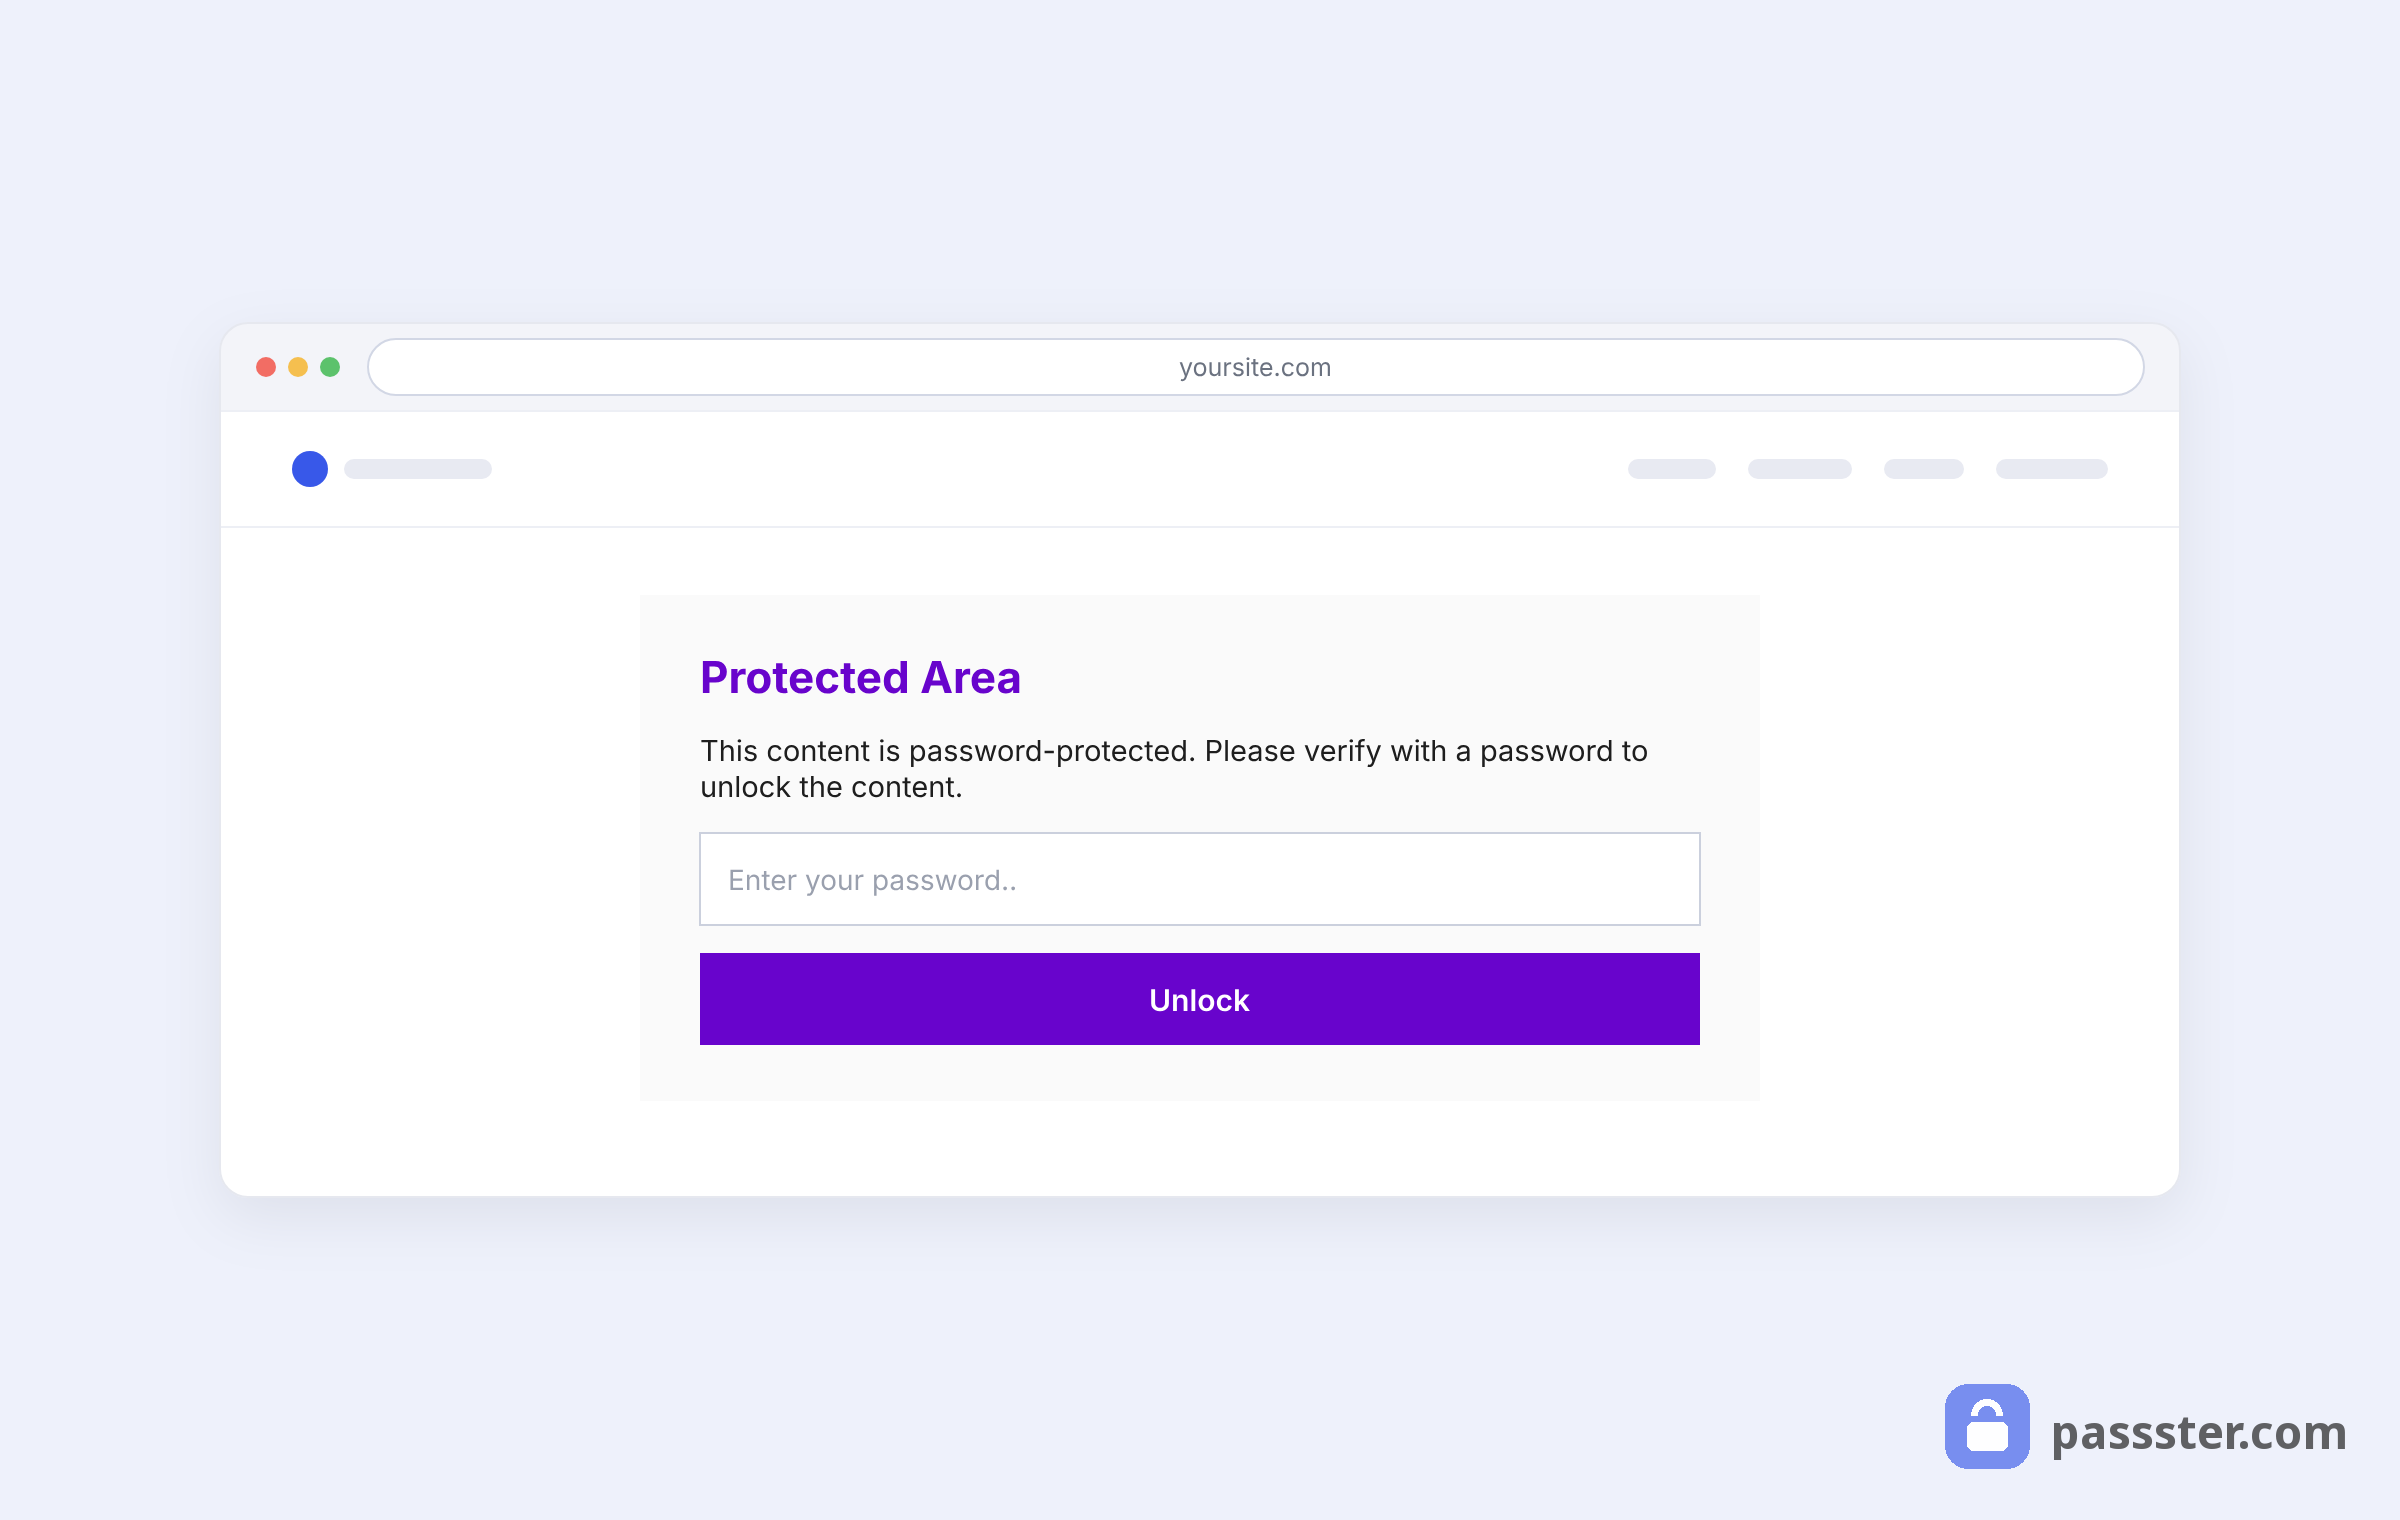
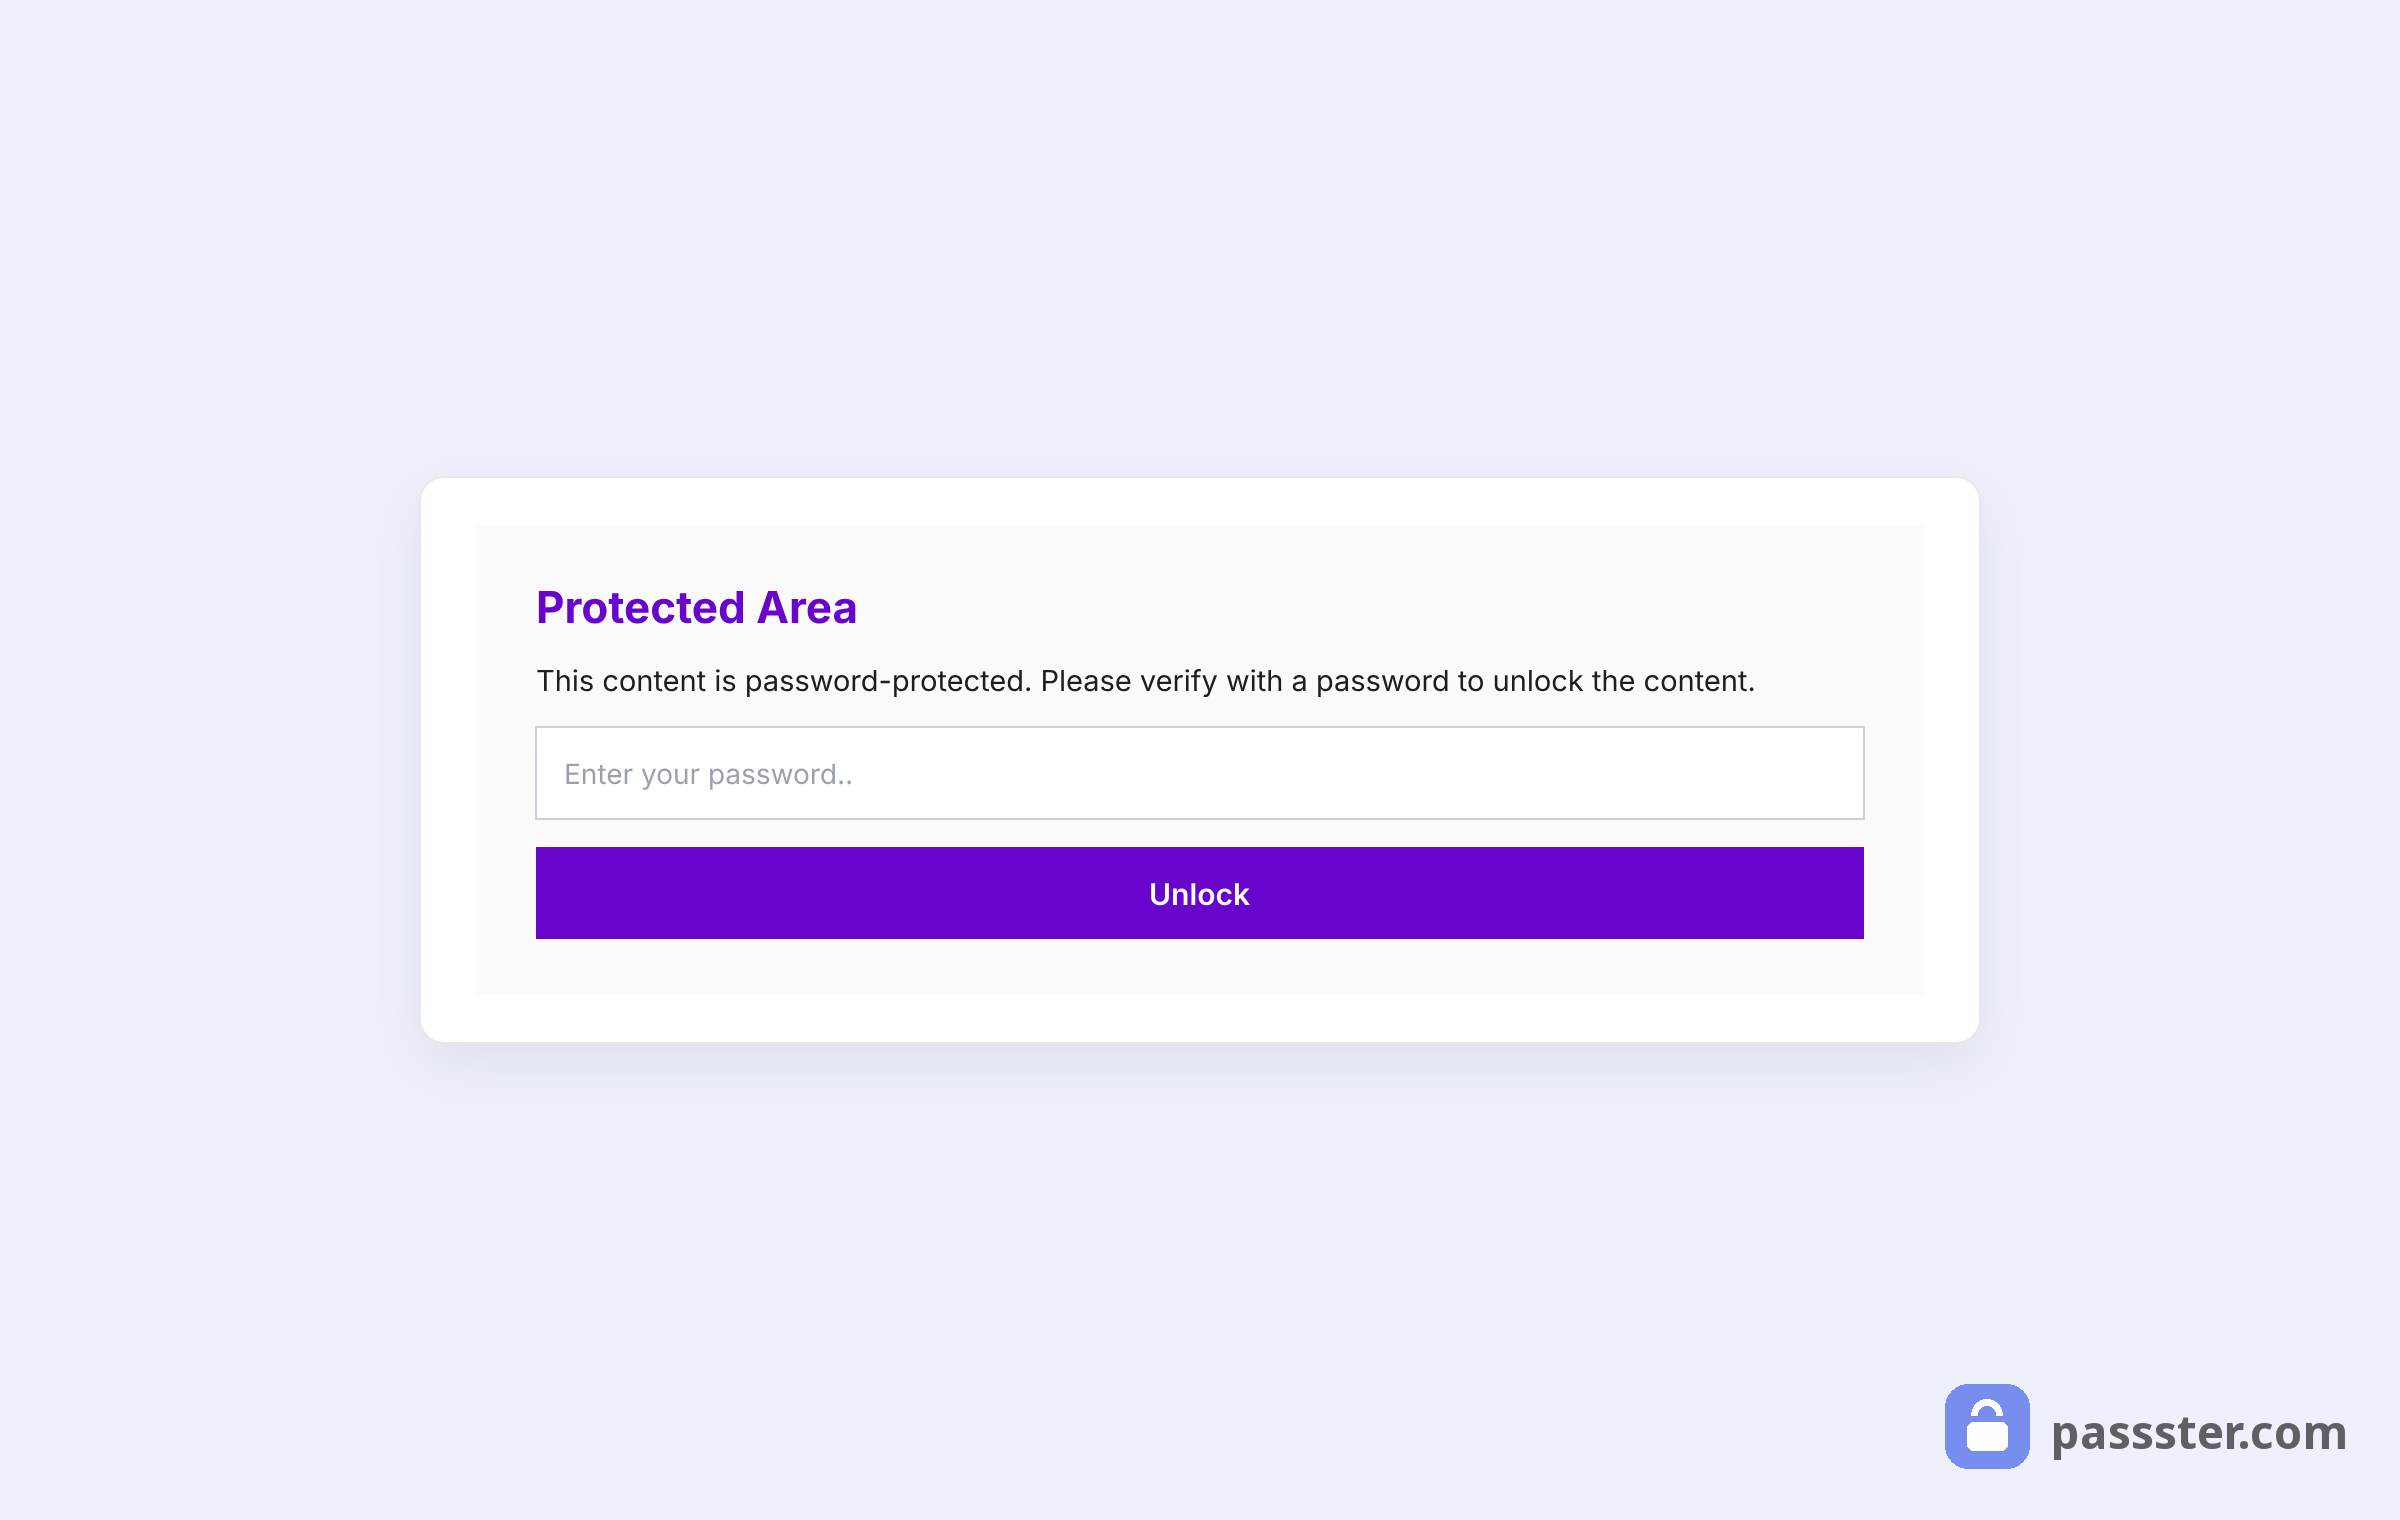
What the password protected form looks like
When a visitor lands on a protected page, Passster presents a password form — like a login screen, but simpler. No account required; just the password.
You can change the form too — colours, text, labels, and button — to match your theme in a few clicks. Enter the right password and you’re in. Enter the wrong one and you simply try again.
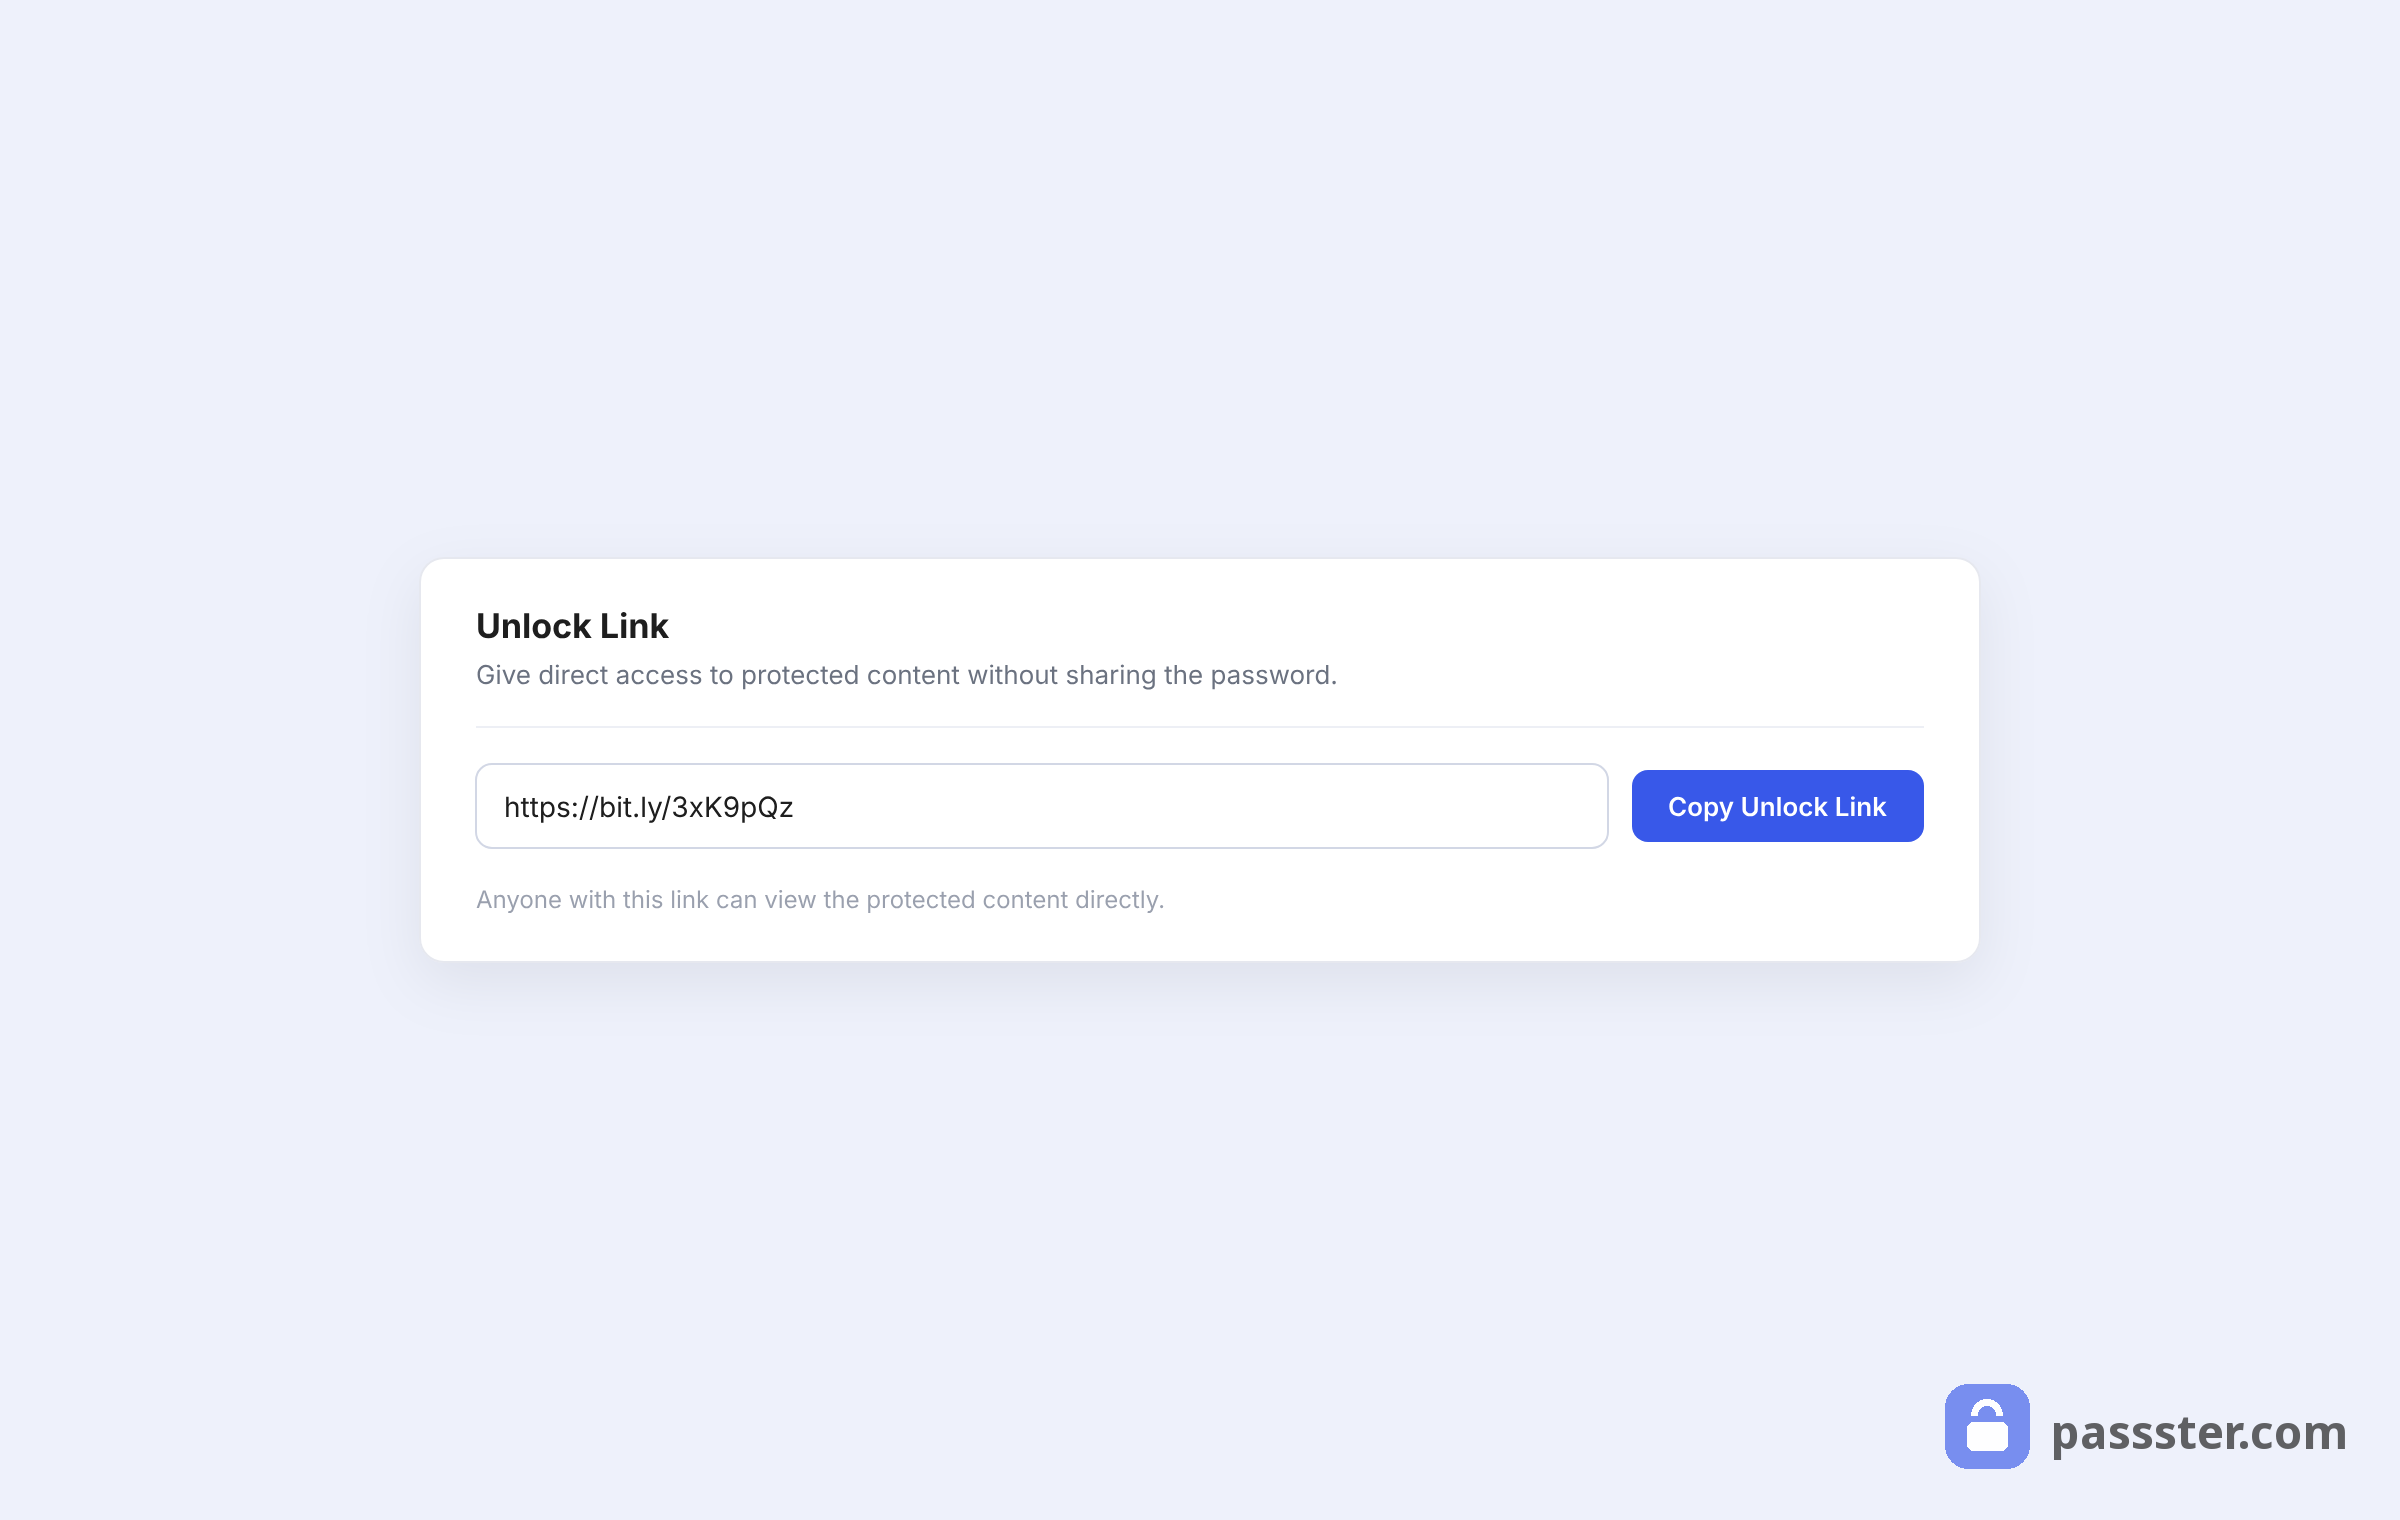
Passster also works with Bitly to make encrypted links. Share one with a person and they get straight in, with no password to type. It’s handy when you want to give just one person access without handing out the password.
Key features of Passster
Passster is active on more than 10,000 WordPress sites, and its access-control toolkit covers everything you need to gate content:
- Password protection: Protect your entire site, specific pages and posts, or parts of your content with a single password.
- Multiple passwords: Use several passwords on a single item, or build password lists for larger groups. Password lists give you more control over expiry and bulk access.
- Google reCAPTCHA: Replace the password field with a CAPTCHA challenge. Blocks bots without impacting SEO, since the page remains indexable.
- Concurrent usage tracking: Monitor how often a password is used simultaneously to prevent unauthorised sharing.
- Encrypted links: Share a Bitly-powered URL that unlocks content automatically, no password entry needed.
- Customisable form: Control everything on your password login form: colours, texts, labels, and the button.
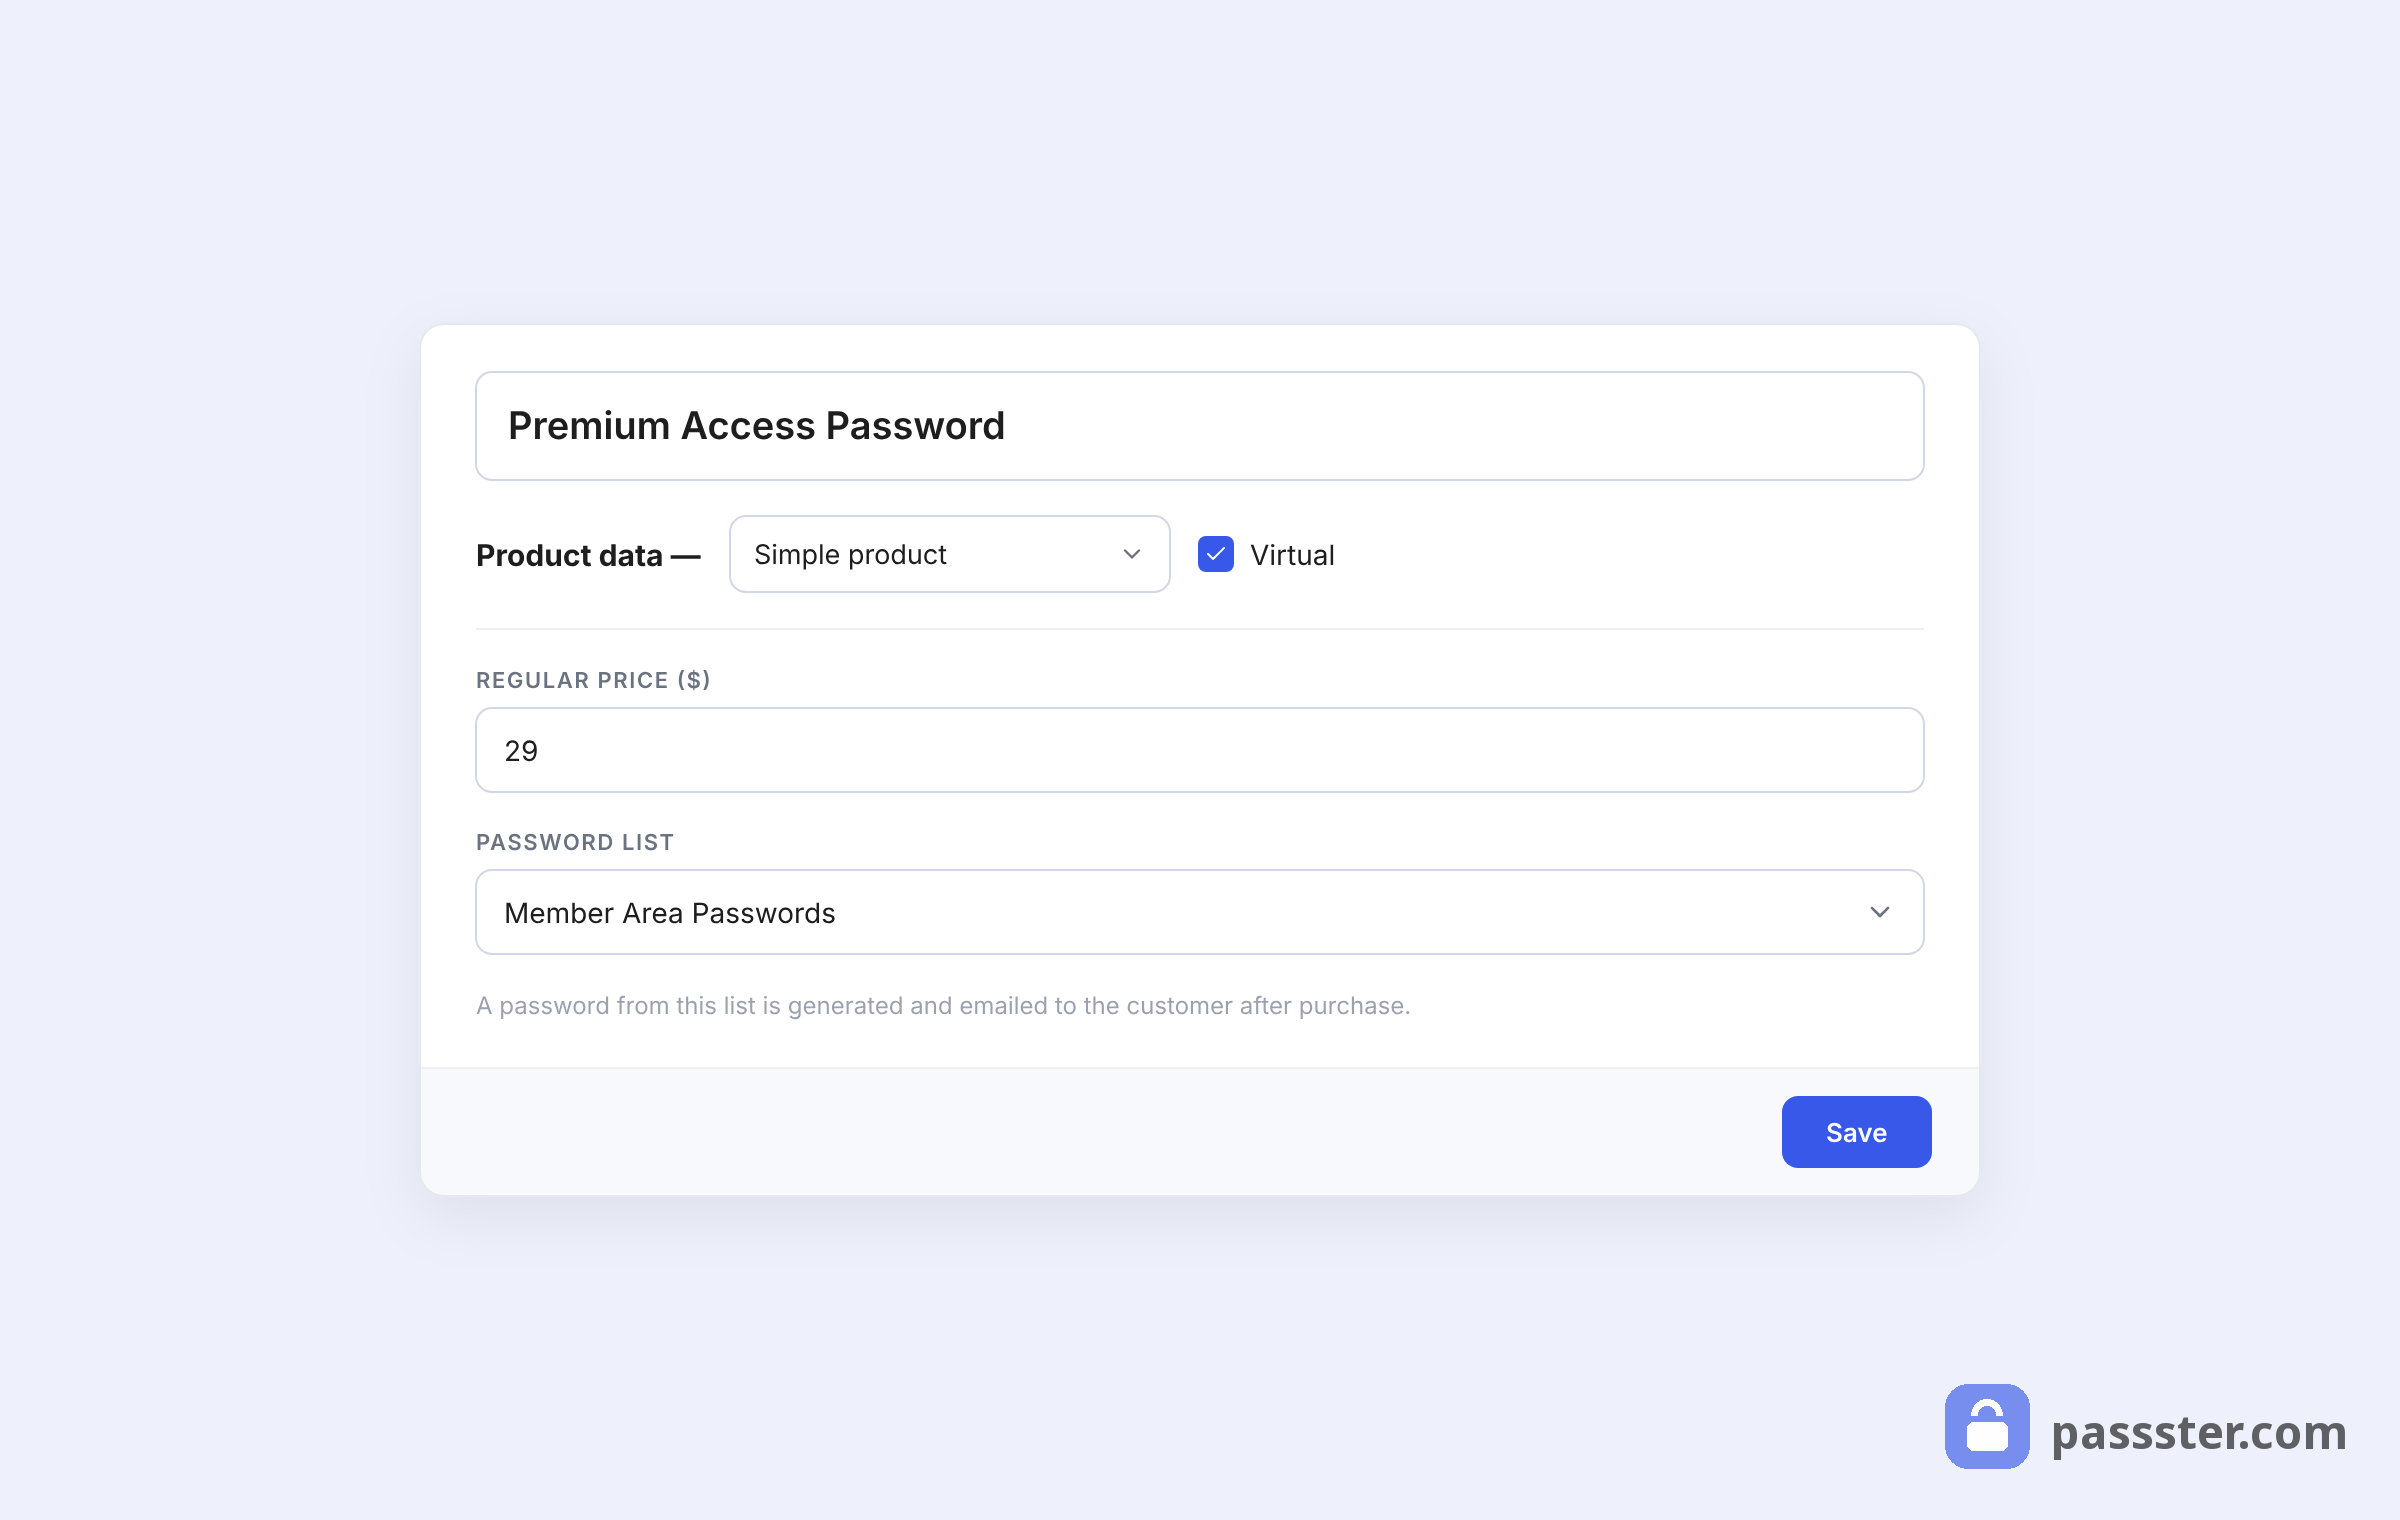
- Sell passwords: Sell access to protected pages and areas through WooCommerce, with automatic password delivery on purchase.
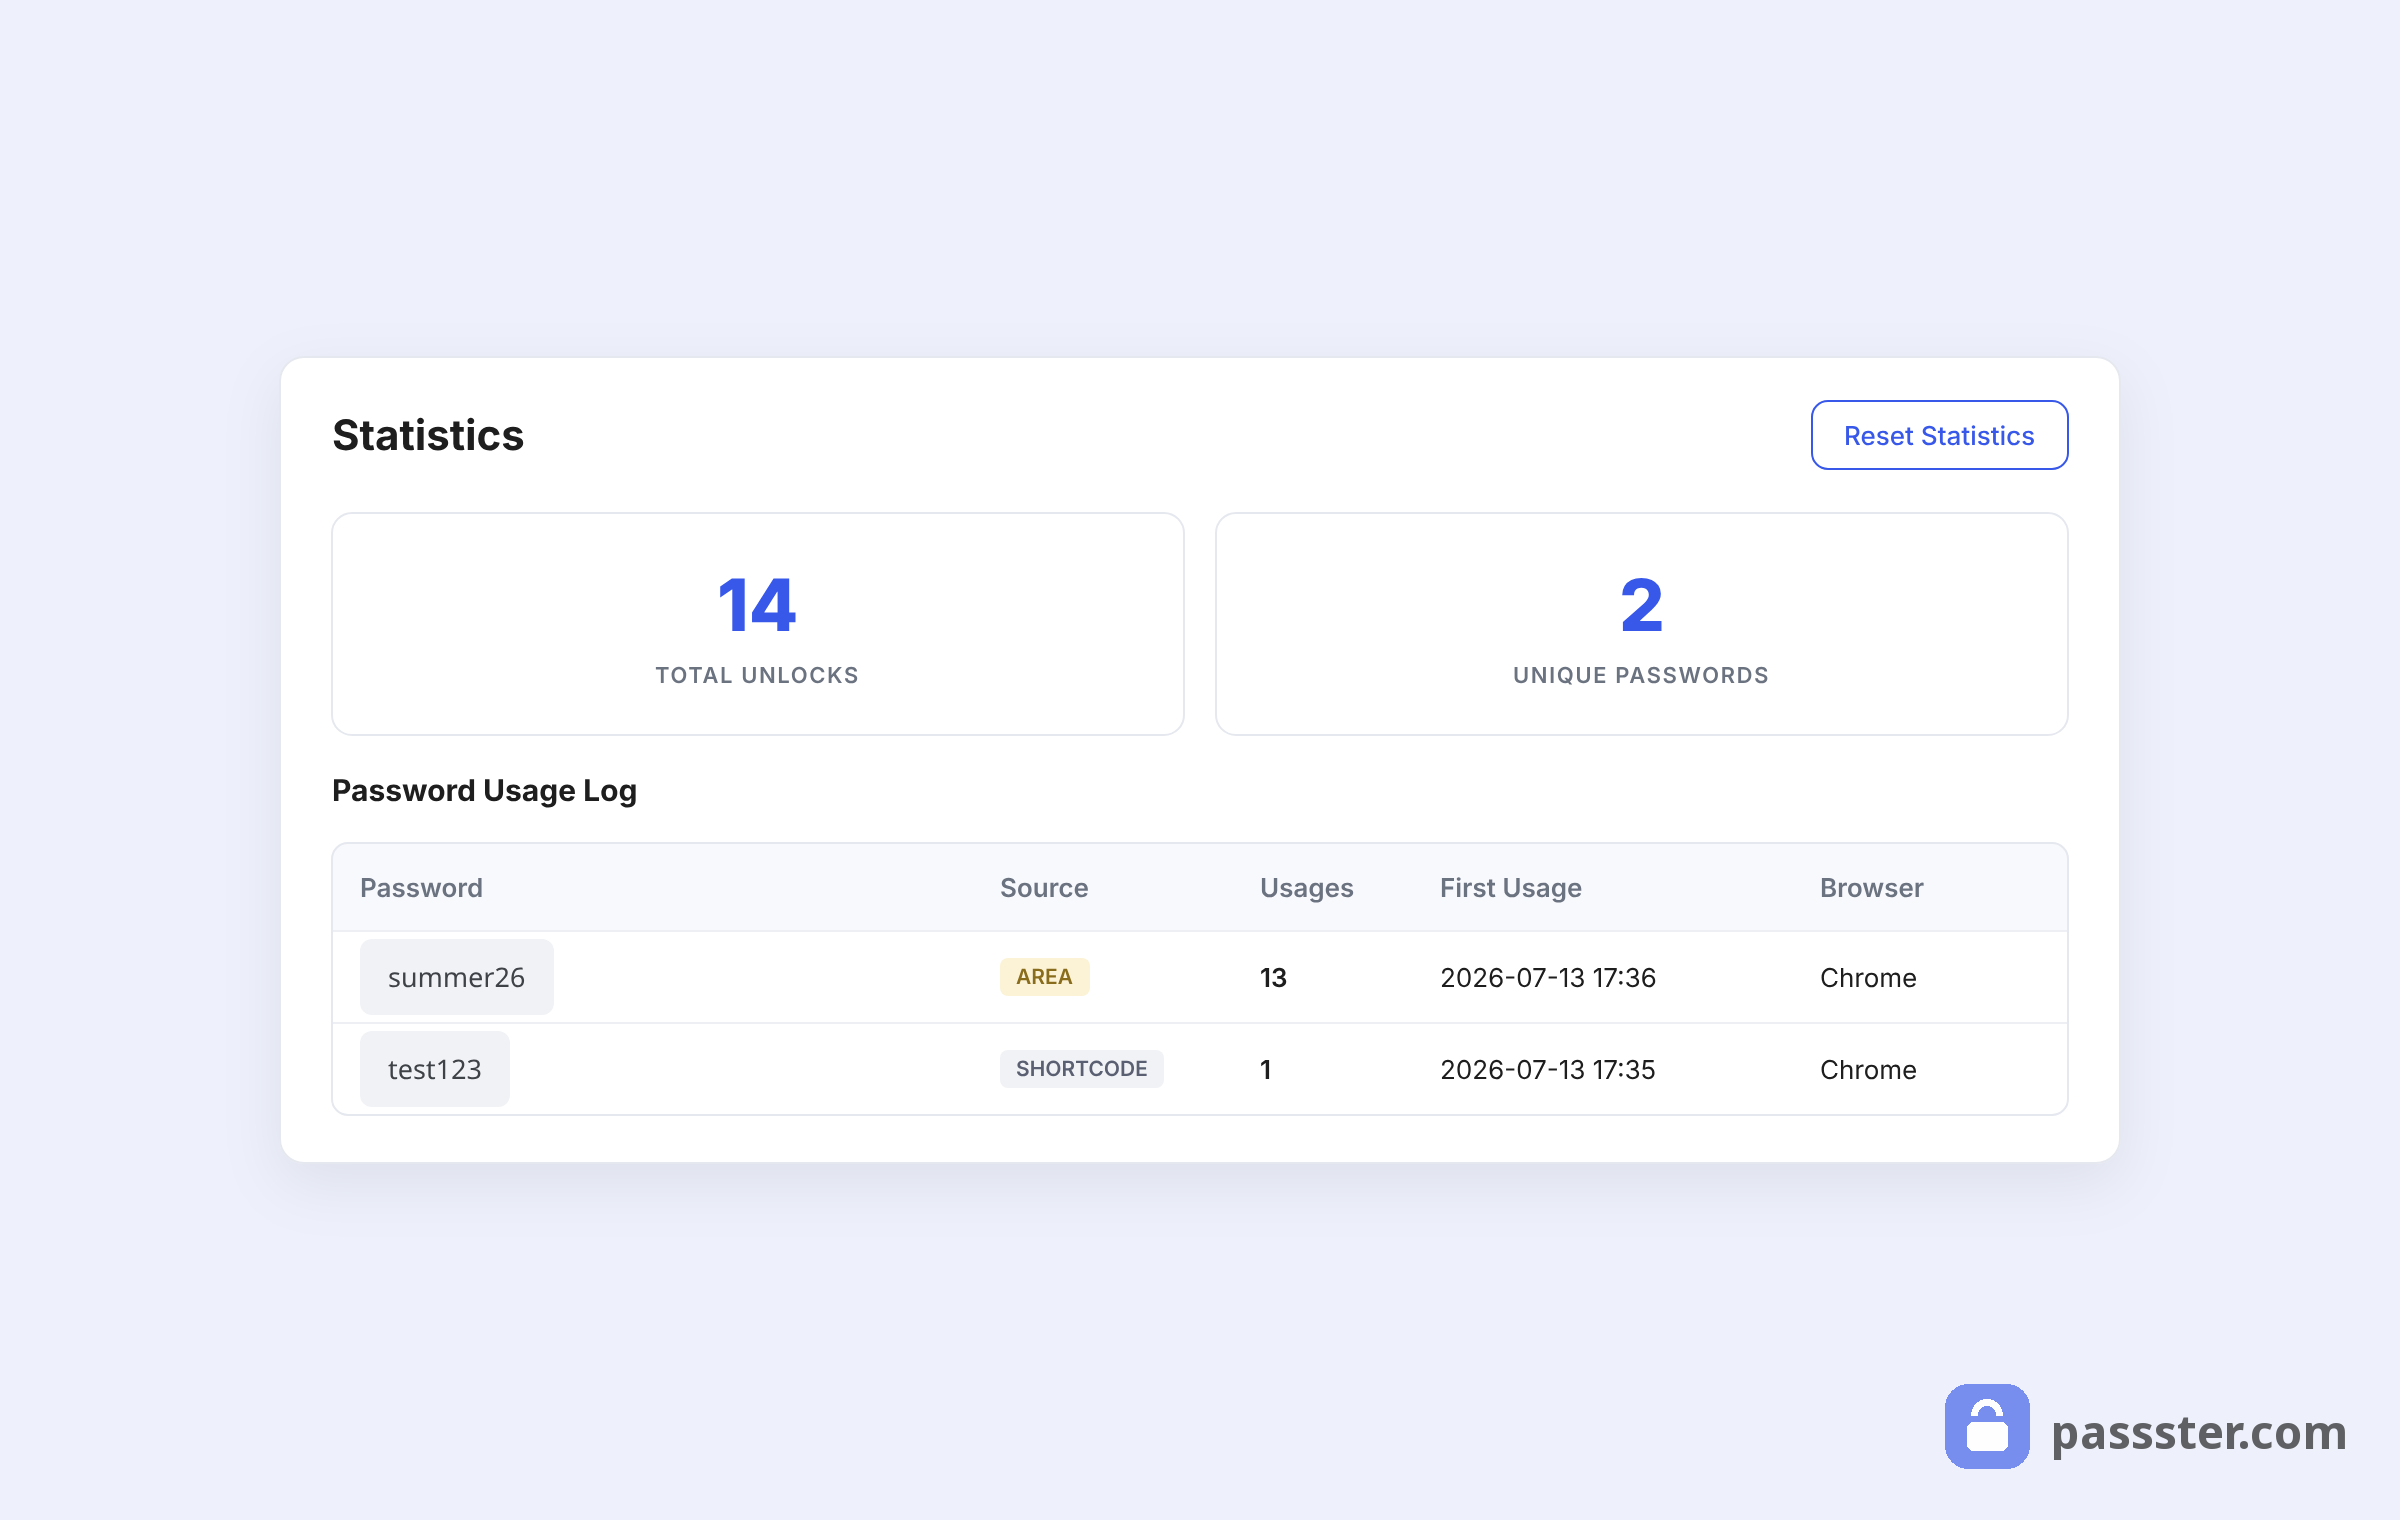
- Statistics: Track password usage by IP address, password used, and browser.
Protection for various content types
Entire WordPress website. Passster’s Global Protection puts a password in front of your whole site. Anyone without the password is sent to a page you pick — great for staging sites, intranets, or coming-soon pages. You can also leave some pages public.
Specific pages. Choose which individual pages or posts require a password. For example, it’s perfect for exclusive articles, gated resources, or client-preview pages.
Parts of content. Lock just one part of a page instead of the whole thing — a download button, a video, a price table, or a form — and leave the rest public. Only Passster does this, and we’ll cover it in Step 5.
WooCommerce products. Lock single products or your whole shop page behind a password. You can sell access too: Passster makes a password after each sale and emails it to the buyer.
How to Password Protect Your WordPress Website with Passster
Setting up Passster takes only a few minutes. The following five steps walk through a complete setup — first your entire site, then individual pages and WooCommerce products, and finally a single section within a page.
Step 1: Download and install the Passster plugin
Download Passster from the official Passster website. In your WordPress dashboard, go to Plugins > Add New and upload the file. Activate it, and you’re ready to set up protection.
Step 2: Password protect your entire site
To password protect your whole WordPress site using Passster’s Global Protection:
- In your WordPress dashboard, go to Passster > Settings and click Global Protection in the left sidebar.
- Toggle Activate Global Protection on.
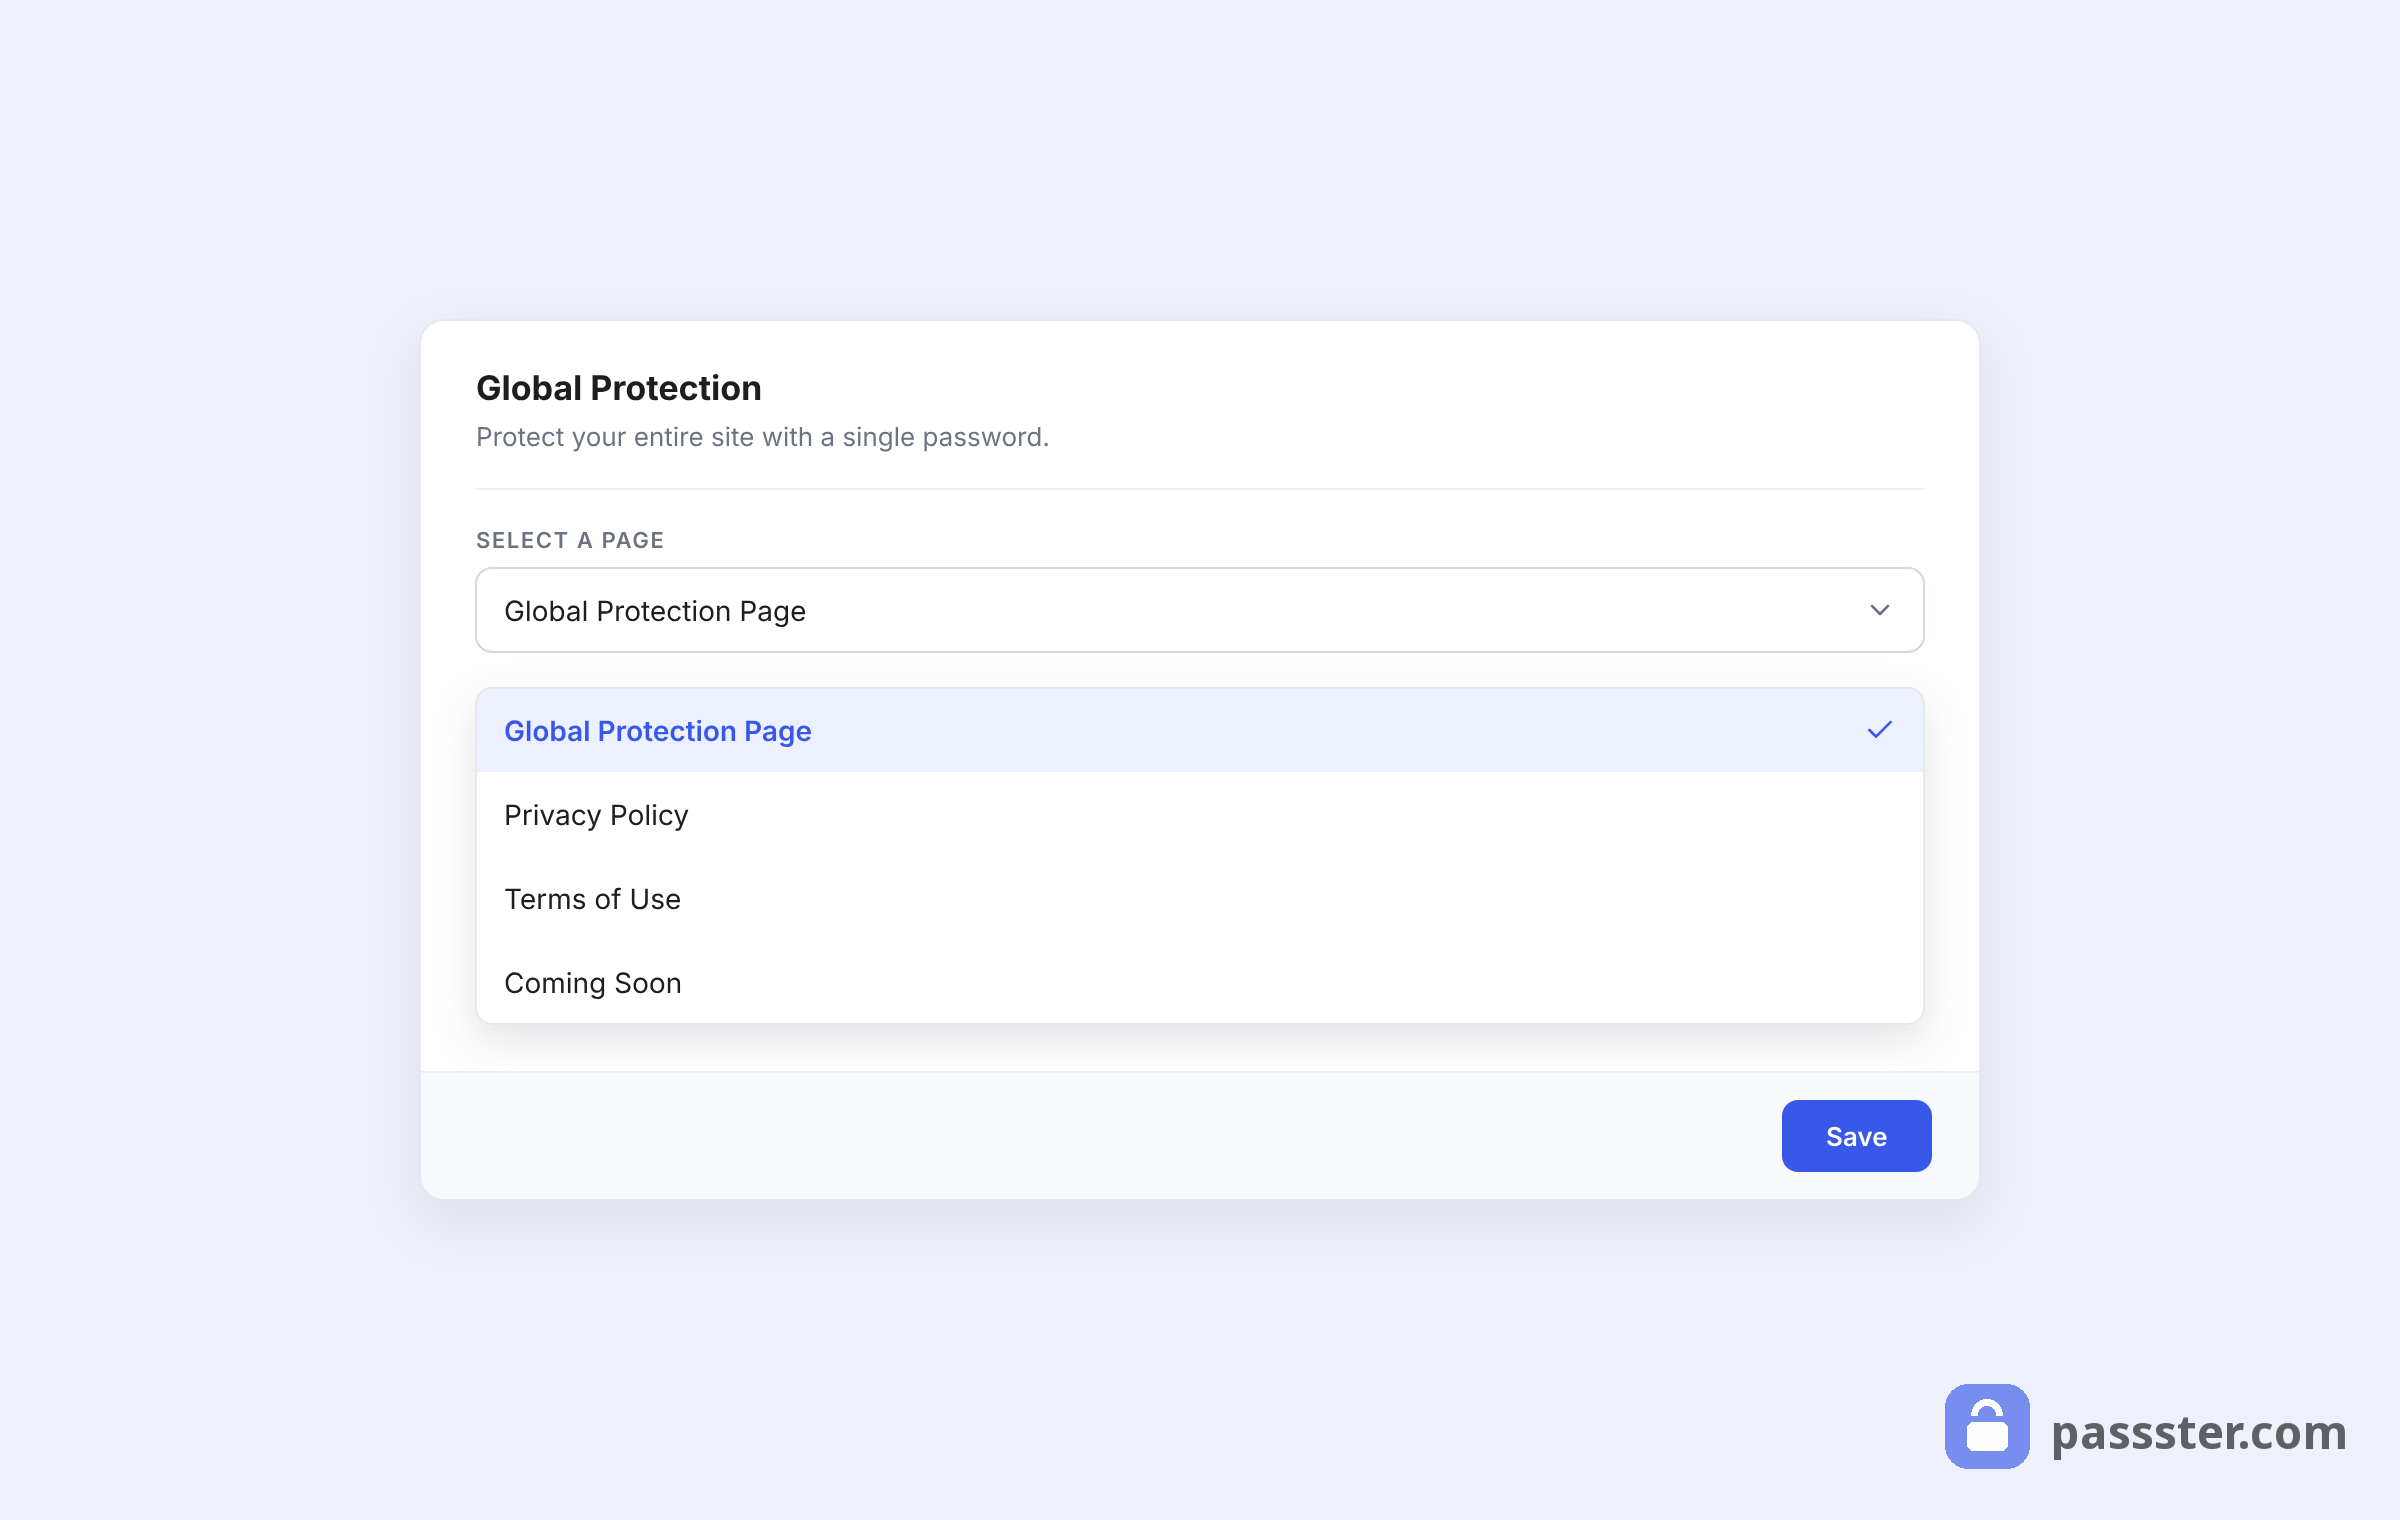
- Select a page from the Select a page dropdown. This is the page every unauthenticated visitor will land on. Create one at Pages > Add New if you don’t have one yet.
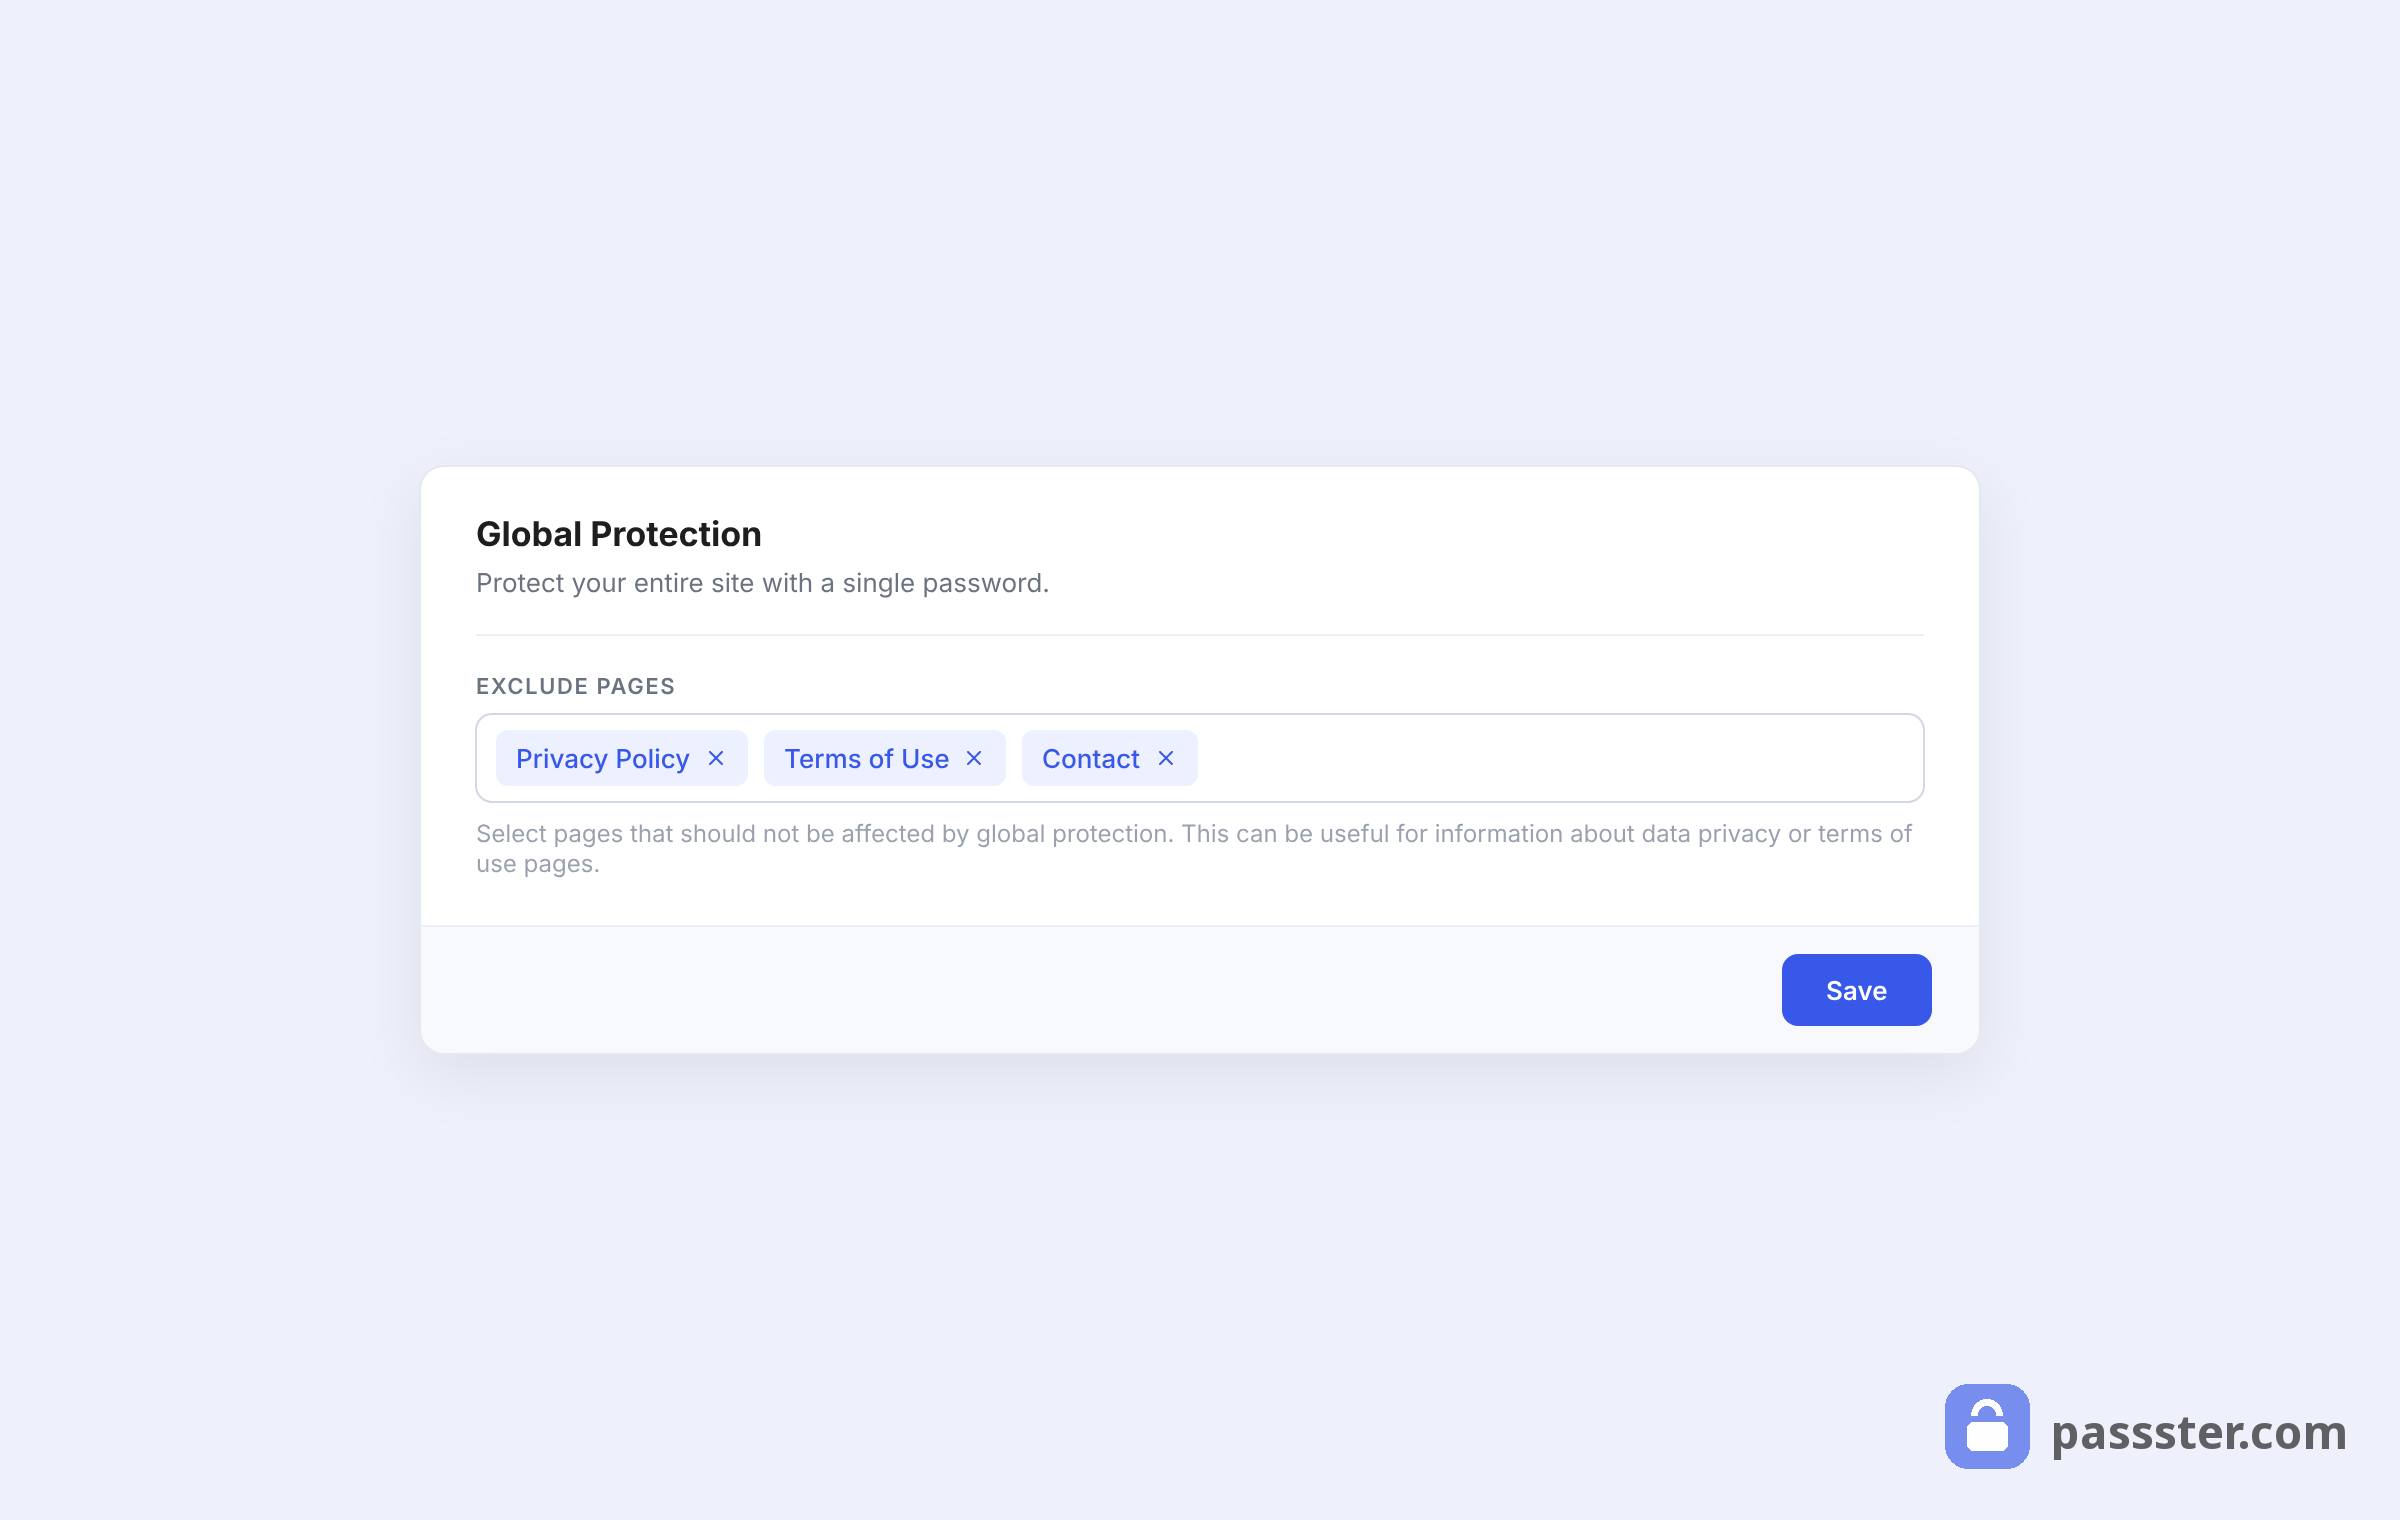
- Optionally, add any pages you want to exclude from protection — public landing pages, your contact form, and so on.
- Click Save Settings. Your whole site is now behind a password gate.
- Click Customize Global Protection Page to open the selected page and set the actual password (or any other protection type).
Step 3: Password protect a web page
Passster protects individual pages the same way: open the page, toggle Activate Protection in the Passster sidebar section, choose a Protection Type (a single password, multiple passwords, a password list, or reCAPTCHA), and update the page. For the complete page-level walkthrough — including styling the password form and what it means for SEO — see our dedicated guide to customizing the password protected page in WordPress.
Step 4: Password protect WooCommerce products
Protect individual products:
- Go to Products > All Products and open the product you want to protect.
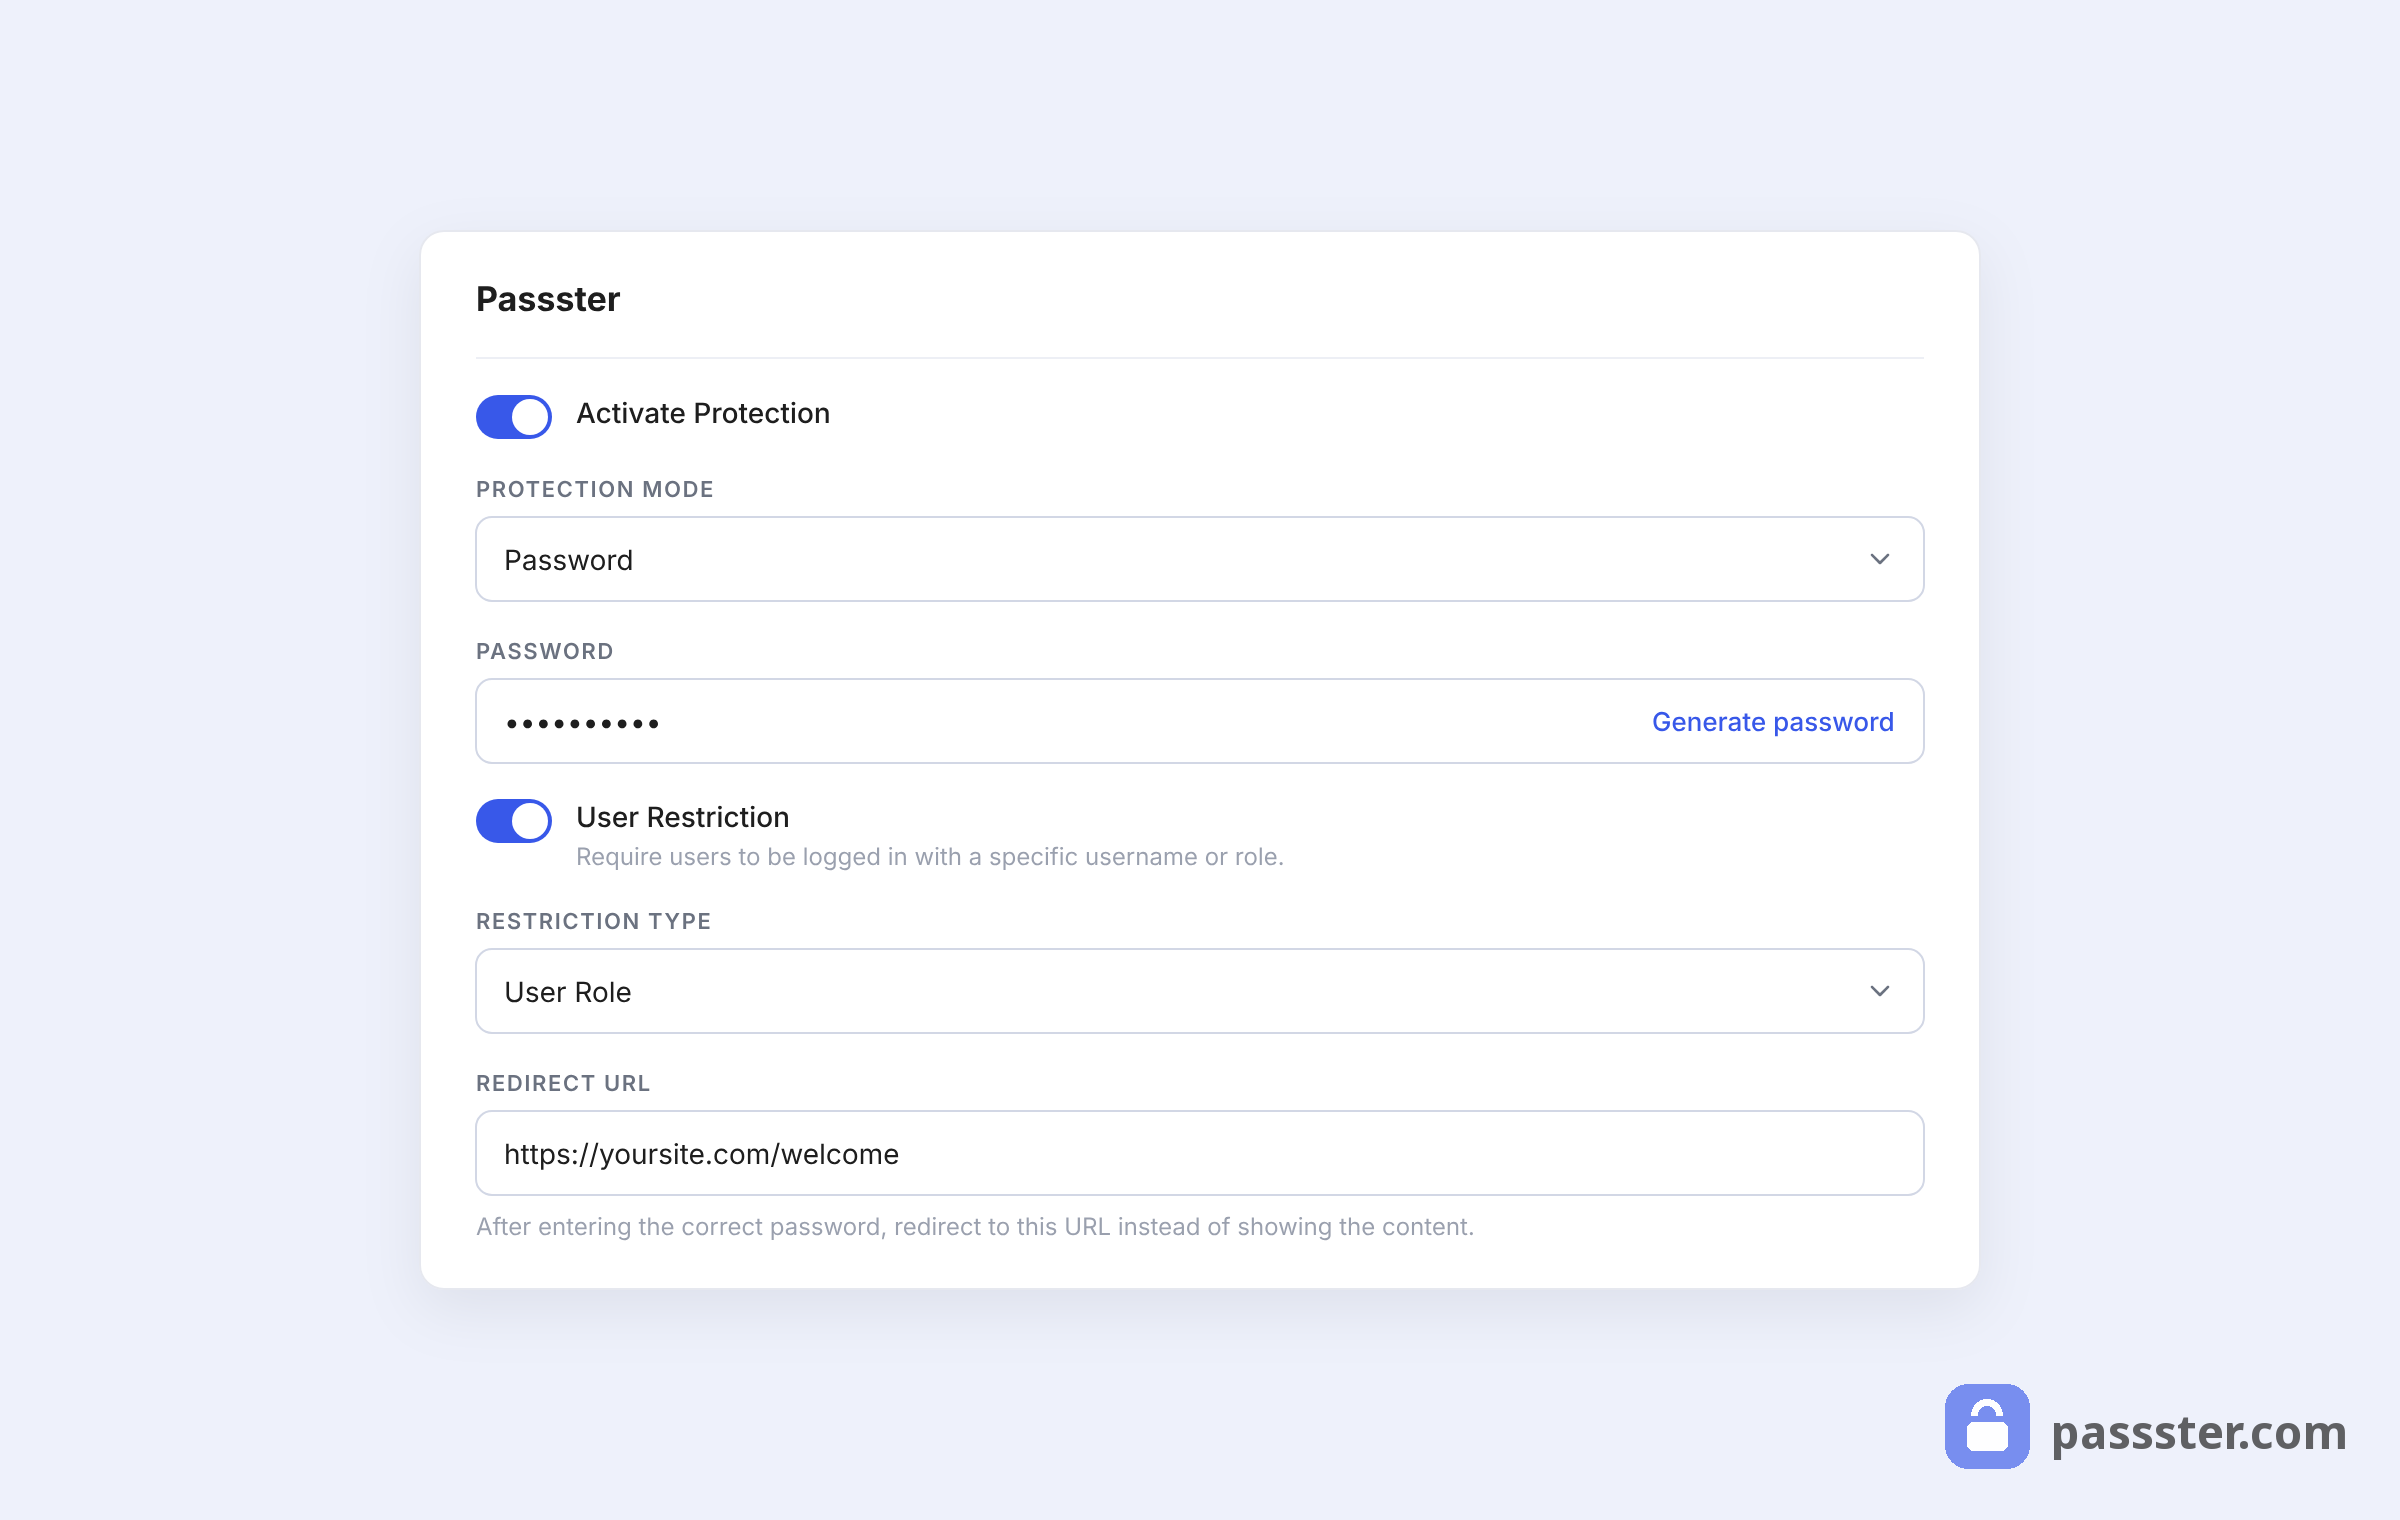
- In the Passster meta box on the right, toggle Activate Protection on.
- Set the Protection Mode/Type, optionally enable User Restriction, and customise the default form text.
- Click Update to save.
Protect your entire WooCommerce store:
- Go to Pages > All Pages and open the Shop page.
- In the Passster meta box, toggle Activate Protection on.
- Toggle Protect Child Pages to apply the same protection to all shop sub-pages.
- Set the Protection Mode/Type and any User Restriction.
- Customise the form text, then click Update.
Your WooCommerce store is now password protected. To sell access, turn on the WooCommerce option in Passster settings. From then on, each buyer gets a password by email after they pay.
Step 5: Protect part of a page (partial content protection)
Passster can lock one section of a page and leave the rest public — something no other plugin does.
You might hide a download button, a paid video, a members-only price table, or a sign-up form — all without making a separate page.
To protect a password protected area within a page:
- Open the page in the WordPress block editor.
- Add the Passster Block where you want the protected section to begin. Find it in the block inserter by searching for “Passster”.
- Inside the Passster block, add whatever content you want to protect — an image, a button, a file download, a form block, anything.
- In the Passster block settings on the right, choose your Protection Type and set your password (or reCAPTCHA).
- Publish or update the page.
Visitors see the rest of the page as normal. At the protected section, they get a password prompt. Enter the right password and the content shows up inline.
Password Protect Your Website with Passster
Passster gives you the controls to manage access without building a full membership system: a single password, multiple passwords, reCAPTCHA, encrypted links, or user-role rules — applied to whatever you need to protect.
In practice, it handles client previews, staging environments, subscriber content, and WooCommerce products restricted to approved buyers.
The free version covers the basics. Meanwhile, the Pro version handles multiple passwords, partial content protection, reCAPTCHA, WooCommerce integration, and usage tracking — everything you need to manage access across a real site.
Get Passster and start protecting your content today.
Frequently Asked Questions
Yes. WordPress includes a native “Password protected” visibility option for individual posts and pages. But it supports one shared password per item — no design control, user-role rules, or CAPTCHA.
For most sites, that falls short. WordPress made up over 90% of the infected CMS sites Sucuri scanned in 2024, and a bare shared password does little to stop bots or password sharing. Passster adds reCAPTCHA, usage tracking, and encrypted links — plus protection for your whole site, parts of a page, and WooCommerce products.
Yes, there’s a free version of Passster available from the WordPress plugin directory. The free version covers single-password protection for pages and posts. The Pro version unlocks multiple passwords, password lists, reCAPTCHA, WooCommerce integration, encrypted links, usage statistics, and partial content protection.
Of course, a password protected page won’t rank in search engines — Google can’t crawl content behind a password, which is usually exactly what you want. Public pages on the same site are unaffected. If you want a page blocked from bots but still indexable, Passster’s reCAPTCHA option handles that: it stops automated spam without hiding the page from search engines.
Yes. Passster’s Global Protection setting redirects every unauthenticated visitor to a protection page you specify. You can also exclude any pages that should stay public — handy for a coming-soon or fully private site, a staging environment, or an intranet.
A private WordPress page shows only to logged-in users with the right role — admins and editors by default. A password protected page shows to anyone who has the password, with no account needed. Use private pages for your team, and password protection for clients or customers who shouldn’t need a login.
Yes. Passster lets you protect individual WooCommerce products or your entire shop page. You can also sell access: Passster automatically generates a password after purchase and emails it to the customer. This works well for members-only products, gated digital downloads, and wholesale catalogs.
Not really. Anyone can open the page source and read the password right there in the code, so a plain HTML form takes seconds to get past. A plugin like Passster works on the server instead. The content never reaches the browser until the password checks out.
Google Sites has no built-in password field. With the new Google Sites, you control access through the site’s sharing settings — limiting it to specific Google accounts or everyone in your organisation, rather than a shared password. By contrast, for a true password-protected page on WordPress, use a plugin like Passster, which gates content with an actual password, reCAPTCHA, or user roles.
Open the page in the WordPress editor, scroll to the Passster section in the right sidebar, and toggle Activate Protection off. Click Update and the page is now public. Finally, for site-wide protection, go to Passster > Settings > Global Protection and toggle off Activate Global Protection.