A WordPress document library gives businesses a central place to organize, share, and control access to files — whether that’s internal policy documents, client-facing templates, or member-only downloads. Creating a secure document hub in WordPress takes more than uploading files; genuine protection requires controlling both who can reach the page and who can access files directly.
This guide walks through building a three-layer secure document hub. Filr handles file upload and organization, server-level protection modes block direct directory access, and Passster gates the hub page itself behind a passphrase — so only authorized visitors ever see the document list. The result is a defence-in-depth setup with no single point of failure.
What is a document hub (and why you might need one)
A document hub keeps files organized and accessible on your website. Staff, clients, and members can download what they need regardless of where they’re located — no shared drives, no email attachments.
Common use cases include:
- Businesses that need to share corporate documents, sales collateral, or forms with staff and clients through their website.
- Agencies: design, development, or consultancy — that provide clients with downloadable templates, forms, or branded assets.
- Membership sites sharing PDFs, checklists, worksheets, and guides with paying members.
Why the default WordPress uploads folder isn’t secure enough
WordPress’s default uploads folder (wp-content/uploads) is publicly accessible — any visitor who discovers a direct file URL can open or download the file without logging in, even if the file has never been linked anywhere on your site (preventdirectaccess.com, 2025).
That exposes sensitive documents to anyone who encounters a file URL through a forwarded link, a search engine index, or simply guessing. Filr’s server-level protection modes close the directory-browsing gap. Pairing Filr with Passster prevents unauthorized visitors from reaching the document list in the first place — so even if a URL leaks, they never see what’s available to download.
How to create a secure document hub in WordPress using Filr
The Filr plugin for WordPress makes it straightforward to upload, organize, and share documents with built-in security controls — filename encryption, expiry rules, and three server-level directory protection modes.
The steps below assume you already have a WordPress website. You’ll also need a Filr license.
Step #1: Install and activate the Filr Protection plugin
Filr lets you upload files in any format directly to your WordPress website and display them in a clean front-end table. Filr also offers filename encryption and server-level protection modes to stop unauthorized visitors from accessing files directly.
If you haven’t done so already, buy the Filr plugin and install it on your WordPress website. Once installed, click Activate to continue.
Step #2: Create a new list of files and documents
Filr organizes files into lists. Creating a list first makes it easy to update or restrict a set of files later — especially useful once your hub grows to hundreds of documents.
Head to Files > Lists from the WordPress admin panel. Give your list a name, add a description, then click Add New List to proceed.
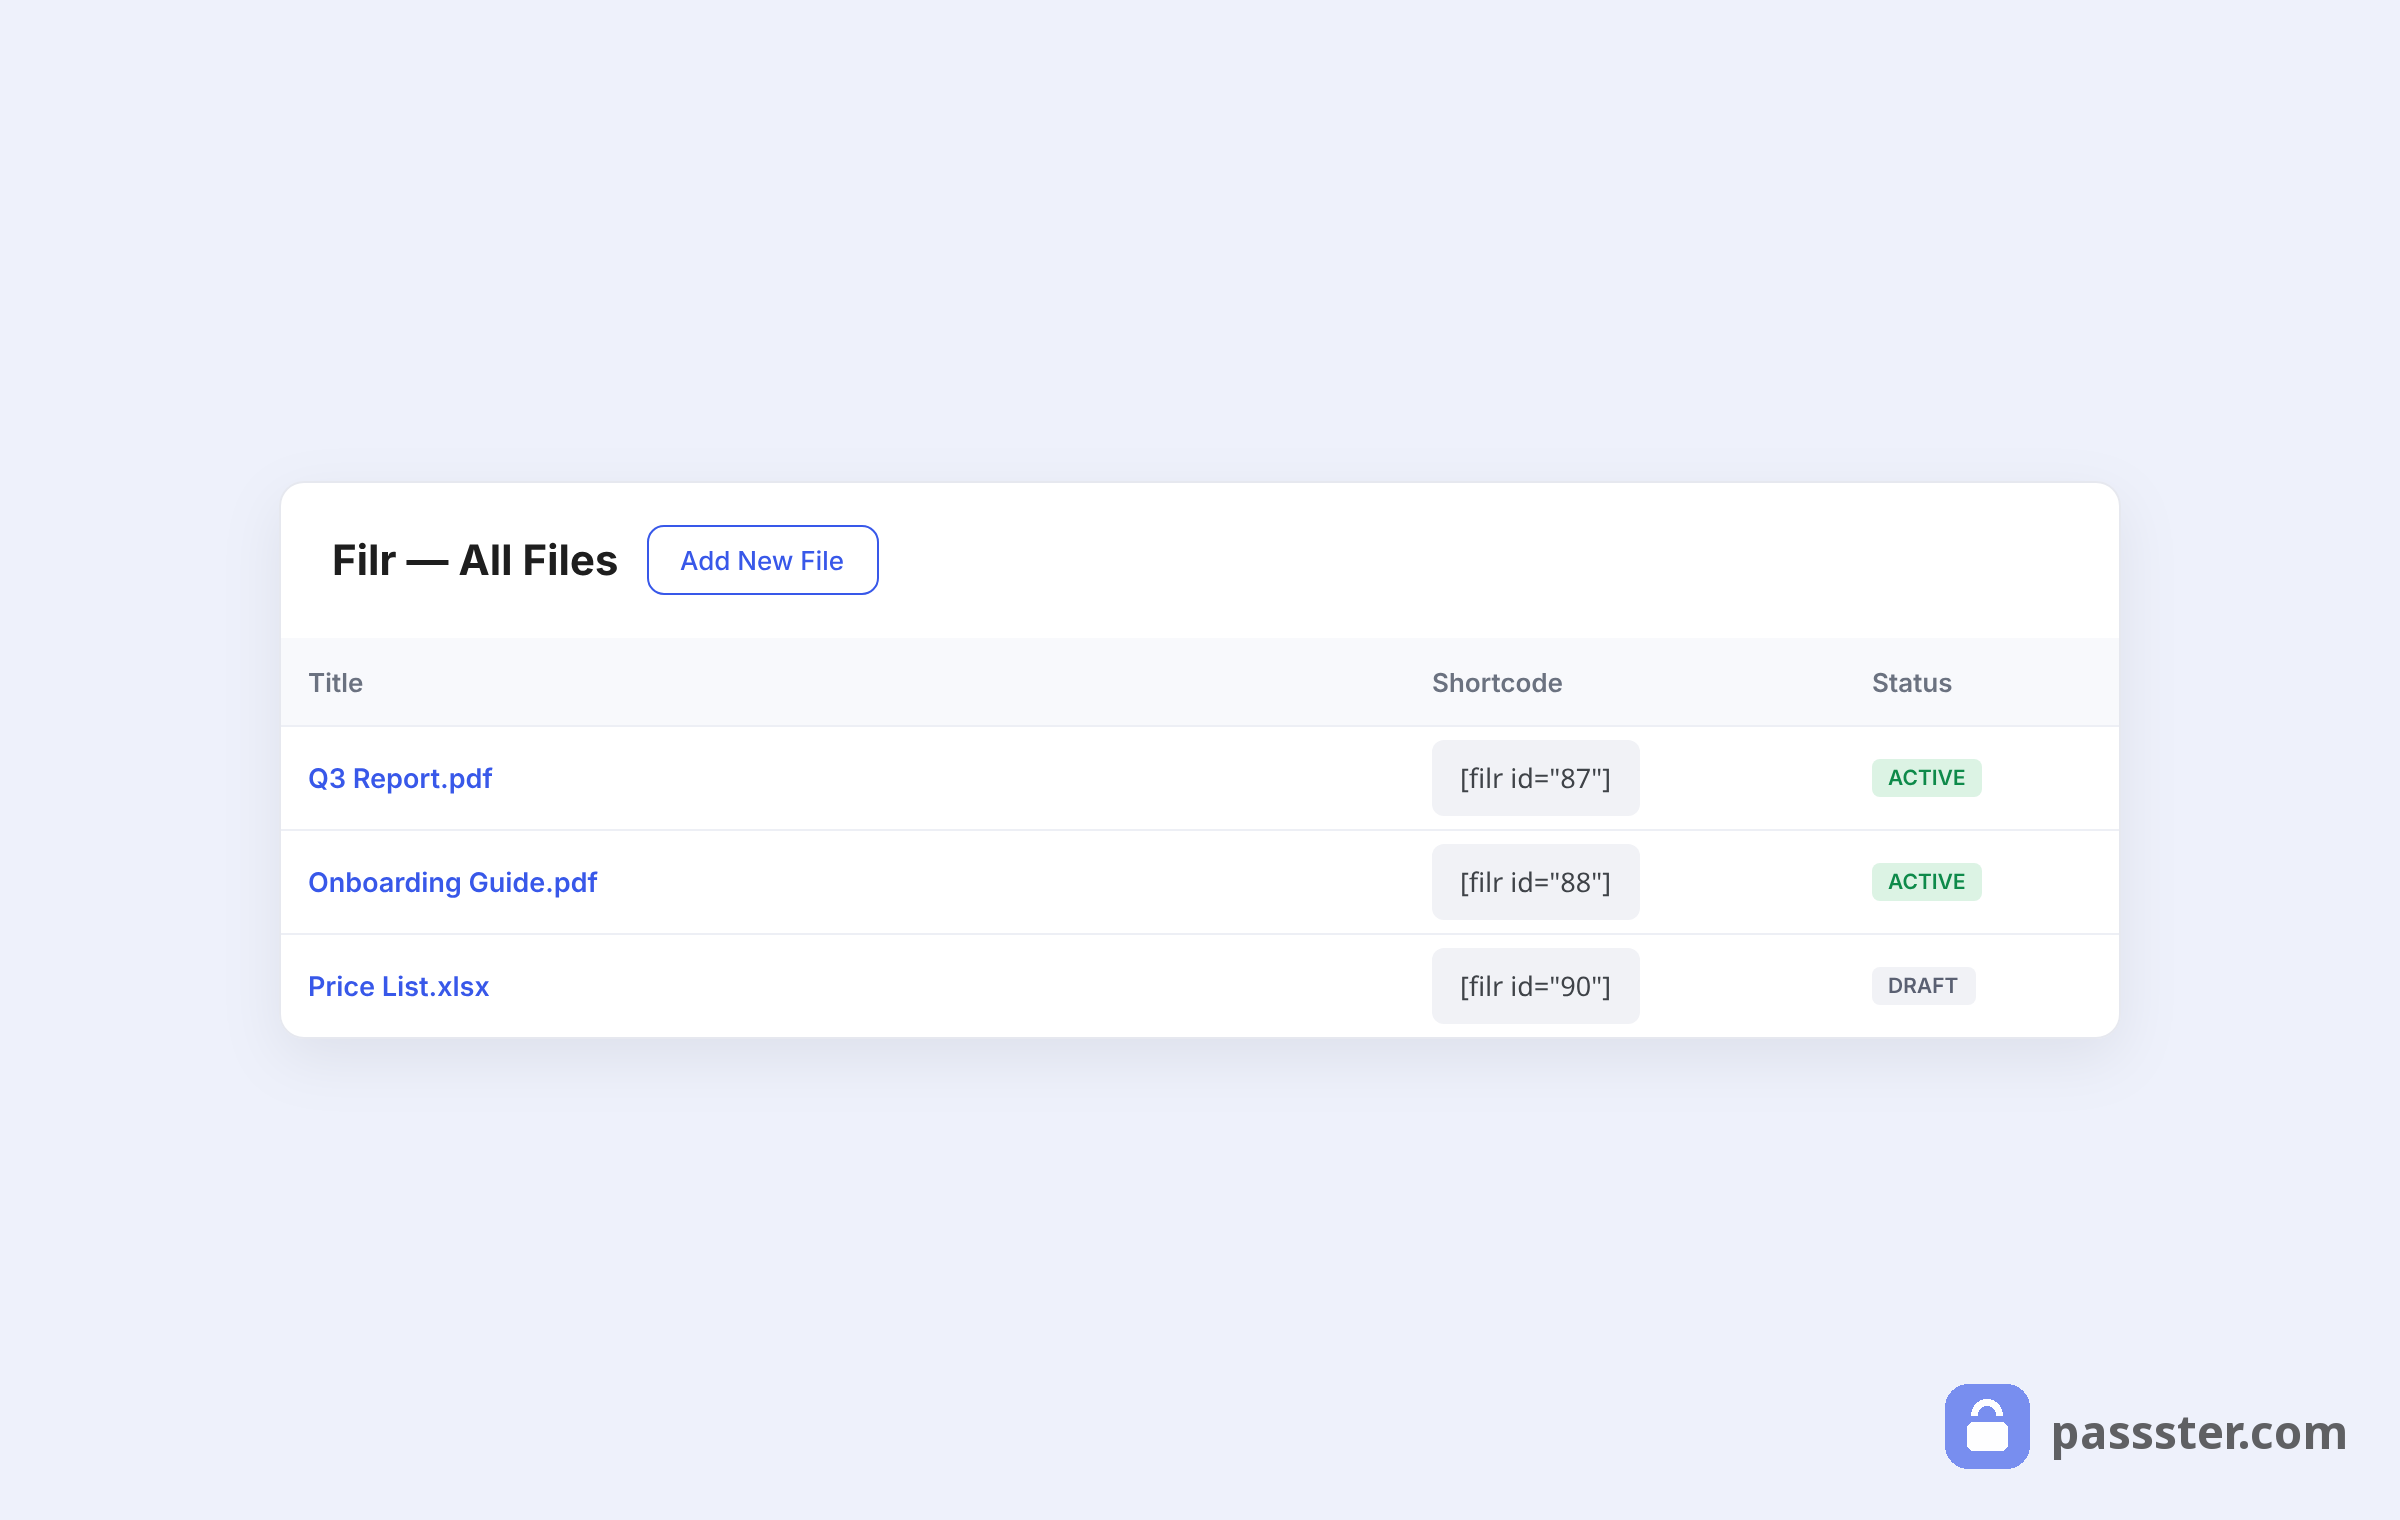
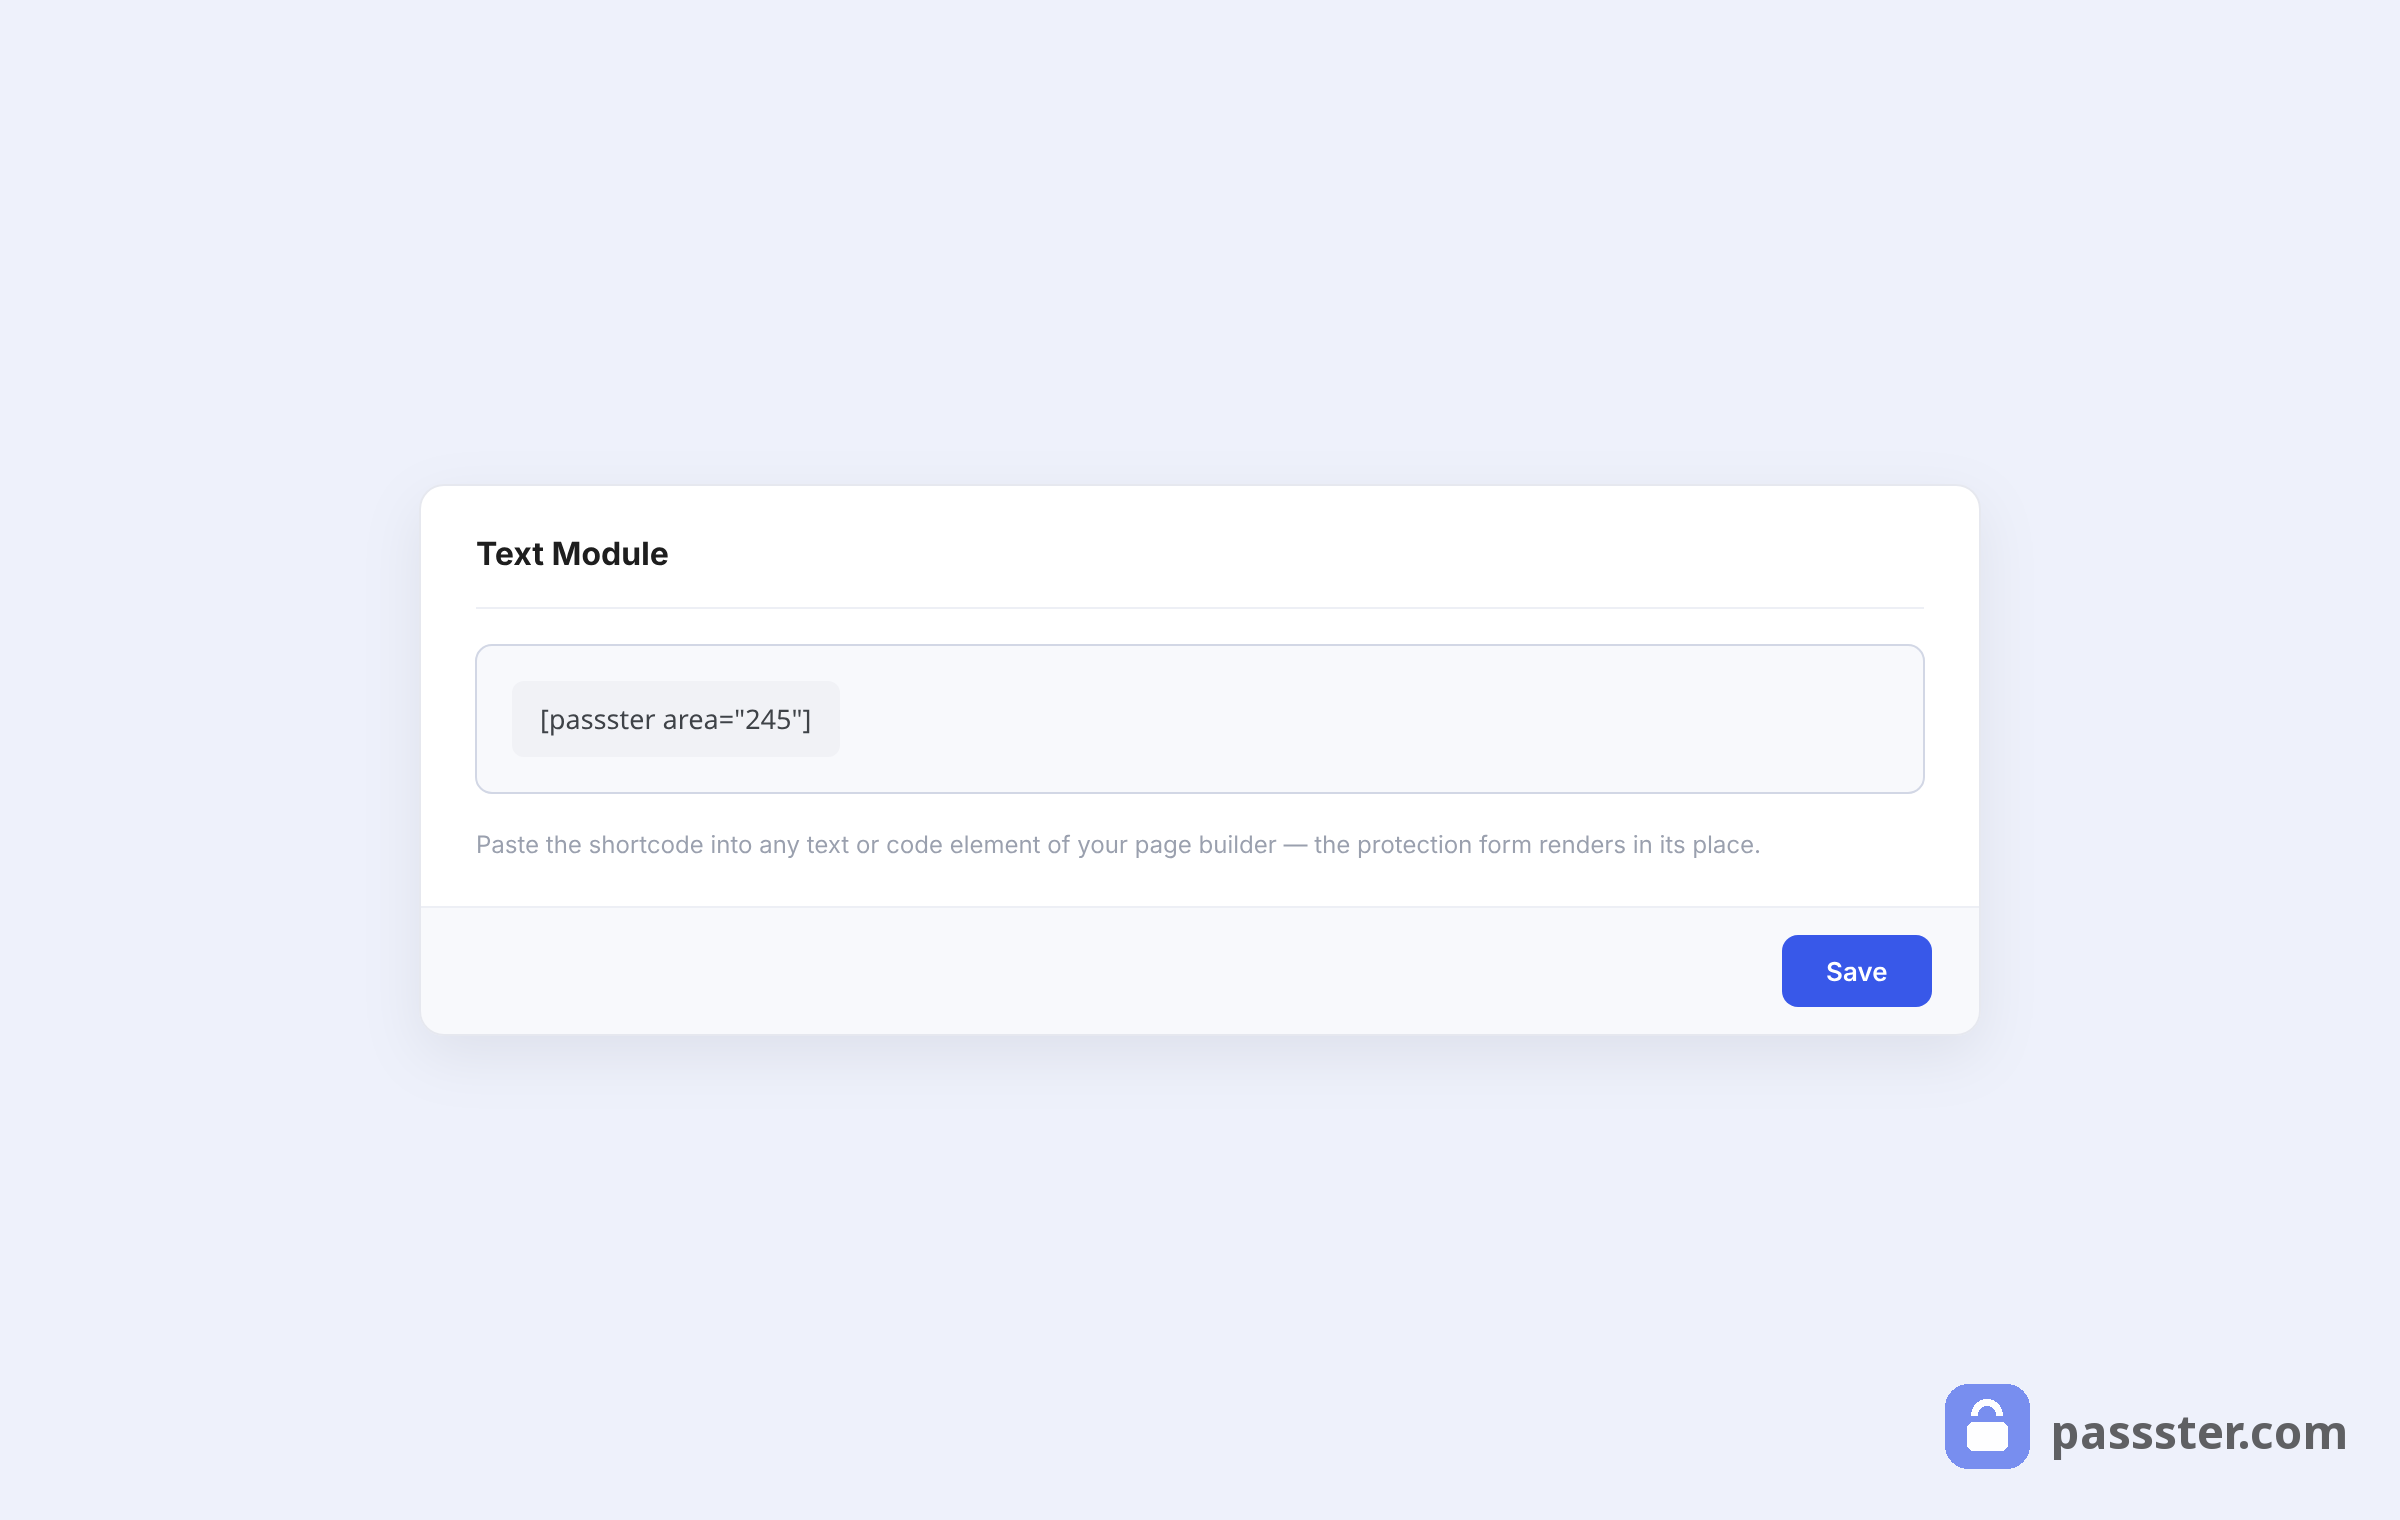
The new list will appear on the right-hand side of the screen along with a shortcode. Copy that shortcode to your clipboard — you’ll paste it into the hub page in Step #5.
Step #3: Upload files and documents to WordPress
Head to Files > Add New and give your file entry a title. Use the File Upload meta box to select the files you want to make available. Then use the Lists meta box in the right-hand sidebar to assign them to the list you created in Step #2.
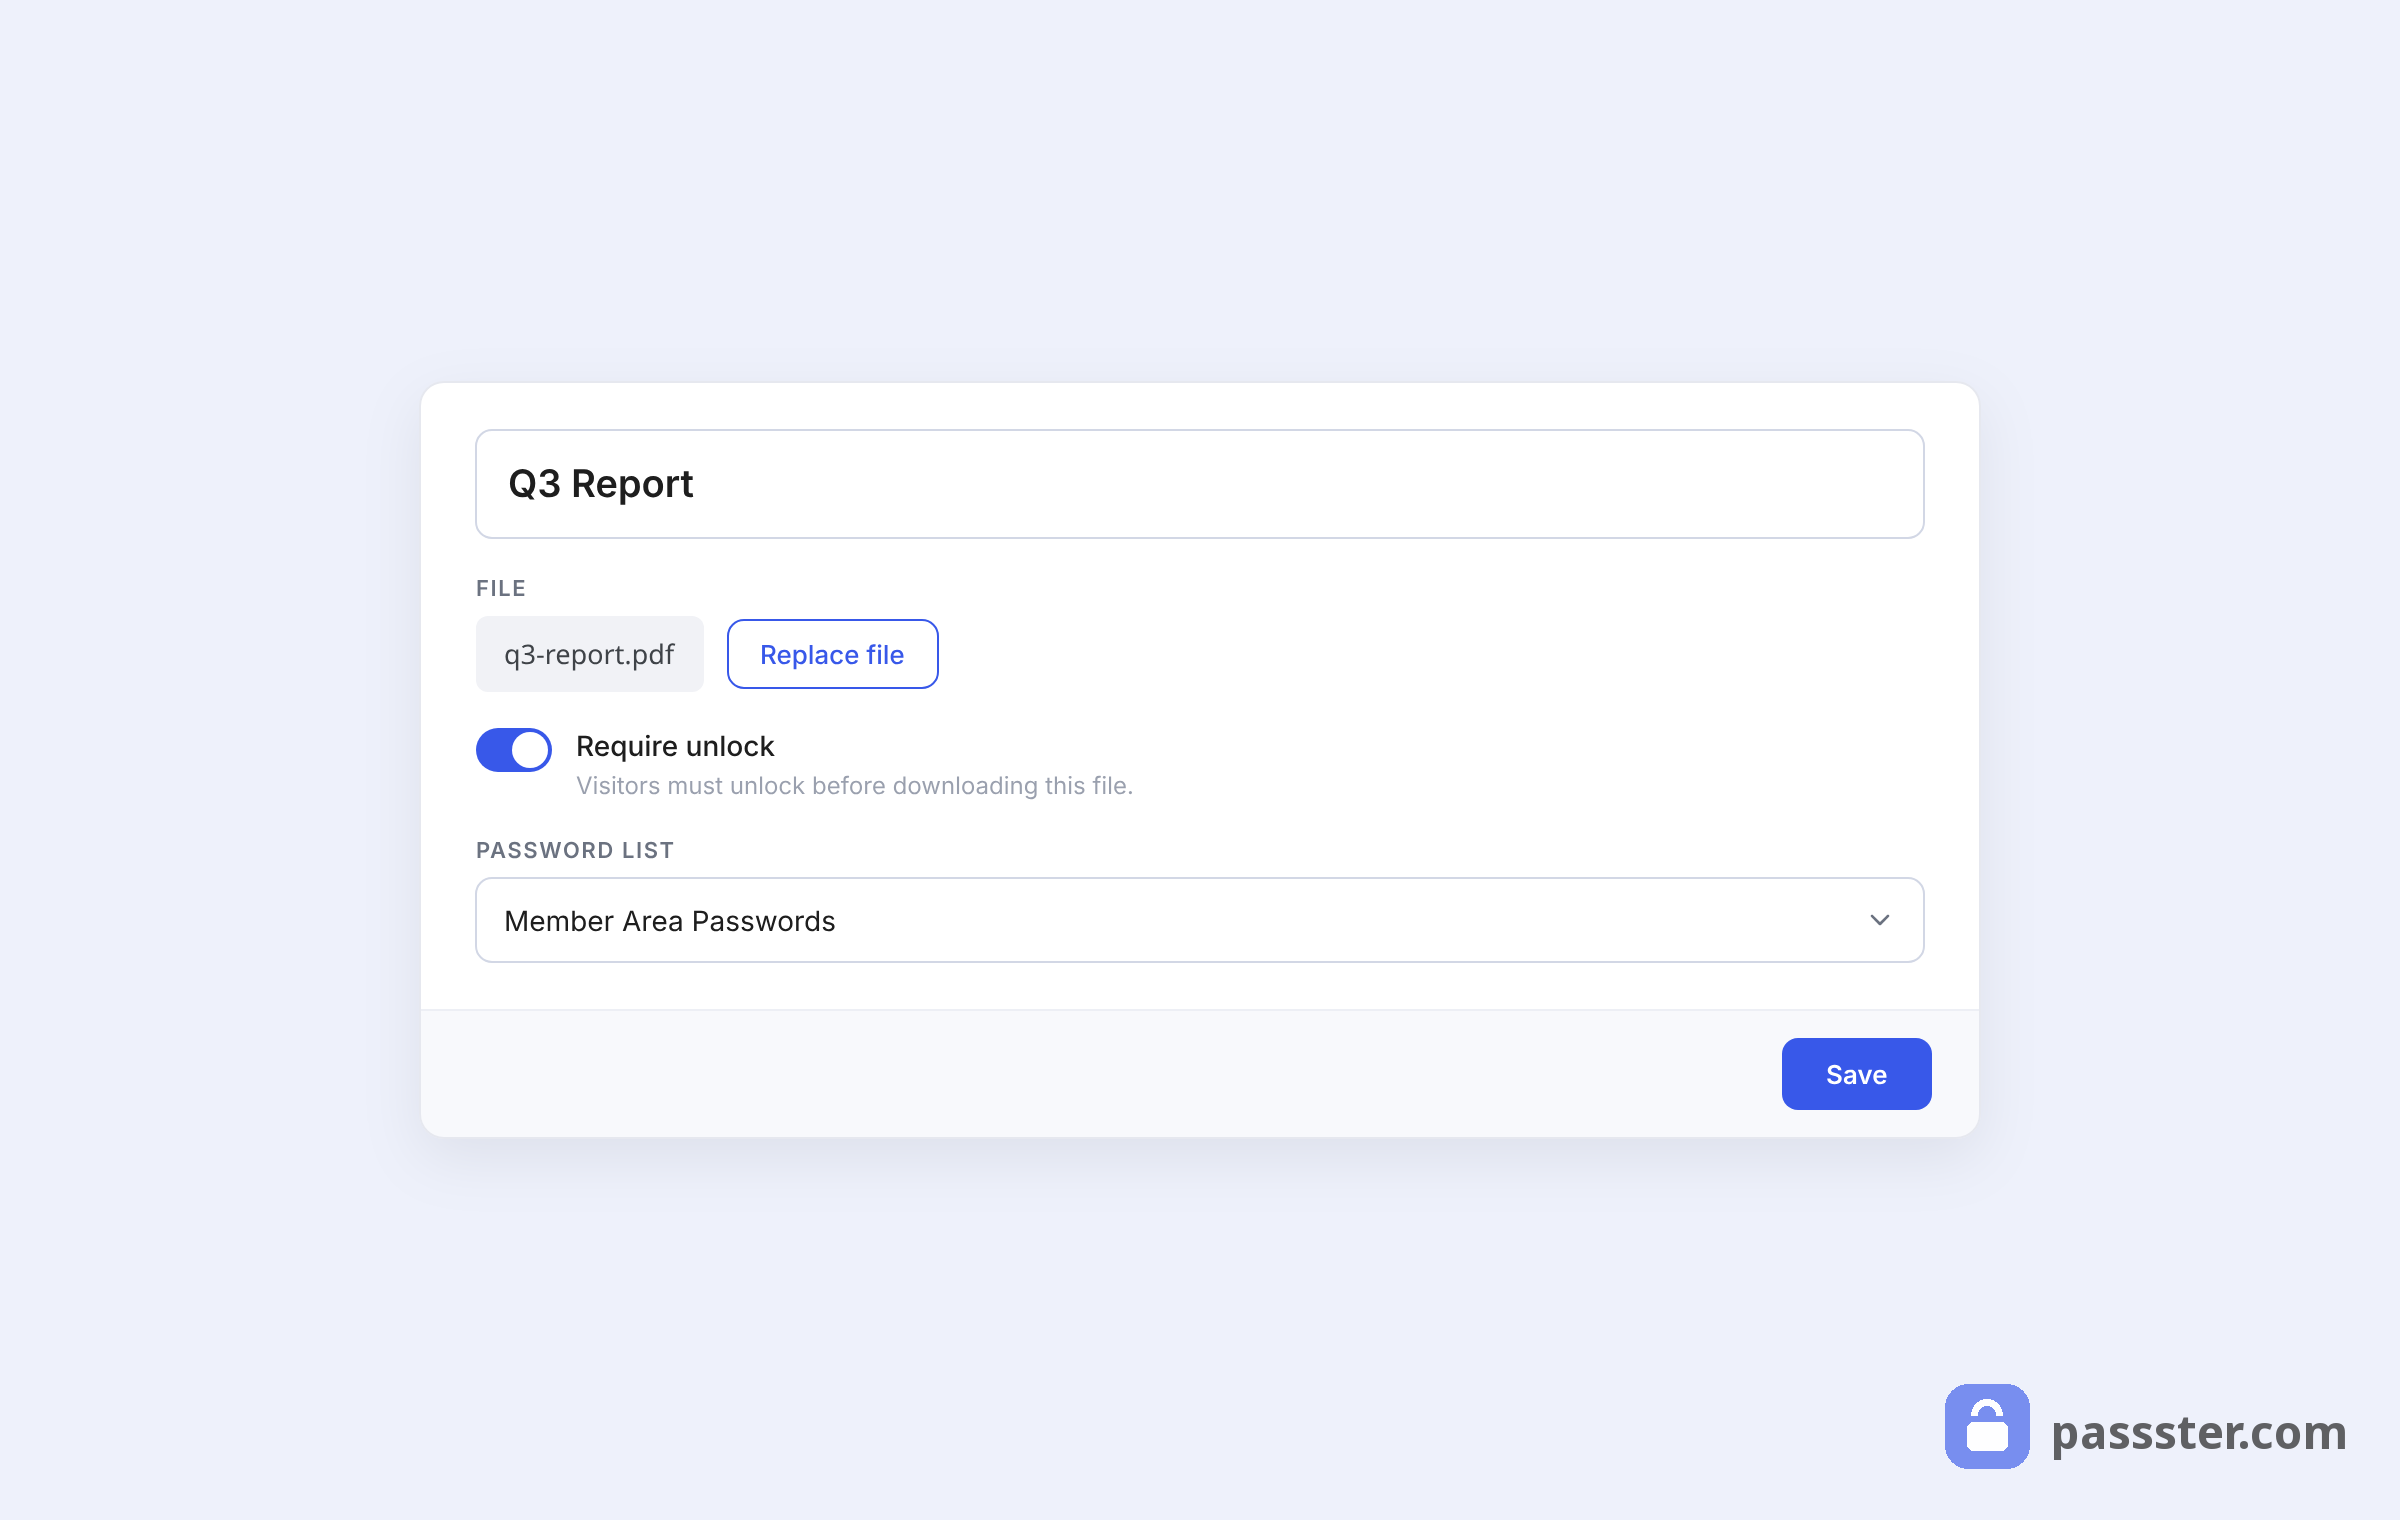
A few useful options on this screen:
- Expiry by date or download count: set a date after which the file becomes unavailable, or a download limit before it expires automatically.
- Filename encryption: toggle Encrypt Filename on to obfuscate the actual file URL, reducing the risk of direct-link hotlinking.
- User role and email restrictions: restrict individual files to specific WordPress user roles or email addresses; for example, limit a document to subscribers only, or to a named set of client accounts. This is the primary way to restrict file access by WordPress user roles without a separate membership plugin.
Click Publish when you’re done.
Step #4: Configure document protection settings
Filr’s protection settings apply at the server level to your entire uploads directory. You’ll find them under Files > Settings > Status tab.
Three modes are available, and the practical difference matters:
- No protection: the default. The uploads directory is fully public; both directory listings and direct file URLs are accessible to anyone.
- index.php: Filr drops an
index.phpfile into the uploads root, which hides the directory listing. Direct file URLs still work, though. Use this to stop casual directory browsing without worrying about someone who already has a direct link. - .htaccess: the strongest option. Filr adds an
.htaccessrule that blocks directory browsing and returns a 403 Forbidden error for any direct file access attempt. This is the right choice for preventing direct URL access to WordPress files in sensitive deployments.
Tick the radio button for the mode you want and click Save Changes. Use the Check directory protection link to confirm the setting took effect.
Step #5: Create the hub page and publish it
Go to Pages > Add New, give the page a title, and paste the shortcode you copied in Step #2 into a Shortcode block in the editor.
Click Publish. The front end will show a clean table listing all the files in that list, with a download button for each entry.
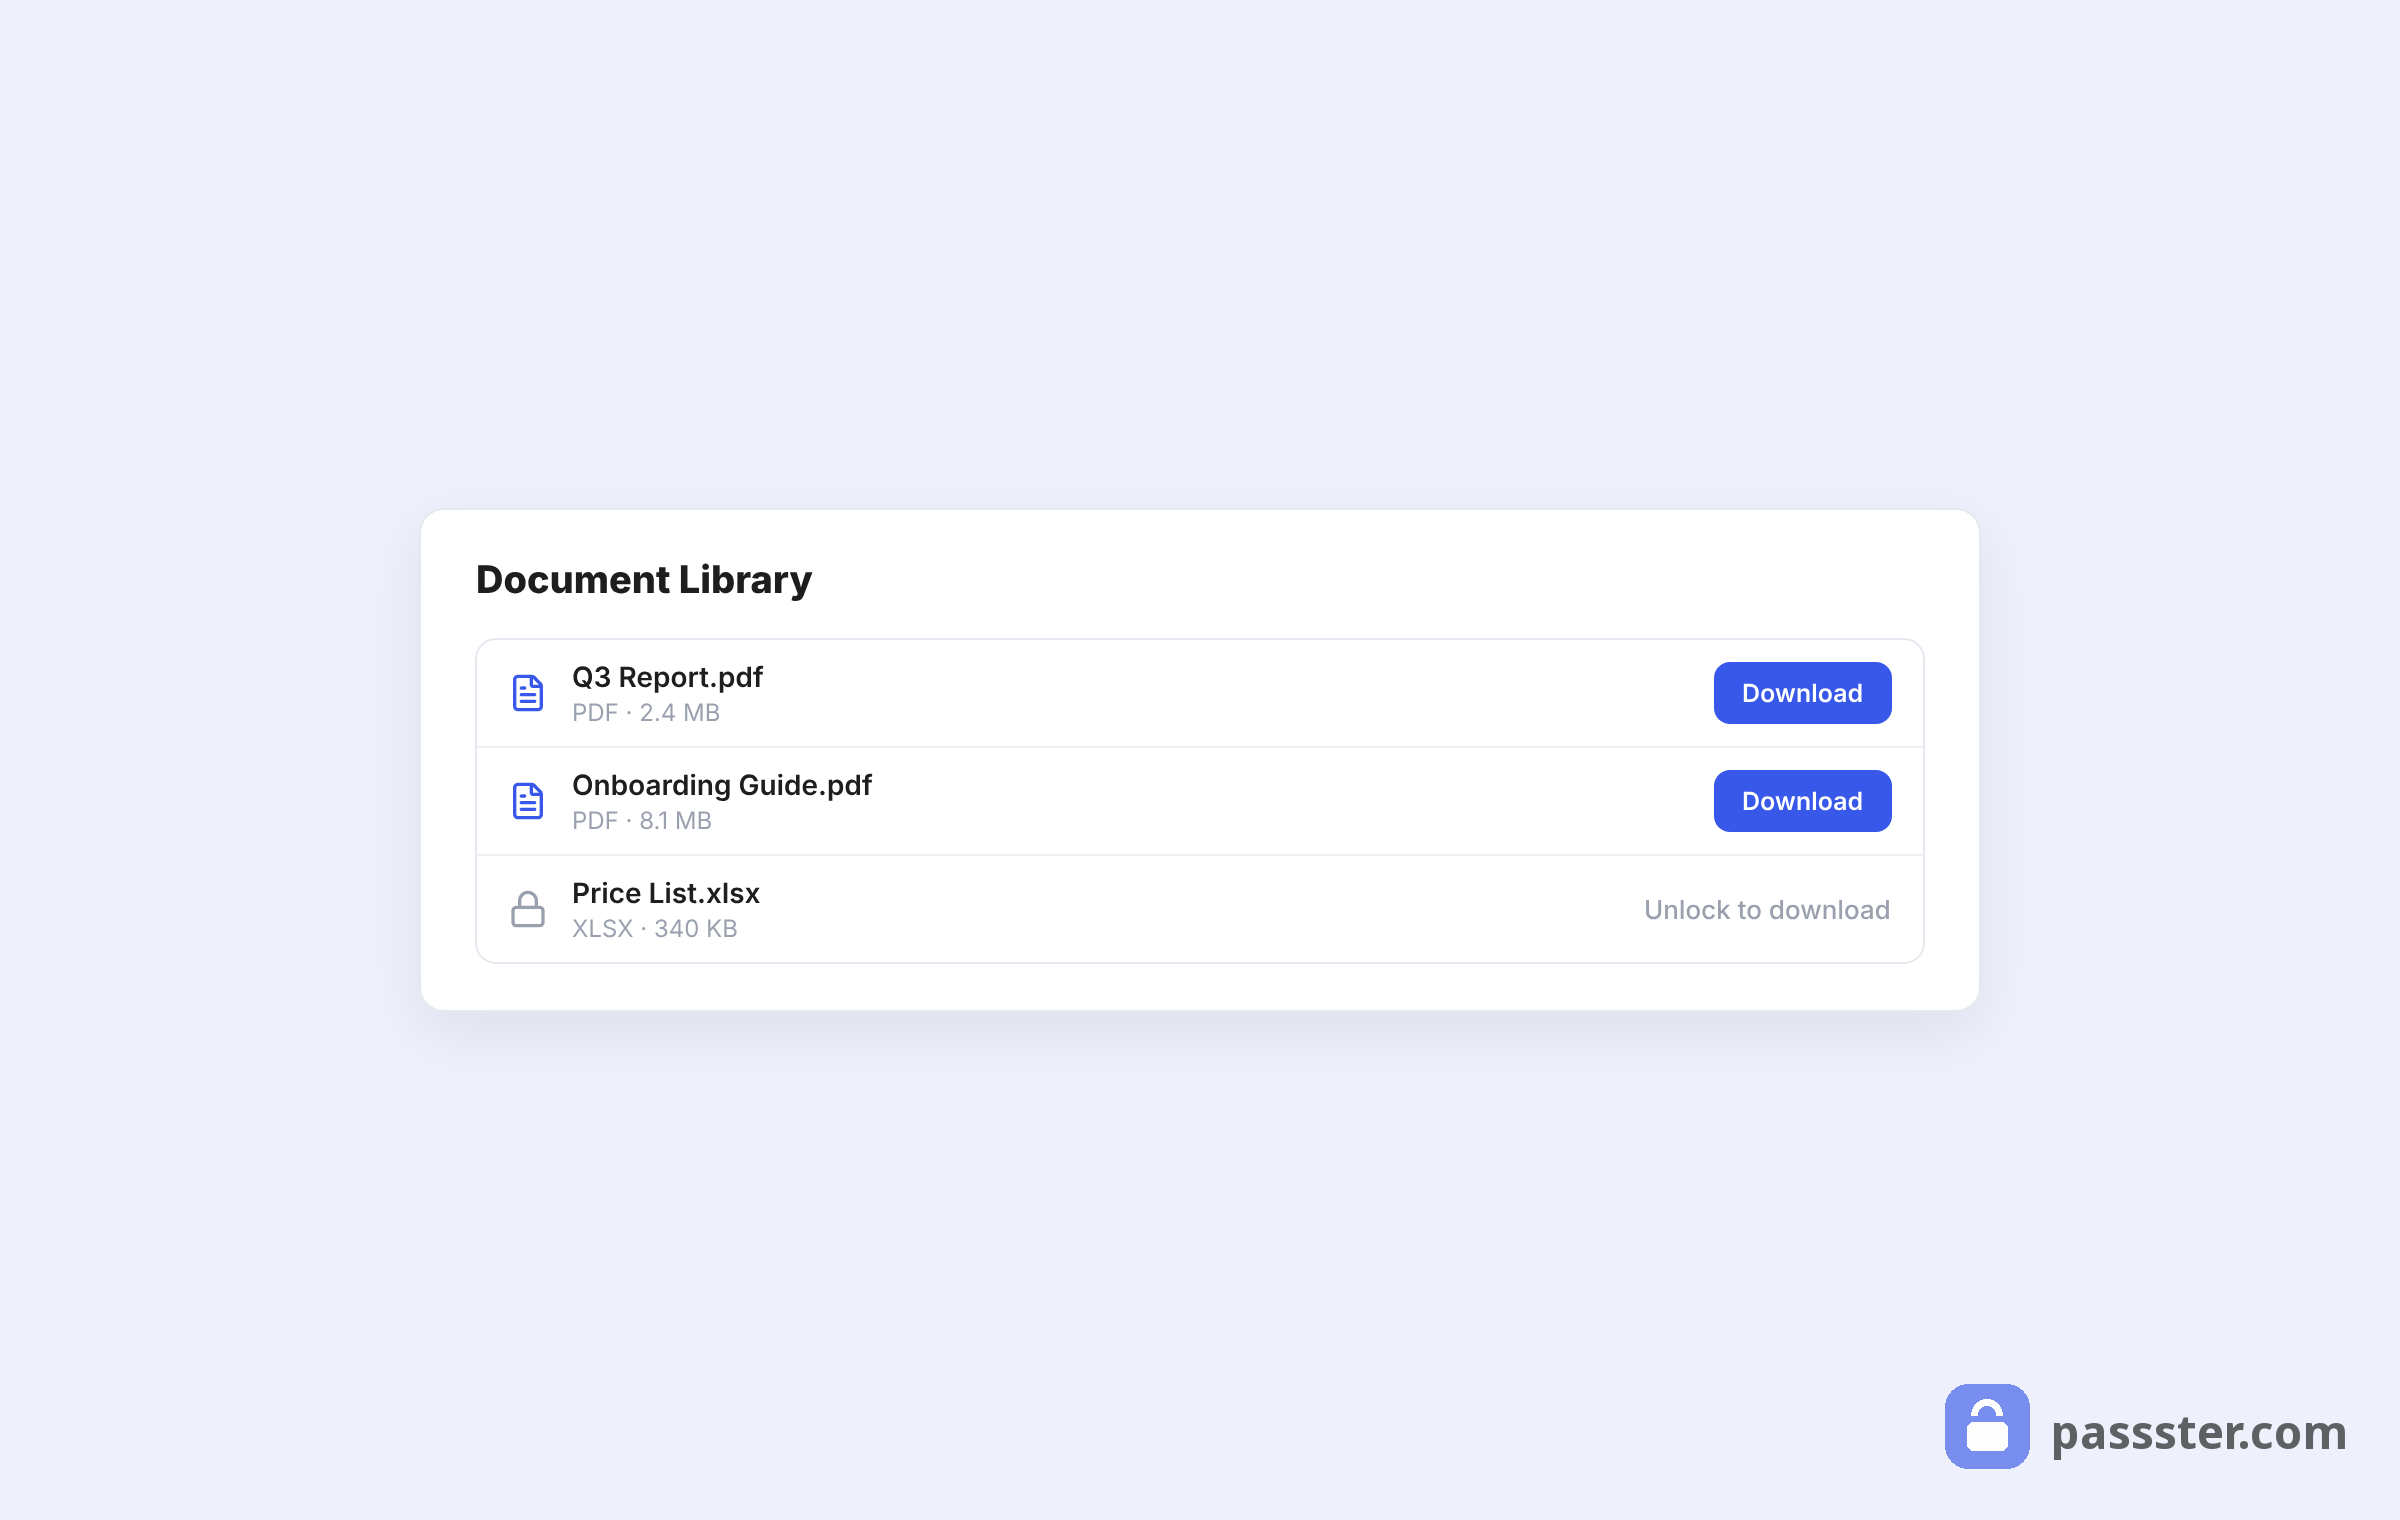
You can adjust the appearance — colors, column layout, and row display — under Files > Settings > Shortcode tab.
Step #6: Password-protect the hub page with Passster
At this point, anyone who lands on the page URL can see and download your documents. Filr’s server-level protection stops direct-URL file access, but the page itself is still public.
Adding Passster — active on 10,000+ WordPress sites (WordPress.org) — to the hub page closes that gap. Passster lets you password protect any WordPress page by placing a password form in front of the content — visitors enter the passphrase before the document list ever loads. This is the most direct way to password protect WordPress files from unauthorized viewing without changing server configuration.
To add protection, install and activate Passster, then open the hub page in the block editor. In the Passster sidebar panel, toggle protection on and set your password. Save the page.
Combined with Filr’s .htaccess mode and filename encryption, you now have three independent layers: the page gate, the server-level directory block, and obfuscated file URLs. An unauthorized visitor would need to bypass all three to reach your documents.
Conclusion
A WordPress document hub gives businesses a single place to share files with the right people — and keep them out of reach of everyone else.
With Filr, you can upload files, restrict access by user role or email, encrypt filenames, set protection modes, and expire documents by date or download count. Add Passster on top, and the hub page itself is gated behind a password before any document list is visible.
Together, they cover the full picture: frontend gating, server-level directory protection, and per-file encryption. For sensitive business documents, that defence-in-depth setup is worth having.
Frequently Asked Questions
WordPress stores uploaded files in wp-content/uploads, which is publicly accessible by default — anyone with a direct file URL can download the file without logging in. To prevent direct URL access to WordPress files, use Filr’s .htaccess protection mode. Filr adds a server-level rule that returns a 403 Forbidden error for any direct access attempt, blocking the file even when someone has the exact URL.
Yes. Filr’s per-file settings let you restrict individual documents to specific WordPress user roles or email addresses. To restrict file access by WordPress user roles, open a file under Files > Add New, scroll to the restrictions meta box, and select the roles or enter the email addresses allowed to download. Users outside those restrictions will not see a download link for that file.
Install Passster, open the hub page in the block editor, and toggle protection on in the Passster sidebar panel. Set a passphrase and save the page. Visitors will see a password form rather than the document list until they enter the correct passphrase. Passster works with any WordPress page and requires no theme customization or code changes.
You configure both modes in Filr under Files > Settings > Status. The index.php mode drops a PHP file into the uploads directory to suppress directory listings — useful for hiding what’s stored, but it does not block direct file URLs. The .htaccess mode adds an Apache server rule that blocks directory listings and returns a 403 Forbidden error for any direct file access attempt. For sensitive documents, .htaccess is the stronger and recommended choice.
Combine Filr and Passster: Filr organizes and protects the files at the server level, while Passster gates the hub page behind a passphrase. Assign files to client-specific Filr lists, create a separate WordPress page per client, and protect each page with a unique Passster passphrase. Each client receives a private URL accessible only with their passphrase, with no access overlap between accounts.
Yes — Filr supports expiry by download count. When uploading or editing a file under Files > Add New, enter a download count in the expiry settings. Once Filr hits that limit, it automatically removes the download link without any manual intervention. You can also set a date-based expiry if you prefer files to become unavailable after a specific date rather than after a download count limit.