Password-protecting a WordPress page takes about 30 seconds using the built-in editor. The harder question is whether the native method gives you enough control — or whether you need a plugin like Passster to handle multiple passwords, expiring access, reCAPTCHA, and a branded form design.
Both paths are worth knowing. The native option is quick and zero-cost, but it’s limited. Passster removes those limits without touching the rest of your site’s design.
This guide walks through each method in order — native first, then the plugin — so you can pick the right one for your situation. It also covers what happens to SEO and uploaded media when you enable password protection.
Quick answer: To password protect a WordPress page, open the page editor, click Visibility in the Settings panel, choose Password Protected, enter your password, and click Publish or Update. Done in under 30 seconds. Need a custom form, multiple passwords, or expiring access? Skip to Method 2 below.
Why password-protect a WordPress page?
Most reasons to gate a page behind a password come down to keeping the right content in front of the right people.
You might want to hide content from unauthorized visitors such as:
- Unregistered customers: pricing tables, account dashboards, exclusive downloads, or members-only content that registered users have earned.
- Internal teams: employee handbooks, project briefs, or holiday-party planning docs that shouldn’t be public-facing.
- Press and partners: a product page that needs to exist before launch but shouldn’t surface in search results or land in the wrong hands.
- Works-in-progress: a page that’s still being built or needs approval before going live.
- WooCommerce pricing: tiered pricing pages or wholesale catalogues that only certain buyers should see.

Beyond keeping the wrong people out, password protection is also useful for keeping things orderly. It prevents someone from accidentally editing a live page while it’s still under construction, or stumbling into content that isn’t meant for them. Whatever the reason, the setup should be fast and the access control should be reliable.
Method 1: Password protect a page in WordPress without a plugin
WordPress has password protection built into its editor. No plugins, no code — here’s how to use it:
- From your WordPress dashboard, go to Pages > All Pages and click Edit on the page you want to protect.
- In the right-hand settings sidebar, find the Summary section and click the link next to Visibility.
- You’ll see three options: Public, Private, and Password protected. Click Password protected.
- A password field appears. Enter the password visitors will use to access this page.
- Click Update or Publish to save.
That’s it. Visitors who reach the page see a password prompt — the default message reads “This content is password protected. To view it, please enter your password below:” with a single input field.
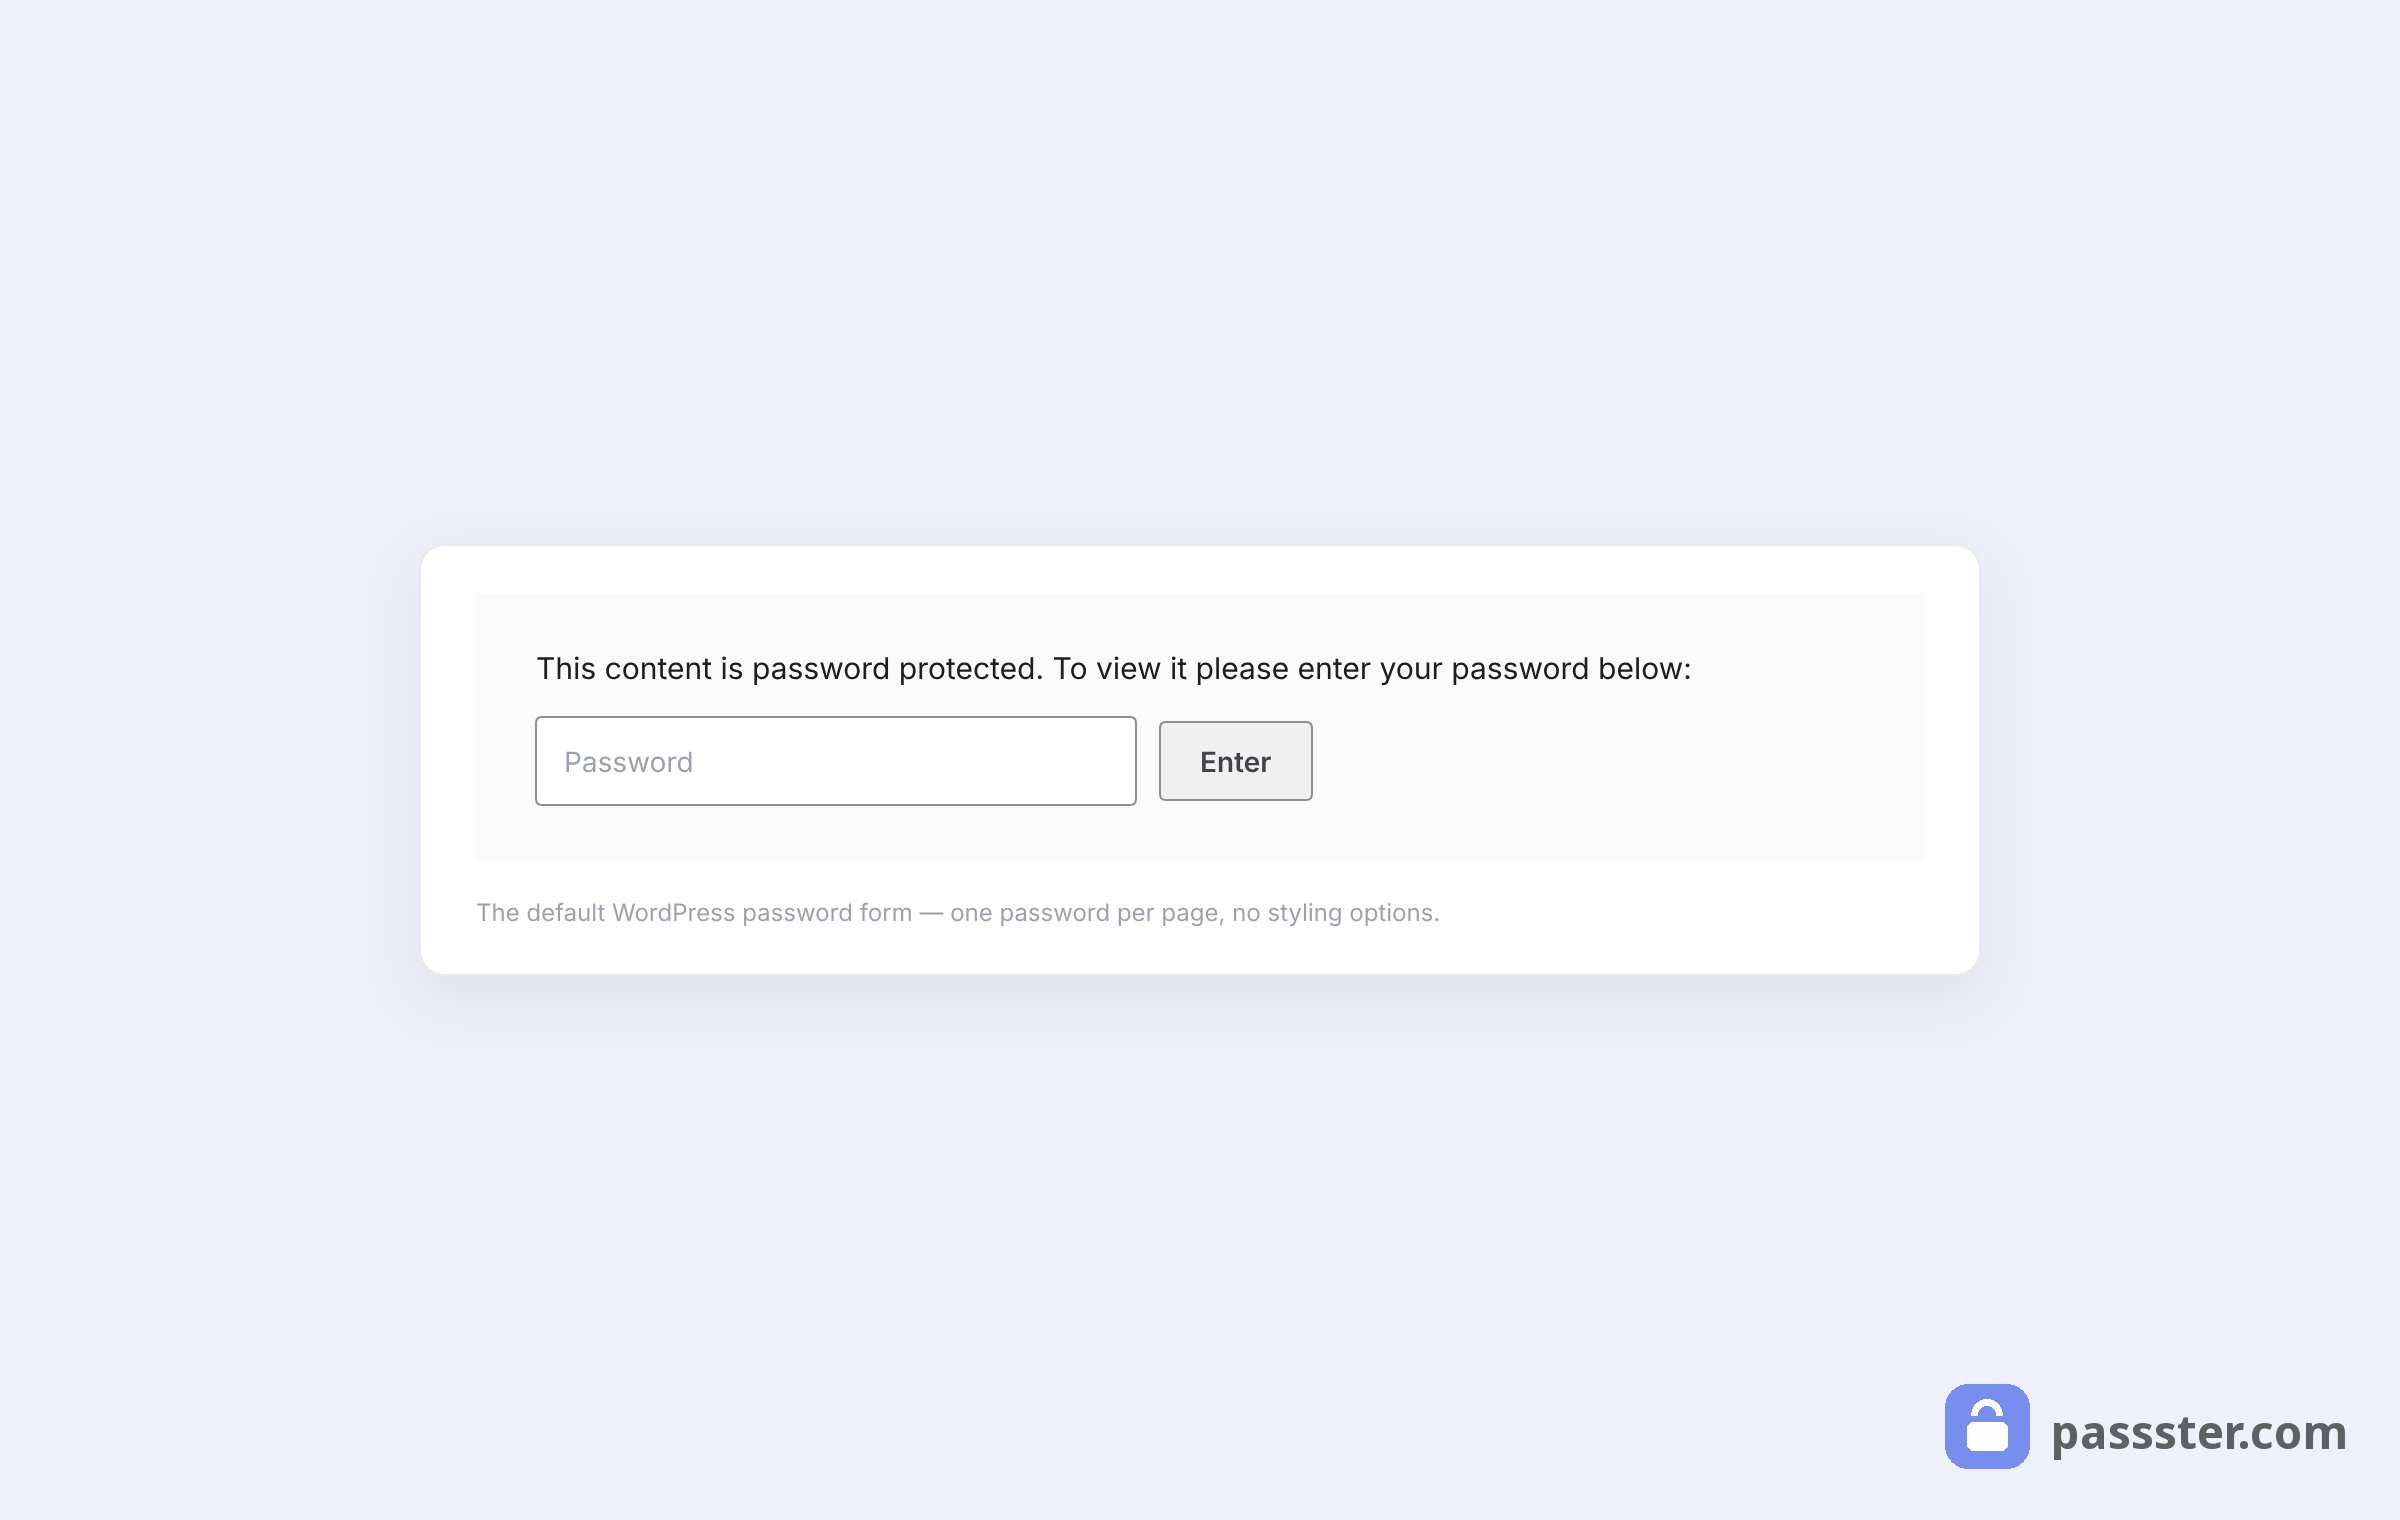
Once a visitor enters the correct password, WordPress sets a browser cookie. That cookie keeps the page unlocked for approximately 10 days. During that window, the visitor can return without re-entering the password. After 10 days — or if they clear their cookies — the form appears again.
How to style the native password form
After protecting the page, you can make minor visual adjustments using the WordPress Customizer. From the front end of any protected page, click Customize in the admin bar. This opens the global site Customizer, where you can tweak margins, padding, button styles, and fonts.
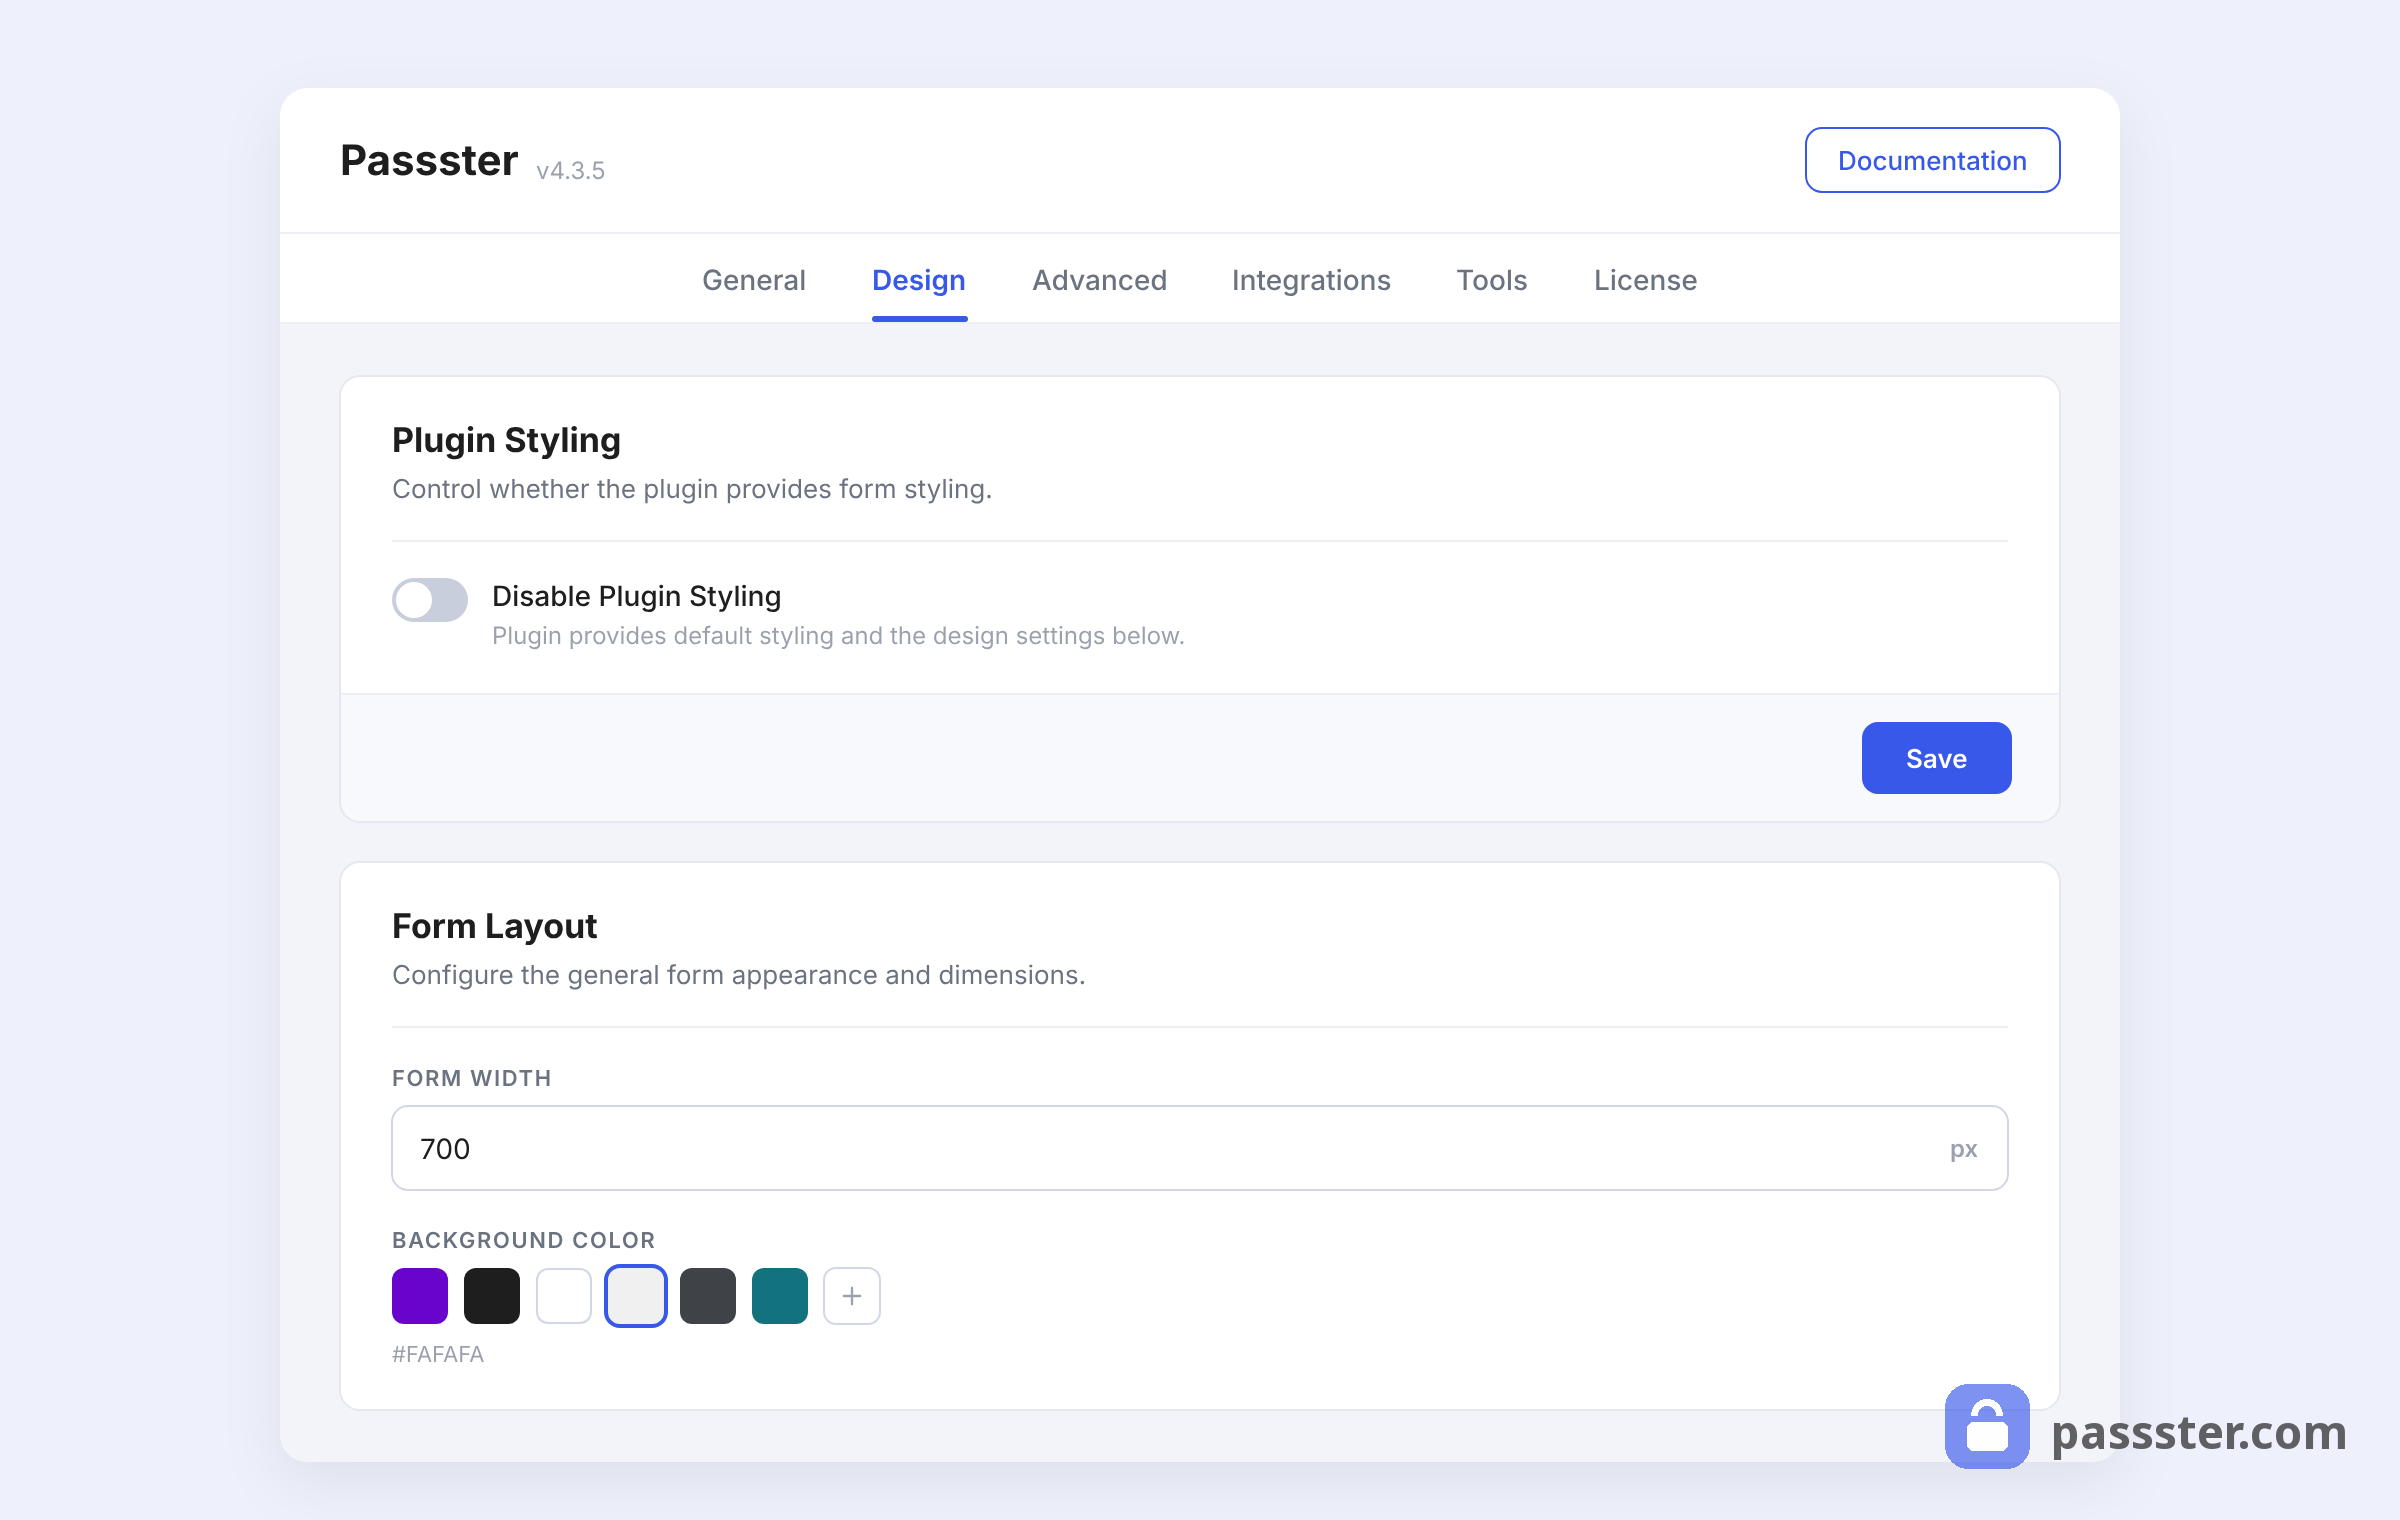
There’s a significant constraint here: every change you make in the Customizer applies site-wide. Adjusting the button style changes every button across your site. Changing the font changes every paragraph.
In other words, you can’t scope a Customizer change to the password form alone. For isolated, form-specific styling, you need a plugin.
Limitations of the built-in method
The native method works for simple, low-stakes use cases — a staging page, a draft you’re not ready to share, a quick internal resource. But it has hard limits:
- One password per page: no support for multiple passwords, password lists, or per-user codes.
- No password expiry: passwords stay valid indefinitely unless you manually update them in the page editor.
- No bot protection: no reCAPTCHA or other throttle to slow brute-force attempts.
- Whole-page only: you can’t protect a section within a page; it’s all-or-nothing for the entire page content.
- Site-wide styling only: the WordPress Customizer can’t scope design changes to the password form alone.
- Fixed cookie duration: the ~10-day browser cookie can’t be shortened or extended without custom code.
If any of these matter for your use case, Method 2 below removes every one of them.
A note on file and media security
Password-protecting a page does not protect the files and images embedded in it. Uploaded media remains accessible via its direct URL regardless of what you do at the page level.
Anyone who knows the URL — yoursite.com/wp-content/uploads/2024/06/sensitive-file.pdf — can access that file without entering a password. This is a core WordPress behavior, not a bug, but it catches people off guard.
If the files themselves need to stay private, you’ll need server-level restrictions on the uploads directory, or a plugin that handles file-level access control. Password-protecting the page alone won’t cover it.
Method 2: Password protect a page with Passster (setup + custom form)
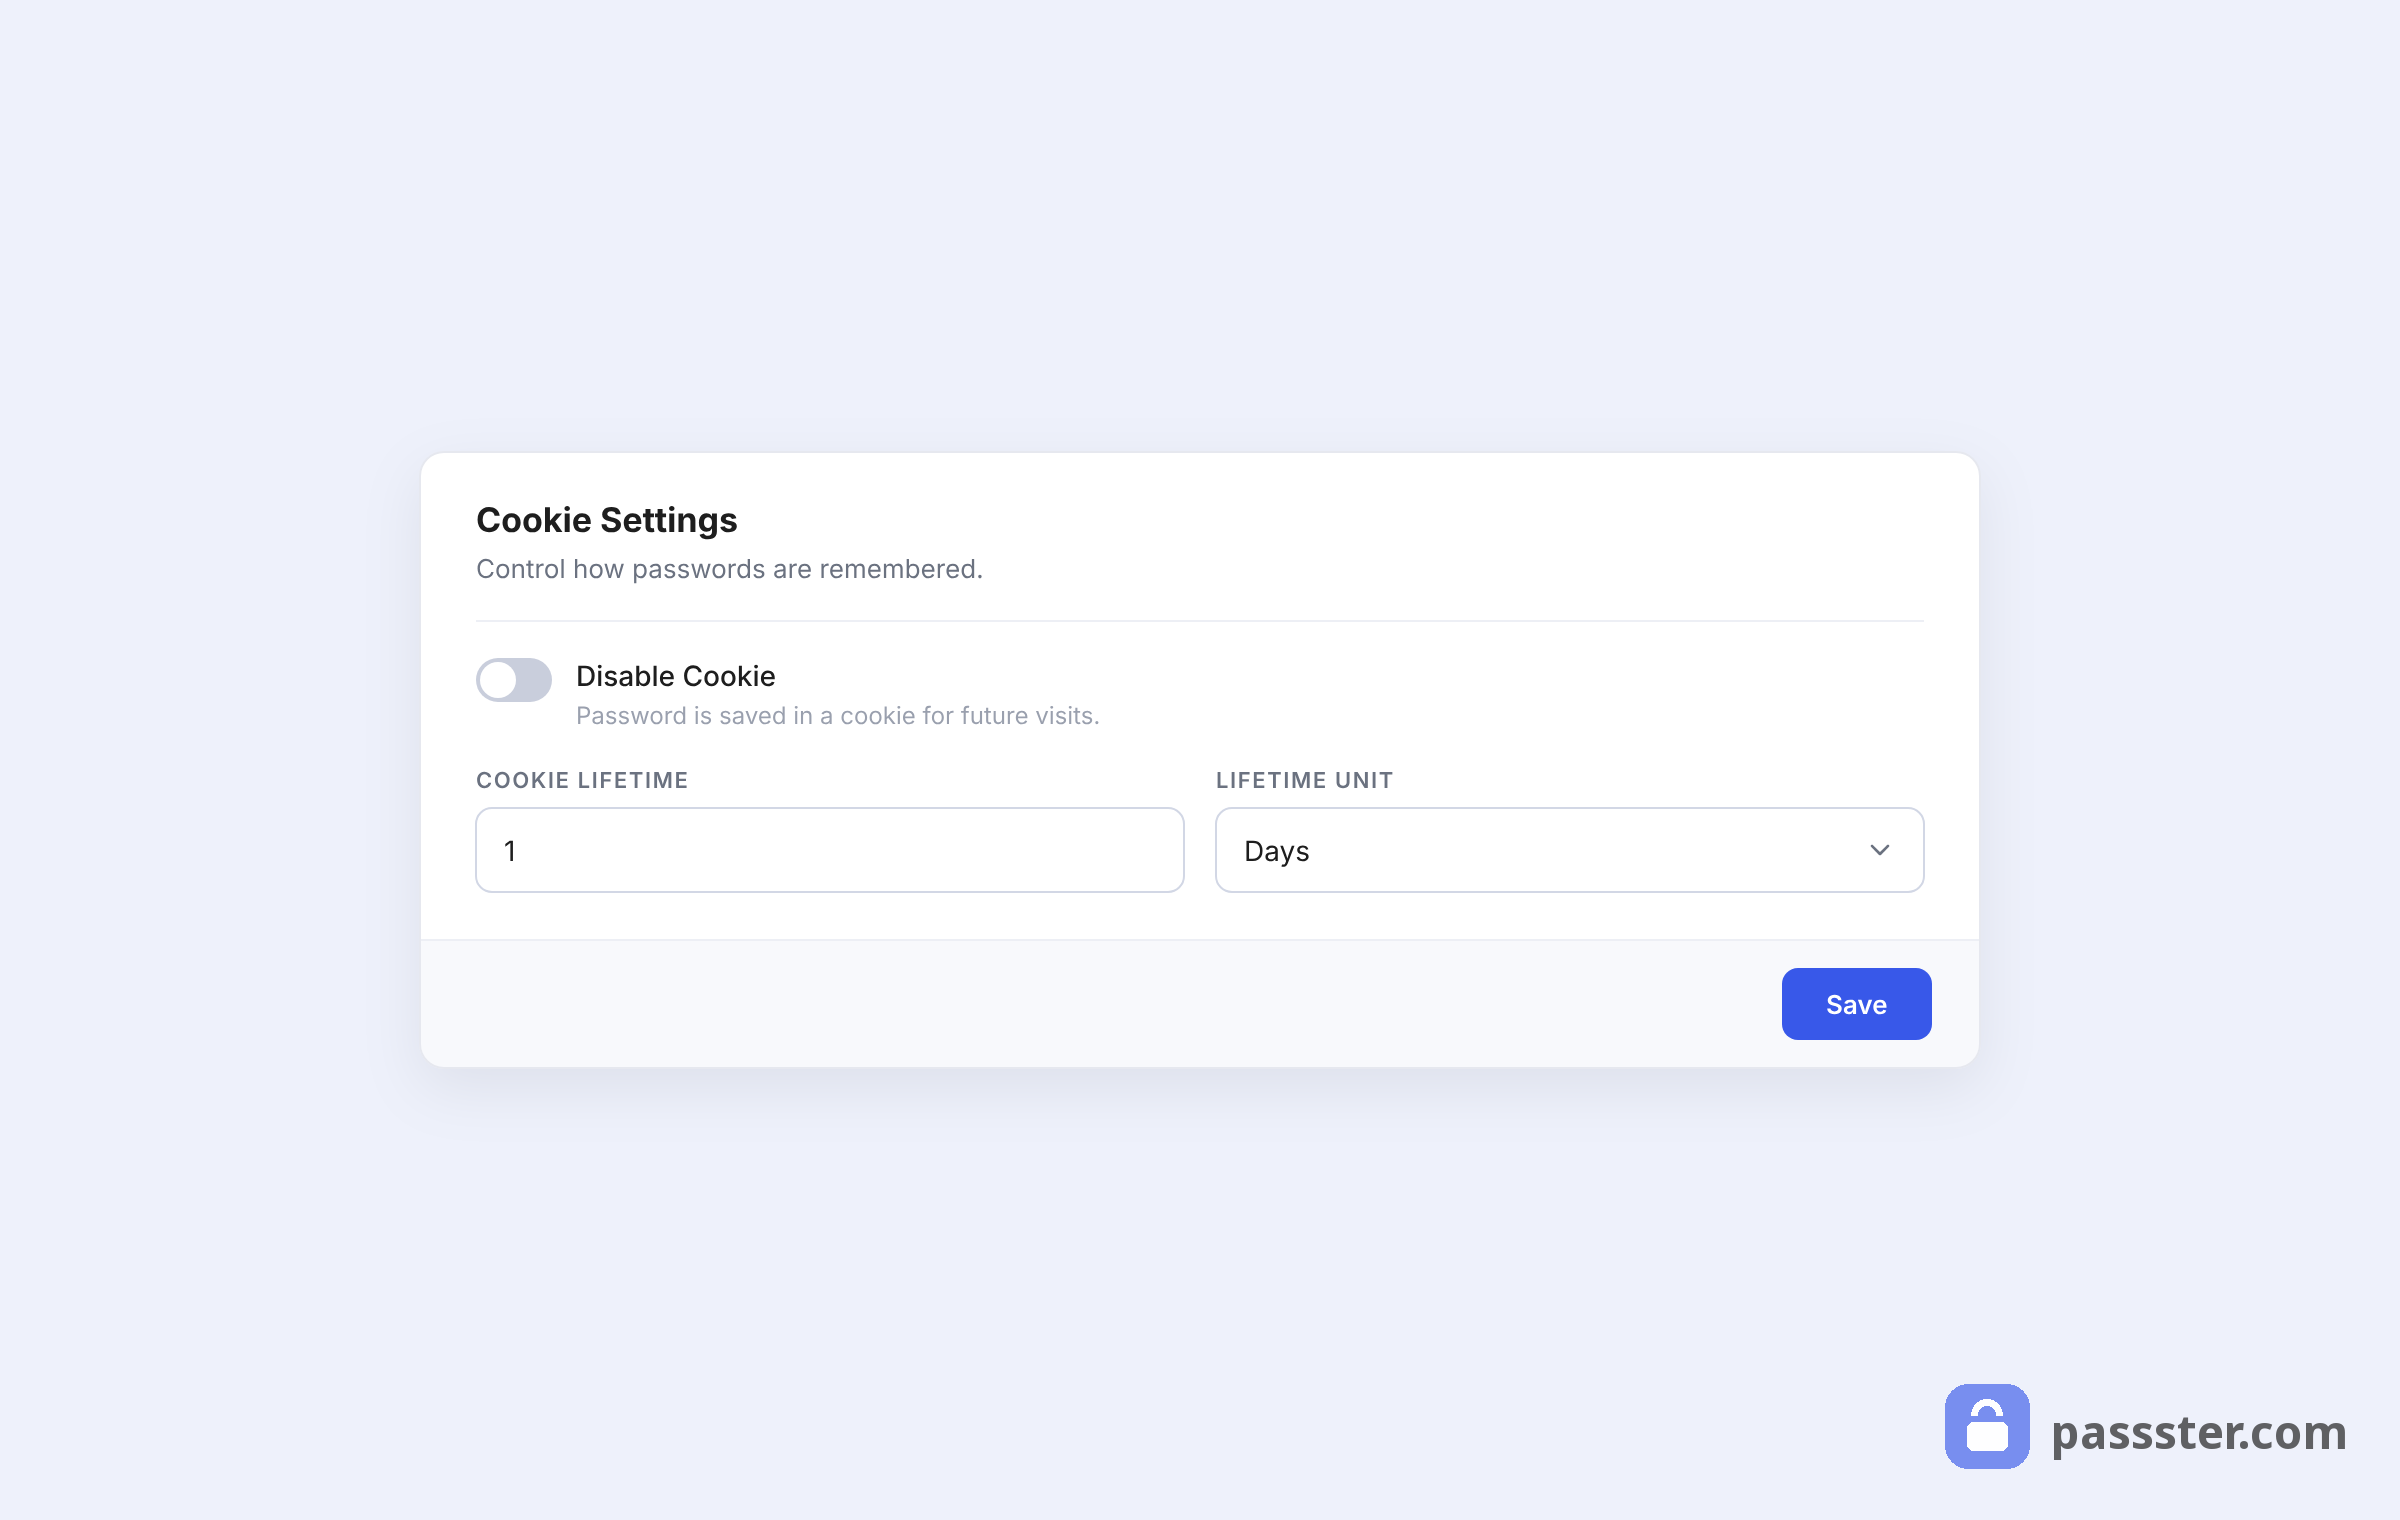
Passster replaces the native WordPress password form with a configurable, brandable alternative. It supports multiple passwords, reCAPTCHA (Google’s CAPTCHA service that distinguishes human visitors from bots), expiring access, concurrent login tracking, and scoped form styling — none of which affects the rest of your site’s design.
Step 1: Install Passster
First, purchase the Pro version of Passster and download the plugin to your computer.
Then install it:
- Go to Plugins > Add New > Upload Plugin from your WordPress dashboard.
- Upload the file you downloaded and click Install Now.
- After installation completes, click Activate Plugin. Copy your license key from the purchase confirmation email, then click Agree and Activate Plugin.
Passster is now active. It works with any WordPress theme, template, or page builder — including Divi and Elementor.
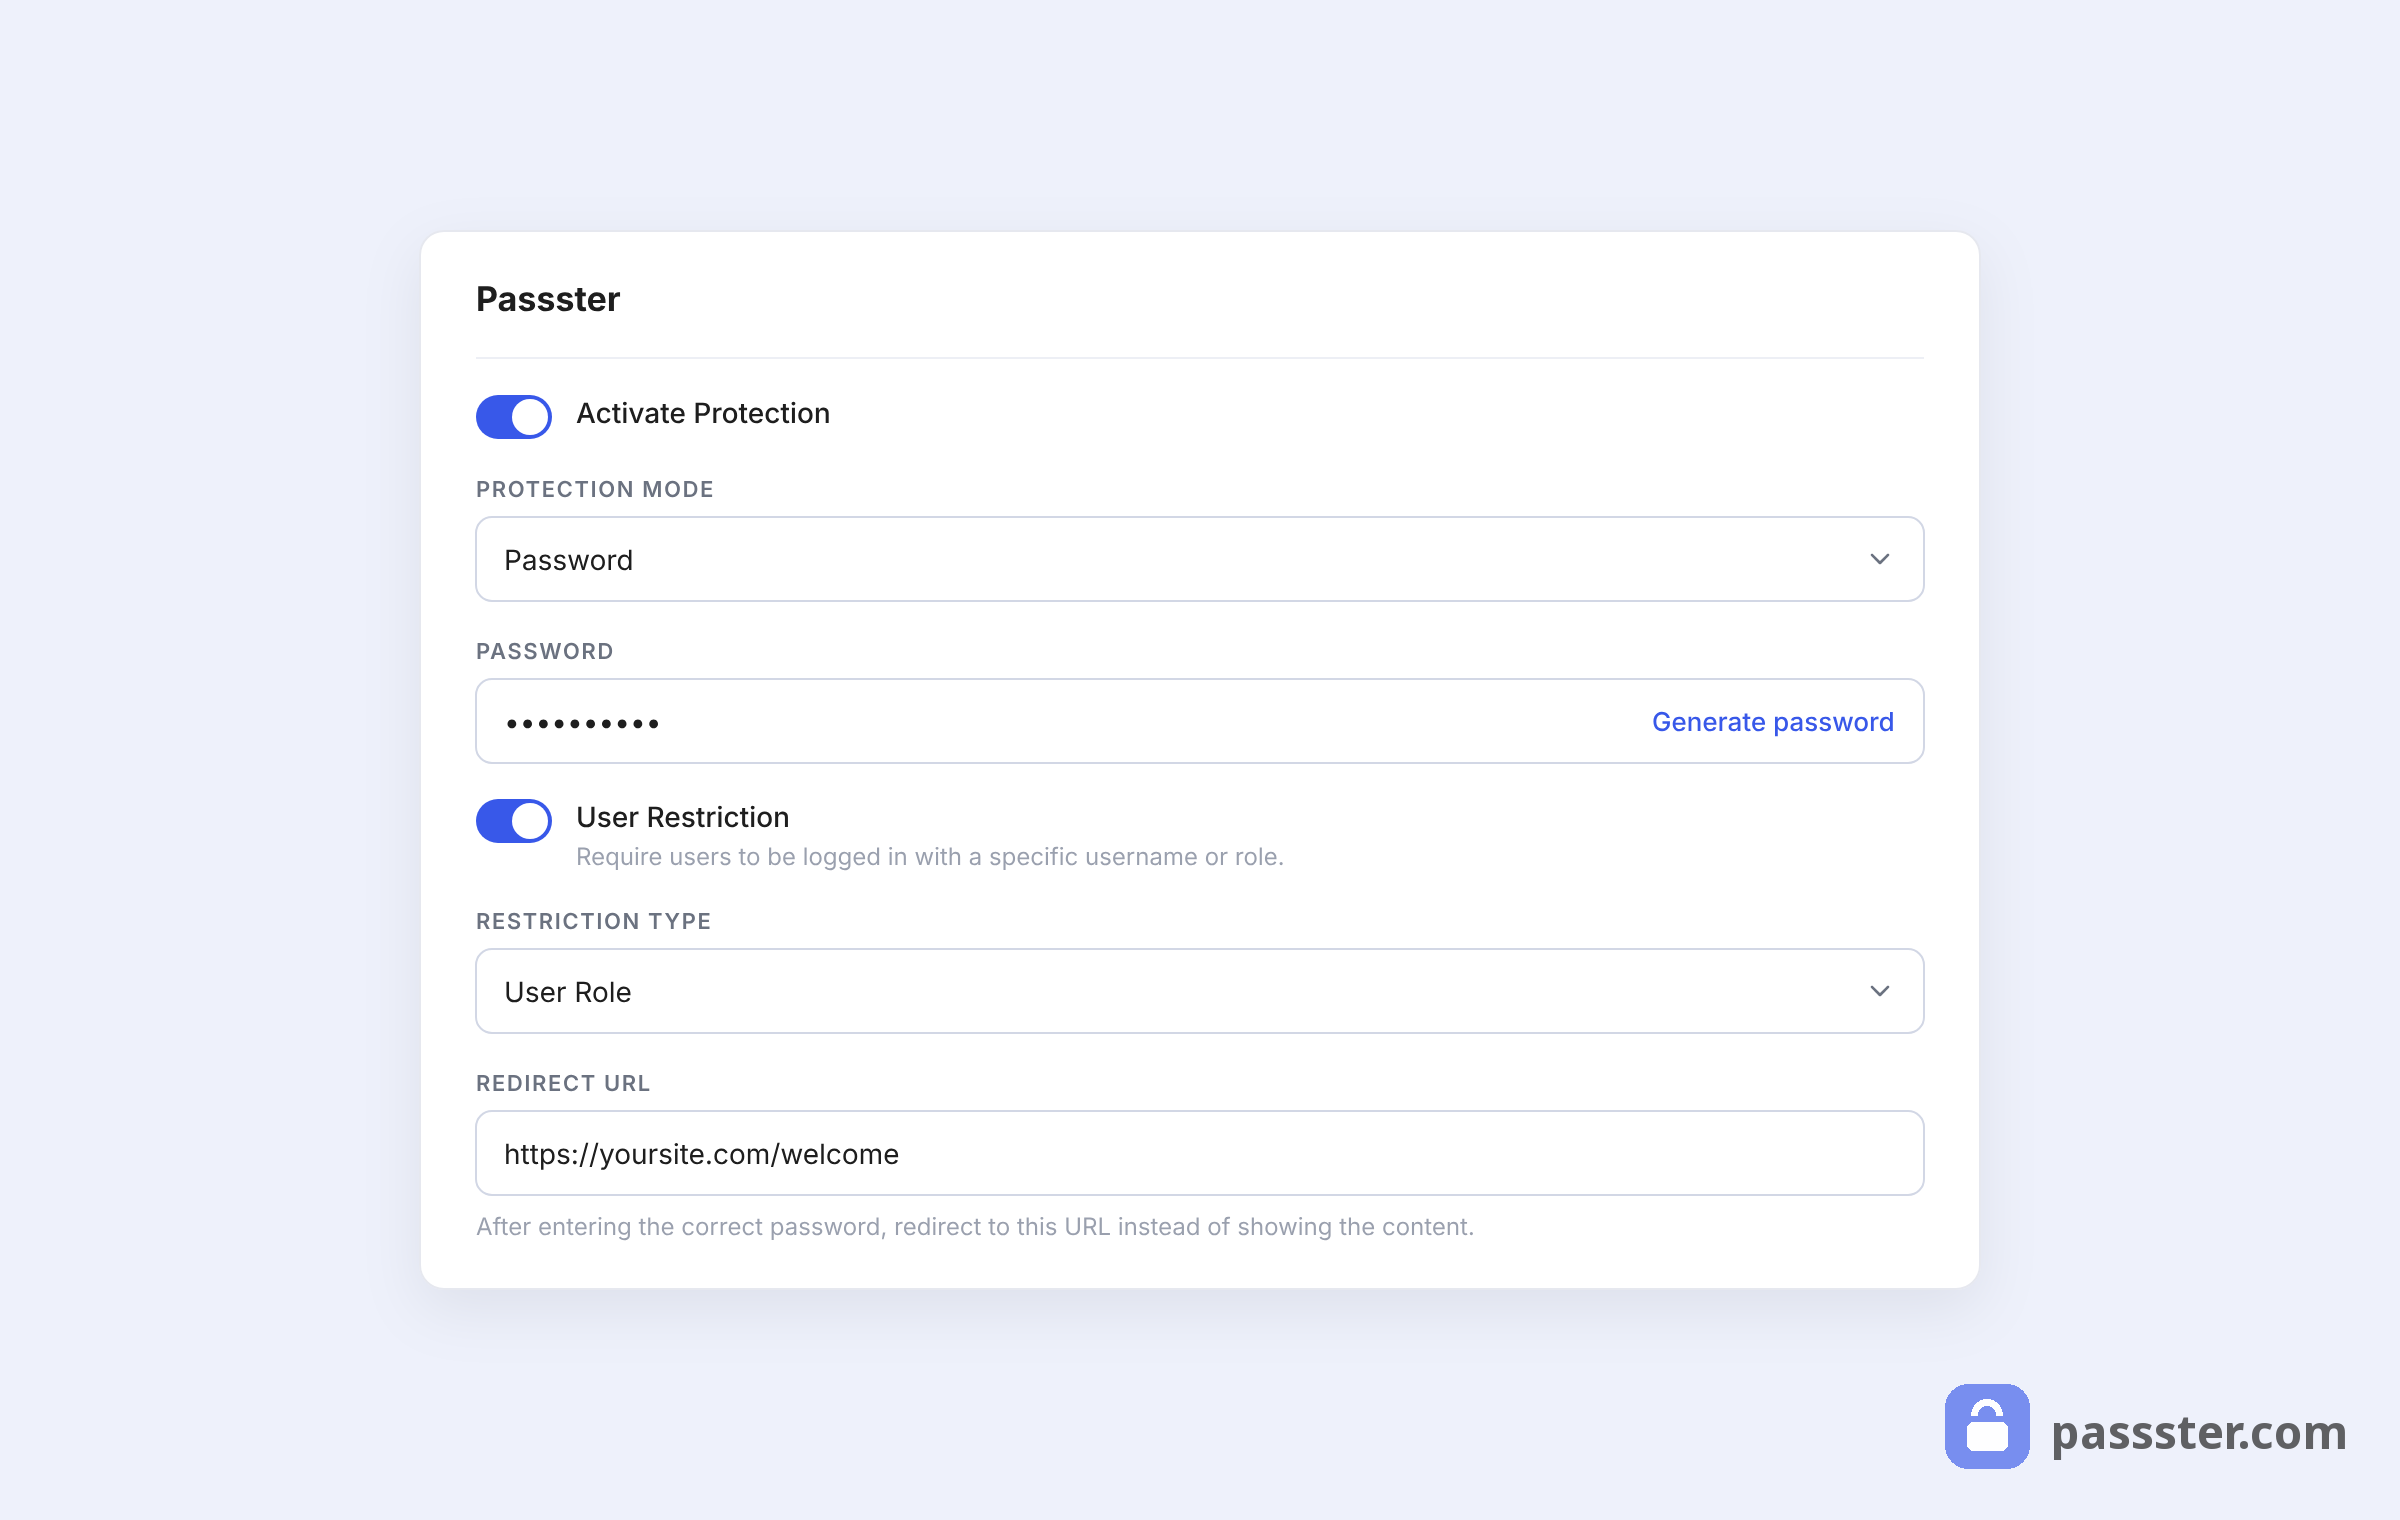
Step 2: Activate protection on your page
- Go to Pages > All Pages and click Edit on the page you want to protect.
- In the right-hand settings sidebar, scroll down to the Passster section.
- Toggle the Activate Protection switch on.
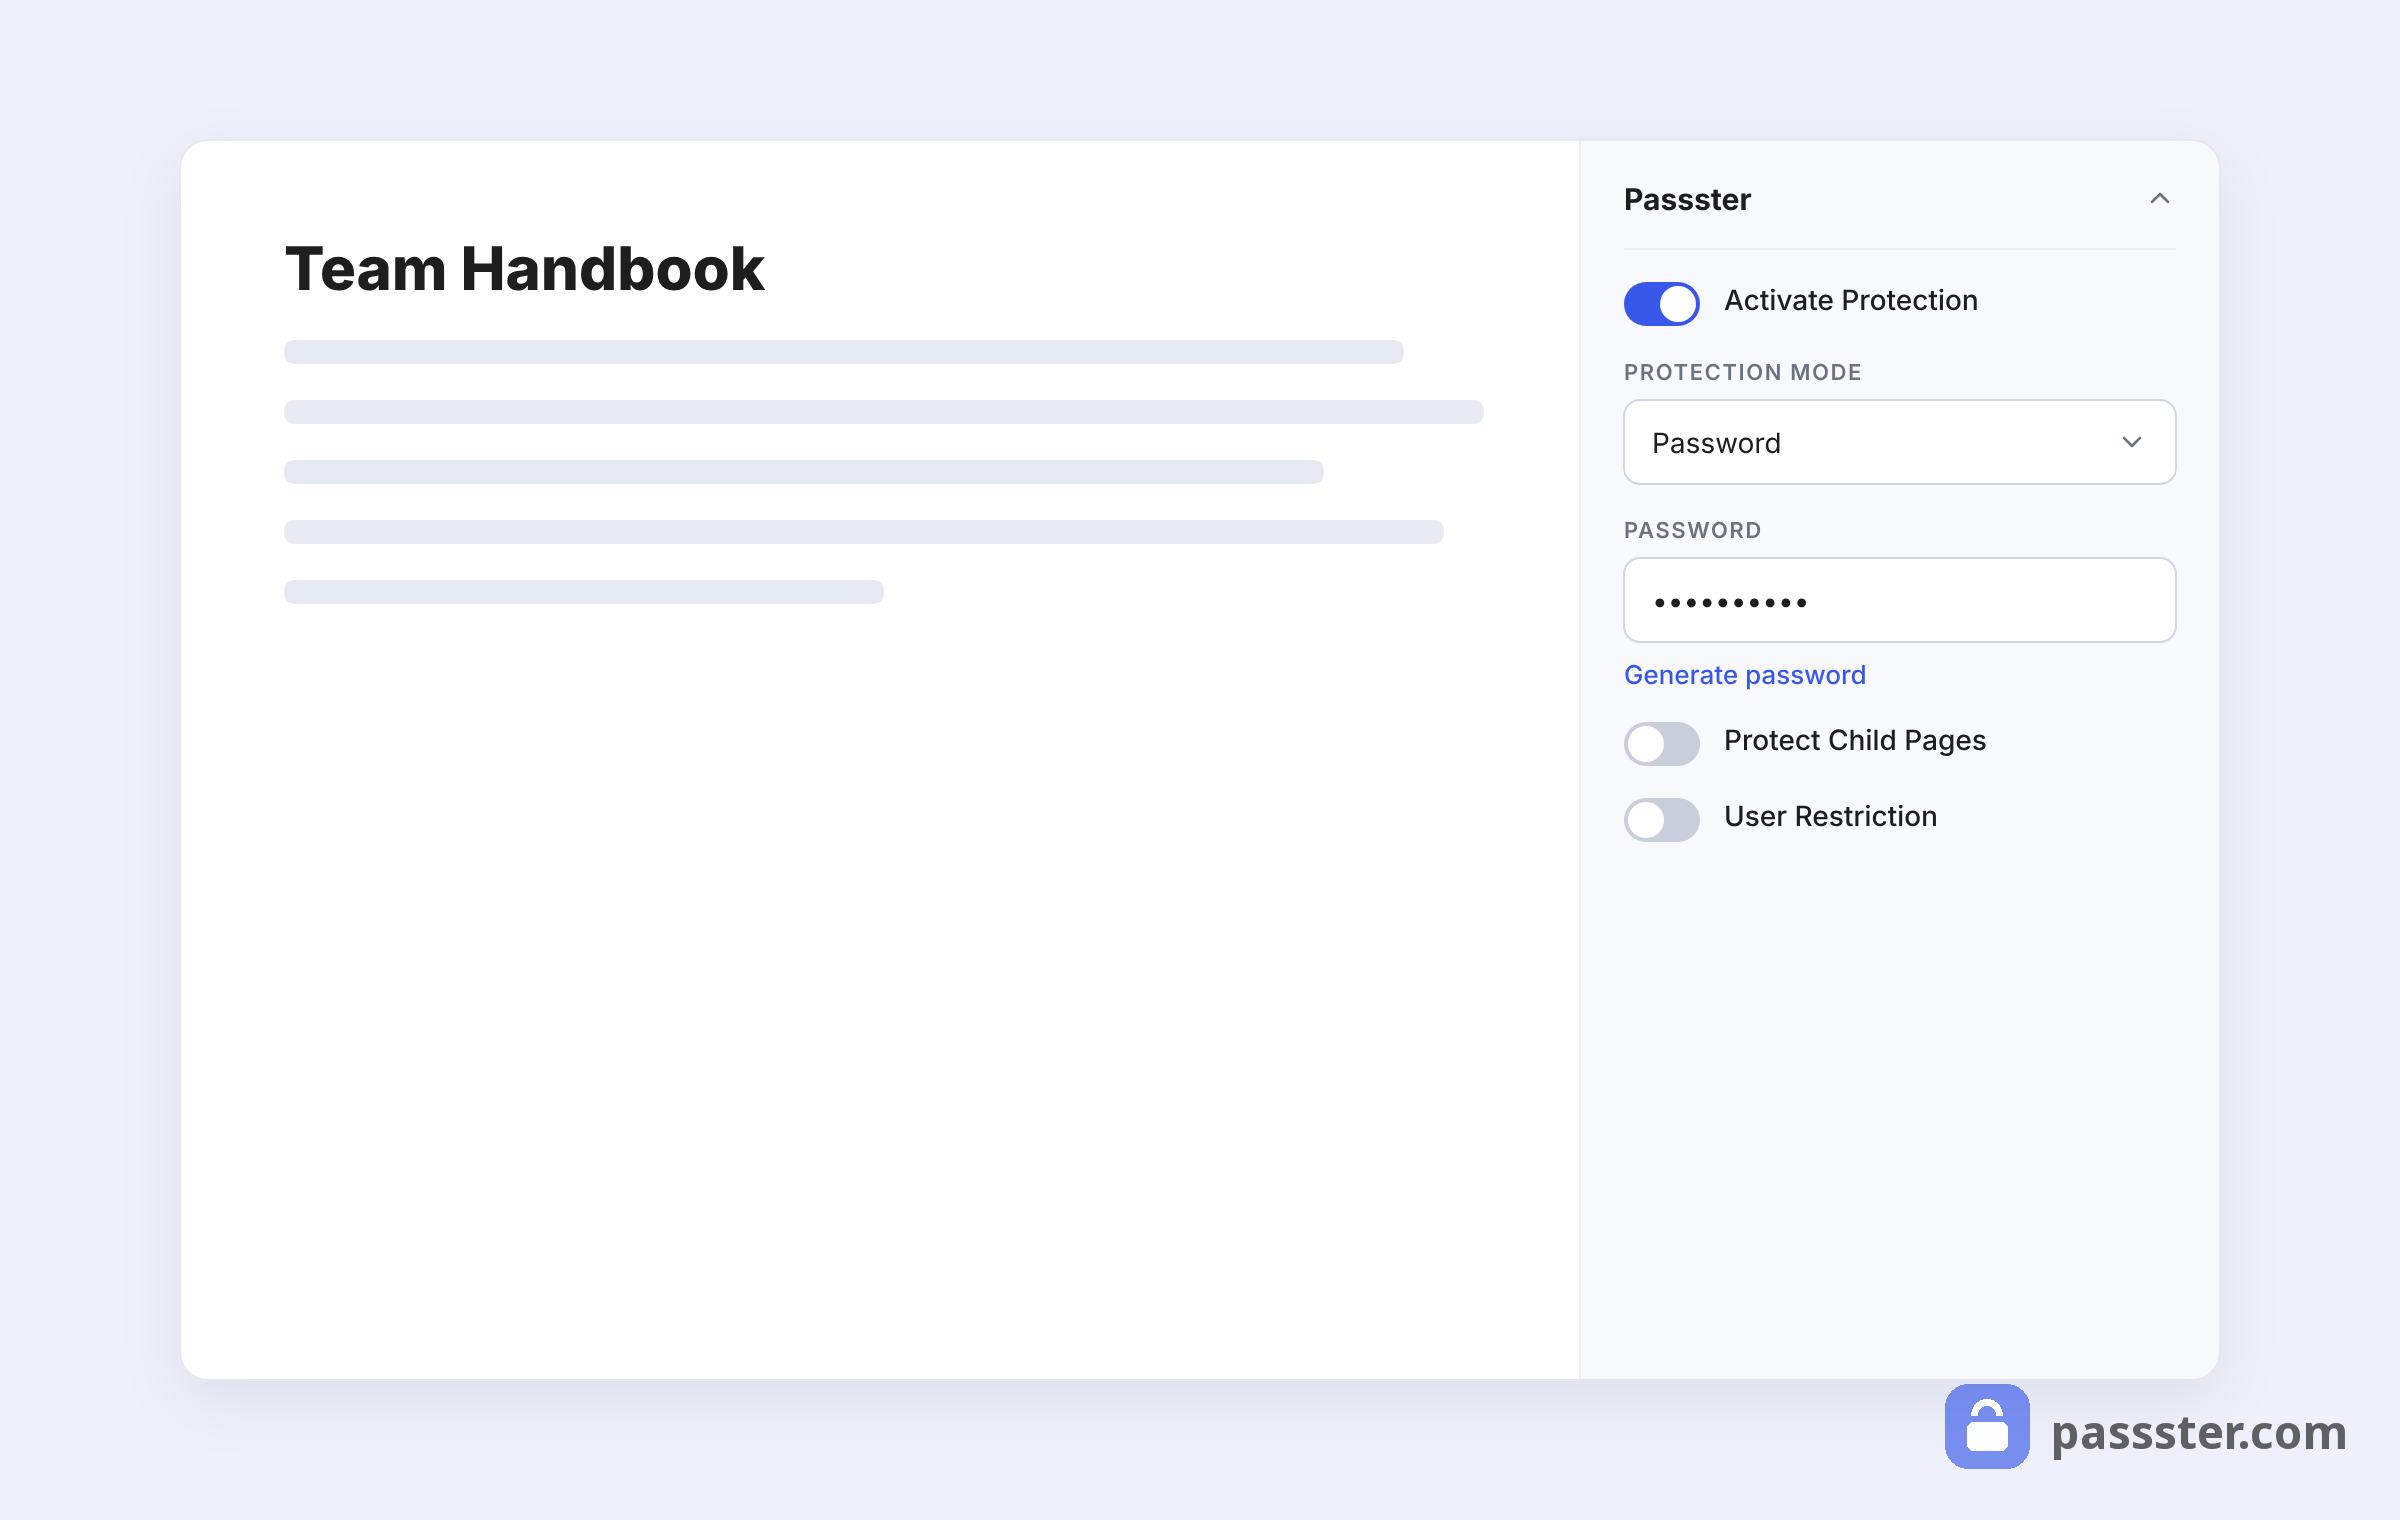
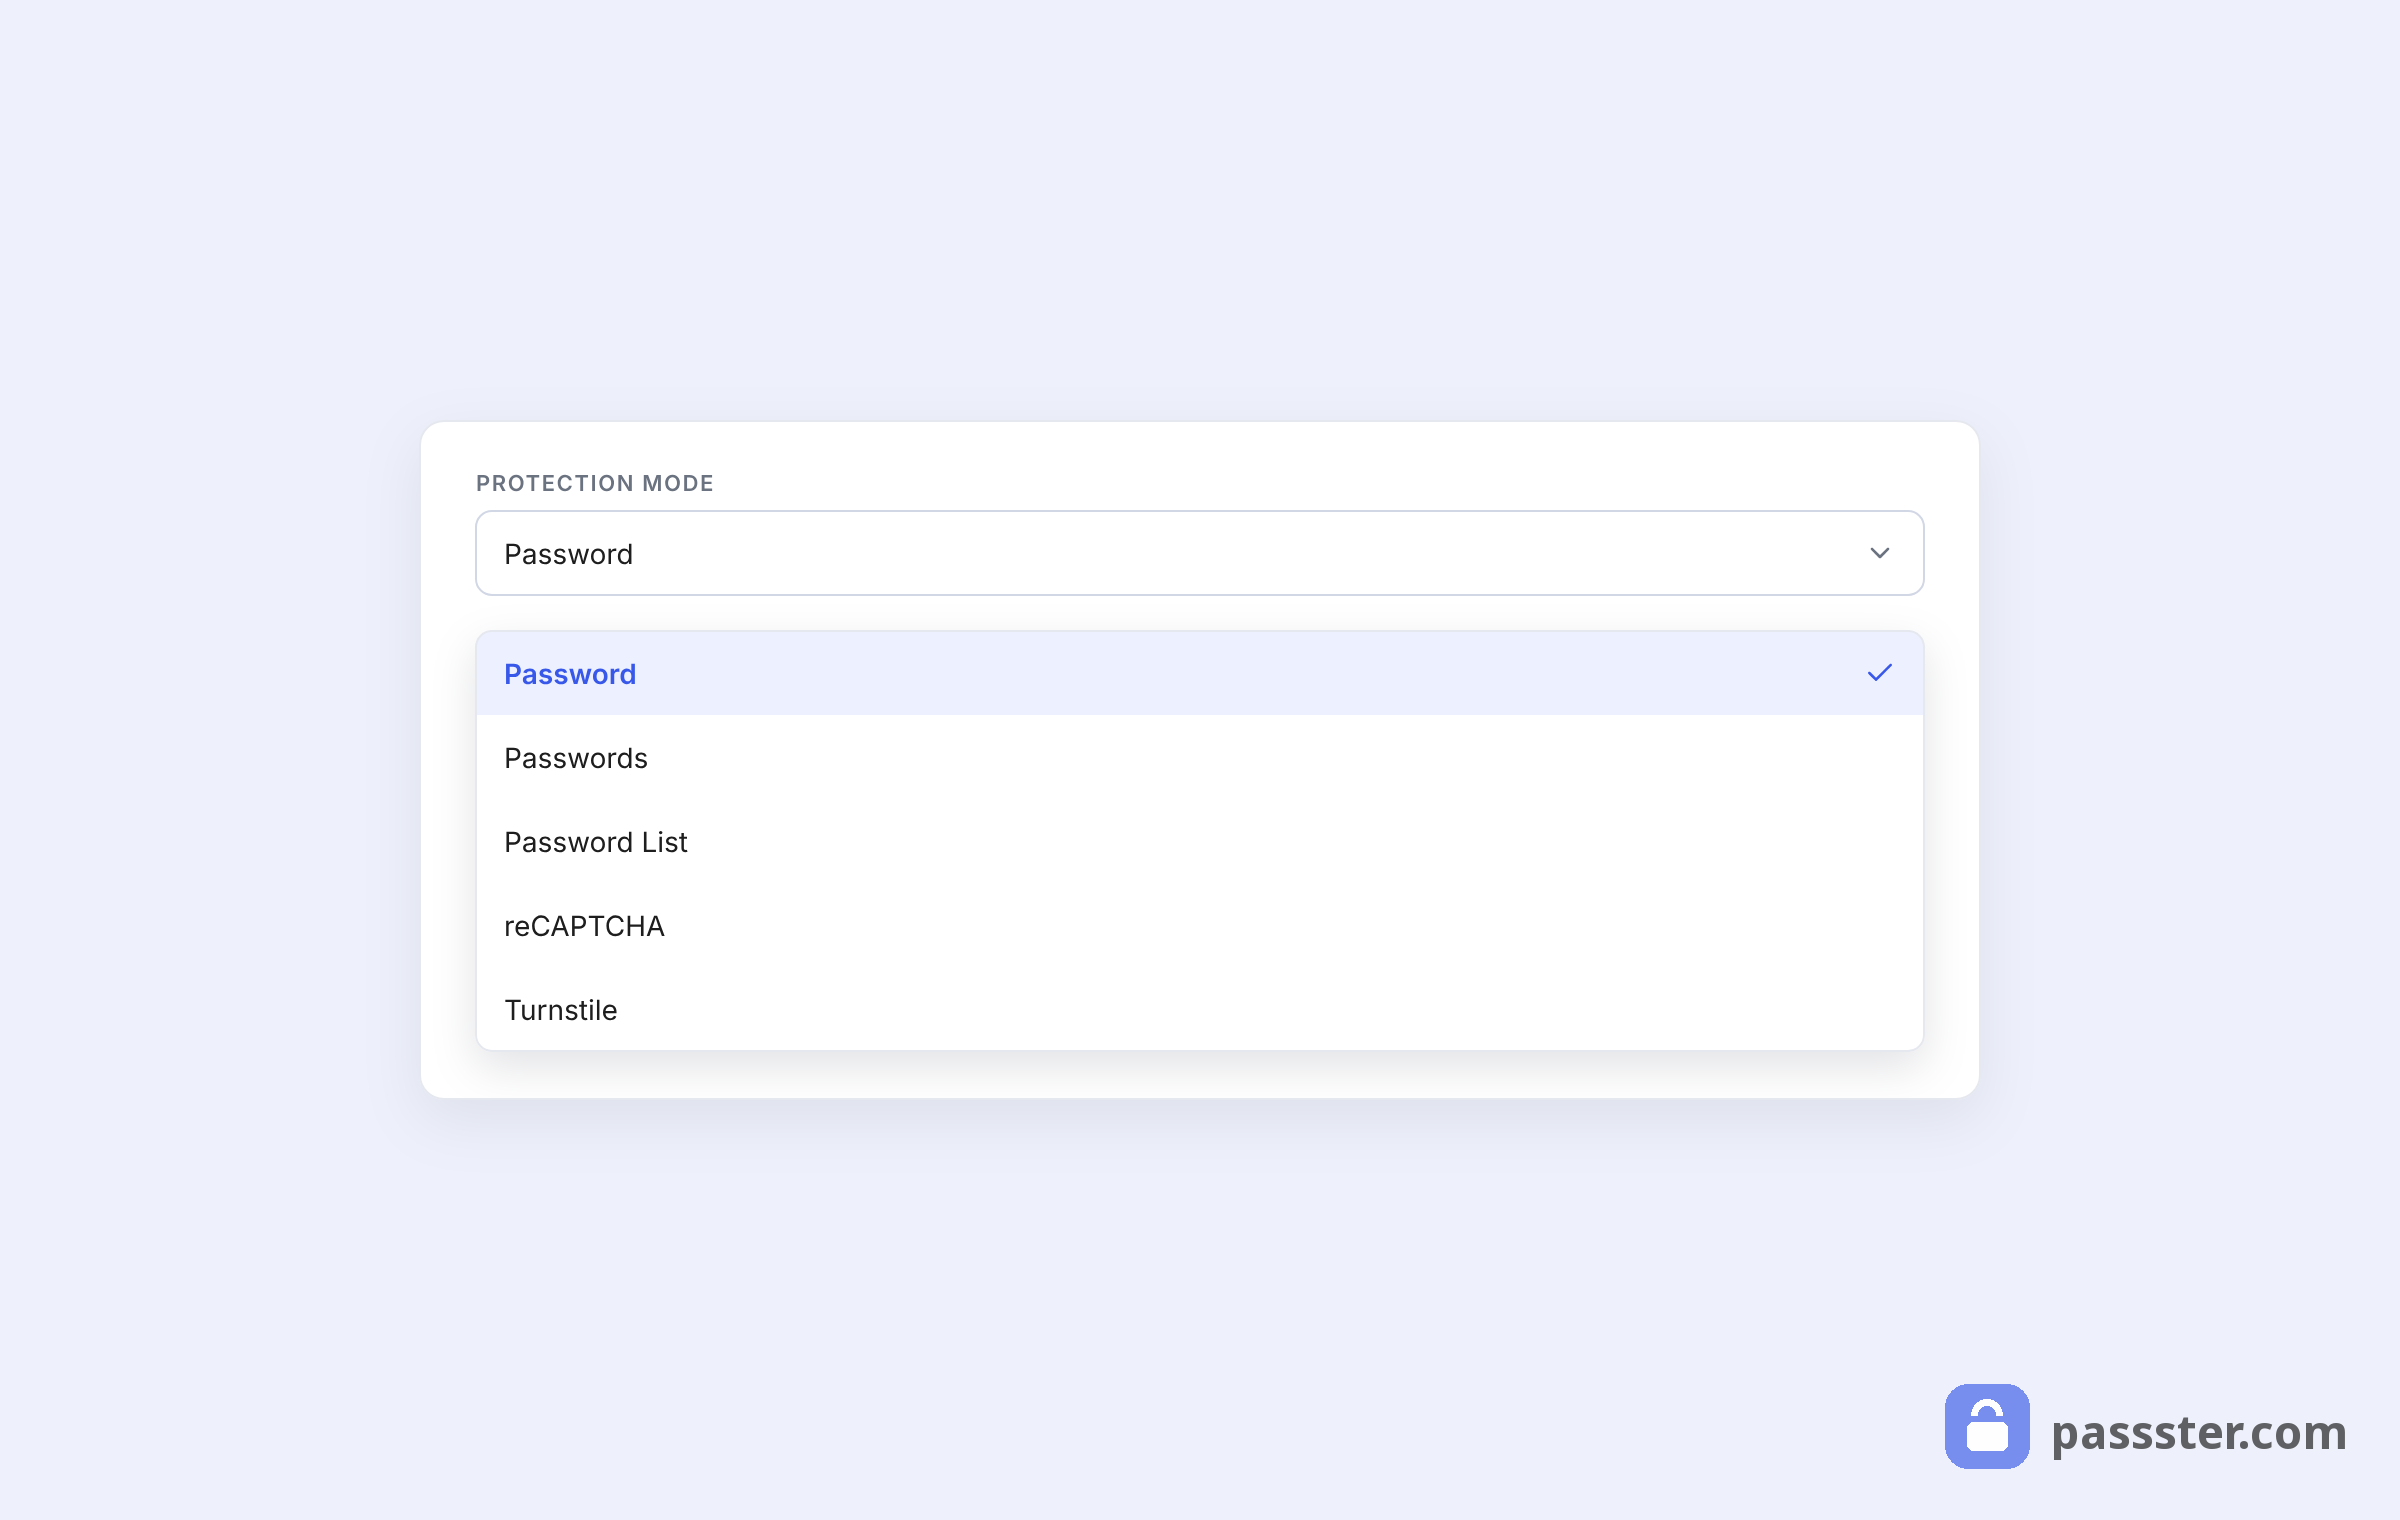
- Open the Protection Type dropdown. Four options appear: Password (single), Passwords (multiple), Password List, and reCAPTCHA. For most pages, a single password is a good starting point. Switch to multiple passwords or a password list when different users need separate access codes — for example, when you want to track which group entered the page.
- Optionally, set a Redirection URL — where Passster sends a visitor after they successfully unlock the page. Use this to send people to a dashboard, a thank-you page, or a specific piece of content, rather than landing them on the protected page itself.
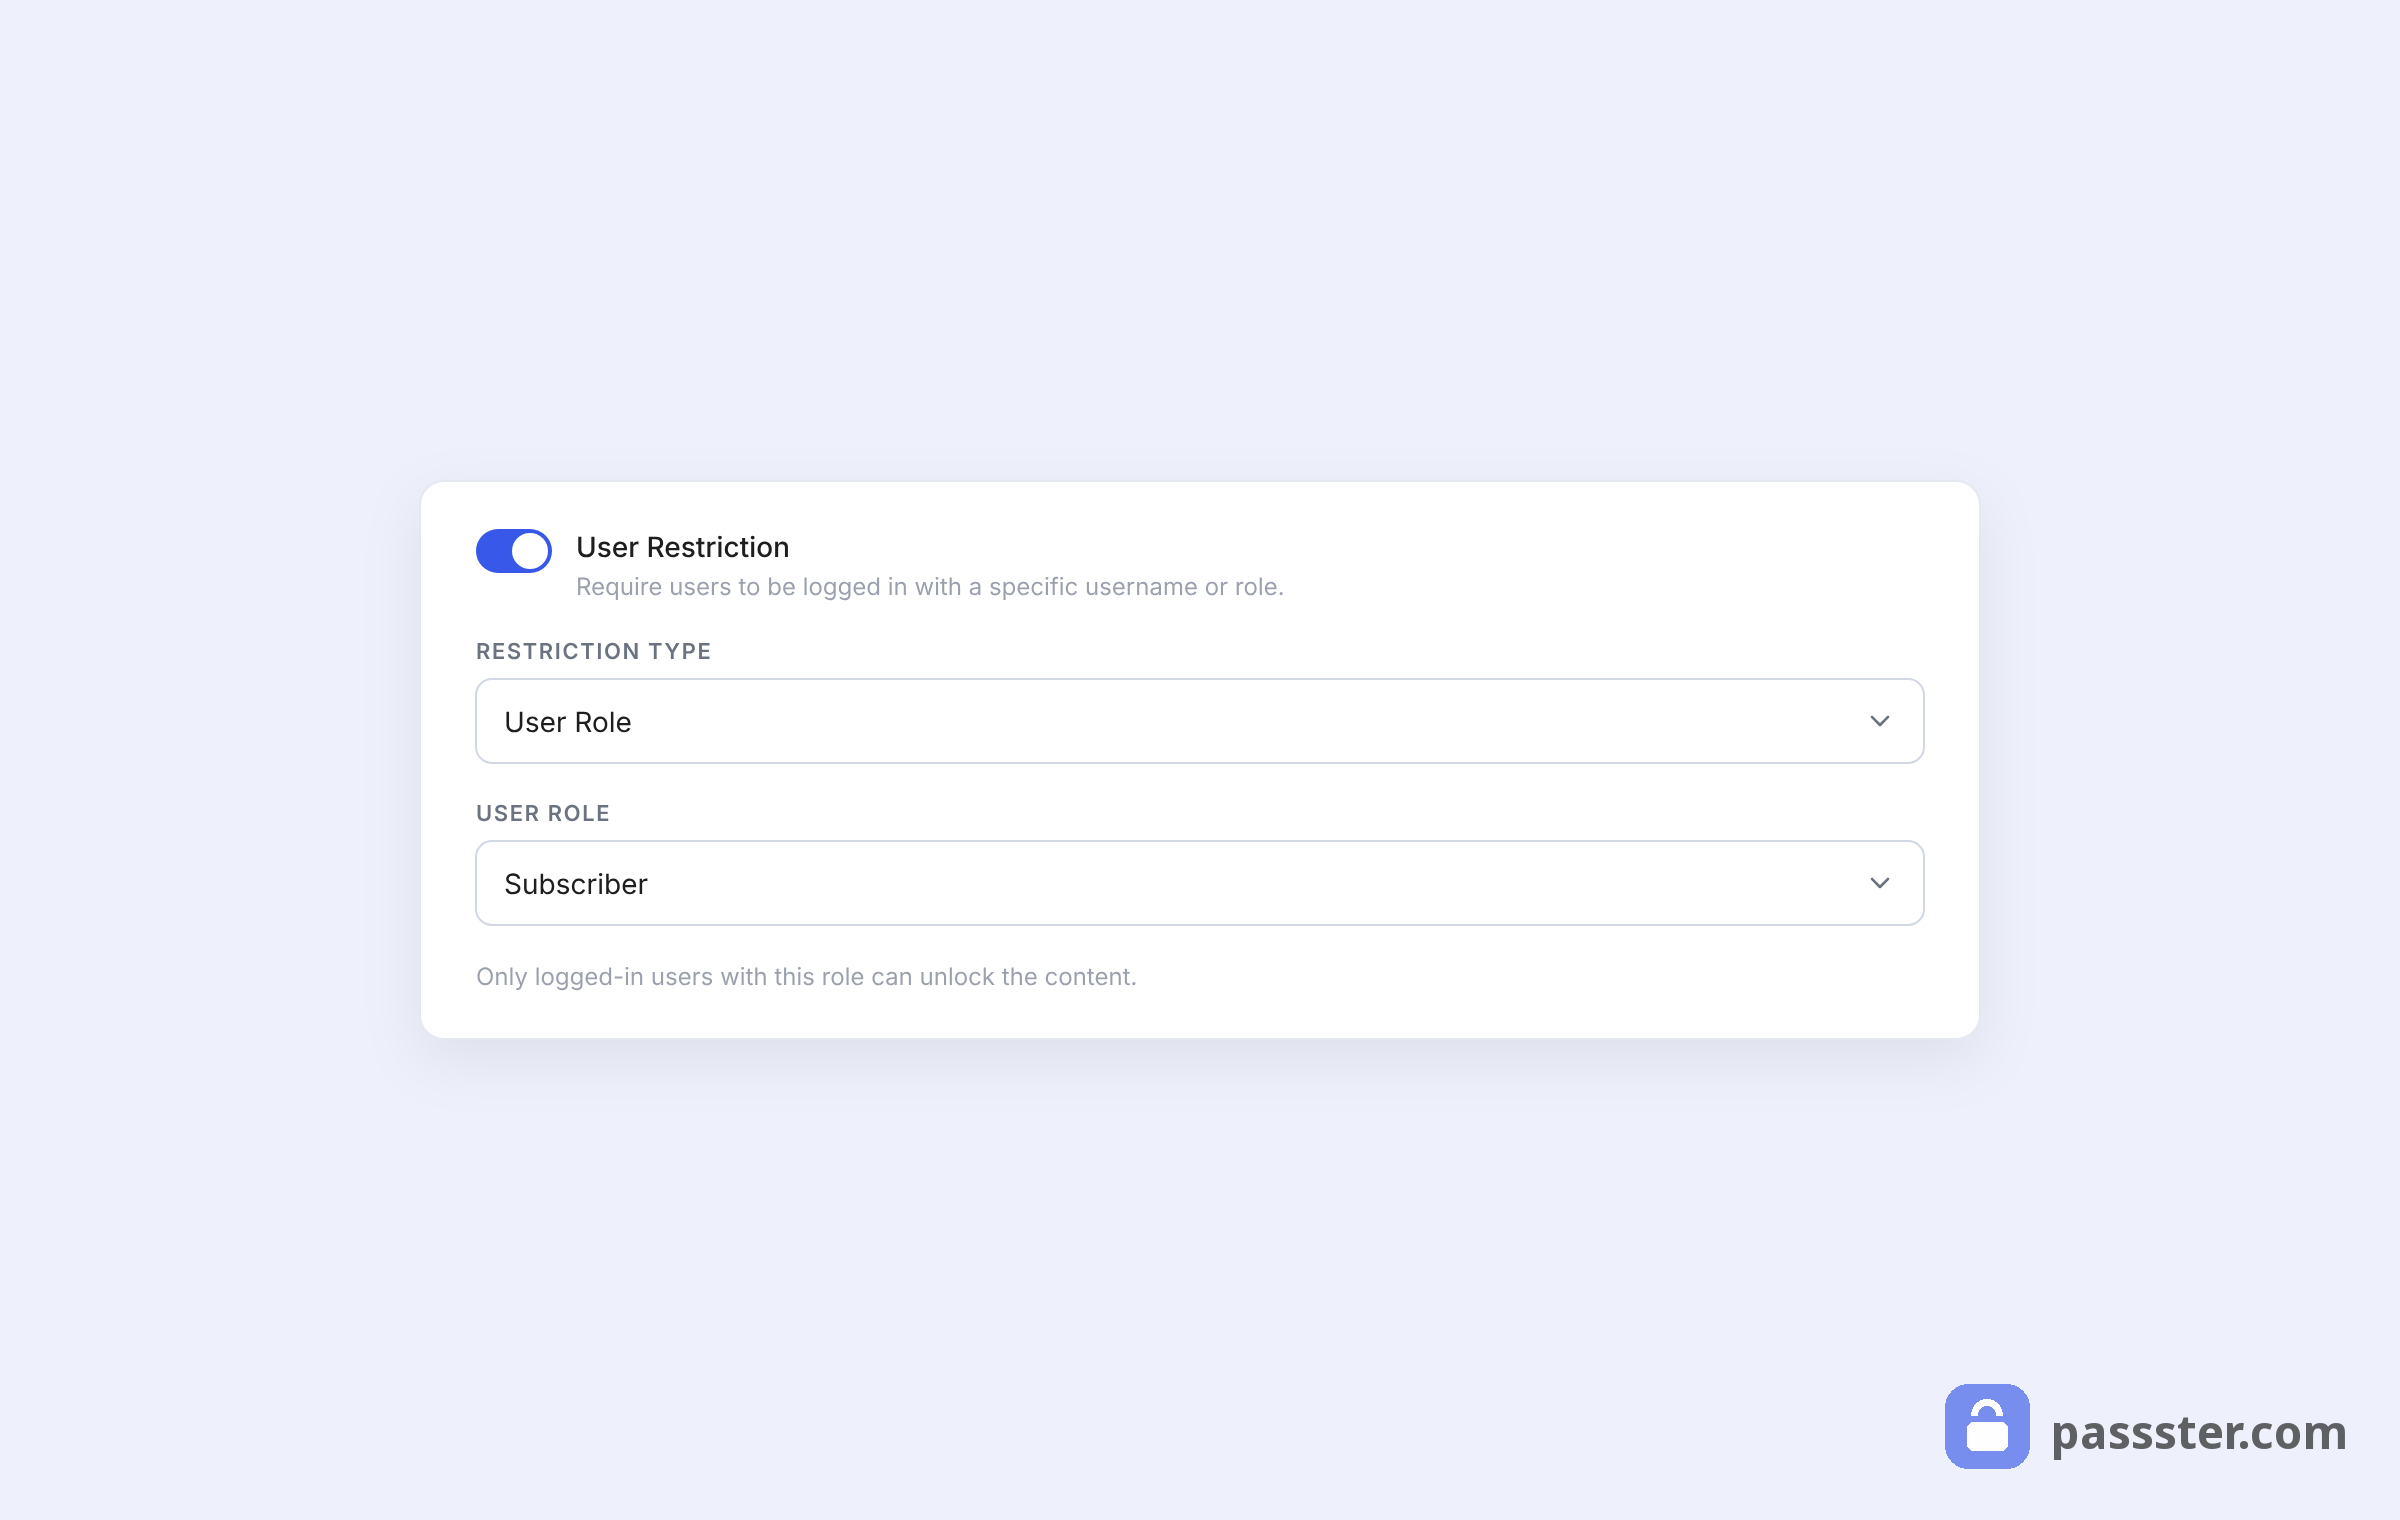
- Under User Restriction, you can limit access by user role or username. Logged-in users who match your criteria bypass the password form entirely.
- Click Publish to activate protection.
Now Passster protects the page. Visitors see the Passster password form instead of the default WordPress form.
Step 3: Customize the password-protected form
With protection active, you can style the form. Unlike the WordPress Customizer, Passster’s design settings apply only to the password form — everything else on your site stays as before.
Go to Passster > Settings > Design from the WordPress dashboard.
Here you can adjust:
- Colors: form background, input field background, button color, and text colors.
- Typography: font family, font size, font weight, and letter spacing.
- Spacing: padding, margins, and border radius for the form container and the submit button.
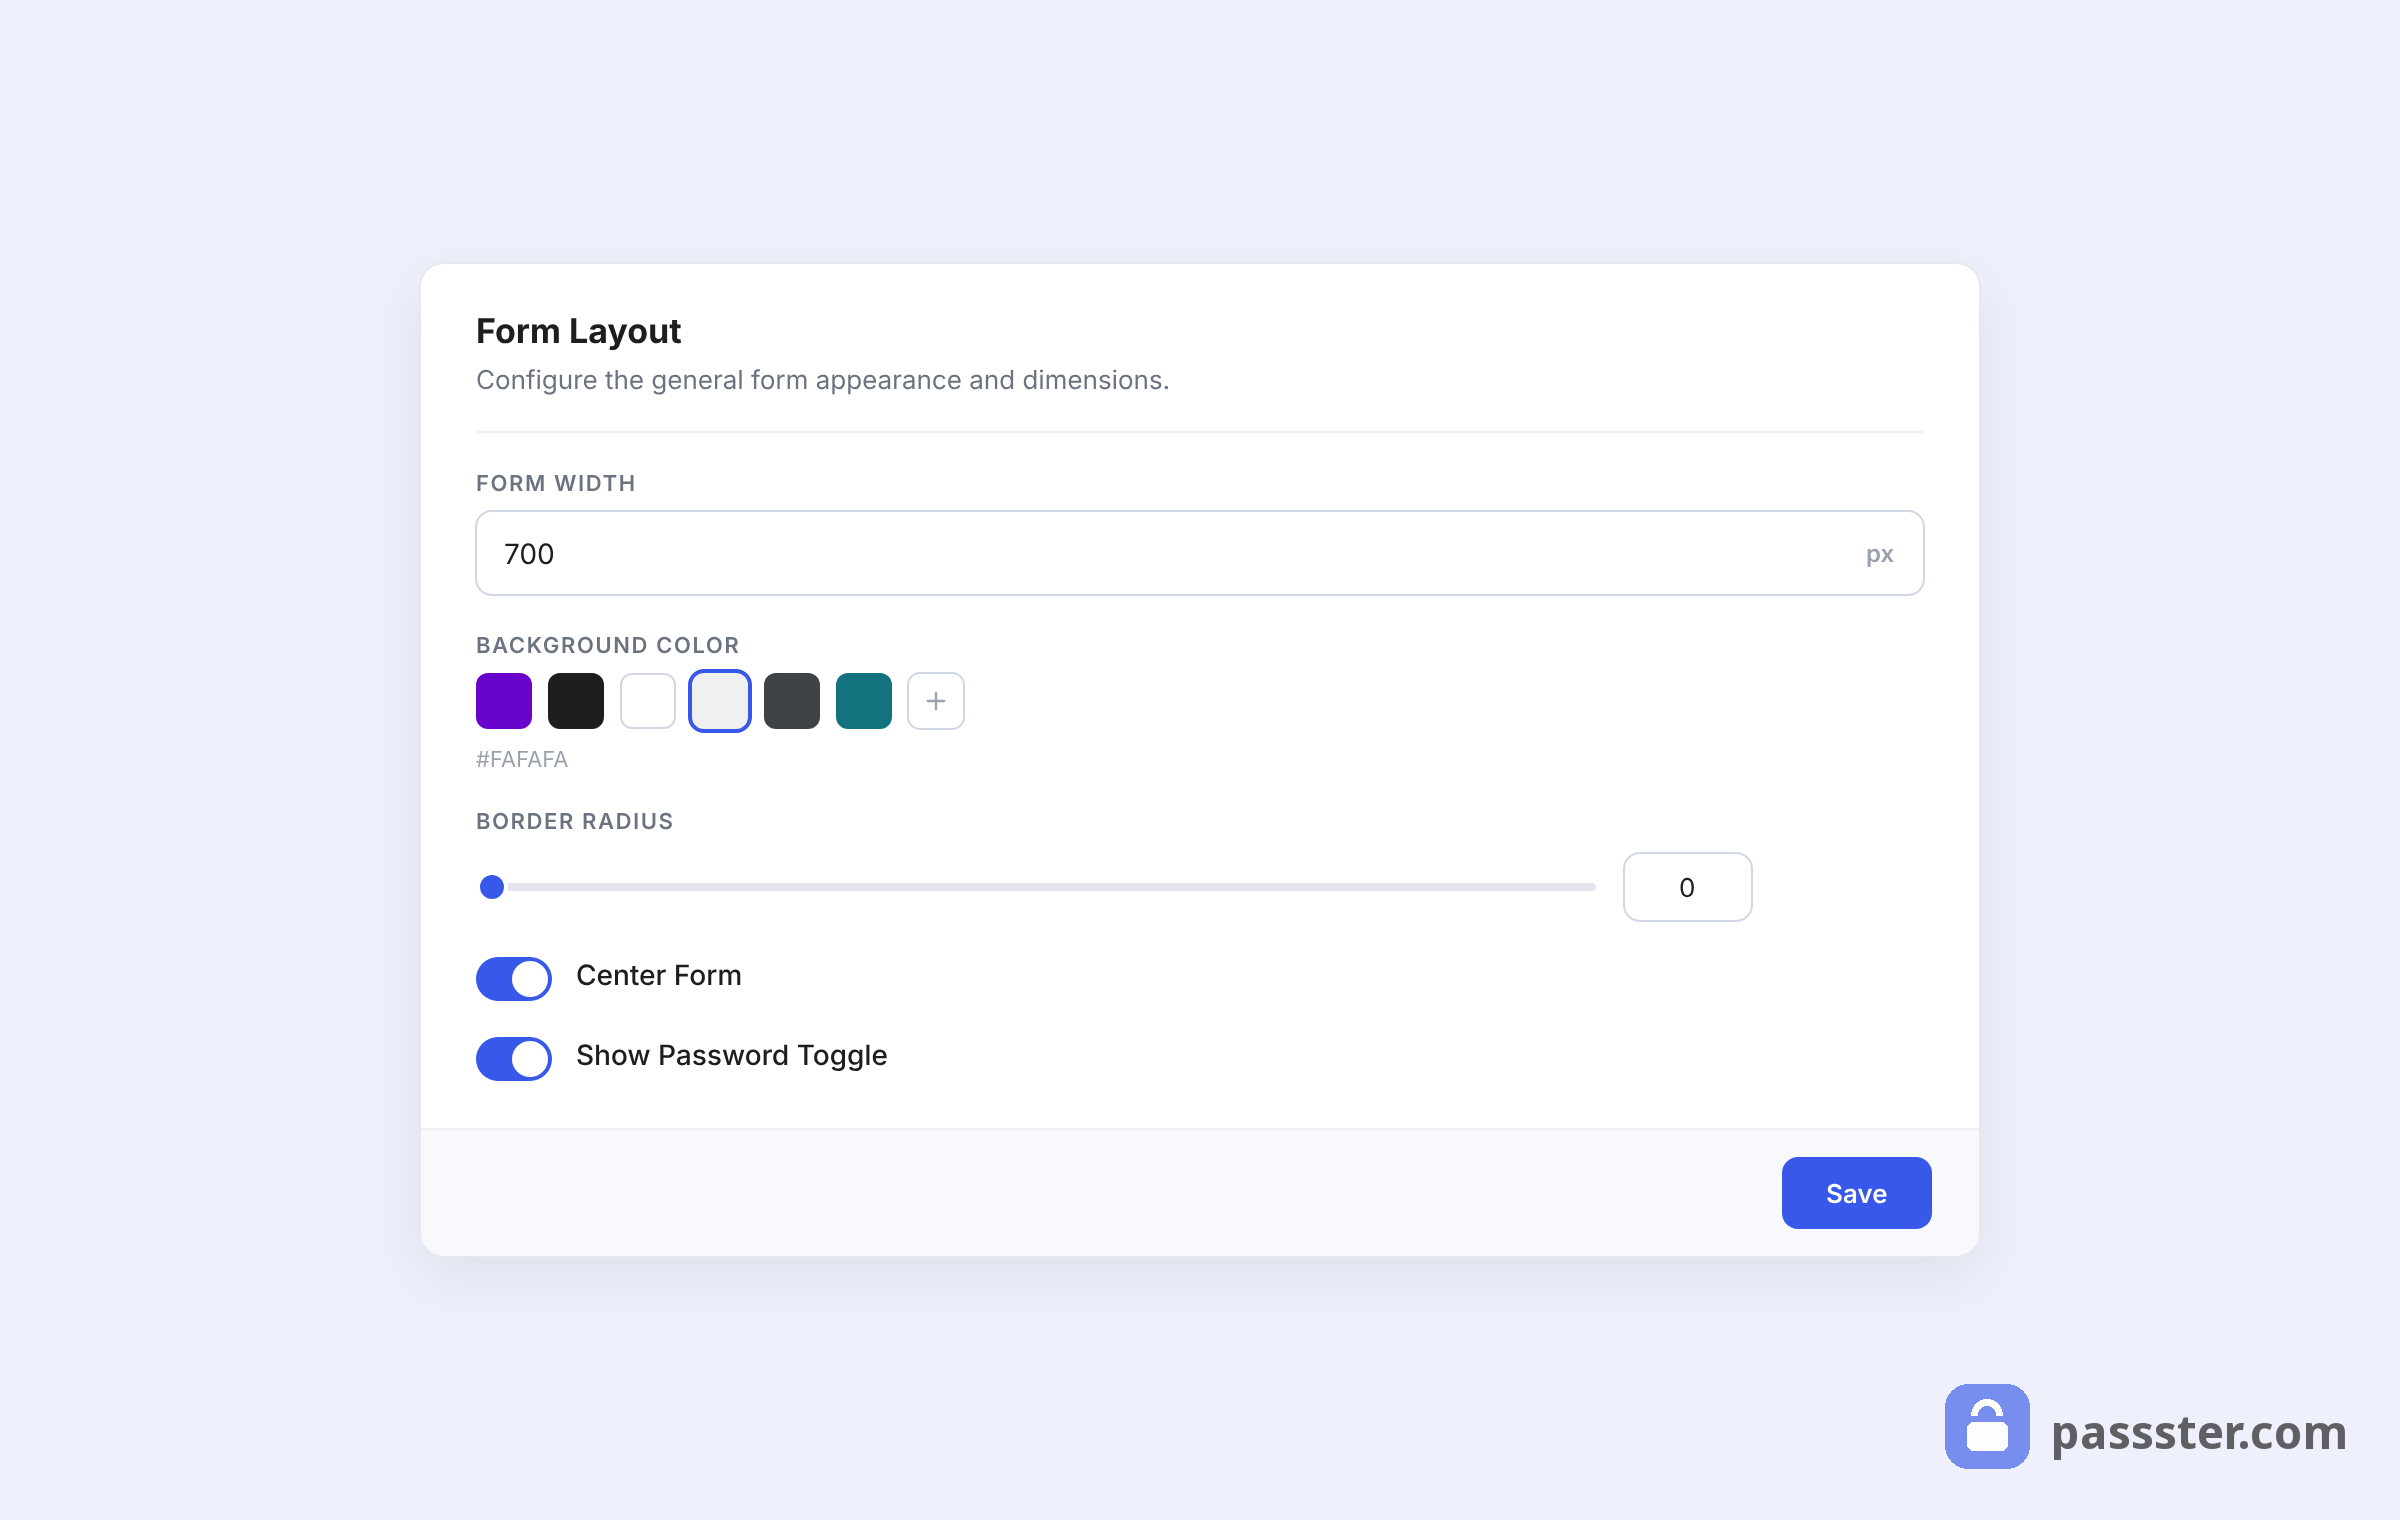
To edit the text on the form itself — the headline, instruction text, input placeholder, and button label — switch to Passster > Settings > General. These changes are also scoped to the form and have no effect on any other part of the page.
Click Save Settings when done. Your password-protected page now displays a fully styled form that matches your brand, rather than WordPress’s bare default form.
Beyond design, Passster also handles the security side within the same workflow:
- Expiring passwords: passwords can expire after a set number of uses or after a specific date, limiting the fallout if one leaks.
- Concurrent login tracking: monitor and limit how many people use the same password simultaneously to prevent unauthorized sharing.
- Encrypted links: grant access via a unique URL instead of a password form, useful for email campaigns or direct-invite workflows.
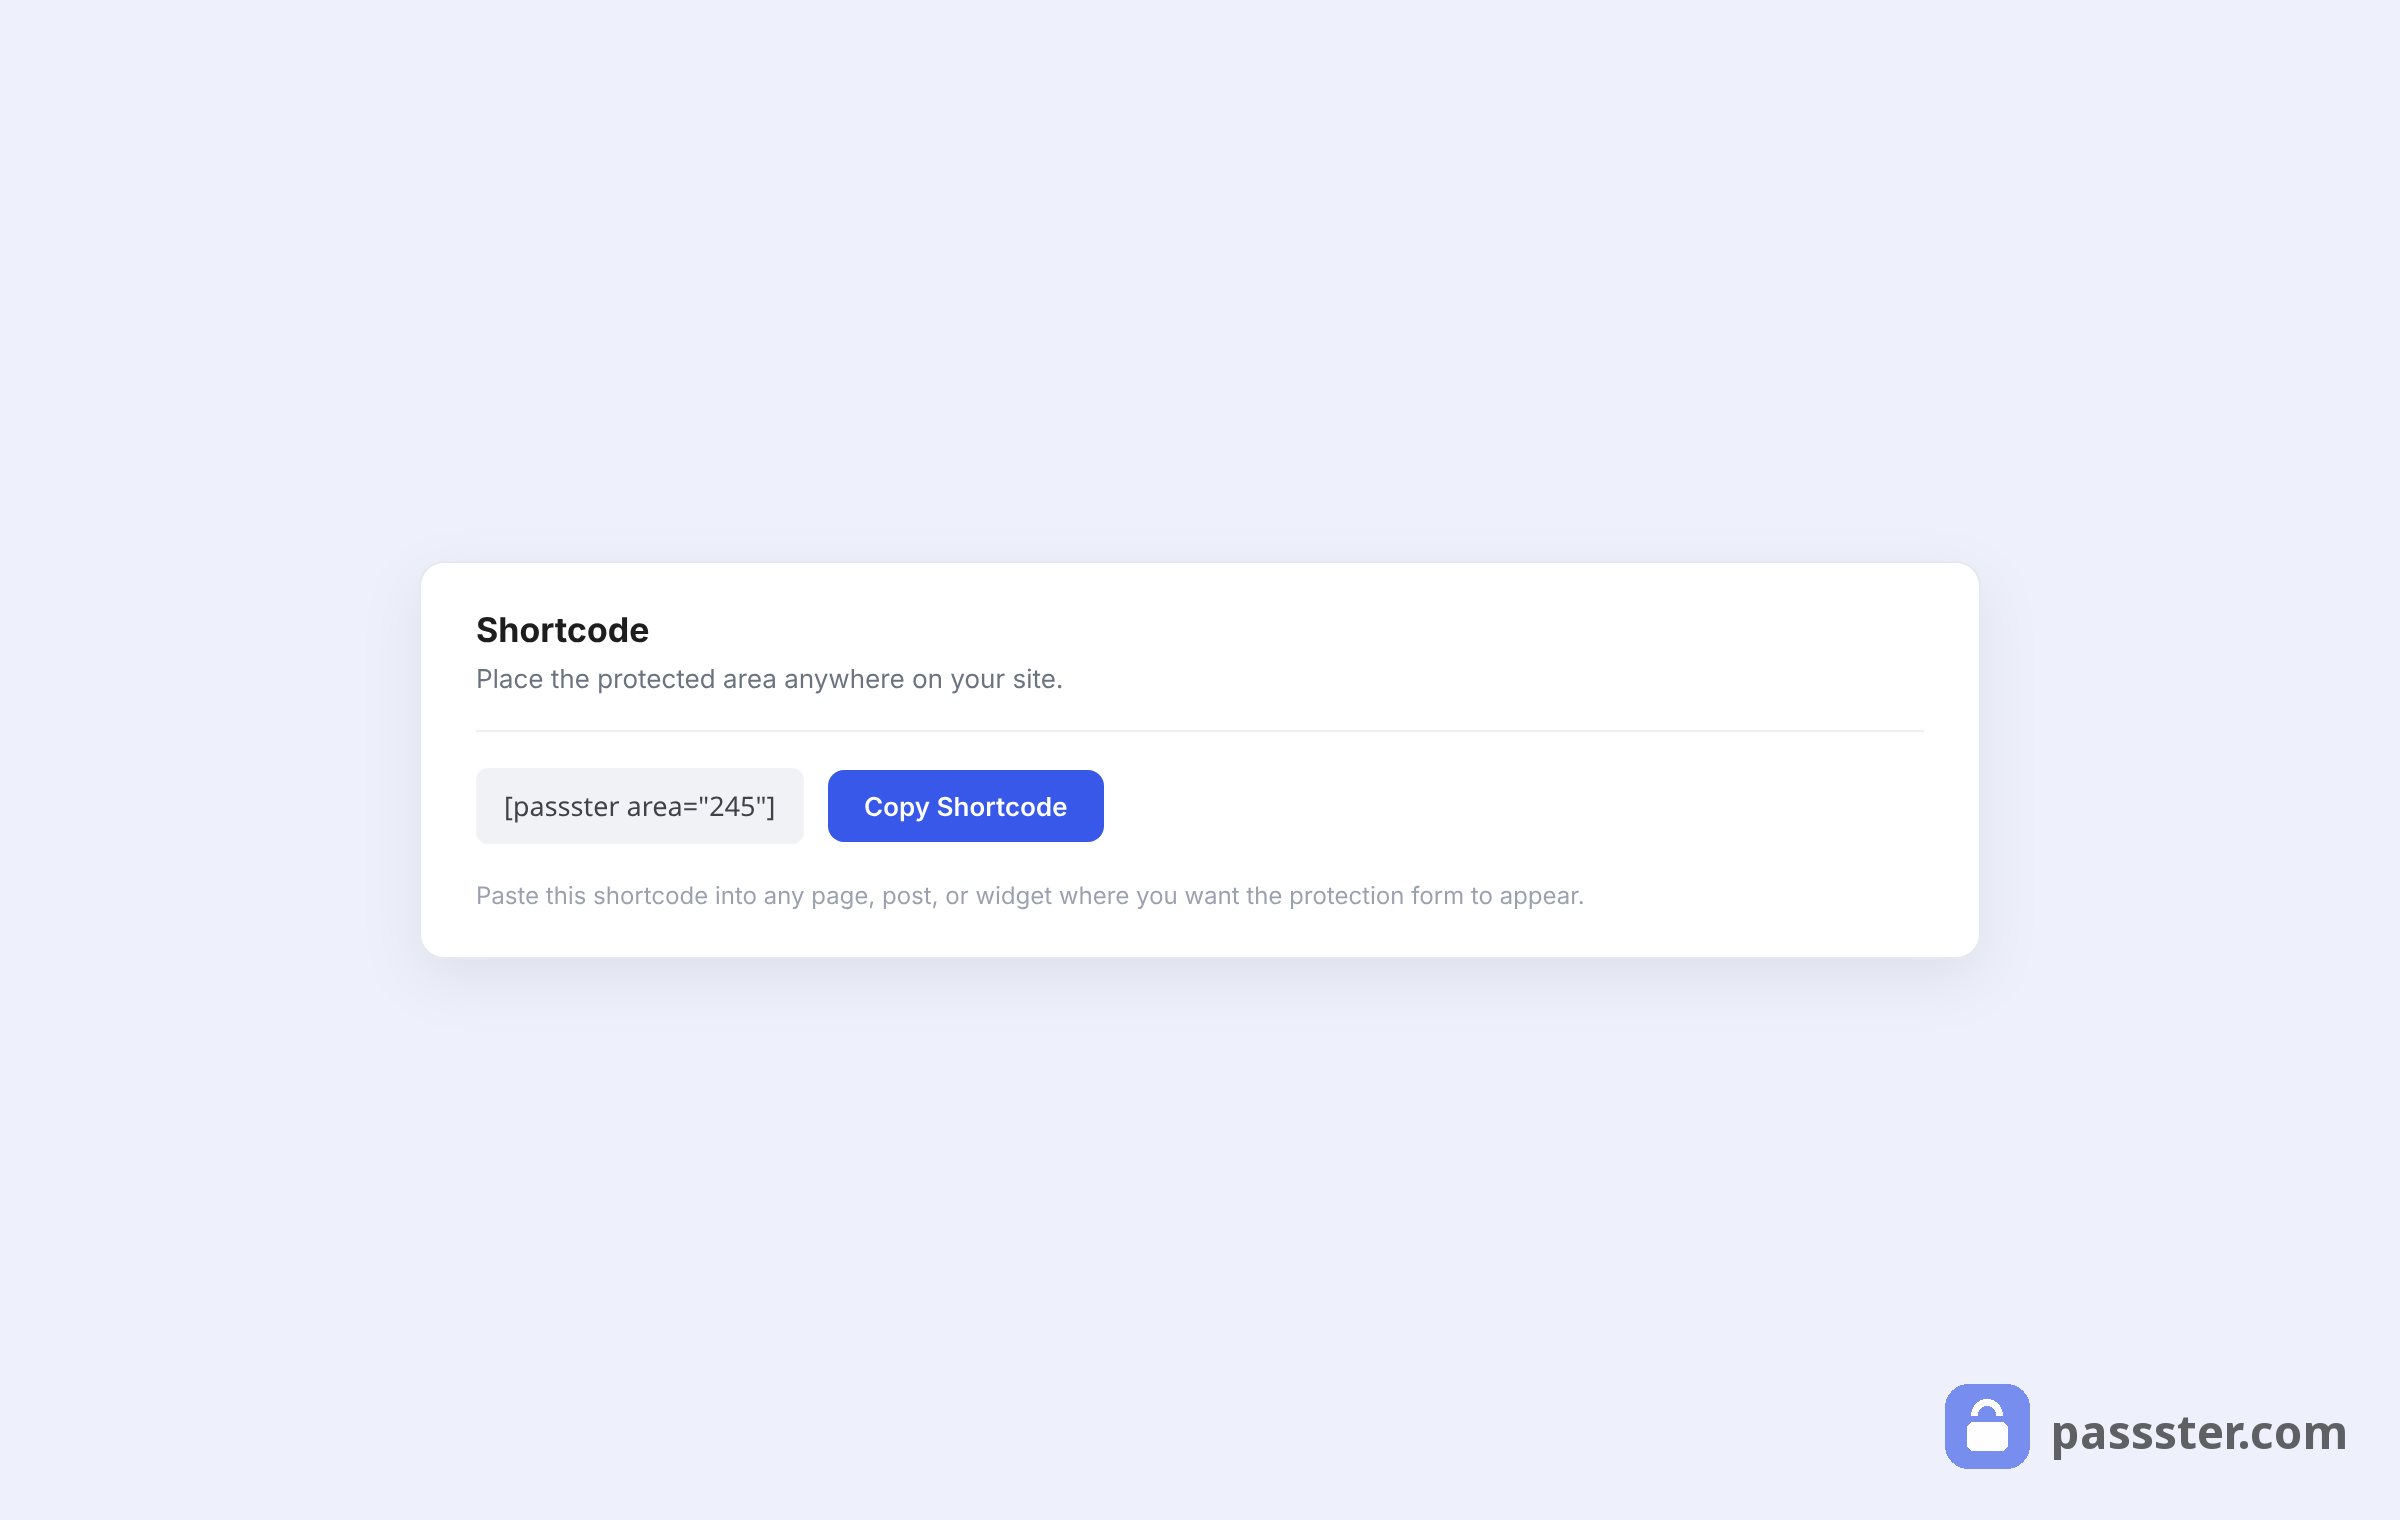
- Partial page protection: wrap any section of a page in the
[passster]shortcode, and only that section requires a password. The rest of the page loads normally for everyone.
Passster can also protect your entire website, individual posts, custom post types, and WooCommerce products — not just standard pages.
SEO and indexing: does Google see password-protected pages?
Google can and does index password-protected pages — the crawler reads the URL and the page title, plus any content rendered before the form, but cannot access the protected content beyond it. This surprises many site owners: password protection secures the content, not the URL.
As a result, a password-protected page will appear in search results by its title and URL. The hidden content stays private. For most scenarios — a client portal, an employee resource, a pre-launch page — that’s acceptable.
If you need the page hidden from search engines entirely, combine password protection with a noindex meta tag — a directive that instructs search engines not to include the URL in their index. In Yoast SEO, open the page in the editor, go to the Advanced tab, and set Robots Meta to No Index. This tells Google not to index the URL at all, so it won’t surface in search results.
One thing to watch: Yoast SEO’s XML sitemap includes password-protected pages by default. If you’ve added a noindex tag but left the page in the sitemap, crawlers still discover the URL via the sitemap even if they don’t index the content. Remove password-protected pages from the sitemap manually, or use Yoast’s sitemap exclusion settings, if full URL hiding is the goal.
In short: password protection secures the content, but not the URL. For both, you need password protection plus noindex.
Frequently Asked Questions
WordPress sets a browser cookie when a visitor enters the correct password. That cookie lasts approximately 10 days. During that window, the visitor can return to the page without entering the password again. After 10 days — or if they clear their cookies, switch browsers, or use a different device — the form appears again.
No. Password protection applies to the page’s HTML, not its assets. Images and files uploaded to your media library stay accessible via their direct URL — for example, yoursite.com/wp-content/uploads/file.pdf — even after you protect the page. If the files themselves need to stay private, you’ll need server-level restrictions on the uploads directory or a plugin that handles file-level access control.
Not with the native WordPress method. It protects the entire page or nothing. With Passster, you can wrap any section of a page in the [passster] shortcode and only that section will require a password. The rest of the page remains public.
Yes, with both methods. With the native approach, simply set the same password string on each page in the editor. With Passster, you can manage a shared password list and reuse it across multiple pages from one place — or set unique passwords per page for tighter control.
The native WordPress method works with any theme or page builder since WordPress handles it at the CMS level, before the builder renders anything. Passster has tested integrations with Divi and Elementor and is compatible with any WordPress theme or custom post type.
Google indexes the URL and title but cannot access the protected content. To prevent any indexing — including the URL itself — add a noindex meta tag alongside password protection, and remove the page from your XML sitemap.