Multiple password protection in WordPress means each user gets their own unique password to unlock the same content. Instead of sharing one password with everyone, you assign individual passwords — and when you need to cut someone’s access, you remove their password without affecting anyone else.
Native WordPress only supports one password per page or post. For multiple passwords, you need a plugin. Passster handles multiple-password protection directly inside the block editor, with no custom code required.
Why you might want multiple password protection
Multiple password protection’s core advantage is per-user credential control: revoke one credential without disrupting any other user’s access. Native WordPress limits every page or post to a single password — a constraint confirmed by Elegant Themes’ 2025 WordPress password protection guide — which is why a plugin is required for this workflow.
Here are the most practical use cases:
- Photographers and freelancers. Share a private portfolio with prospective clients — each gets their own password. When a project wraps, you revoke that one password without touching the others.
- Membership and subscription sites. Assign Silver members one password and Gold members another. Both unlock the same content; the tier controls which users get in.
- WooCommerce stores. Protect downloadable products or post-purchase content so only paying customers can reach it — no separate membership plugin required.
- Registry and private gallery sites. Let different guests view a wedding registry or event gallery without passing around a shared password.
- User-role-based access. Give Subscribers a preview password and Members a full-access password, splitting your audience without configuring complex role rules.
Because every user holds a unique password, revoking access is precise. Remove or expire that one password, and only that user loses access.
How to add multiple password protection to WordPress using Passster
Passster’s free version supports a single password per protected area. To use password lists (multiple passwords), you’ll need the pro version. Here’s the setup.
Step 1: Install and activate Passster
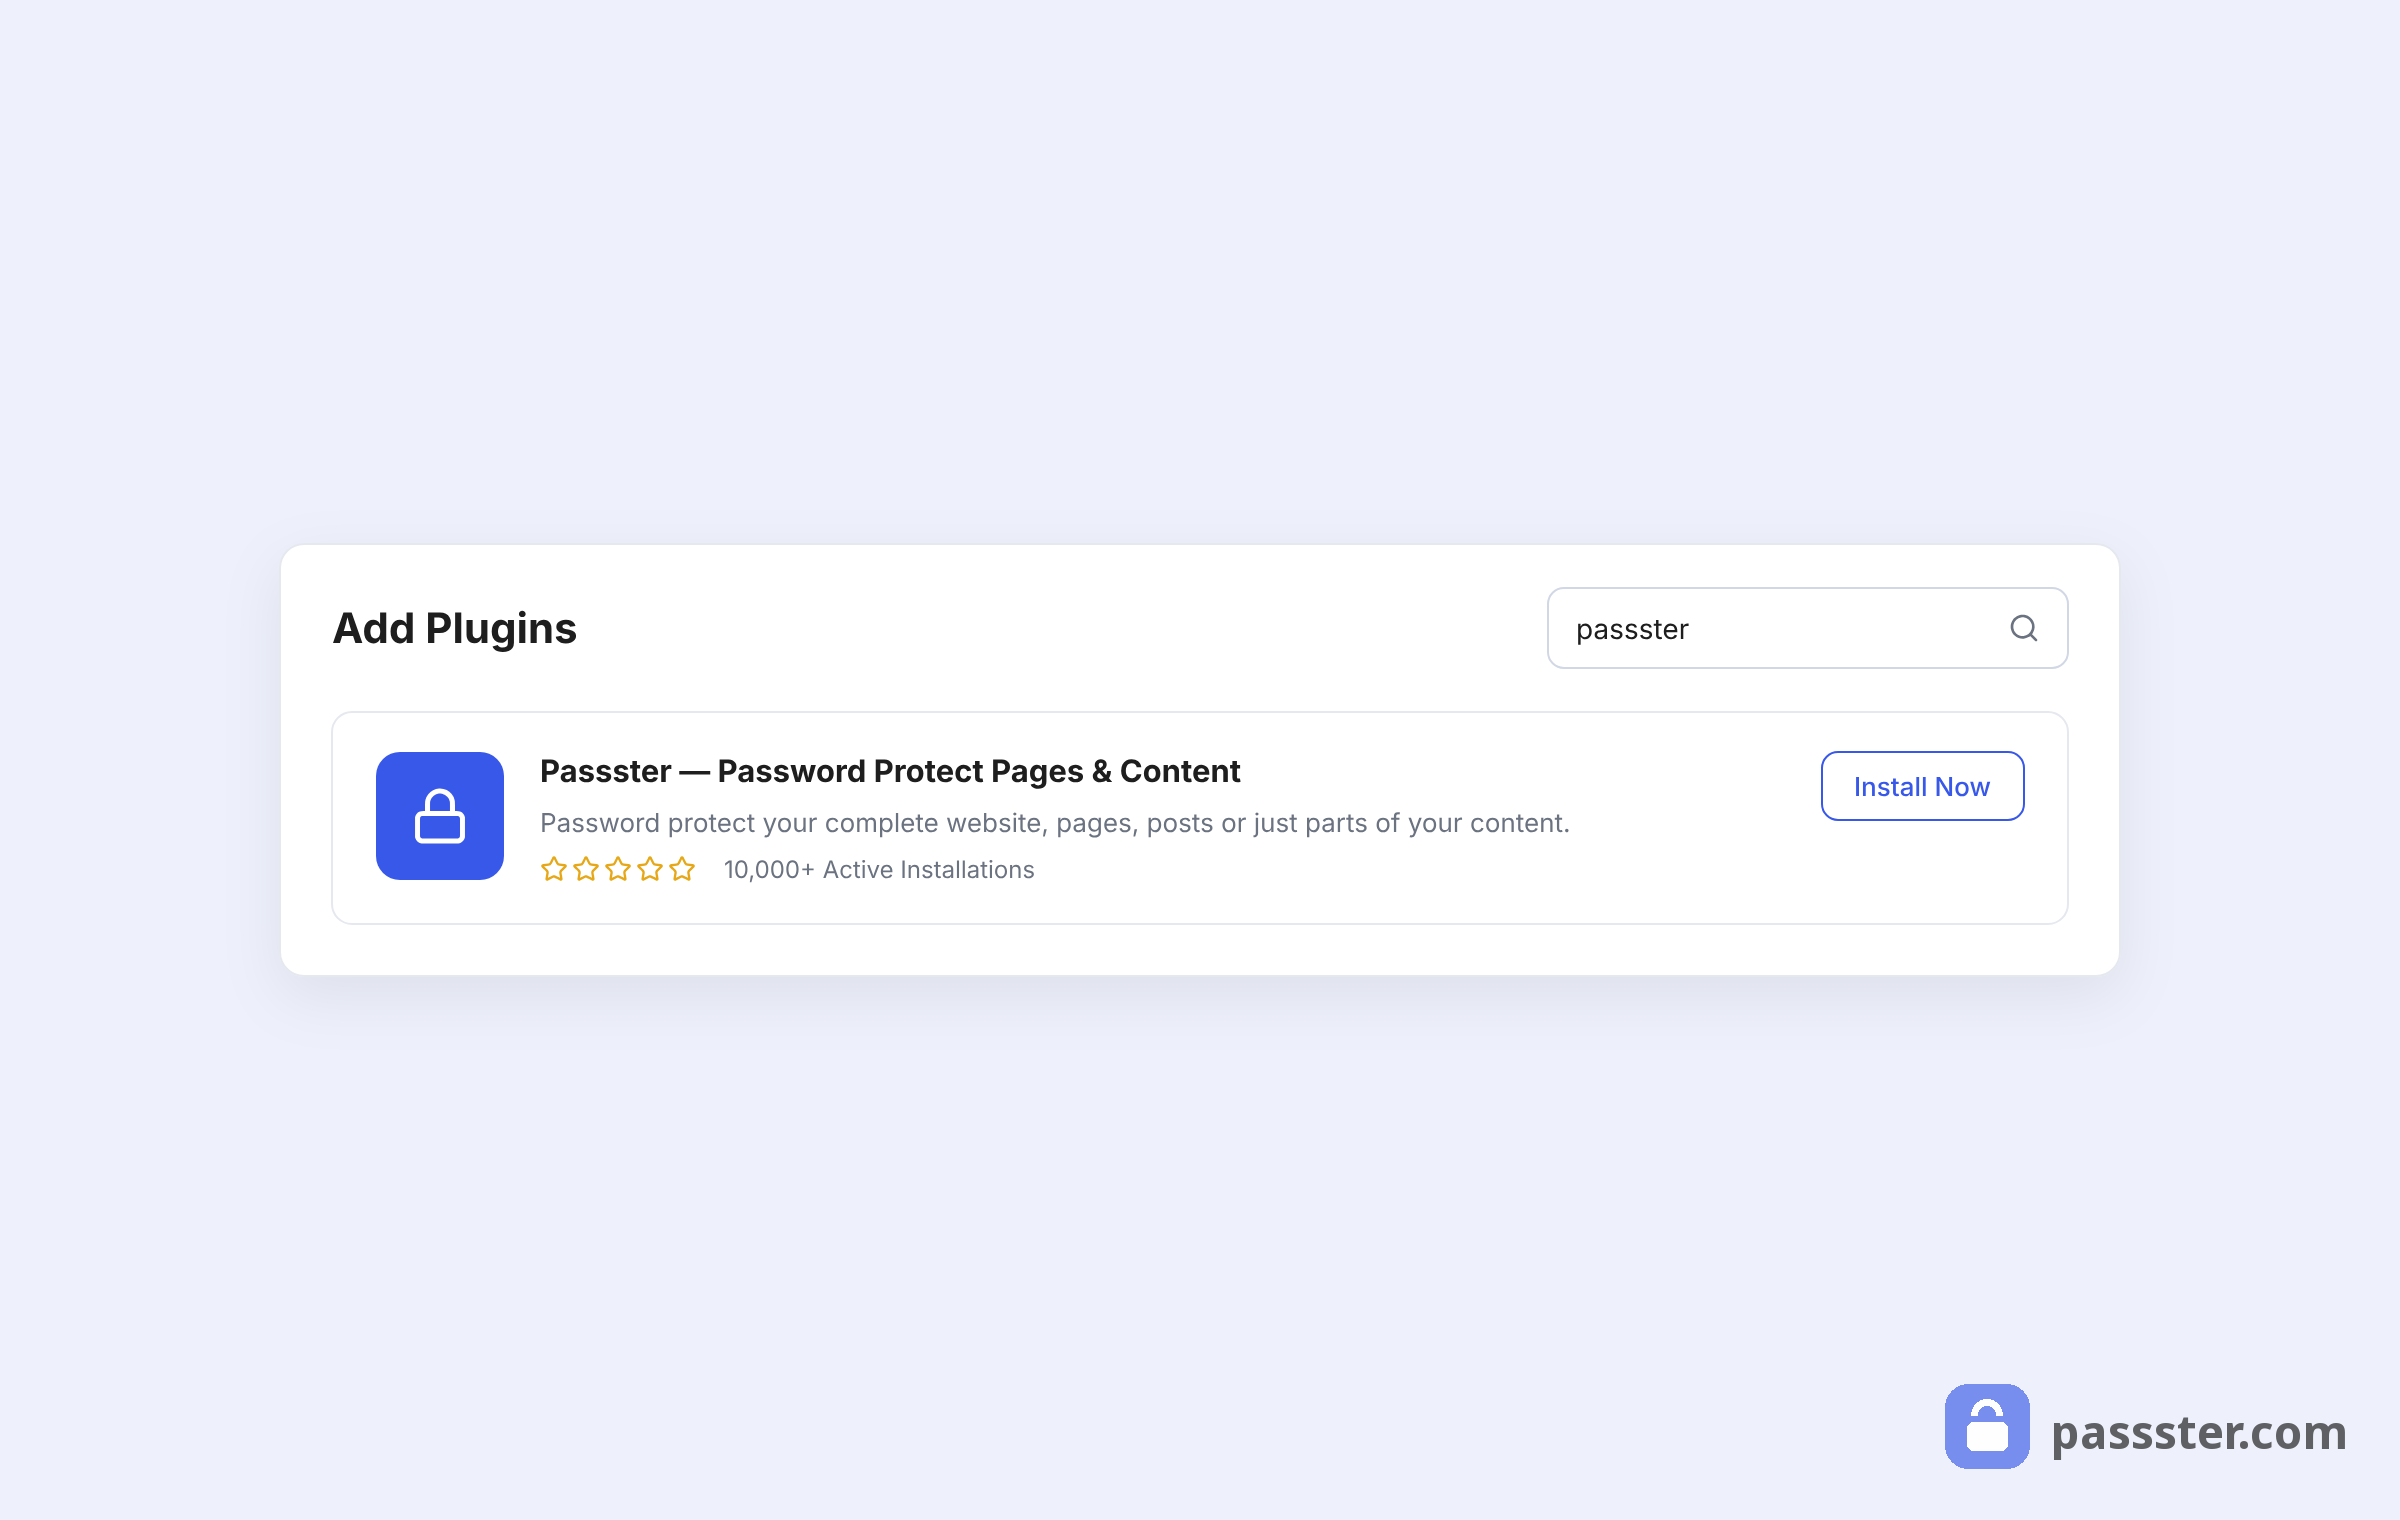
Go to Plugins > Add New in your WordPress admin, search for Passster, and install Passster – Password Protection. Activate it, and a new Passster menu appears in your sidebar.
Step 2: Create a Password List
Navigate to Passster > Password Lists and click Add New Password List.
- Enter a name — for example, Members or Silver Plan.
- Set Expire Passwords to No (or configure expiry if you want time-limited access).
- Type your passwords into the Passwords field, separated by commas.
- Click Save Password List.
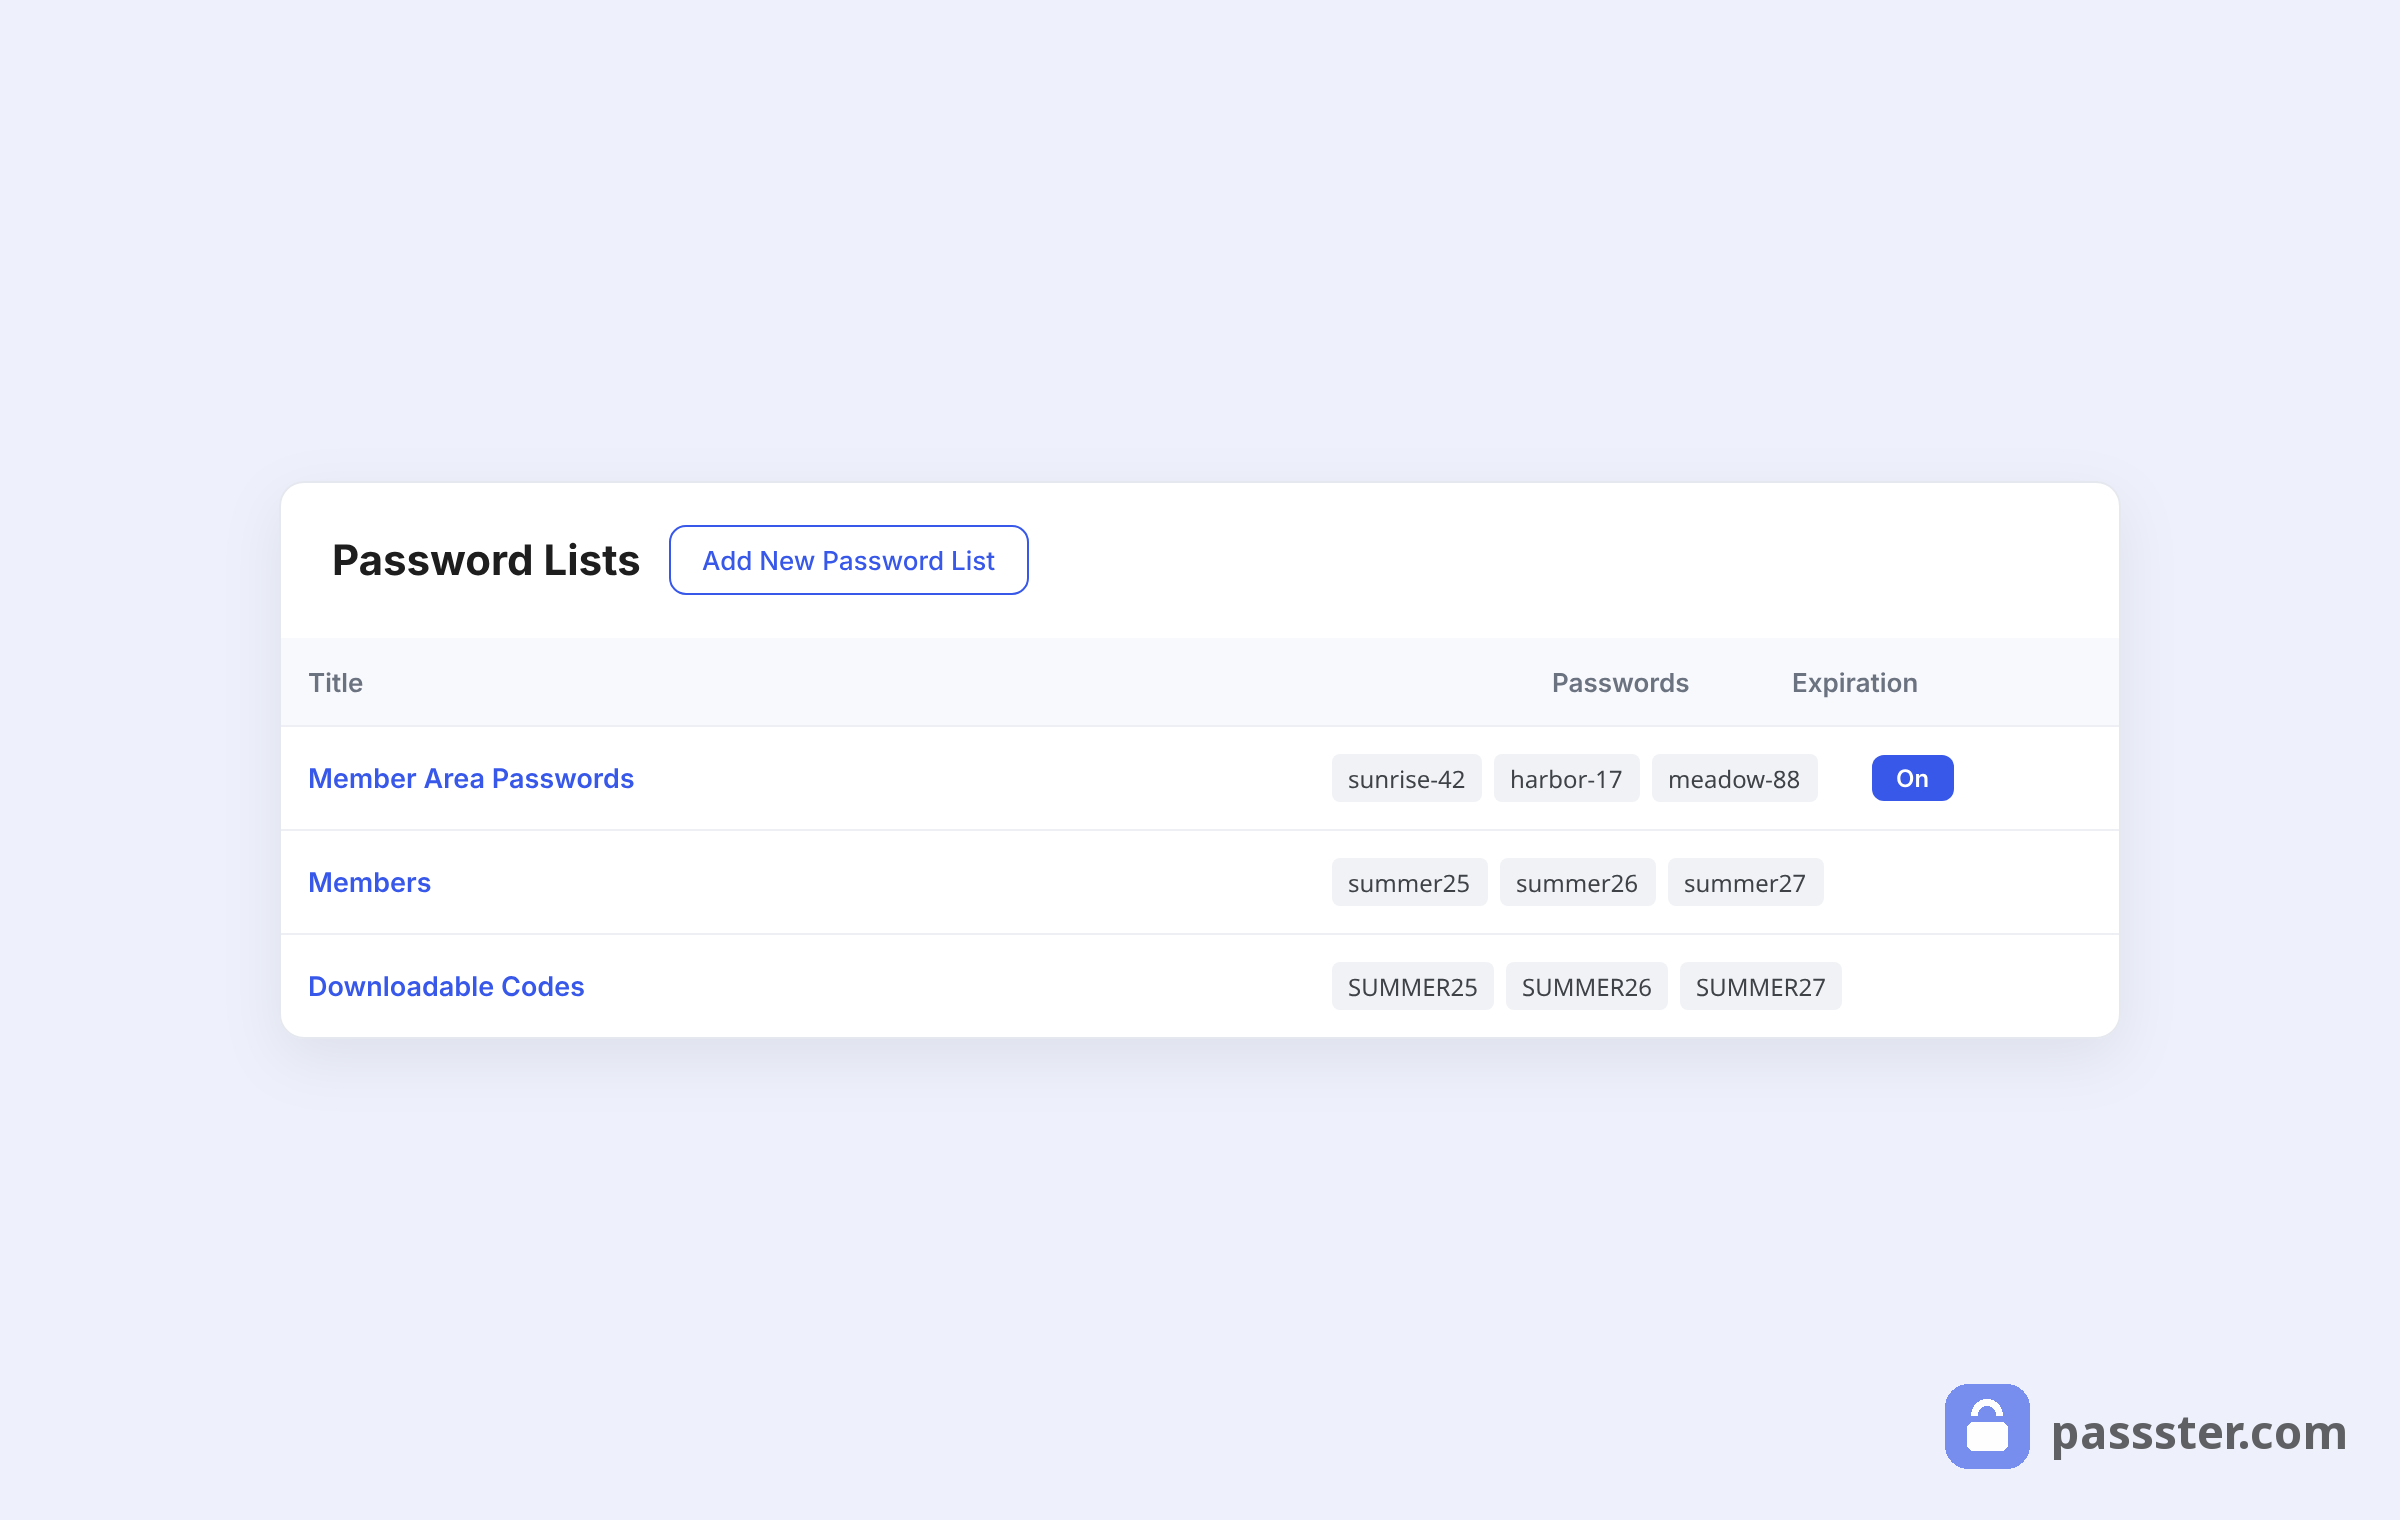
After saving, you’ll see the list overview with a generated shortcode and block reference ID. Copy whichever you need for the next step.
If you have a segmented audience — say, free-trial users versus paying members — create a separate password list for each group. That way a cancellation in one tier doesn’t affect the other.
Not sure whether you need one list or several? A single password list works when you have a small number of users and just want simple content gating. Multiple password lists are better when you have distinct user segments that need different access — like a tiered membership site.
Step 3: Protect content using the block editor (recommended)
Open the page or post where you want protected content. In the block editor, search for the Protected Content block — Passster adds it — and insert it.
In the block’s settings panel, select your password list from the dropdown. Place the content you want to gate inside the block: text, images, downloads, or any block type. Save or publish the page.
Anyone visiting the page will see a password form. When they enter a valid password from your list, the protected content appears immediately.
2025 update: Passster now assigns unique input IDs to each protected area on the page. This means you can add multiple Protected Content blocks to a single page without any form conflicts.
Alternative: protect content with a shortcode (Classic Editor)
If you’re using the Classic Editor, copy the shortcode from the password list overview and wrap it around your content:
[passster password_list="YOUR_LIST_ID"]
...your protected content here...
[/passster]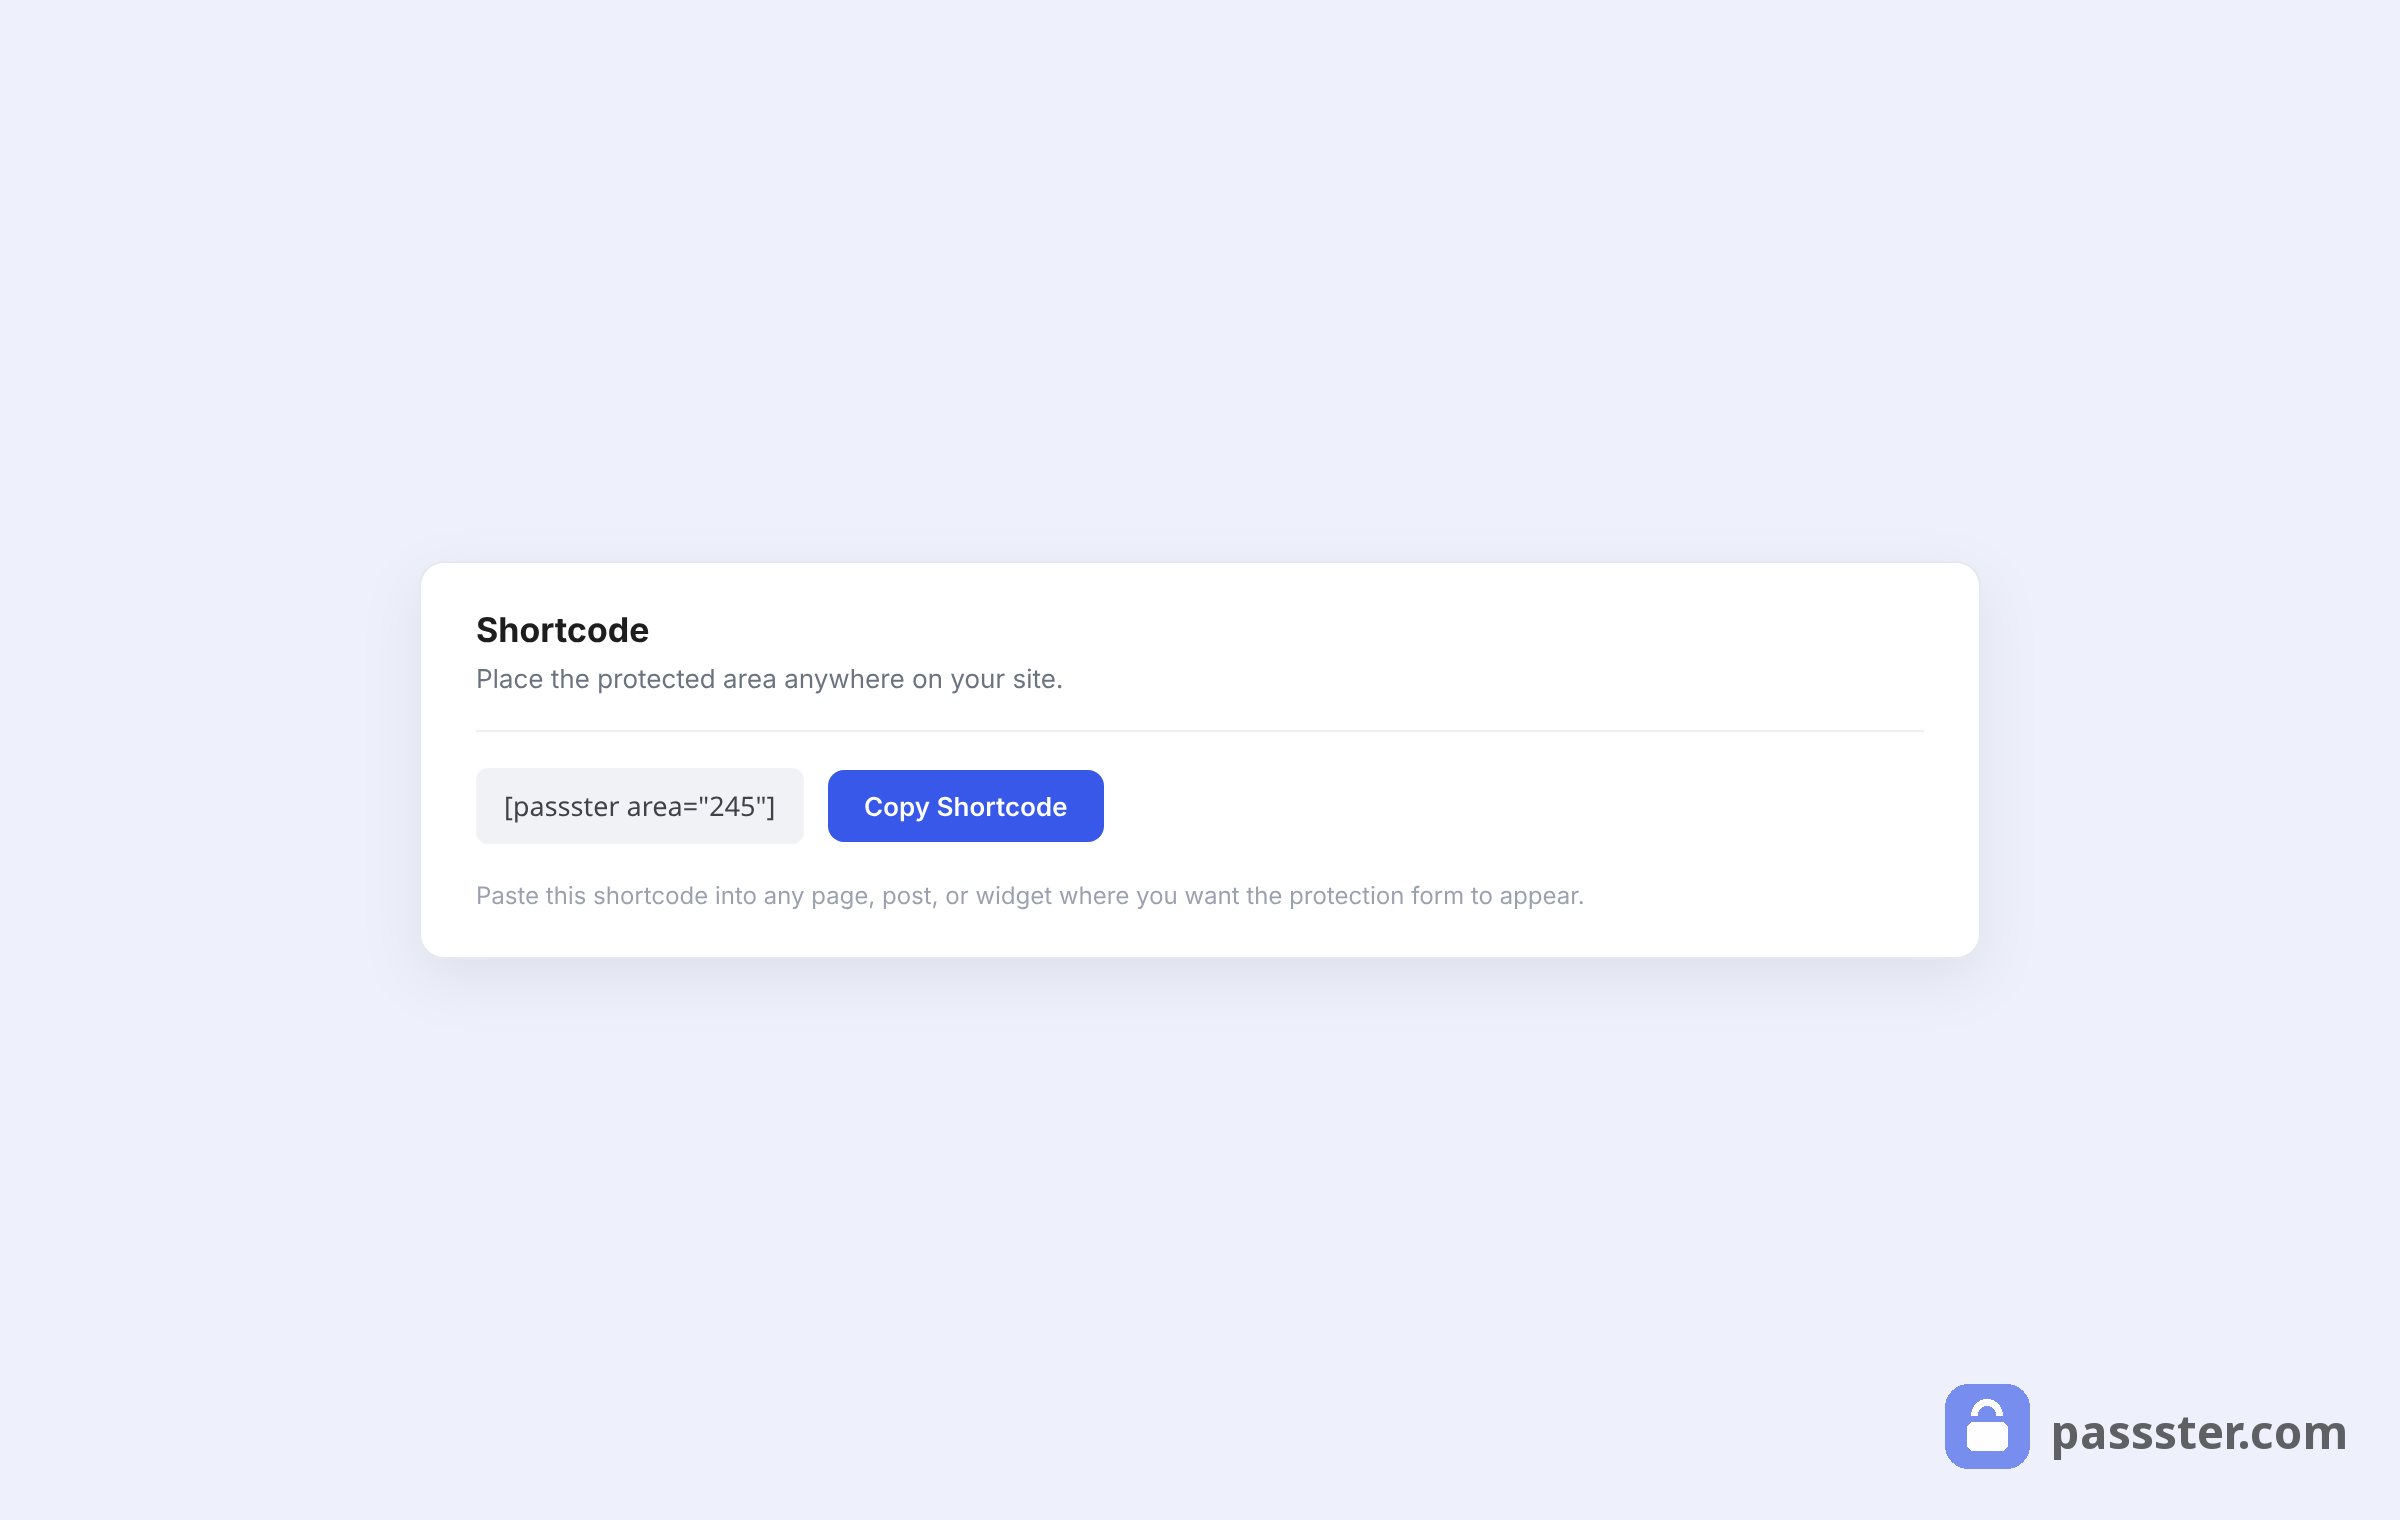
Before a visitor enters the correct password, they’ll see the password form on the front end:
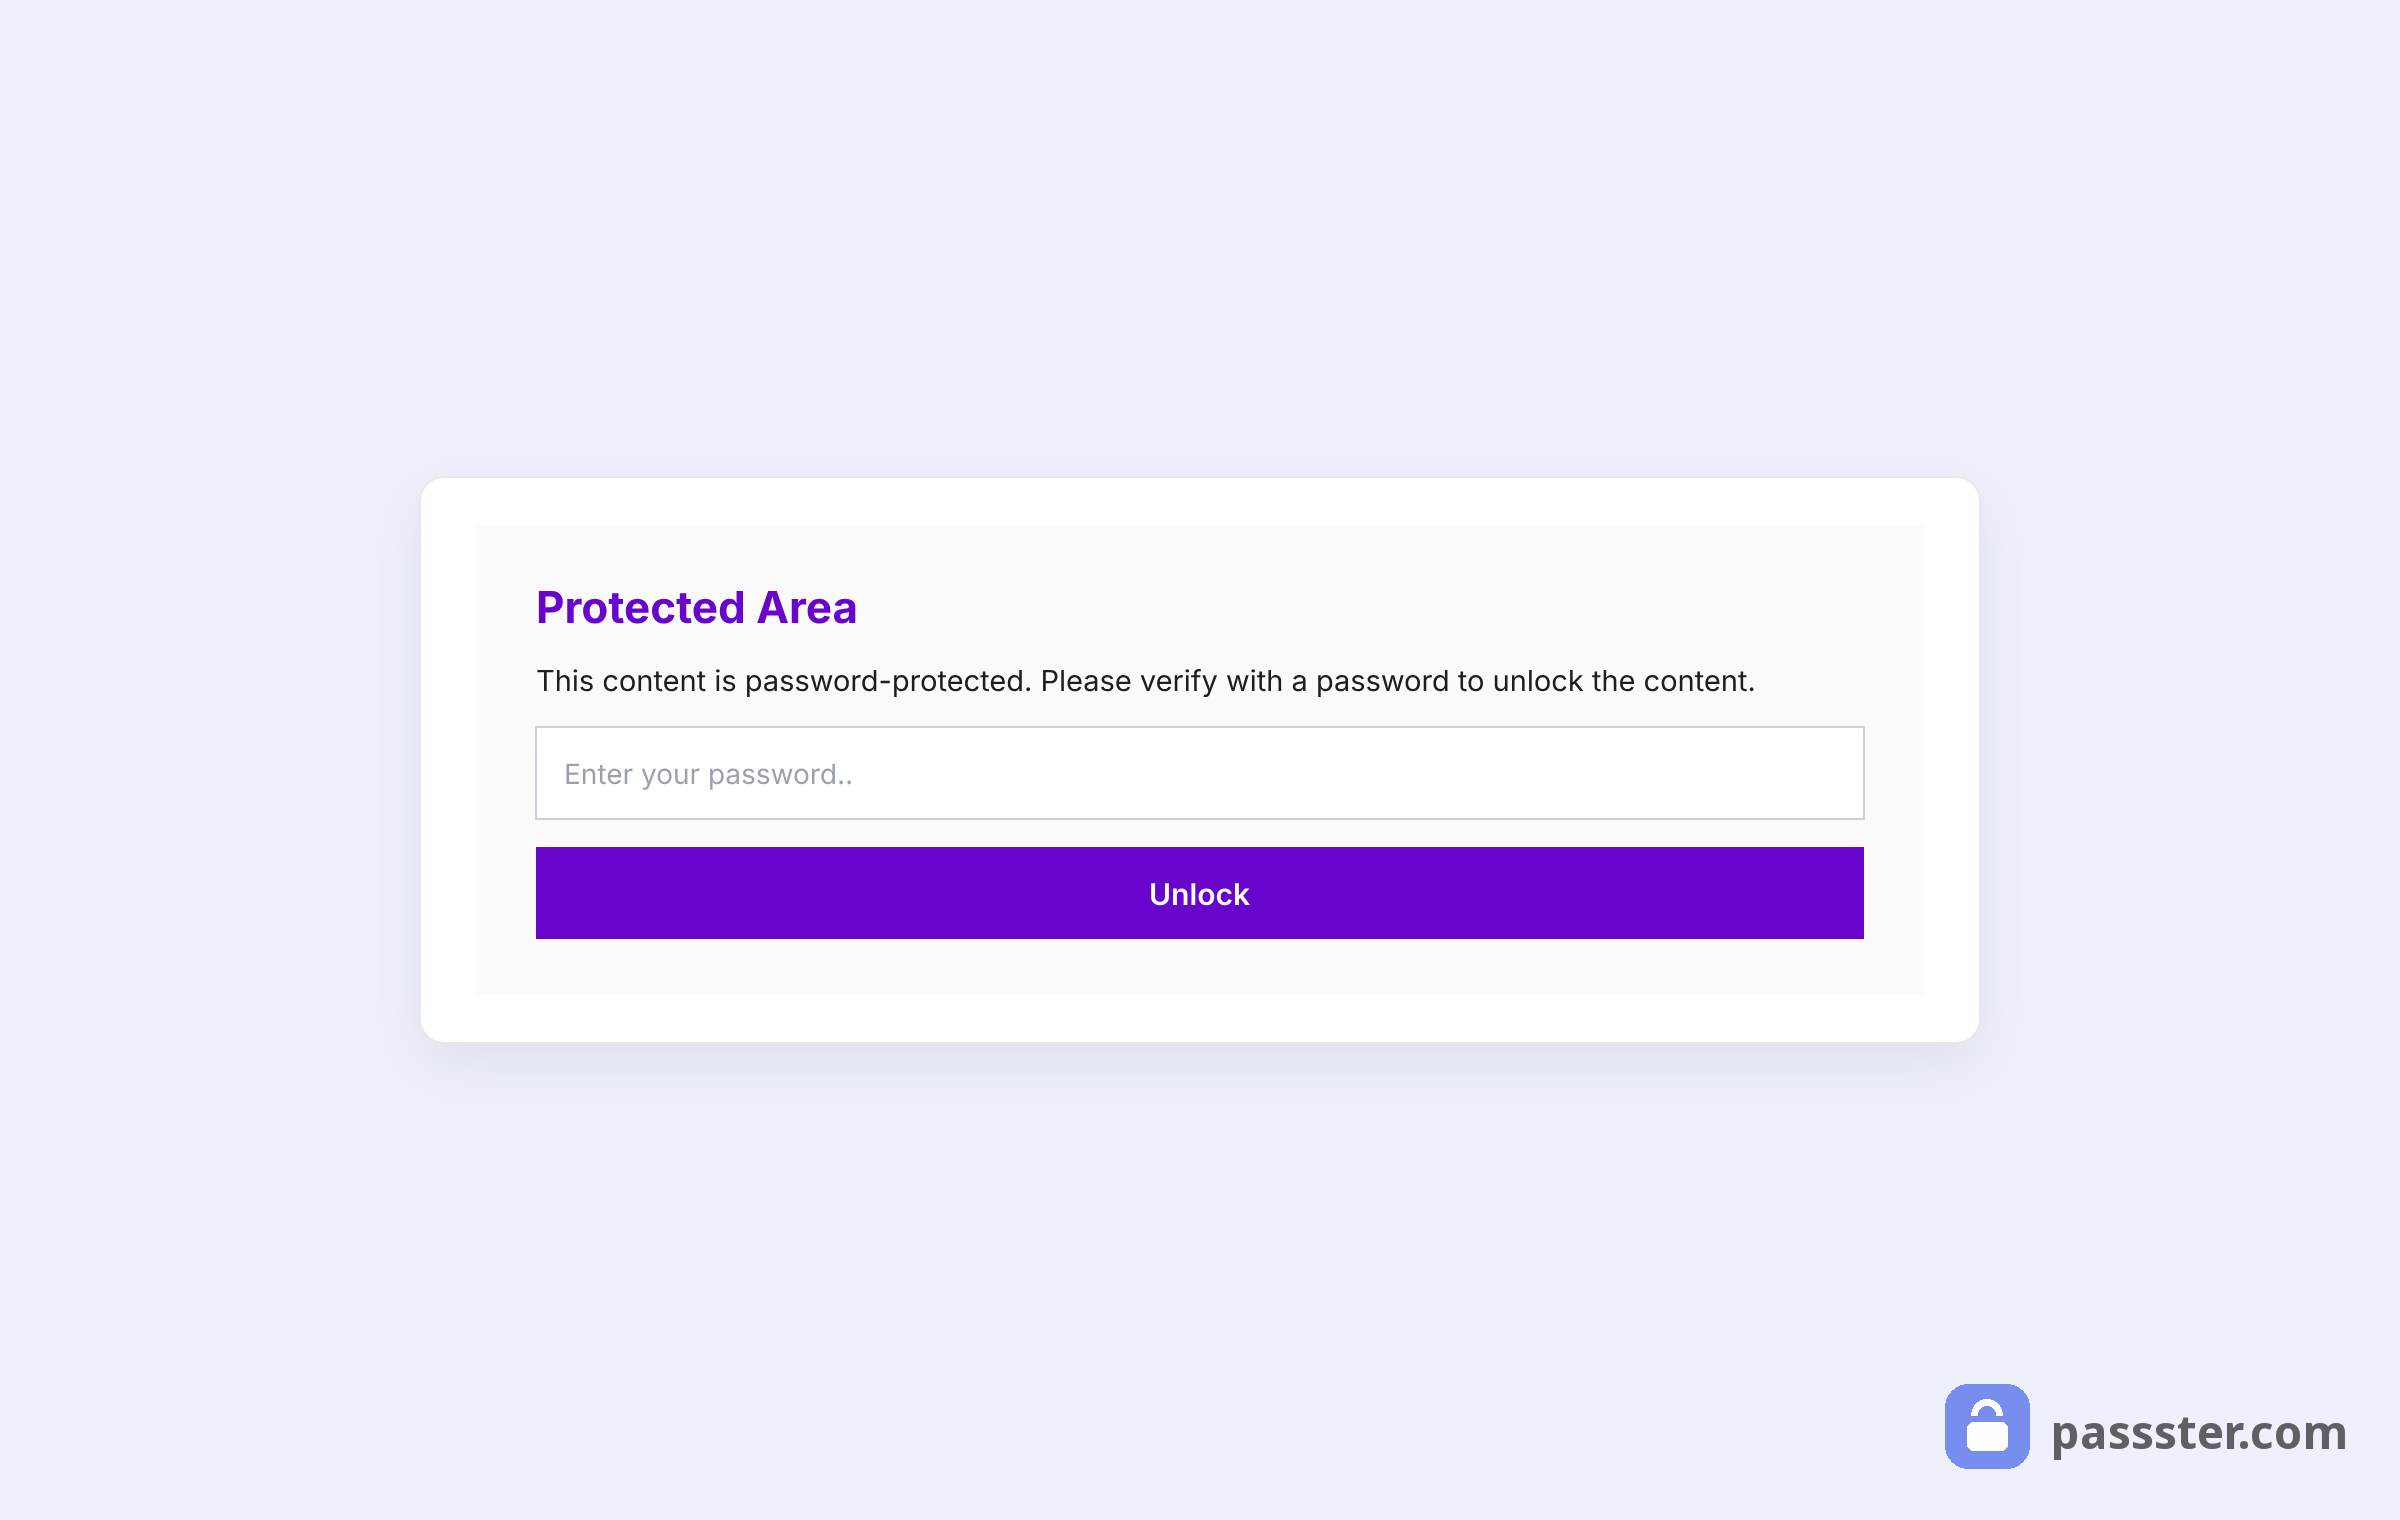
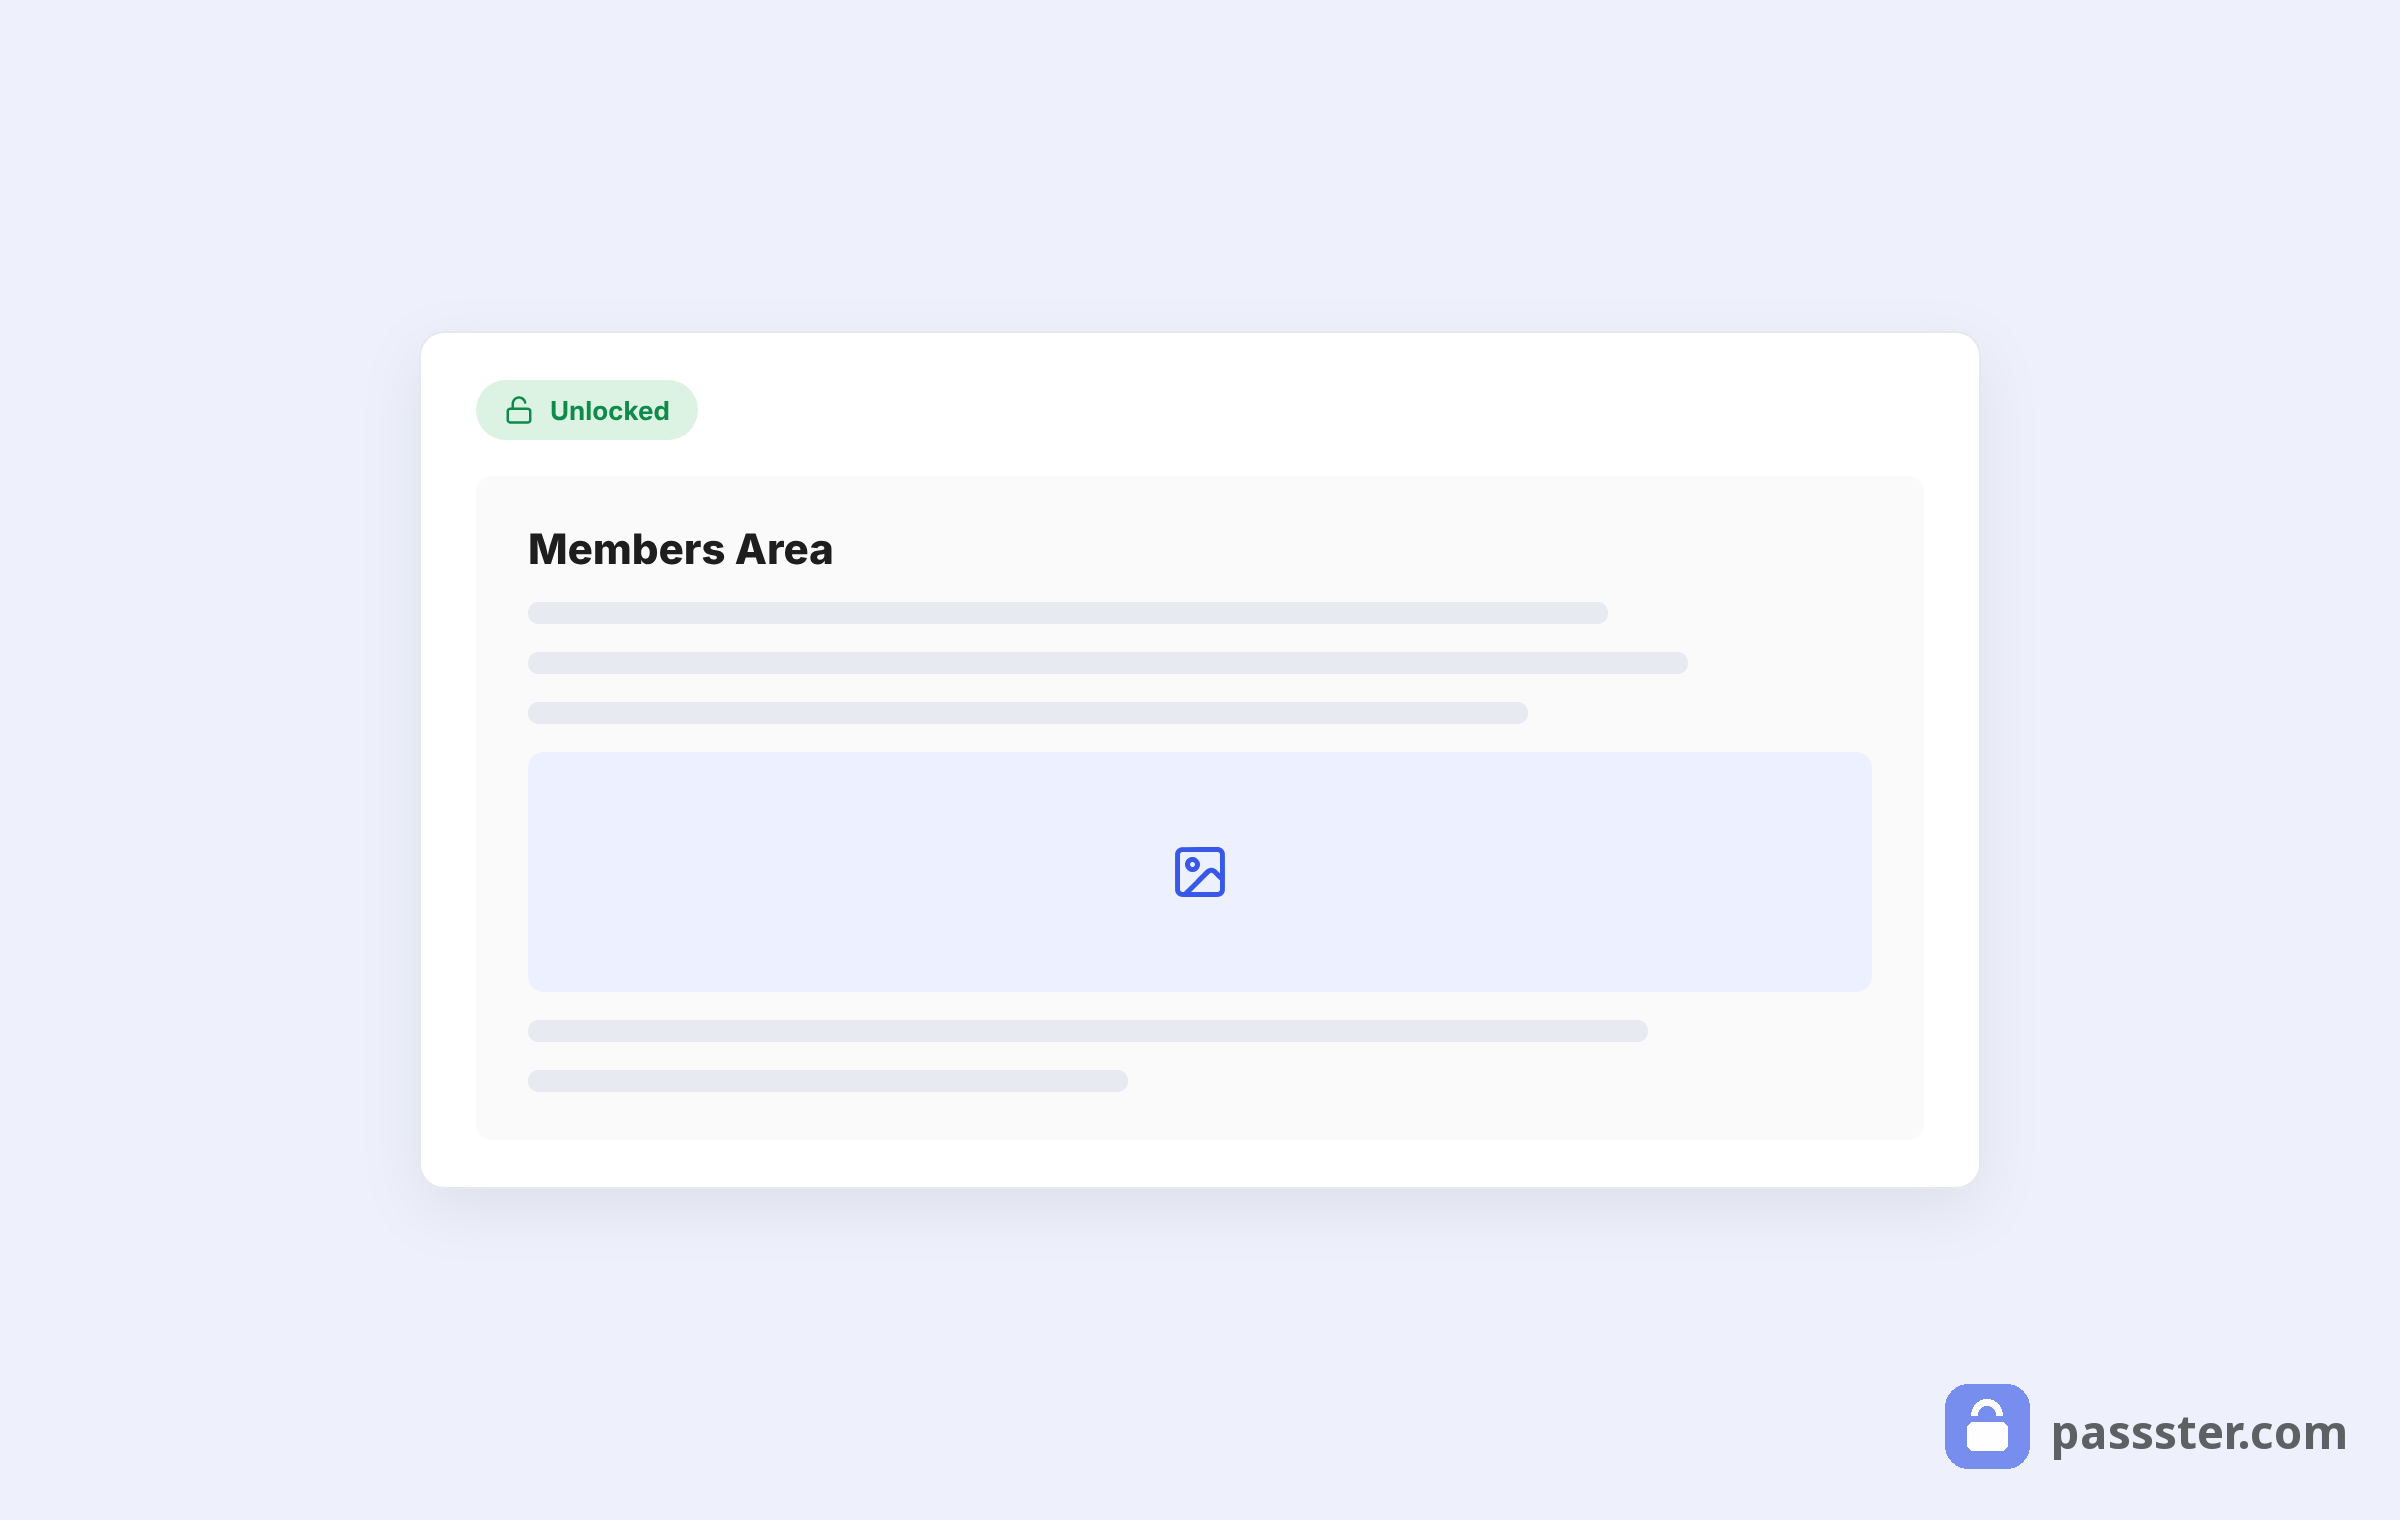
Once they enter a valid password from your list, the content unlocks:
Managing your passwords: expiration, limits, and revoking access
Passster’s password lists support three built-in access controls: automatic expiration, per-password usage limits, and instant revocation.
- Automatic expiry. Set a date or time limit on any password — handy for trial access or time-sensitive content like an event recap.
- Usage limits. Cap how many times someone can use a single password before it stops working. Useful for one-time download links.
- Instant revocation. Remove a password from the list and save. That user immediately loses access — no other configuration needed.
For membership sites, these controls cover the most common lifecycle events: cancellations, downgrades, and expired trials. You don’t need to touch the page itself; just update the password list.
Does password protection affect SEO?
Password-protecting a WordPress page does not prevent Google from indexing the page URL — only the content behind the password form stays out of search results. Googlebot can see the page exists, but it cannot crawl the body text hidden behind the form.
If the page should never appear in search at all, add a noindex meta tag alongside the password protection. That tells Google to drop the URL from its index entirely. The PPWP plugin documentation (2025) confirms that noindex is the correct mechanism for pages that must stay entirely out of search results. For most use cases — protecting a members-only download or a private gallery — password protection on its own is enough.
Frequently Asked Questions
Yes, but only with a plugin. Native WordPress supports one password per page or post. Passster’s Password Lists let you assign as many passwords as you need to the same protected area.
WordPress hides a private page from everyone except logged-in admins and editors. A password-protected page is publicly accessible but hides its content behind a form. Use password protection when you want the page to exist for visitors but want to gate what’s inside it.
Yes. The Passster block and the shortcode wrap only the content you place inside them. The rest of the page stays fully public.
No. Passster handles multiple passwords, expiration, usage limits, and revocation without a separate membership plugin.
Yes. Passster includes a dedicated Protected Content block for the block editor. Select your password list from the block’s settings panel, place content inside the block, and save. The shortcode method is available as a fallback for the Classic Editor.
Open the password list under Passster > Password Lists, delete or deactivate the relevant password, and save. That user loses access immediately — no changes to the page or post are needed.
Multiple passwords give you precise, per-user control over who sees your content — and the ability to revoke that access cleanly. Passster makes the whole workflow manageable from the block editor, without custom code or a full membership setup.