
For most businesses, sharing PDF files has become a common marketing strategy. These files include ebooks, white papers, checklists, case studies, and more.
Many of this information often contain exclusive content and demands restricted access. So when businesses are sending out these PDF documents, they want to ensure that these files are accessible only to their intended users.
That’s where password-protecting your PDF files comes into play. For a long time now, Adobe Acrobat has become a popular option to add passwords to PDF files. However, using Acrobat can be a costly affair, especially for small businesses with financial constraints. And not just that. It also comes with several other limitations that we’ll discuss later in this post.
So what if we tell you that you don’t have to rely on Acrobat anymore to password-protect your PDF files? Instead of Acrobat, you can now use Passster as a smart alternative to restrict access to your PDF files.
Sounds interesting? Well, then this post is for you.
In this post, we’ll walk you through how to password-protect your PDF files without Acrobat and using Passster in just 3 simple steps.
But before we begin, let’s understand why password-protect your PDF files on your WordPress website.
Table of Contents
Why Password Protect PDF Files on Your WordPress Site
There are various reasons why you might want to password-protect your PDF files on your WordPress website. Let’s look at some of those reasons in this section.
1. Create Exclusive Content
Many businesses consider creating exclusive content as part of their content marketing strategy. Creating such exclusive content is a great way to incentivize lead generation and email sign-ups.
So they create various forms of content in PDF format like white papers, case studies, ebooks, etc. Most of this content is gated content and is often encrypted with a password. They do this to ensure that it’s accessible to only those who submit their contact details or any other information the business wants in exchange for the exclusive content.
2. Control Access to Premium Resources
Another reason why you would want to password-protect your PDF files in WordPress is to limit access to premium resources to paying customers only.
Many businesses make money by selling premium resources on their websites. This can be any downloadable digital file in PDF format. By password-protecting such resources, businesses ensure that these resources are accessible only to paying customers.
3. Restrict Unauthorized Downloads and Sharing
Restricting unauthorized downloads and sharing of PDF files is a major reason why password-protecting PDF files in WordPress becomes crucial.
Many businesses earn revenue from selling such premium content. By password-protecting such content, these businesses ensure that it’s not available for download for everyone.
Doing this, not only protects their revenue streams from the premium content but also allows them to continue maintaining a competitive advantage. It also ensures that the paying customers get exclusive access to their purchased materials.
Having said that, let’s now move on to understand some of the common methods of PDF protection and why Passster is a better choice.
Common Methods for PDF Protection in WordPress
Markets and business owners use various methods to password-protect a PDF file in WordPress. Let’s look at some of those options and see why Passster can be a better choice for you.
1. External Protection Before Uploading Using Acrobat
This is one of the popular methods that many businesses are using. The problem, however, is that when you add the password externally using Acrobat, you can’t change the password without reuploading the file. Besides, you might need a paid version of Acrobat to add your password.
2. Using Built-in Password Protection
You can definitely use the built-in password-protection feature available in WordPress. But the problem is that it will protect your entire page and not just the PDF file. Further, the password for this page will be the same for every user and you won’t be able to track who has accessed the file.
What’s more, is that each of these adds an extra step to your workflow. So what is it that makes Passster a better choice?
Let’s take a look. But before that, Let’s quickly understand what Passster is.
What is Passster?

Passster is the best WordPress plugin to password-protect your entire website, a specific page, or just parts of your content.
You can also choose the password type you want to use on your website. For example, you might want to use a single password, multiple passwords, password lists, or Google reCAPTCHA and hCAPTCHA. Passster offers you all the options to choose from.
The best thing about Passster is that it works beautifully with various custom post types like ACF, Widgets, and the Gutenberg Editor. It is also compatible with several page builder plugins including Elementor.
Let’s now understand why Passster is a better choice over the commonly used methods of password-protecting PDF files in WordPress.
Why Passster is a Better Choice to Password Protect your WordPress PDF Files
Passster has been a popular choice for adding passwords to PDF files in WordPress for various reasons. Here are some of them.
- Unlike Acrobat, it allows you to change your password right from your dashboard and without reuploading the file. This not only saves your time but also makes your job hassle-free.
- As mentioned in the above section, with Passster you don’t have to lock the entire page, every time you add a password. You can select which part of your website or webpage you want to lock. You can use it to lock your entire website, a full page, or any specific parts of your content.
- With Passster, you can generate multiple passwords for your locked content.
- Passster is easy to use and can help you get your job done with a few simple steps. Also, once you install it on your website, you can add your passwords directly from your WordPress dashboard. This means you don’t need any additional steps in your workflow.
These are just a few benefits of using Passster.
Now that we know why Passster can be a better choice than the other common methods of adding passwords to your PDF files, let’s look at how to password-protect PDF files in WordPress without Acrobat and by using Passster.
Let’s get started.
How to Password Protect PDF Files without Acrobat Using Passster
In this section, we’ll understand how to password-protect PDF files with Passster in a step-by-step manner. Let’s begin.
Step 1: Installing and Activating Passster in WordPress
To get started, you first need to install and activate the Passster plugin in your WordPress dashboard.
For that, login to your WordPress dashboard and navigate to Plugins > Add New. Now in the search box type Passster and hit enter.
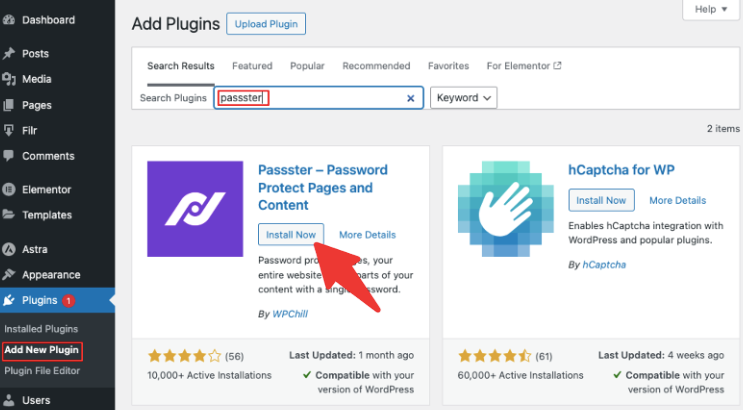
Now click on Install Now > Activate. Once you do that, the plugin will be activated on your website.
Step 2: Creating Protected Areas in WordPress
In this step, we’ll add a protected area to your WordPress website. In WordPress, protected areas refer to parts of your website or content that are restricted from public access.
When creating the protected areas, we’ll first upload the PDF file to your WordPress website. For that, on your WordPress dashboard, go to Passster > Protected Areas > Add New Protected Areas.
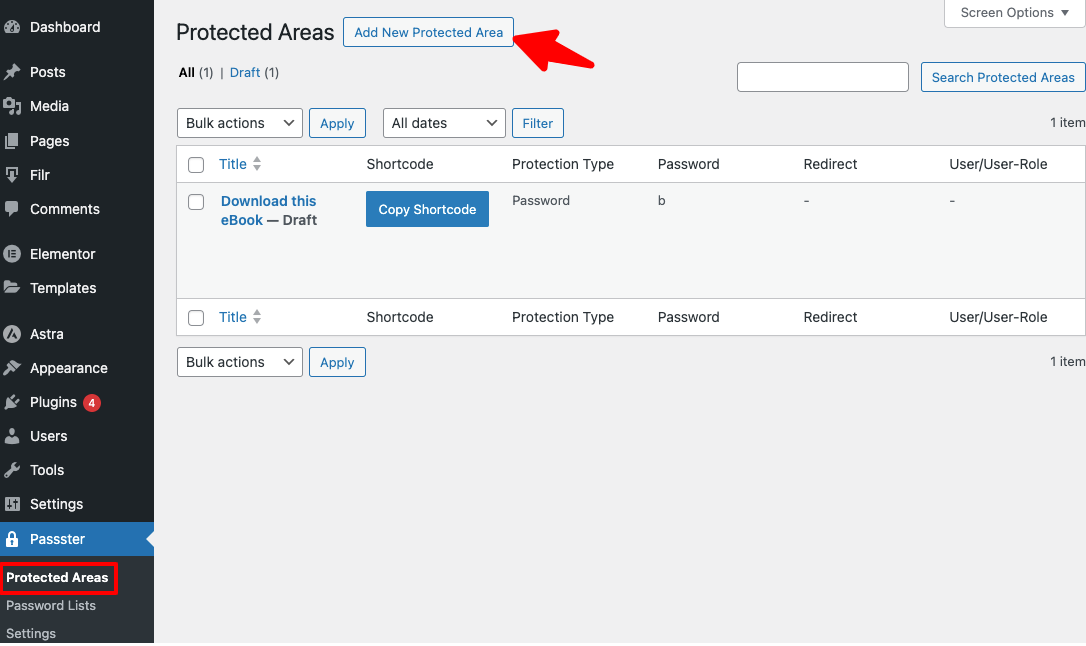
This will open a new page that’ll look a lot like a normal page editor in WordPress. On this page, add a title for your Protected Area. Since we’re password-protecting an eBook, let’s name it ‘Download this eBook’.
Next, in the content section of this page, click on the ‘+’ sign of the Gutenberg editor. Then using the search box, search for File.
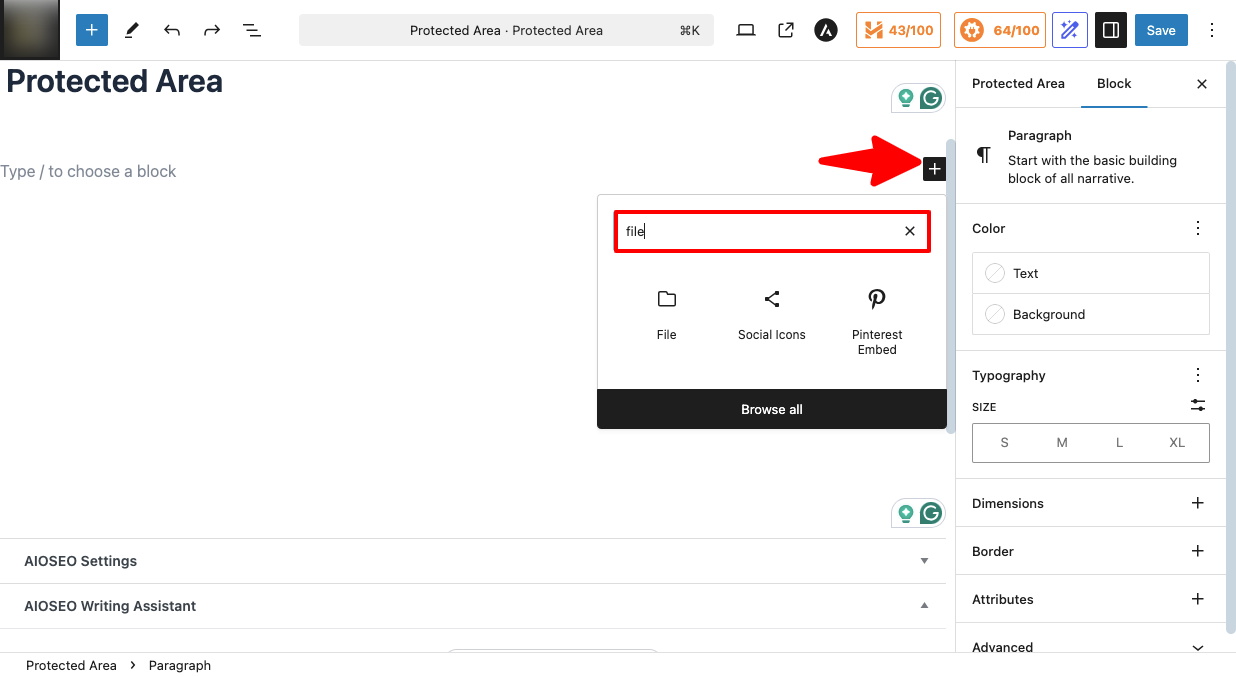
Select the File option and use the Upload button to upload the PDF file that you want to add to your website. If it’s already in the gallery, you can select it from there as well.
Now on the right side of the screen, under Protected Areas, you’ll see an option called Protection Mode. Under this, click on the drop-down arrow and select Password. Then click on the Generate Password option below it.
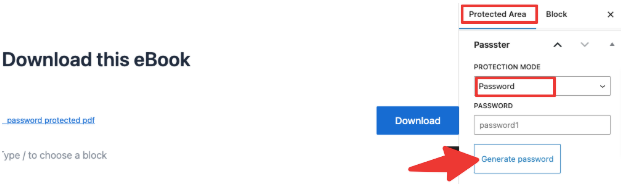
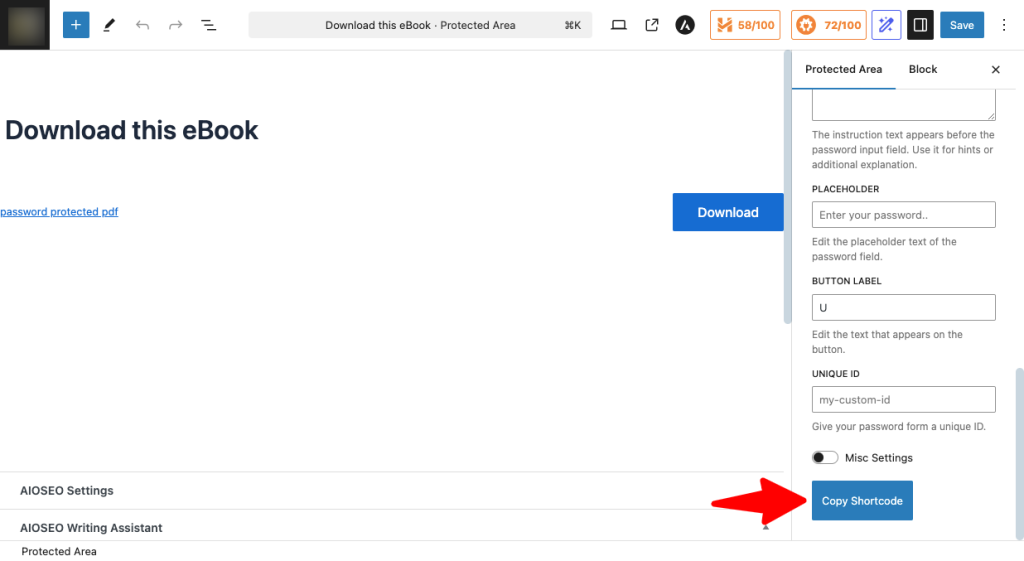
Next, activate the Overwrite Defaults option by clicking on the toggle bar. Under this, you can change the headline, add instructions for your user, label your button, etc. Go ahead and add all of this information as per your requirements.

Now scroll down the screen and locate the Copy Shortcode button. Click on this button to copy the shortcode.
Now hit Save > Publish on the top right corner of your screen.
Step 3: Publishing Your Password-Protected PDF File on Your WordPress Website
In this step, let’s publish your password-protected PDF file on your WordPress website. You can do that on an already-published page or on a brand-new page.
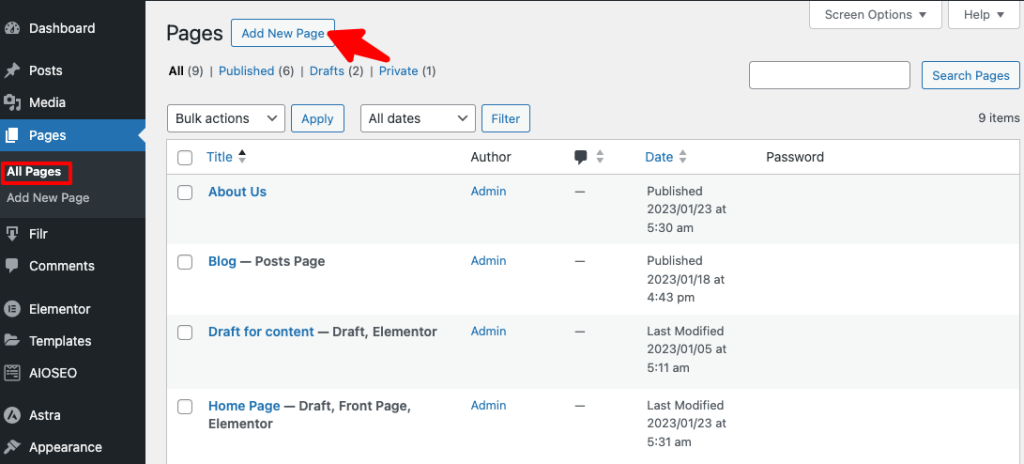
All you have to do is add the shortcode that you copied in the above step to the page where you want it to appear. So let’s go to Pages > Add New.
On the new page, go ahead and add the title and content you want to reflect on the page. Then add the shortcode in the body where you want the PDF file to appear.
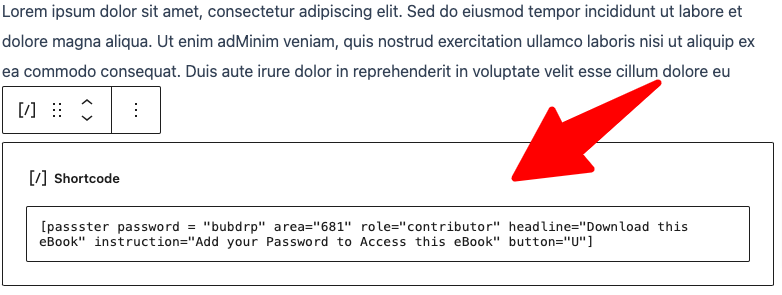
Once done, click on the Publish button on the top right corner of your screen to set it live.
And there you have it. Your password-protected PDF file is now live on your WordPress website. Here’s how it appears to your users on the website.
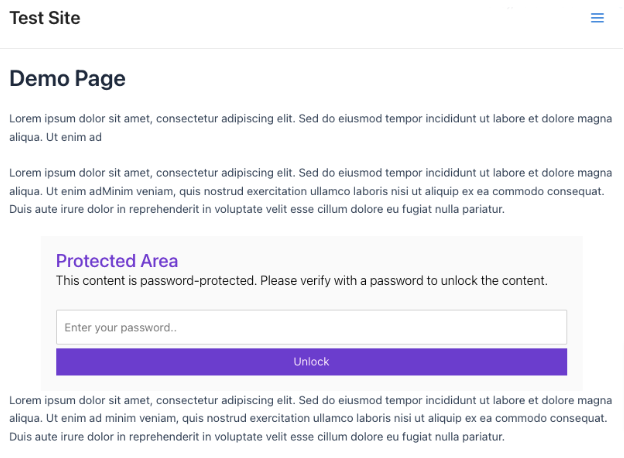
It’s that simple!
Conclusion
If you too want to share your PDF files with specific clients or just with your paying customers, adding a password to the file can be the best option. However, many users still struggle to effectively add a password to their PDF files.
With Passster, this process can become a quick and easy process. So what are you waiting for? Get Passster now and add passwords to your PDF files with ease.