Handing out passwords works — until someone forgets theirs, or accidentally forwards it to the wrong person. A direct access link — or password-protected link — solves both problems. Instead of asking users to type a password, you embed an encrypted token (a one-time authentication code embedded in the URL) in a URL. Anyone with the link gets in; everyone else still hits the password gate.
Passster, a WordPress content-protection plugin with 10,000+ active installs, has a built-in Unlock via Link feature that generates these encrypted links automatically. Below, you’ll learn how to create a password-protected link for any page or post. The guide also covers how to set an expiry, revoke a link, and extend the same approach to a hub of downloadable files.
What are direct access links?
Direct access link (also: password-protected link, bypass link): A URL containing an encrypted token that authenticates the user automatically, so visitors access password-protected content without entering a password.
A direct access link — sometimes called a password-protected link or a bypass link — is a URL that carries an encrypted token. When a user clicks it, WordPress reads the token, validates it against the page’s password, and shows the protected content without prompting for a password. Passster — the WordPress content-protection plugin with 10,000+ active installs — generates and validates these tokens for you.
The original page URL still works the same way: anyone who navigates there directly sees the password prompt. Only users who have the link skip that step.
Here’s a concrete example. If you’ve password-protected yoursite.com/sample-page, the page requires a password to enter. A direct access link for that same page looks like http://yoursite.com/sample-page?pass=ZW5jcnlwdGVkcGFzc3dvcmQ2. Click it, and the content opens immediately.
A few reasons to use one over a shared password:
- No passwords to remember: users never see the underlying password; they just click.
- Multiple protected pages, one smooth flow: each page gets its own link, so there’s no confusion about which password goes where.
- Better user experience: especially useful for client portals, member areas, or onboarding flows where friction causes drop-off.
When do you need a direct access link?
Direct access links are more user-friendly than a password form while keeping content just as secure. They fit wherever you need to share protected content without the awkwardness of a separate password step.
#1: Membership sites and online courses
If a course or membership area has several protected modules, each page can have its own direct link. Students and members bookmark the link instead of juggling multiple passwords — and they’re far less likely to get locked out mid-course.
#2: Portfolio sites
Freelancers and agencies often protect case studies or work samples and share them with prospective clients. A direct access link removes the two-step “here’s the URL, here’s the password” email. As a result, the client clicks once and they’re in — a cleaner first impression.
#3: Internal document hubs
Companies that store contracts, battle cards, or internal collateral on a WordPress intranet benefit from direct links. Staff skip the password prompt every time they need a document — far less friction than a shared credential. If you’re building this type of site, see our guide on How to Set Up a WordPress Intranet Site for Your Organization.
#4: Downloadable resource hubs
If you host files — reports, templates, product guides — on a protected download page, a direct access link gives authorized users one-click entry to the whole hub. This use case pairs Passster with the Filr plugin (800+ active installs); the Sharing downloadable resources section below covers the full workflow.
How to create a direct access link in WordPress
To create a password-protected link in WordPress: install Passster Pro, open the target page in the editor, enter the page’s password in the Passster (Link Protection) metabox, and save. Passster generates an encrypted direct access link automatically — copy and share it, and recipients access the content without entering a password.
To password-protect a link in WordPress, you’ll need Passster Pro. The free version handles password protection, but the Unlock via Link feature is a Pro capability. Here’s how to make a link password protected using Passster.
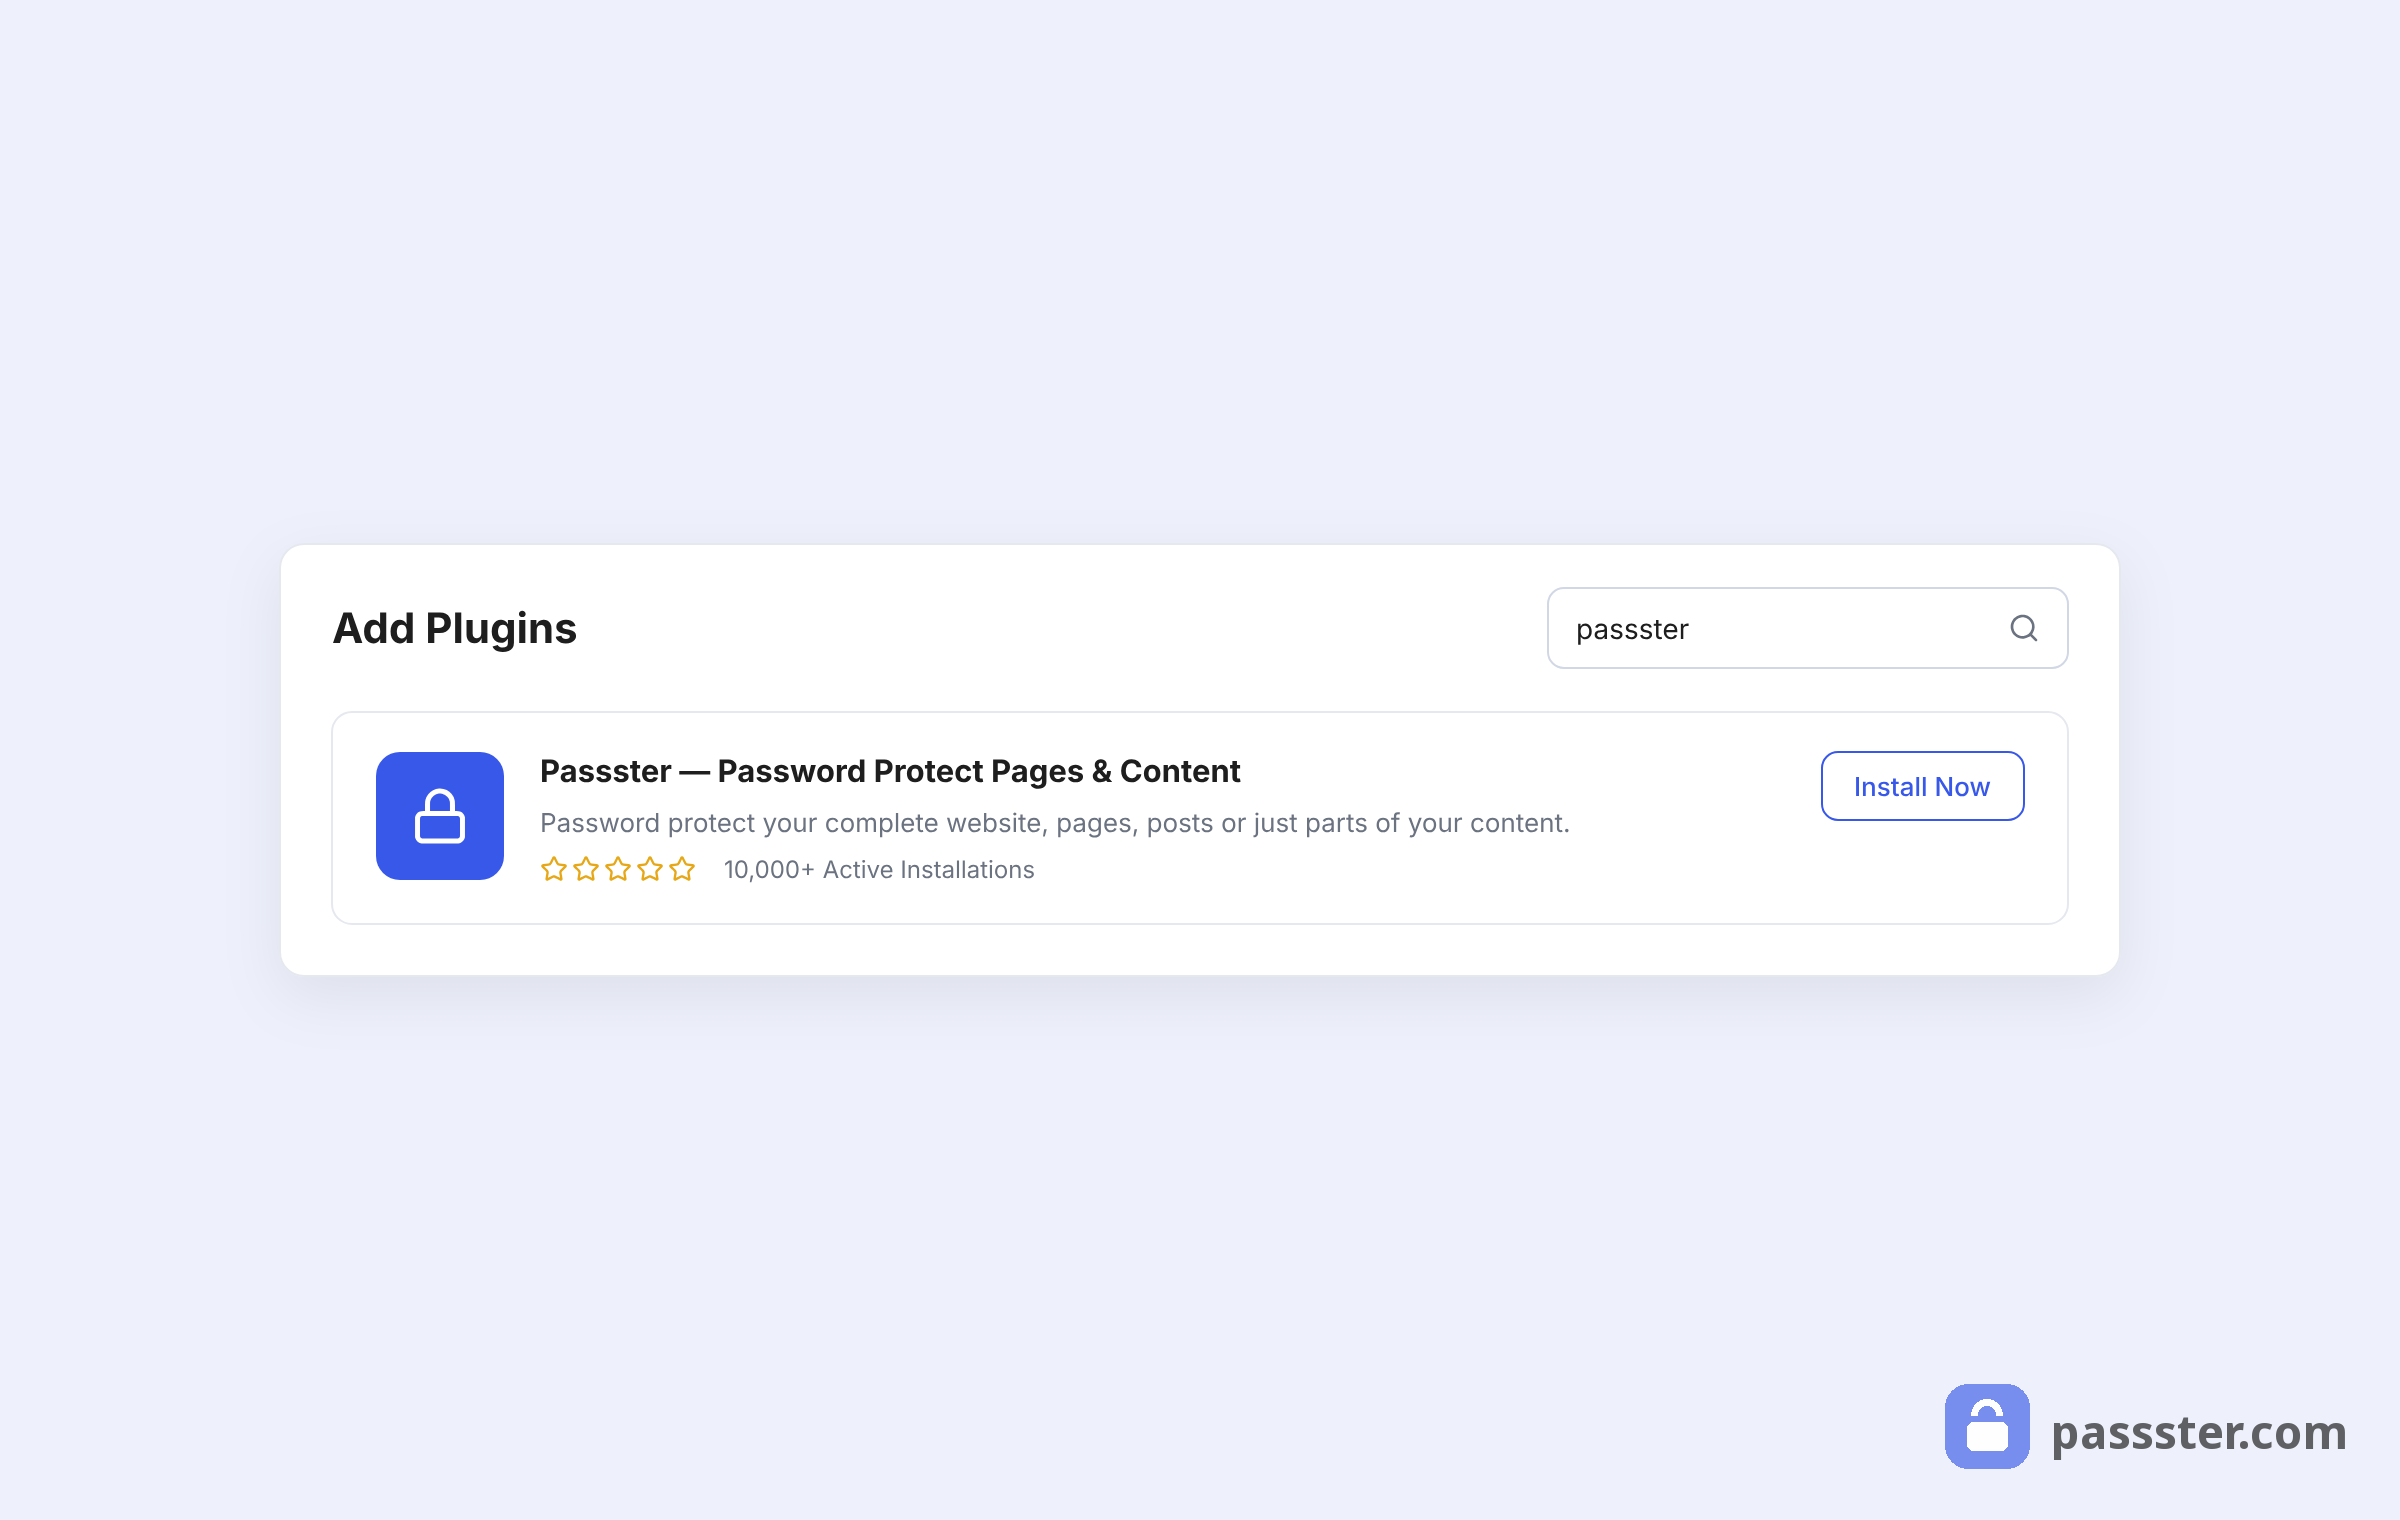
Step 1: Install and activate Passster
Get Passster Pro from the Passster website and install it on your WordPress site. Once activated, Passster adds a “Passster (Link Protection)” metabox (a dedicated settings panel within the WordPress editor sidebar) to the page and post editor. (This tutorial covers Passster Pro v4.3.5, released June 2, 2026.)
Step 2: Edit a page and generate a link
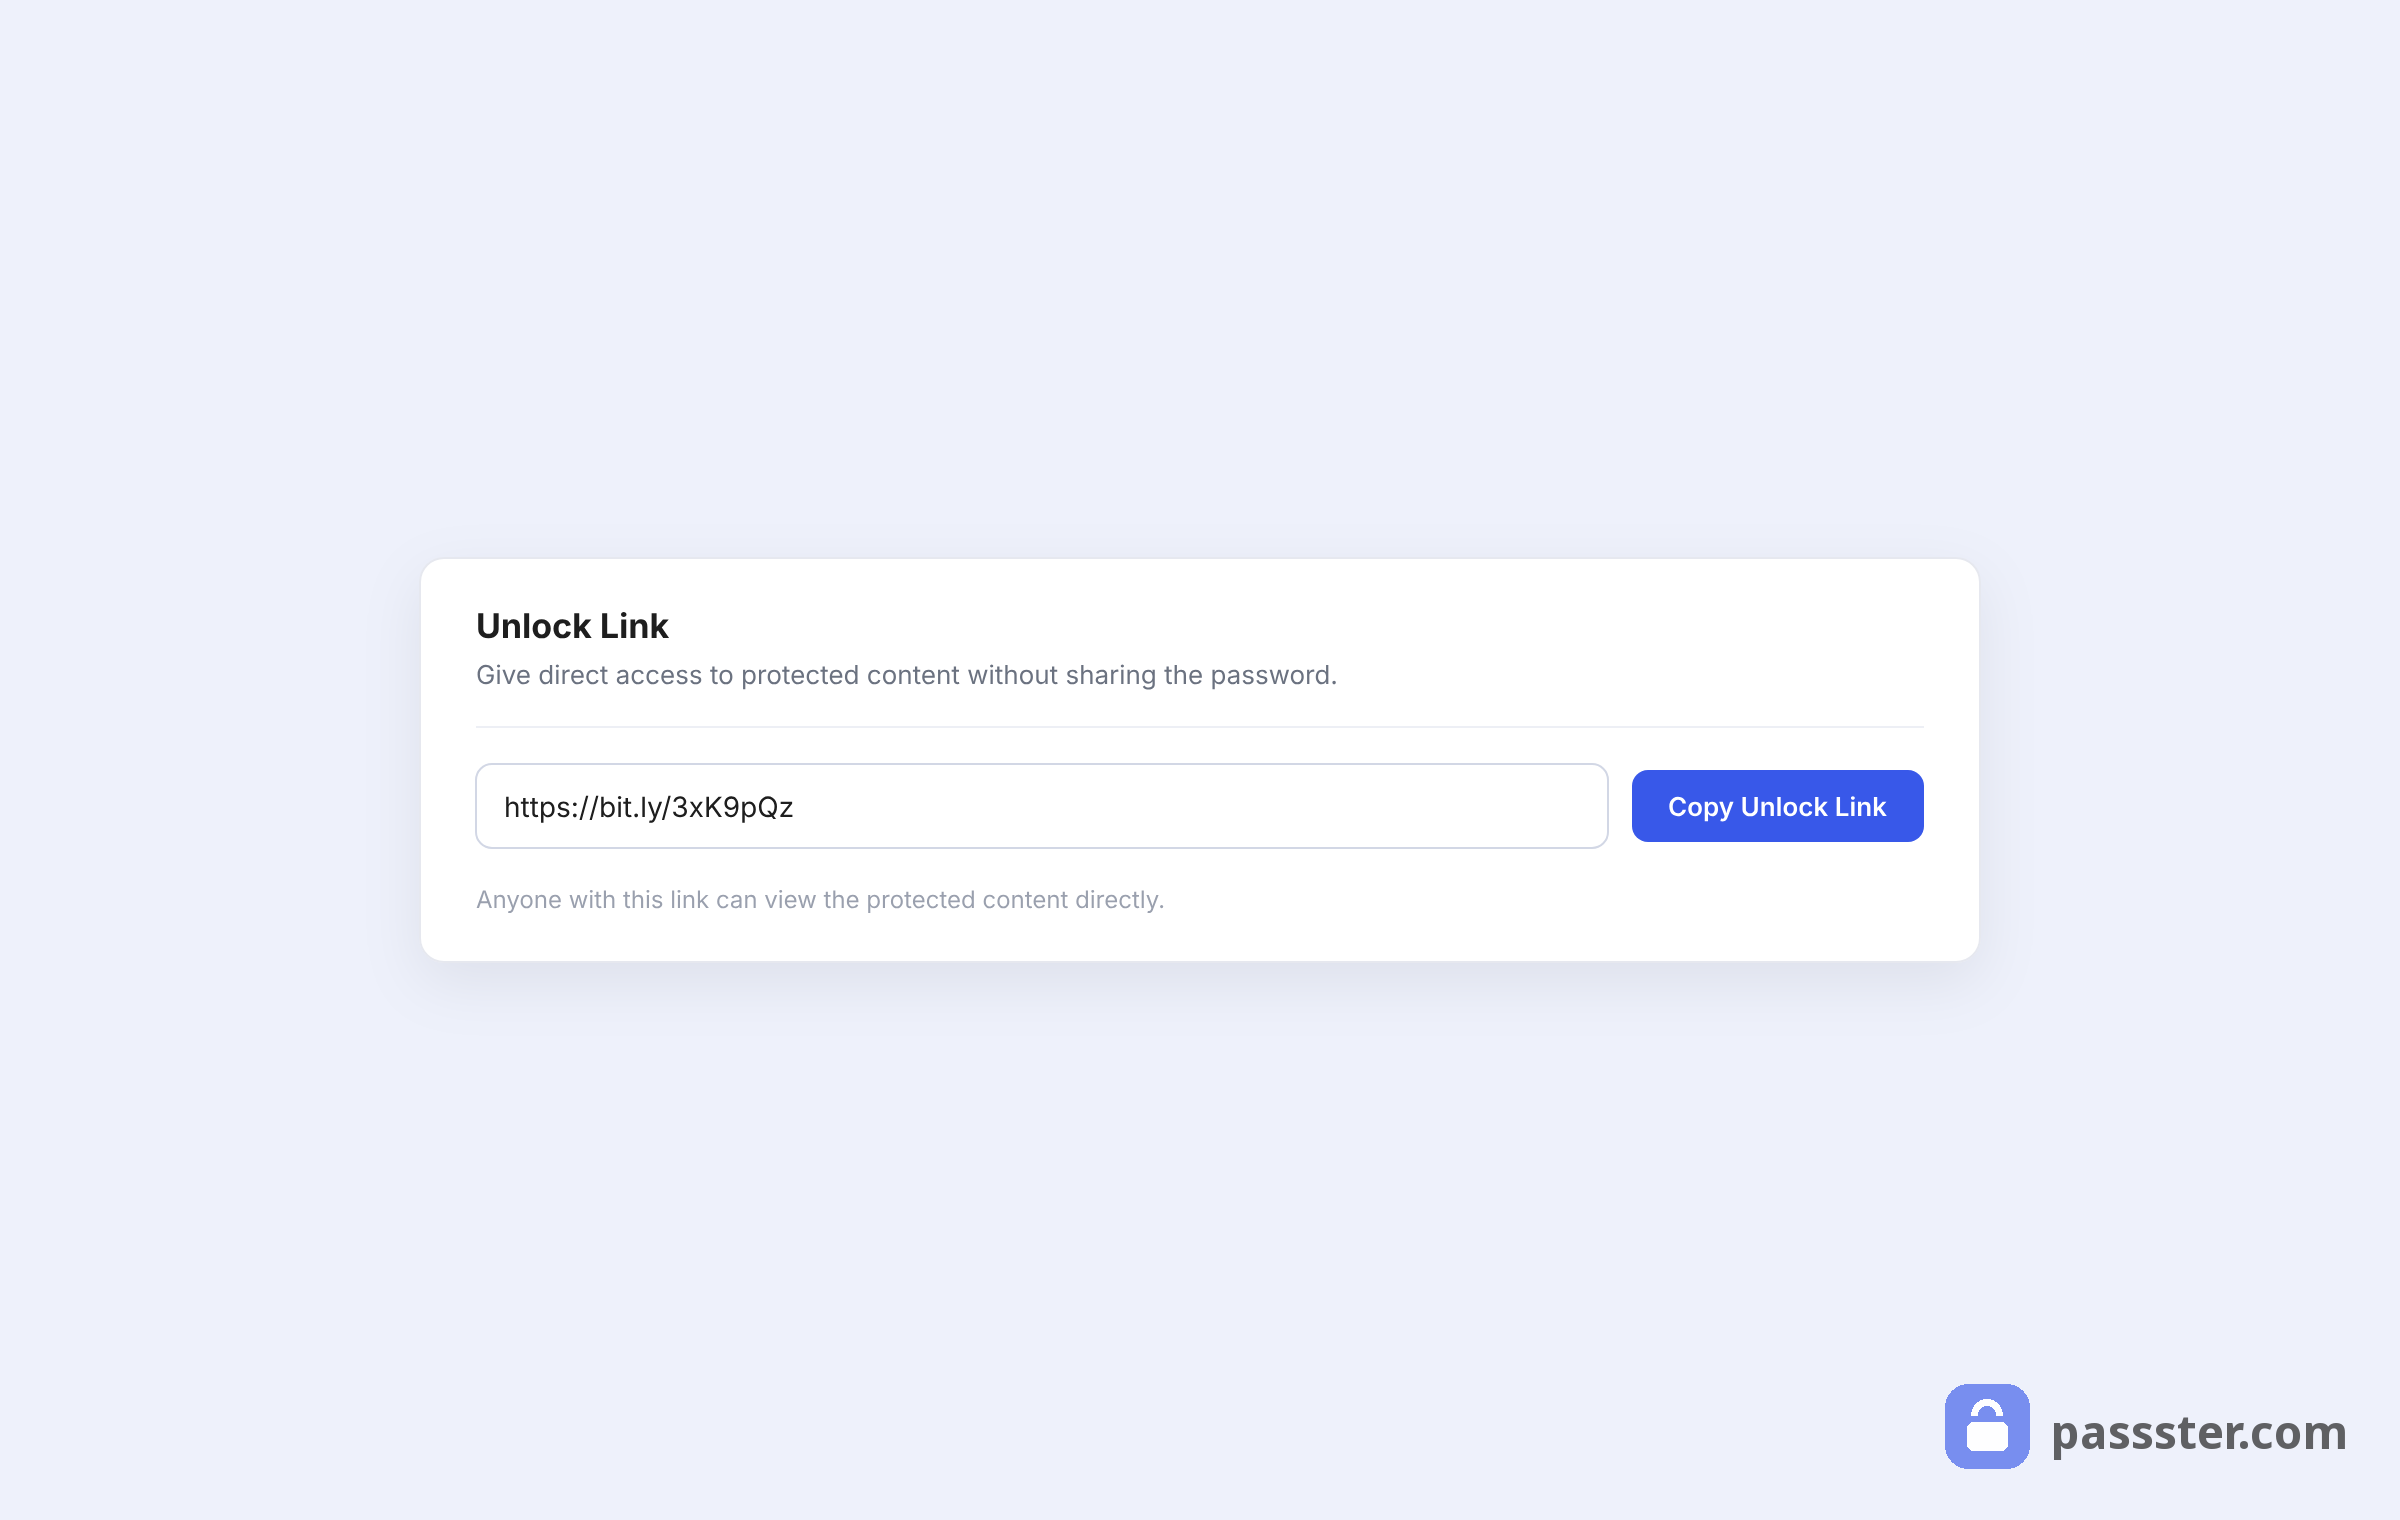
Open the page you want to protect in the WordPress editor. In the Passster (Link Protection) metabox, enter the same password you used to protect that page. If you’re only protecting part of the content via shortcode (an inline content-protection tag), enter the password from inside the shortcode instead. Save the page and Passster generates the encrypted link automatically — copy it straight from the metabox.
Two optional settings are available:
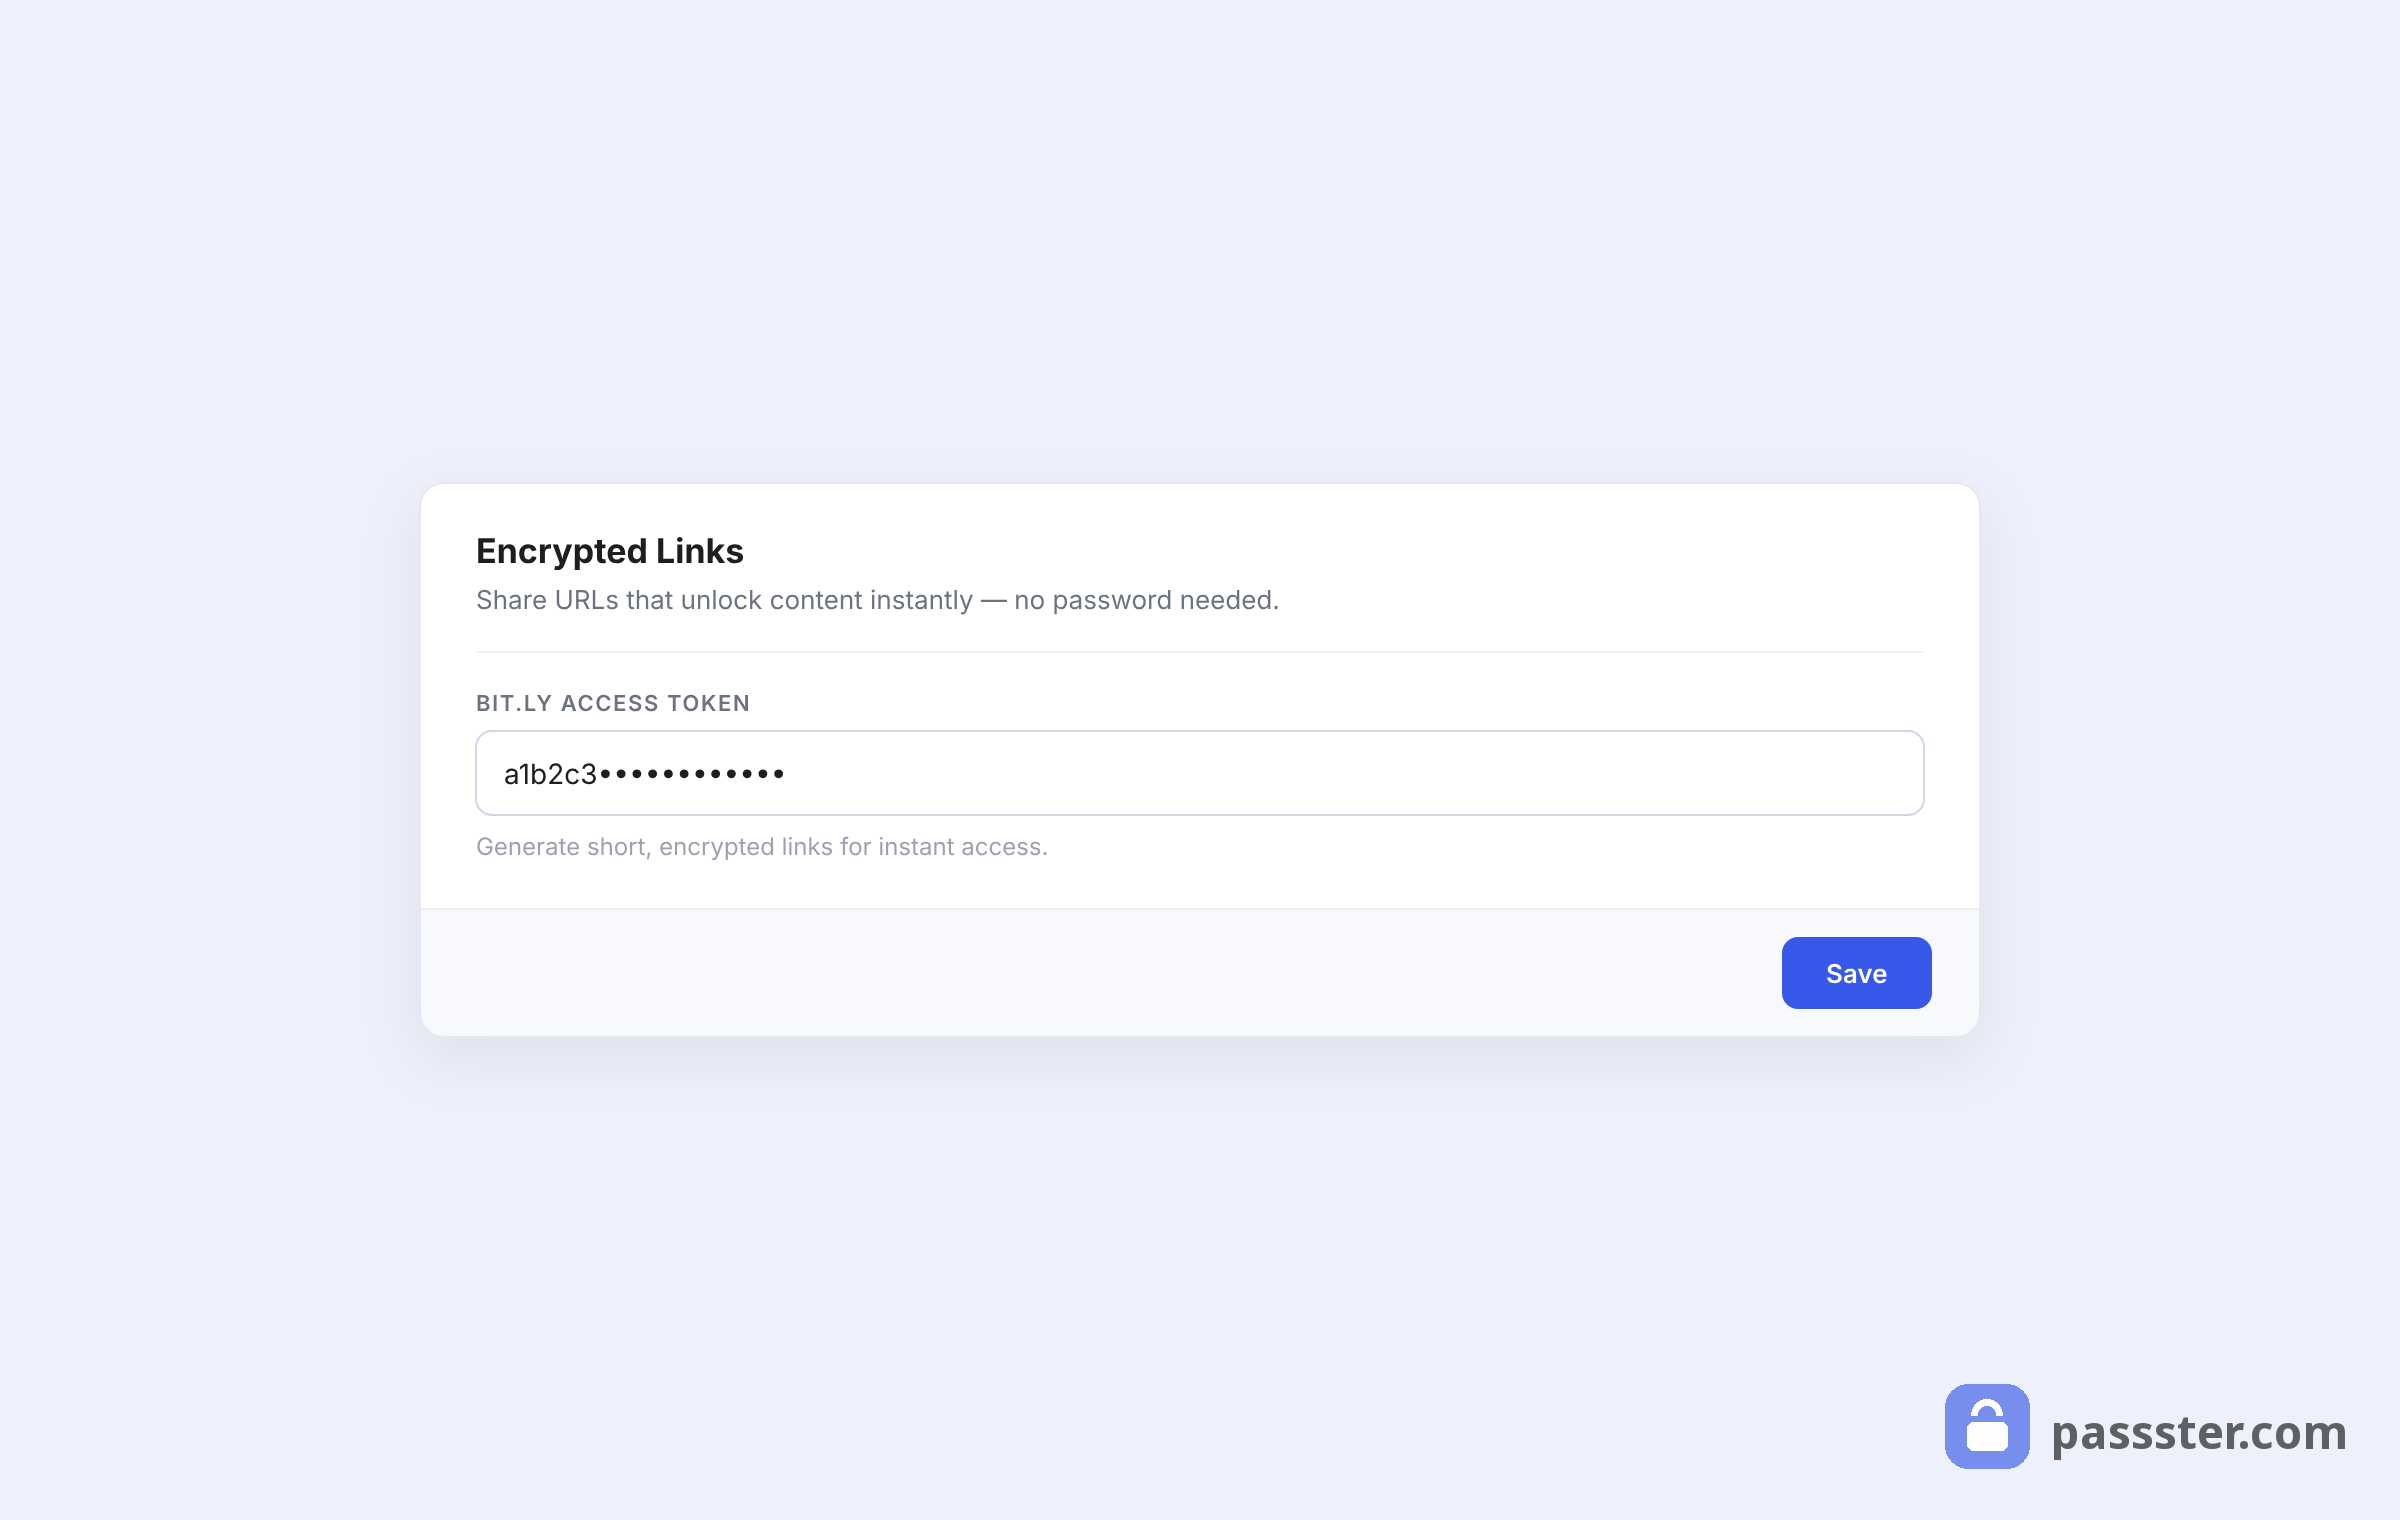
- Bitly shortening: add a Bitly access token under Passster → Options → External Services and Passster can shorten the encrypted URL for you. This is optional but makes the link cleaner for emails or messaging apps.
- Cookie redirect: enable cookies in Passster → Options and Passster redirects users from
yoursite.com/sample-page/?pass=ZXhhbXBsZQtoyoursite.com/sample-page/after they unlock the content. The content stays unlocked, but the?pass=parameter disappears from the address bar — making it much harder to accidentally copy and forward the token.
Step 3: Share the link with authorized users
Copy the generated link from the metabox and share it with whoever needs access. When they click it, the page opens and the protected content appears — no password prompt.
A few best practices for sharing:
- Embed as a hyperlink, not a raw URL, so the encrypted token doesn’t clutter the message.
- Encourage bookmarking for recurring access — members and students especially benefit from saving the link in their browser.
- Use Bitly shortening if the raw link is too long for messaging platforms or printed materials.
Optional: Set a link expiry or usage limit
Passster Pro lets you set an expiry on each direct access link — by time interval (hours, days, or weeks) or by number of uses. Once the limit is reached, the link stops working and the user sees the password prompt instead.
This is particularly useful for time-sensitive content: trial access to a course, a document valid for a single review cycle, or a one-time client deliverable. To deactivate a link immediately — for instance, if it was shared with the wrong person — regenerate a new link from the metabox. Passster invalidates the old link automatically.
To configure expiry, use a Password List: go to Passster → Password Lists, edit your list, and open the Expire Passwords section. Choose an expiration mode — First usage, Number of usages, or By interval — and once a password expires, every direct access link generated from it stops working. You can also cap simultaneous logins with the Number of Allowed Concurrent Usages setting.
Sharing downloadable resources via a direct access link
Passster’s direct-access-link workflow extends beyond standard pages to protected file download hubs when combined with the Filr plugin (800+ active installs). Filr builds a download hub directly in WordPress; Passster adds the password gate and generates a one-click access link for the whole collection.
Step 1: Install Filr and upload your files
Get the Filr plugin and install it on your site. Once active, go to Files → Add New in the WordPress admin. Give the file a name, then assign it to a list using the Lists metabox on the right — this is how Filr groups files for display.
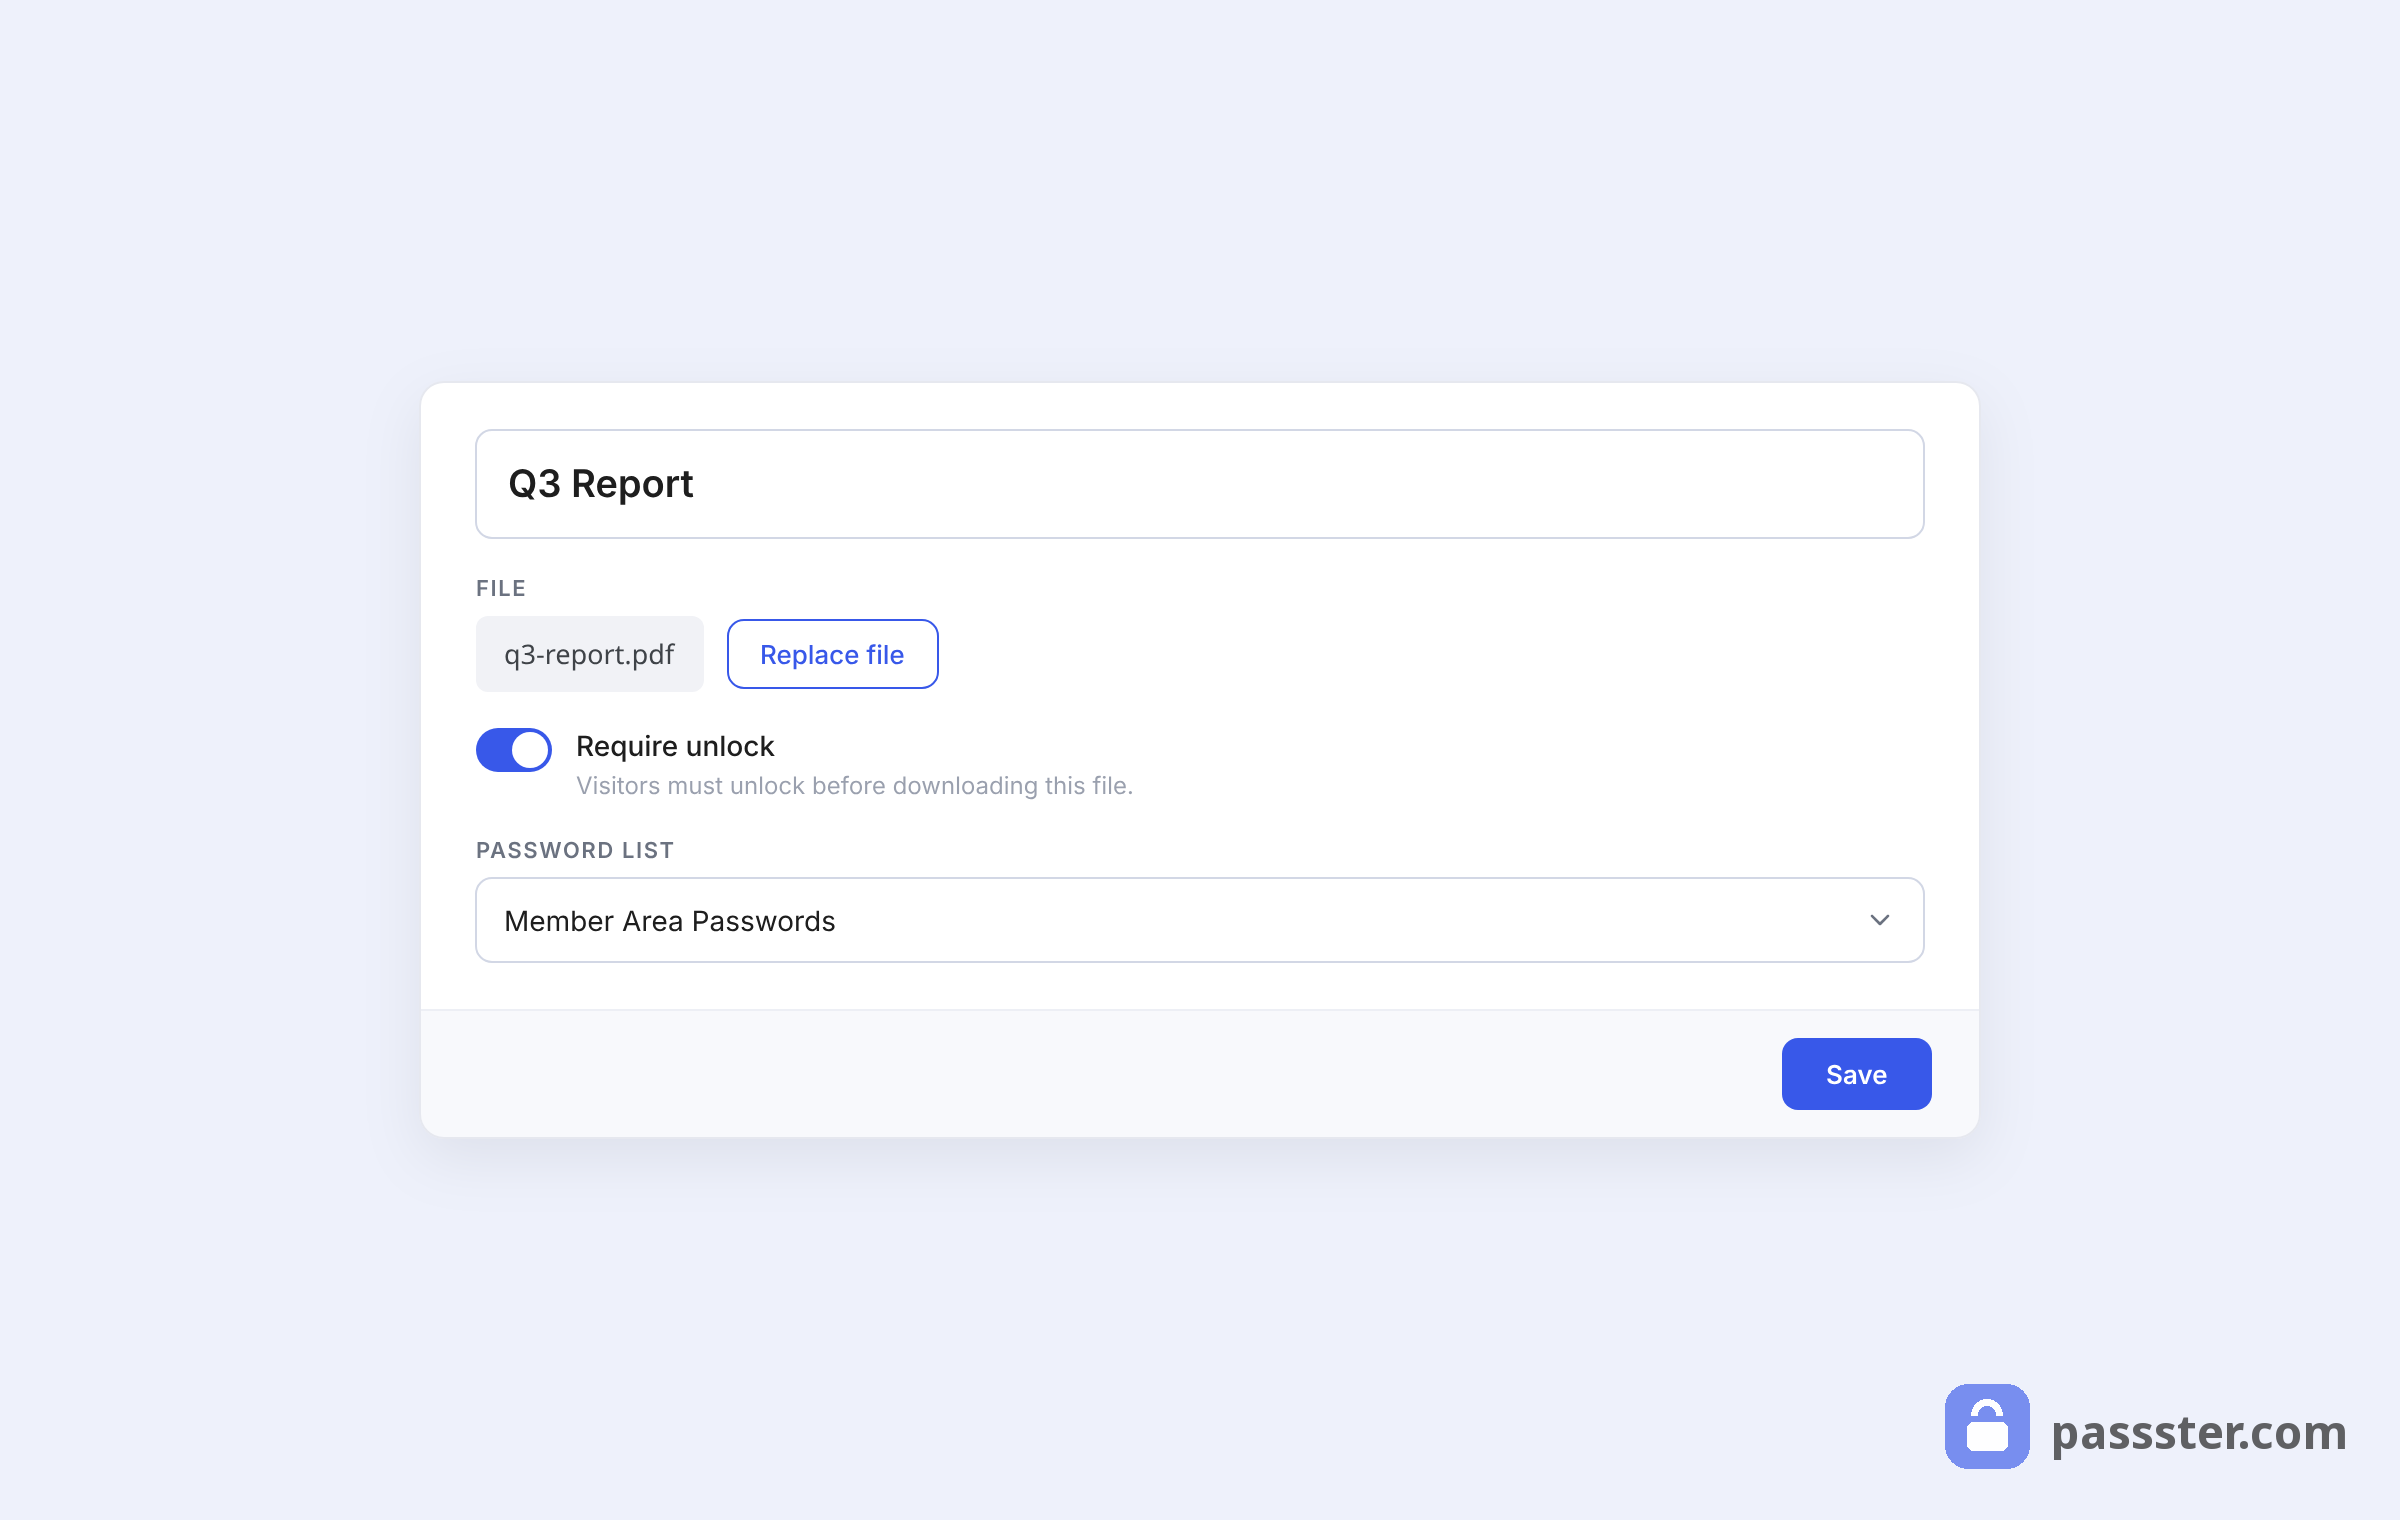
Upload the actual file in the File Upload metabox, then click Publish. Repeat for each file you want in the hub. If you upload multiple files to the same list, Filr automatically bundles them into a single .zip archive when users download.
Step 2: Create a file hub page
Create a new WordPress page to serve as the download hub. Add a shortcode block and enter:
“`
[filr list=”list-name”]
“`
Replace list-name with the slug of your list’s name, then click Publish. The page now renders a download table for all files in that list.
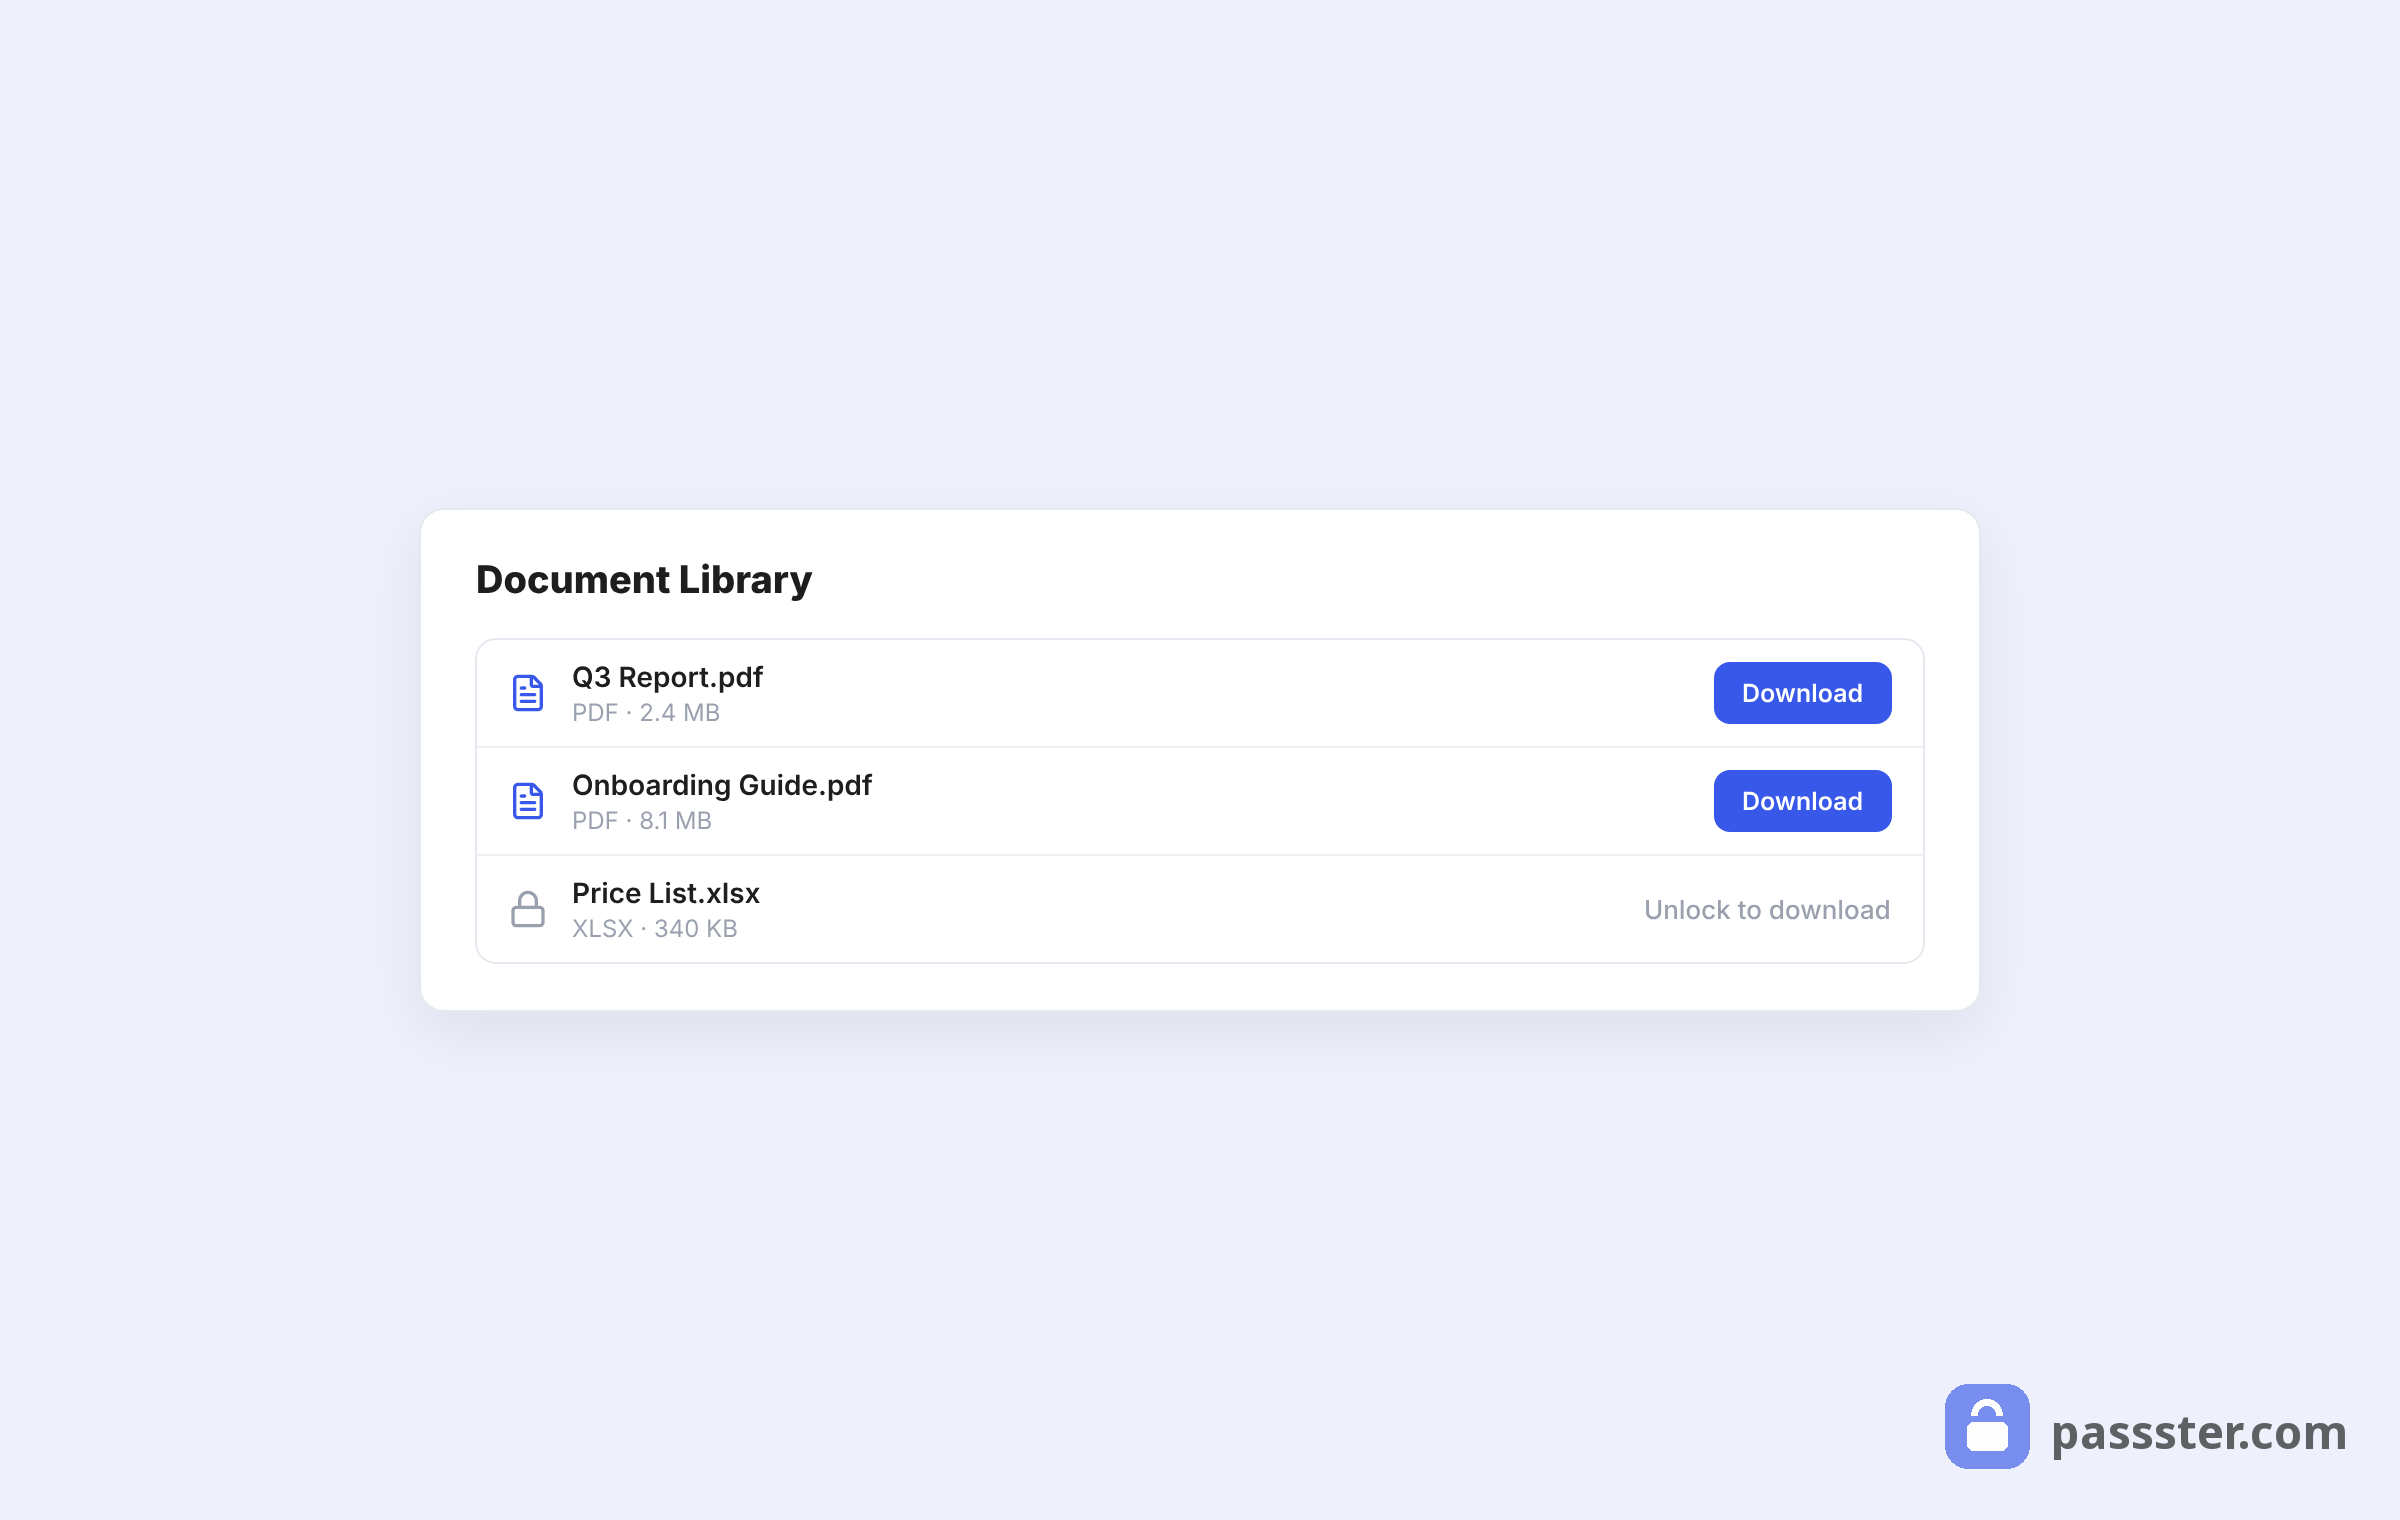
Step 3: Password-protect the page and generate a direct link
With the file hub page published, open it in the editor. In the Passster sidebar, toggle Activate Protection on and set Protection Type to Password. Enter a password in the Password for link generation field.
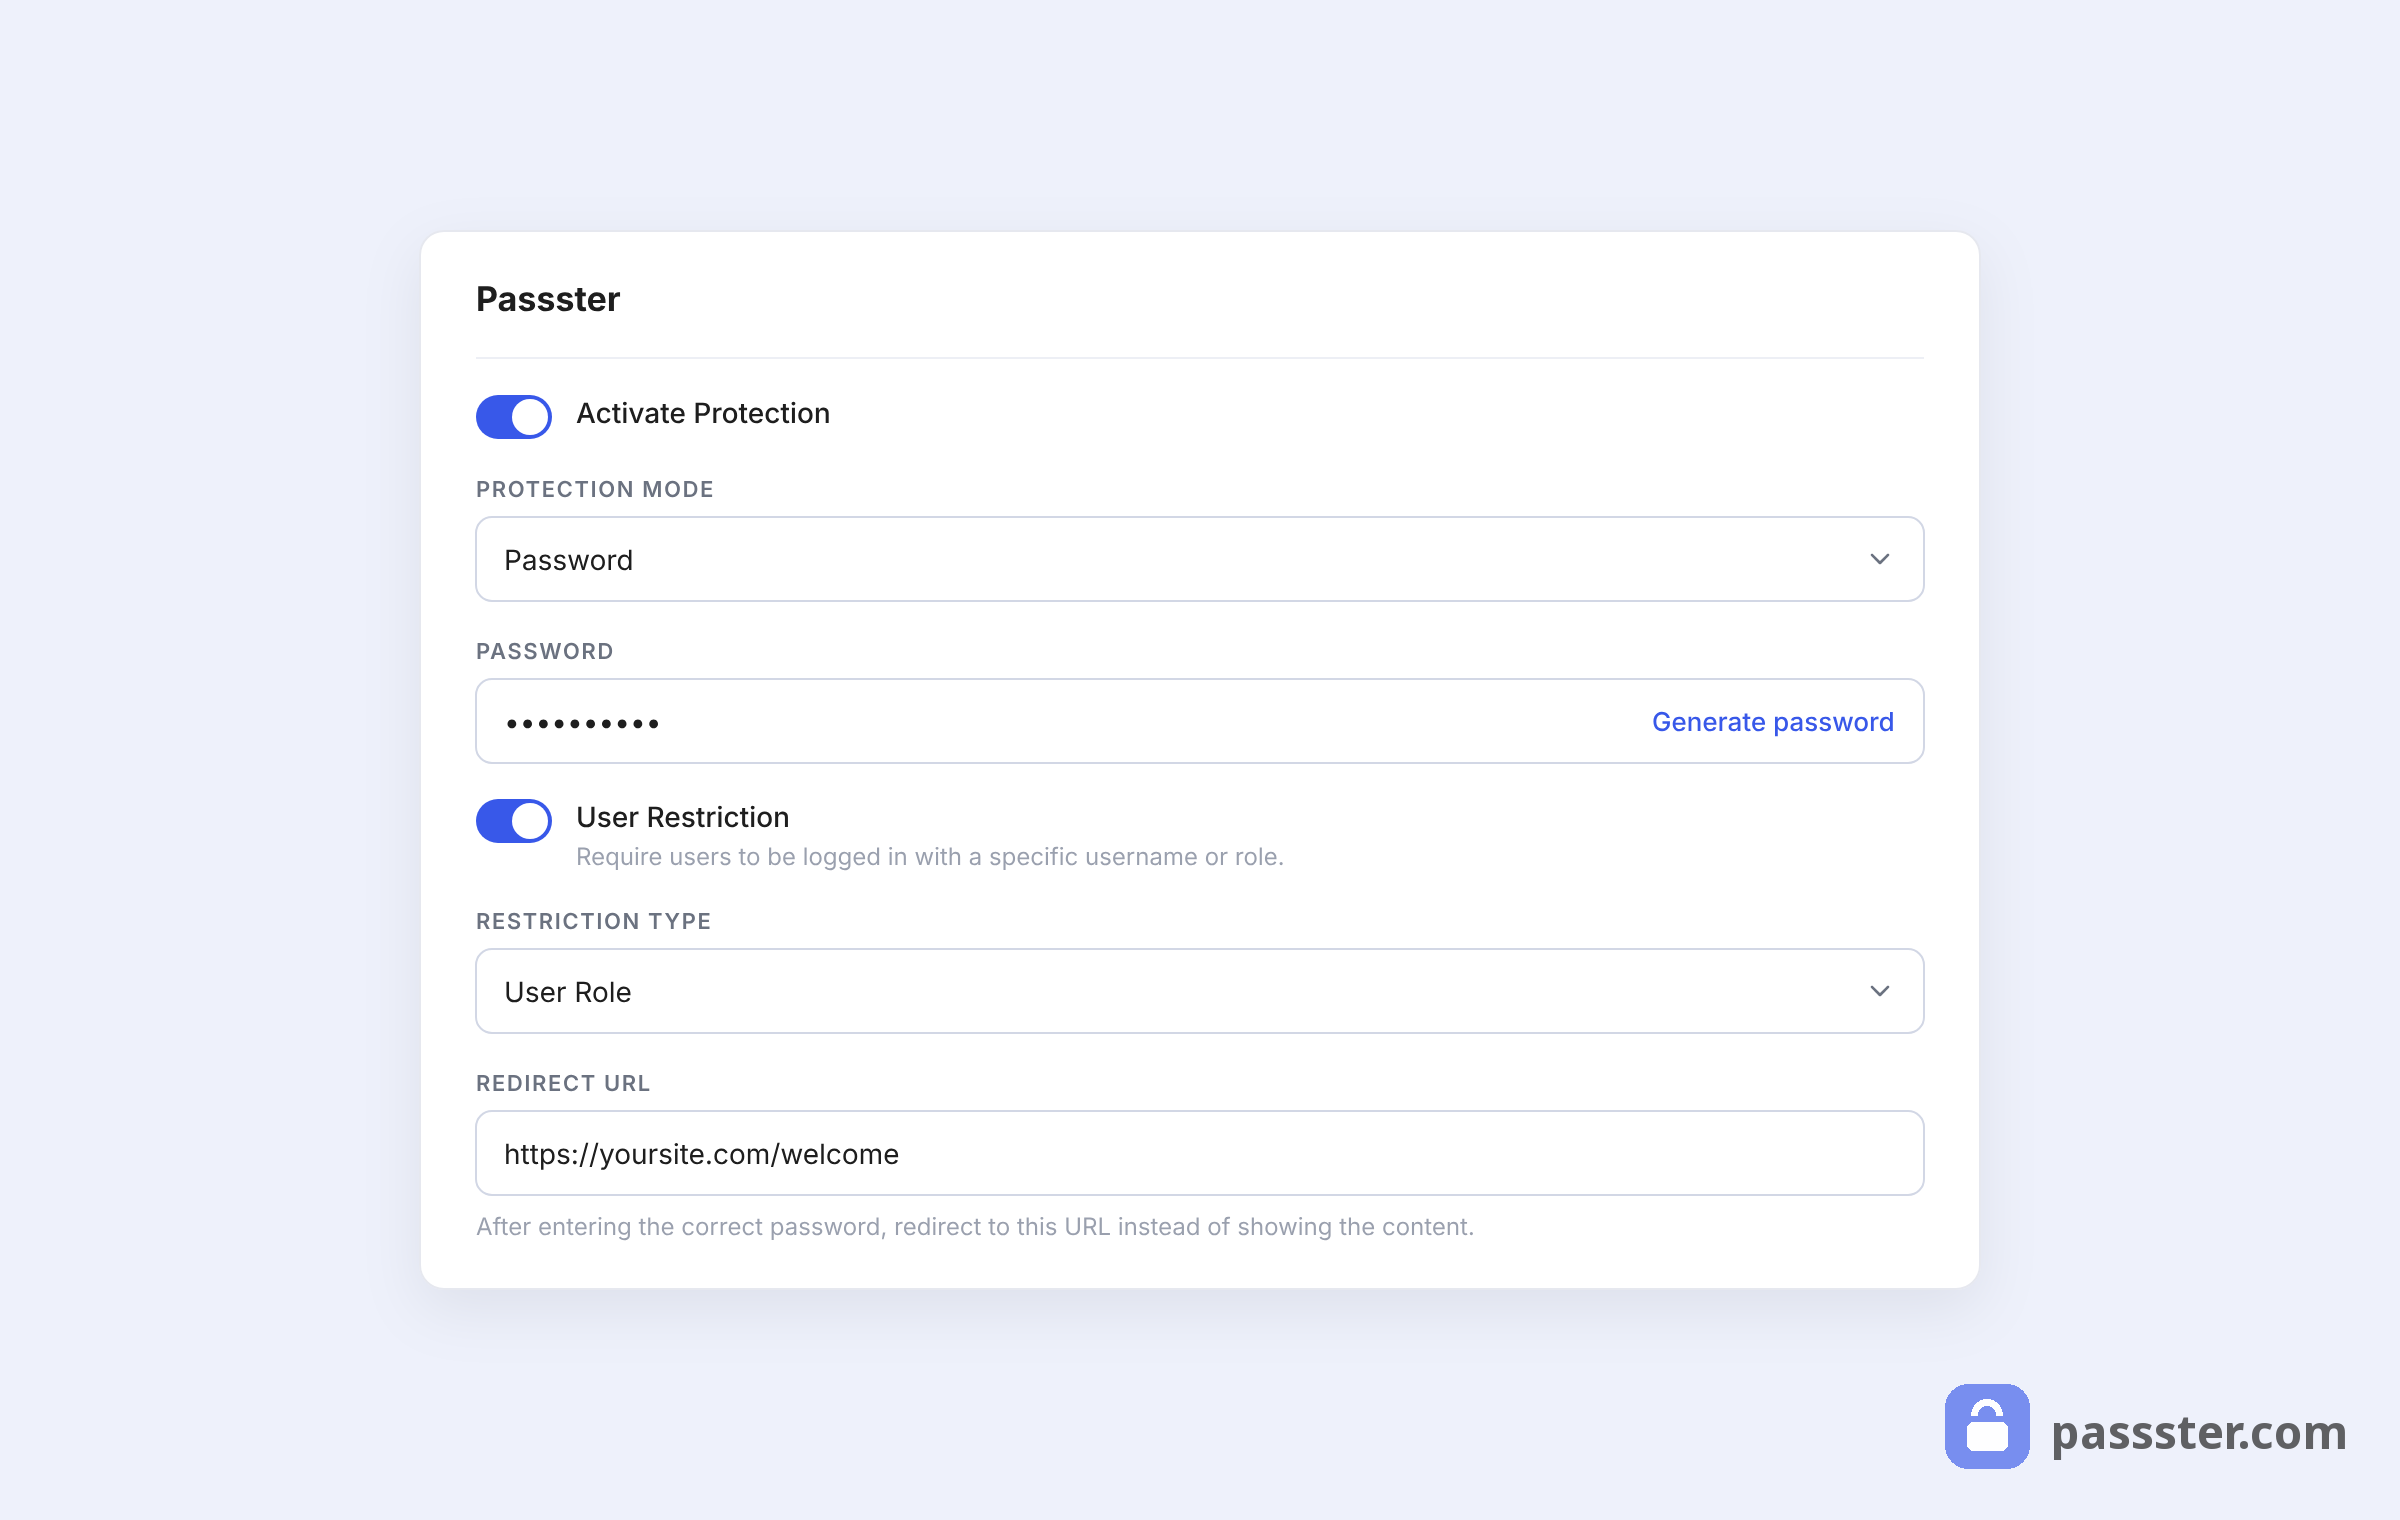
Save the page. Passster then generates a direct access link automatically — copy it from the metabox and share it with authorized users. They click it and land directly on the download hub without a password prompt.
Protect content and share it more easily
Direct access links remove the main friction in sharing password-protected content: the password itself. Users click a link; Passster handles the authentication in the background.
With Passster Pro, you can create encrypted links for any page or post and set expiry limits so access lapses automatically. For downloadable content, the Filr integration extends the same one-click experience to a full file hub. The result is a cleaner, more professional sharing workflow — for membership sites, client portals, and internal document hubs alike.
Frequently Asked Questions
A direct access link is a URL that contains an encrypted token linked to a page’s password. When a visitor clicks it, WordPress validates the token automatically and displays the protected content — no password entry required. It is also called a password-protected link or bypass link. Passster Pro generates these links from any page or post editor and supports expiry and usage limits.
Install Passster Pro on your WordPress site. Open the page you want to share in the editor, find the Passster (Link Protection) metabox, enter the page’s password, and save. Passster generates the encrypted direct access link instantly. Copy it from the metabox and share it with whoever needs access — recipients click once and view the content without a password prompt.
Yes. Passster Pro lets you set an expiry on each direct access link by time interval (hours, days, or weeks) or by number of uses. Once the limit is reached, the link stops working and visitors see the normal password prompt instead. This is useful for trial content, single-use client deliverables, or any access window with a clear end date.
To invalidate a link immediately — for example, if it was forwarded to the wrong person — open the page in the WordPress editor and regenerate a new link from the Passster (Link Protection) metabox. Passster invalidates the old link automatically when a replacement is generated. The cookie redirect option also reduces forward risk by removing the ?pass= token from the browser address bar after first use.
Yes. Passster supports both whole-page protection and inline shortcode-based protection. If your content is protected via a [passster] shortcode rather than at the full-page level, enter the password used inside that shortcode when generating the direct access link — rather than a page-level password. The link then bypasses that specific inline protection block.
Yes. Combined with the Filr plugin (800+ active installs), Passster can generate a direct access link for a password-protected file download hub. Install Filr, upload your files, create a hub page with the [filr list="..."] shortcode, then password-protect that page and generate a Passster direct access link. Authorized users land on the full download hub in one click.
Yes. The Unlock via Link feature that generates direct access links is exclusive to Passster Pro. The free version of Passster (10,000+ active installs) handles password protection, but does not generate encrypted bypass links. Passster Pro adds link generation, expiry controls, usage limits, and Bitly shortening.